Harley Davidson Touring: Why Won't My Bike Start?
Bikes are simple when compared to modern cars, but not as simple as they once were. Here's where to start your search when your bike won't start and you have no idea why.
This article applies to the Harley Davidson Touring models (2009-present).
So the weekend has finally arrived. Boots on, gloves, jacket and helmet: check. You even checked your tires: 36 front and 38 rear. You turn the ignition switch and depress the start button—NOTHING. And after a few attempts, still nothing. Let's consider the possibilities.

Materials Needed
- Battery charger
- Load tester
- Multimeter
Step 1 – Check battery charge/condition
Starter doesn't crank.
Your battery may have enough charge to run the electronics, the fuel pump even, but not enough to turn over the motor.
- With a digital multimeter, test the battery's voltage. If is isn't reading over 12V, you're under charged and it's a good place to start. Plug in your battery charger, and come back in an hour to try again.
- Check for loose or cracked contacts on the battery, a bad connection should be easy to spot. You may want to take off the terminals, clean any corrosion and reattach just to be sure.
- Have the battery tested under load at your local auto parts store. The load tester will check the battery's ability to deliver a high current, and its recovery voltage. Apply the load as per the manufacturer's instructions. Note where the voltage drops while the load is applied, and where it returns after. If it falls below 9V during cranking, your battery can't supply the load. If it doesn't recover afterward, it is also bad.
- If your battery passes, it might be the starter, the solenoid or the circuit controlling the starter. Check for full voltage to the starter with the multi-tester. Push the starter button and check that the switch is sending voltage to the solenoid to trigger the starter.
- If the motorcycle started after charging, you may have issues with the charging circuit. Verify the connections underneath the regulator. Ensure the plug is snapped in. Once checked, move onto the next step.
- Next, test the stator by checking the winding resistance (phase to phase) and the winding insulation to chassis ground. Resistance between stator phases should be .1 to .4 ohms, and open or in the very high reading depending on your meter from the stator lead to ground.
- If the stator checks out, it's potentially the regulator. This is basically a change out and try it. If you hold a charge, you're golden.
- There is a very good outline of testing the charging system here.
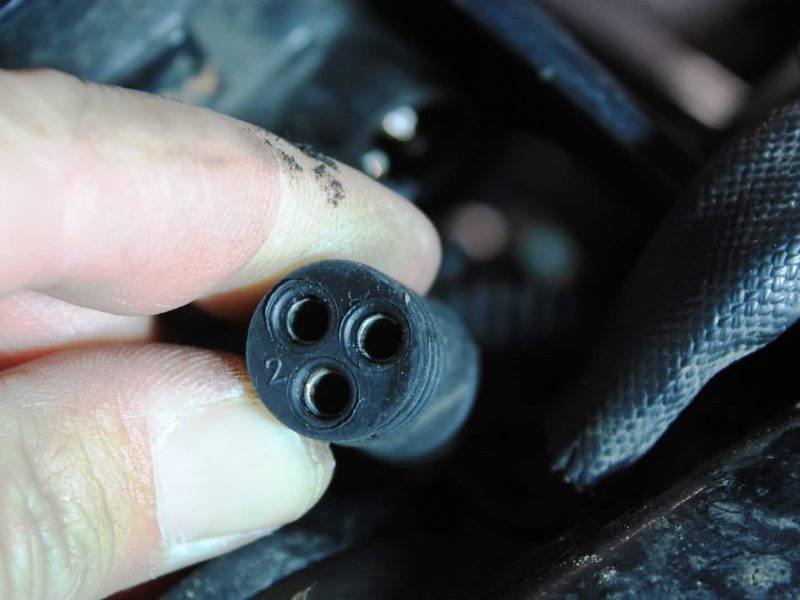
Figure 1. Late model bikes have a three phase stator, older bikes have a two phase, but they test the same. 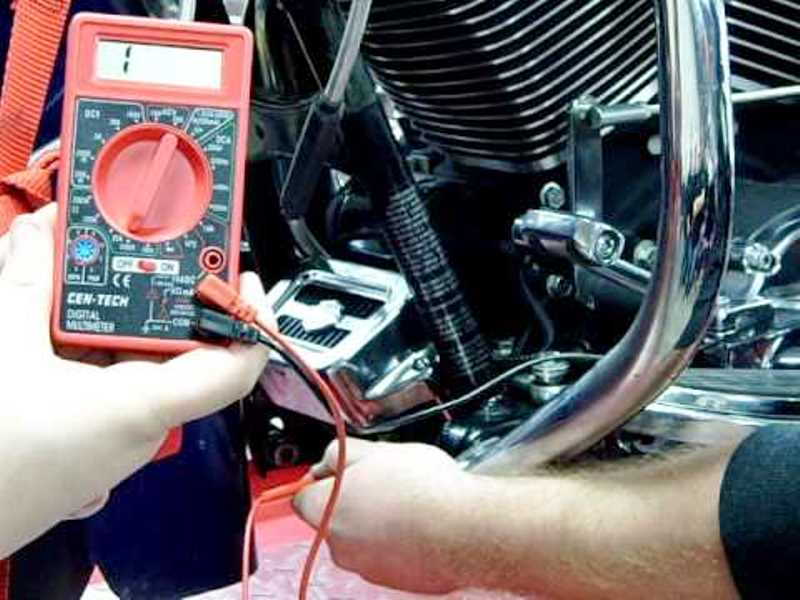
Figure 2. Voltage regulator/rectifier under chrome trim cover.
Pro Tip
If you have an issue with the battery, it can overload the charging system. An overloaded charging system can cause a failure of either the regulator or stator. Money is a concern, but if you're changing one component, consider changing both; especially if you're changing the more difficult and expensive stator.
Step 2 – Check fuel system
You're motorcycle cranks but doesn't fire up.
So the motor cranks, and it cranks, and cranks, but it doesn't come to life like a fire breathing dragon should.
- Not to state the obvious, but it does have fuel in the tank, right? If not, then fill it and you're secret is safe with me.
- When you initially turn the motorcycle ignition to the run position, do you hear the whir of the fuel pump? If not, check the fuel pump fuse and the relay; both are in the same spot under the side cover.
- Ensure your fuel line is seated properly. If it has popped out, the fuel won't flow. There is a spring loaded keeper. Push it upward and push up on the fuel line. Let the keeper return to place. Pull on the line and ensure it's seated.
- Check the injector electrical connections.
- Potentially, you have a fuel filter problem; when did you change it last? It is a bit of a job because it is in the tank, under the console, but not terrible. There are also flexible lines in the tank that can go bad, leading to the injectors not getting fuel. See this how-to post here.
- Lastly, as mentioned above, the fuel pump may have failed. It is a full replacement piece.
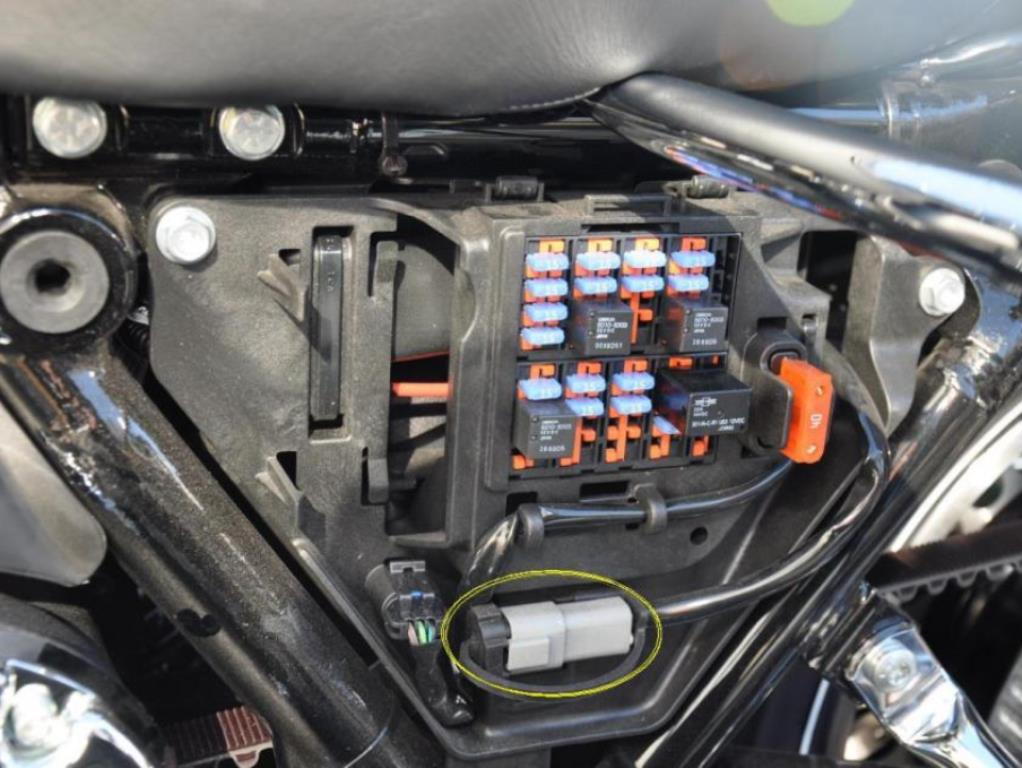
Figure 3. Typical fuse box location left side, under side cover/saddle bag. 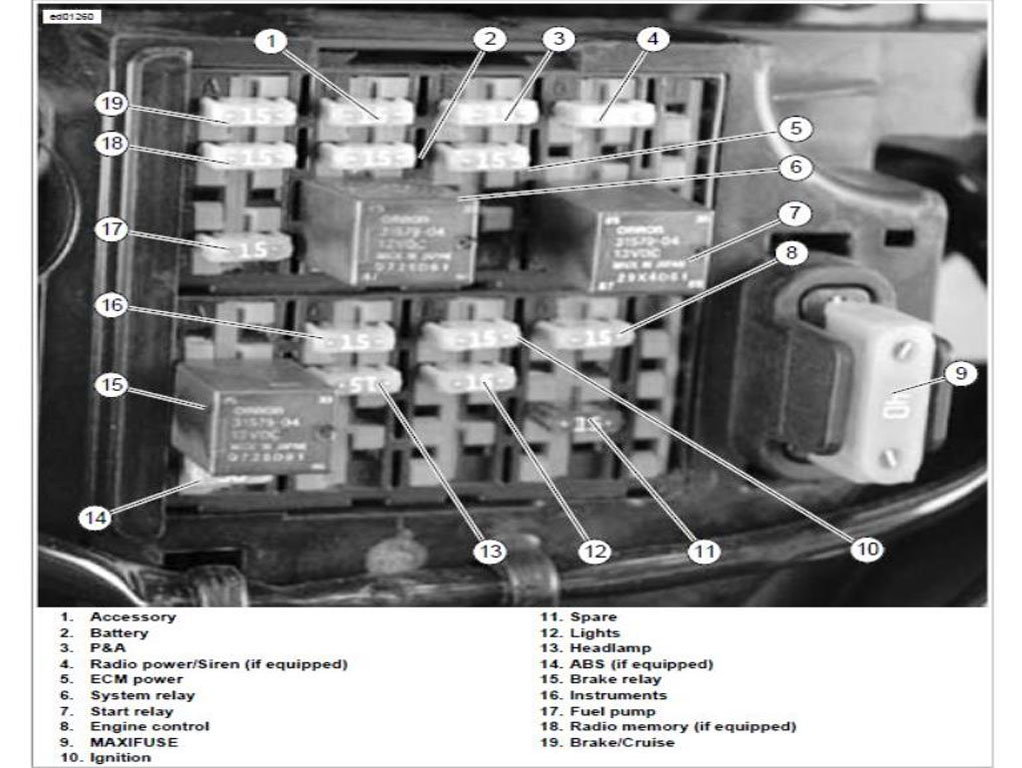
Figure 4. The System Relay controls the fuel pump. 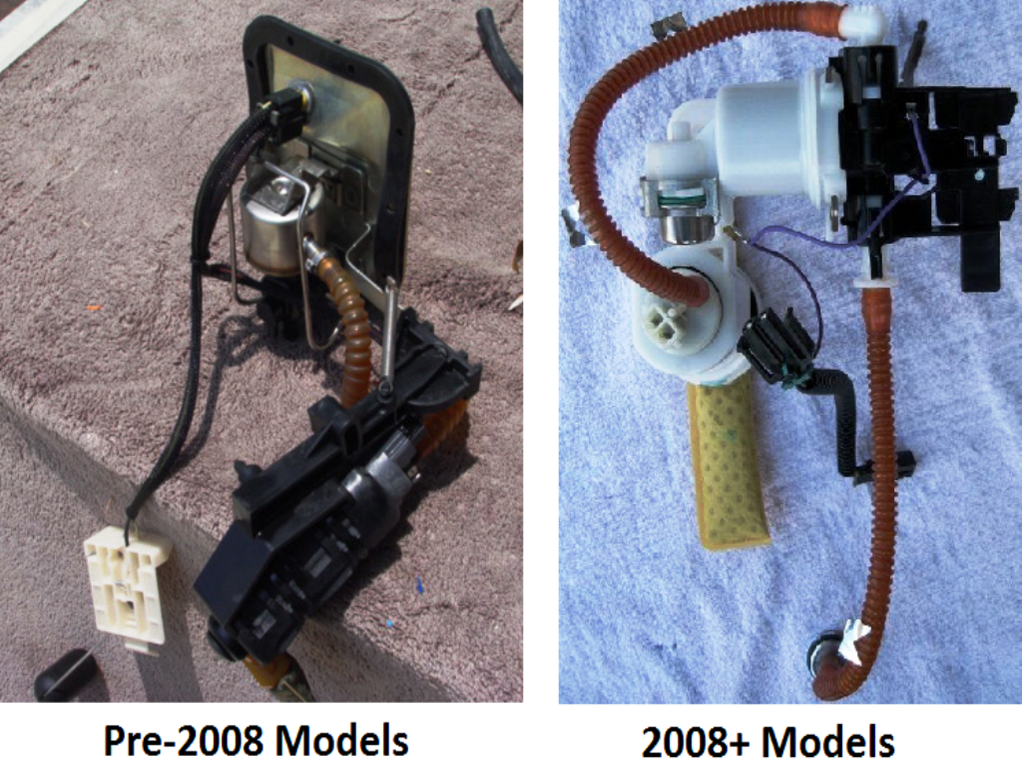
Figure 5. Early and late model EFI fuel pumps, both mount in the tank.
Pro Tip
The fuel system can be dangerous to work on. Consider static and other sources of ignition when working on the fuel system. Exercise great care when working on it. Consider having a fire extinguisher nearby - just in case.
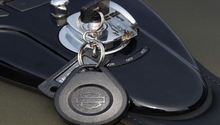
Step 3 – Check security system
Maybe your key fob battery is dead. Maybe your proximity fob is too far away.
The fob is wirelessly sending a signal to the security module (on bikes so equipped), ensuring the motorcycle is started only by the rightful owner.
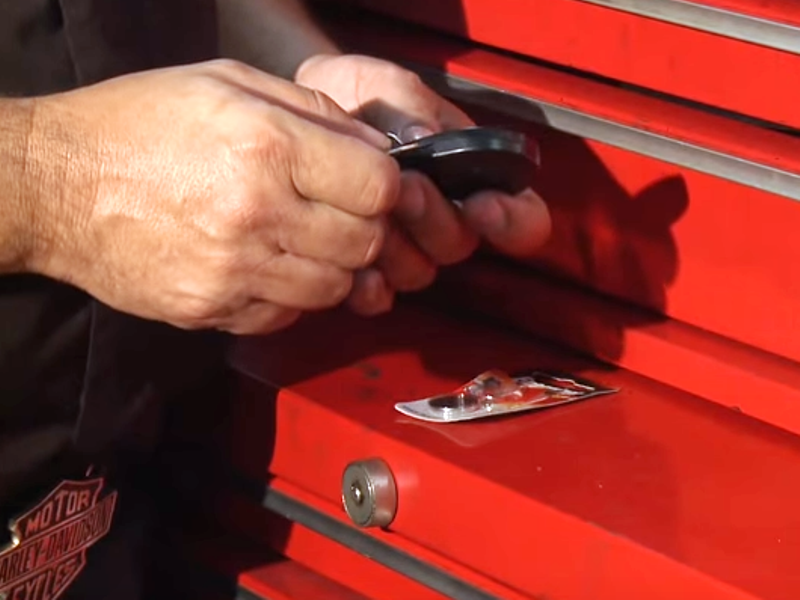
- Your fob is in your pocket. You turn the key and the fuel pump doesn't prime the fuel system. There is the chance the fob battery is dead. It pops open with a small screwdriver. You'll see a pry slot in the black plastic between the two sides. Twist and it will pop open. Next, you'll need a Flat CR 2032 battery. They're a little smaller than a quarter. Pay attention to the polarity, and remove the old to install the new.
- The good news is you can override the system if you know the PIN, or if the factory PIN is still in place. Read how to do it here.
Pro Tip
If the fob battery doesn't work, or you don't have a battery on hand, try the security override first. That PIN you entered back at the dealer, or the one the previous owner didn't tell you. The factory code is 3-1-3-1-3.
(Related Article: Why Isn't My Key Fob Working? - HDForums.com)
Step 4 – Seek professional help
As mentioned before, bikes these days are complicated, and if the bike won't start and it isn't something simple, it may be best left to the experts. Would you rather spend a couple hundred dollars and have the bike back to 100% in a few hours, or waste your entire vacation trying to find the fault instead or riding?
- Look around at forum posts and other online sources regarding the dealer's reviews. You don't want a dealership with a reputation for poor diagnostic skills and high pressure up-selling.
- Consider independent shops, as they usually are bike owners and riders, and have been working on Harley Davidson motorcycles longer than you've been alive.
Pro Tip
Quoting Dirty Harry: "A man has got to know his limitations." You may not be a HD mechanic, you may be a lawyer, or a Walmart greeter. A smart person knows that they have limitations, and you need to assess when you're over your head. If you get too far down the 'rabbit hole,' it just gets more expensive to back out.
Related Discussions
- New Streetglide Won't Start - HDForums.com
- Won't Start - HDForums.com
- Ultra Classic Cranks but Won't Start - HDforums.com
- Bike Won't Start No Power - HDForums.com