Harley Davidson Touring: Why is My Engine Clattering?
There could be various reasons why your engine is making a clattering sound. Learn what to be concerned with and what to largely ignore.
This article applies to the Harley Davidson Touring (1999-2014).
As you continue to own and grow with your Harley, you'll get used to certain feels and sounds that she makes. When something changes, no matter how small, it may be of some concern, or at least something to make note of. One of the more common things that cause concern among owners is a clattering sound that comes from the engine. This is also more commonly known as the "top end tick." Time and time again you will hear that this isn't a problem, including from your HD dealer or mechanic. Although it is true that no harm is being done by this ticking noise, it is highly aggravating. The problem is that the rocker arms or shafts are smacking against the hold down bolts and this happens only at certain RPMs. The damage is so minimal that HD isn't even concerned with wear or internal damage. Fixing it yourself isn't hard if you have a passing familiarity with your bike and the common tools needed. Read on to see what is involved.

Materials Needed
- Heavy duty motorcycle oil
- Ratchet and socket set
- Rocker locker kit (optional)
- Rocket rocker insert kit (optional)
- Blue Loctite (609 or 620)
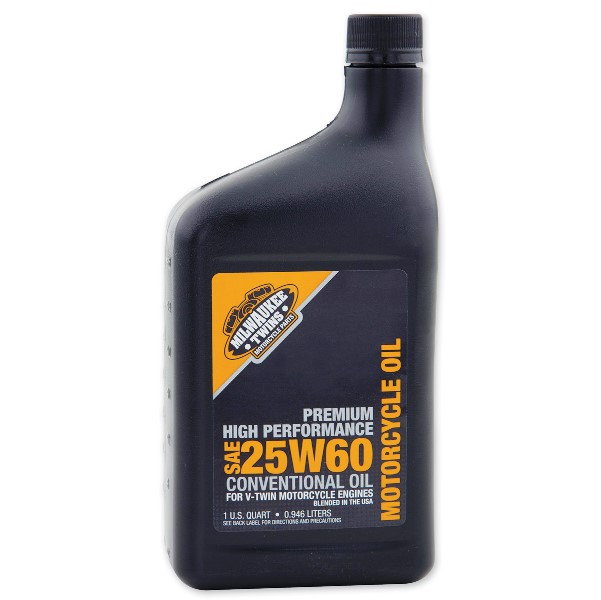
Step 1 – Upgrade to a thicker oil
Oil breaks down and becomes very thin in high temperatures.
Although it is likely not to be a really good solution, increasing the weight and viscosity of your motor oil may lessen the noise so that it isn't annoying. Find a heavy duty 25W-60 motor oil, especially if you ride in high temperatures like in the southern states. The thicker oil will not solve the problem completely, but it might make the noise bearable, and for as cheap and easy this is to do, it may be well worth it just to give it a shot.
If the motor oil just doesn't get it done for you, you'll have to tear into your engine.
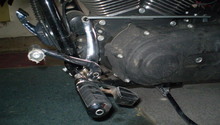
Step 2 – Pull rocker shafts and add some Loctite
The rocker shafts float and smack against the lock down bolts.
If you want the cheapest route while tearing into your engine, the use of Blue Loctite 609 or 620 can help, or even solve your ticking noises. While this method is not exactly proven in the long term, it has been met with some success. Use at your own discretion.
- Remove the seat.
- Remove the tank bolts.
- Remove the console and disconnect the wiring, then set aside.
- Lift the tank enough to remove the rocker covers.
- Remove rocker arms and the hold down bolts.
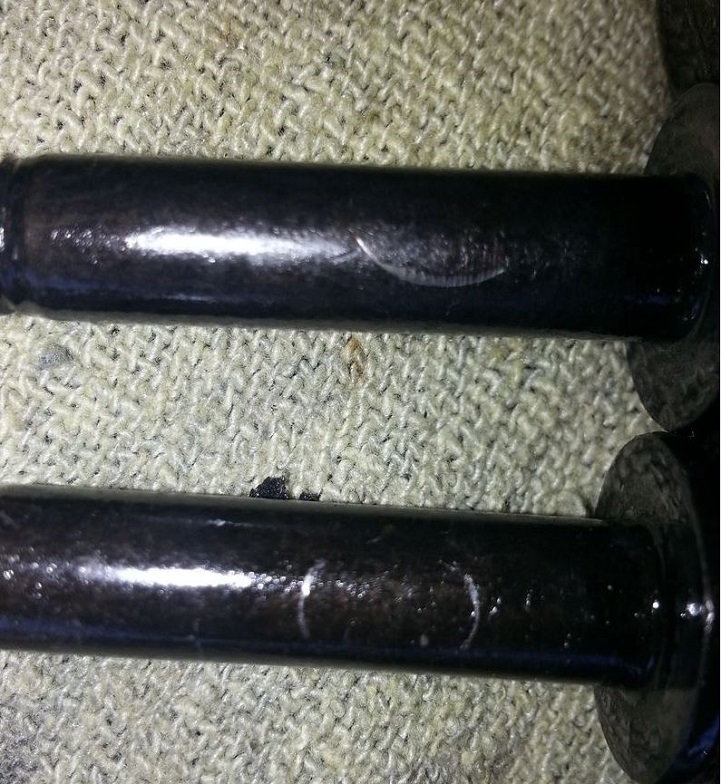
- Inspect the rocker shafts.
- At the end of the rocker shafts, add a thin film of Blue Loctite 609 or 620.
- Button her back up.
The thin film of this high heat Loctite should do well enough to hold the end of the shafts in place and stop that clattering noise.
The Loctite may or may not hold. More permanent solutions are available.
Step 3 – Install Rocker Lockers
They prevent the rocker shafts from smacking so hard against the hold down bolts.
You will need to tear into the engine just as before, but instead of using Loctite, you'll add some hardware.
- Remove the seat.
- Remove the tank bolts.
- Remove the console and disconnect the wiring, then set aside.
- Lift the tank enough to remove the valve covers.
- Remove rocker arms and the hold down bolts.
If it is still too noisy, adding Rockout Rocker Inserts may be the way to go.
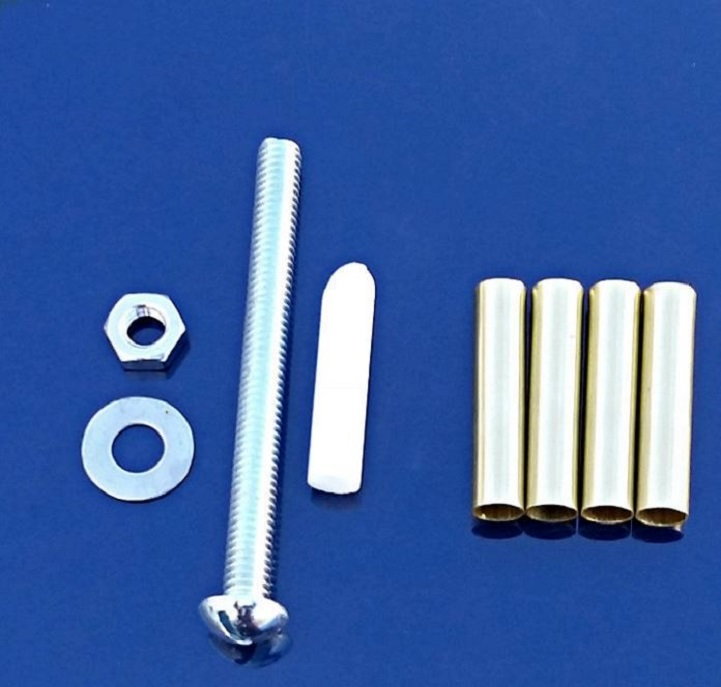
Step 4 – Add Rockout rocker inserts
Rockout inserts are different from the Rocker Locker product, but seem to have a higher success rate.
The steps for this job, are again, the same as with the others; however, it is only slightly more involved. You will need to remove the valve covers, but then remove the rocker assembly completely and do the job on your workbench. You will most definitely need some more tools, such as an air compressor and compressed air. Some oil will leak into your bolt holes and will need to blow that out to prevent hydro lock when you reinstall the lockers. The installation is only a little more involved, because of extra steps like removing the rocker plate, but it is reportedly well worth it, as this product has a good amount of happy customers claiming it eliminated 100% of their ticking noise.
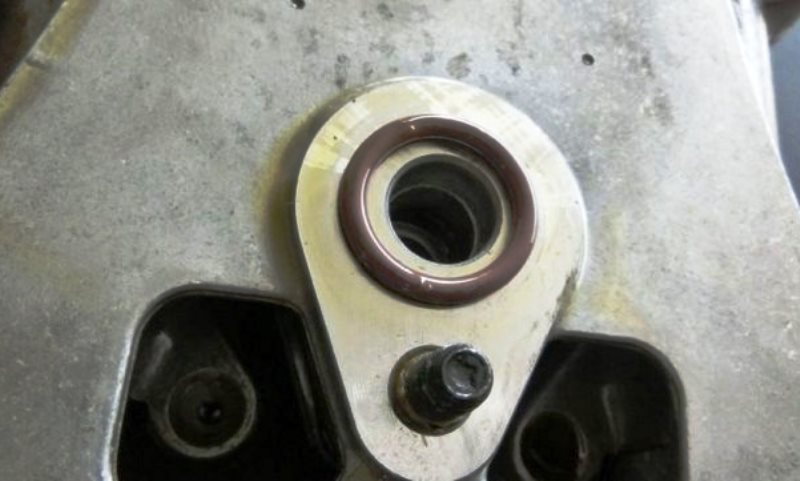
Figure 4. This product calls for the removal of the rocker plate assembly to replace this O-ring. 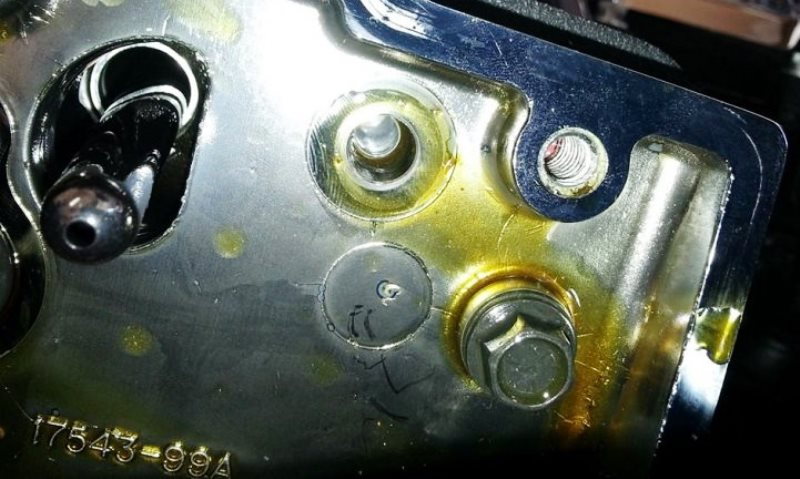
Figure 5. This product install instructions also call for the use of compressed air to blow out the oil from the bolt holes. 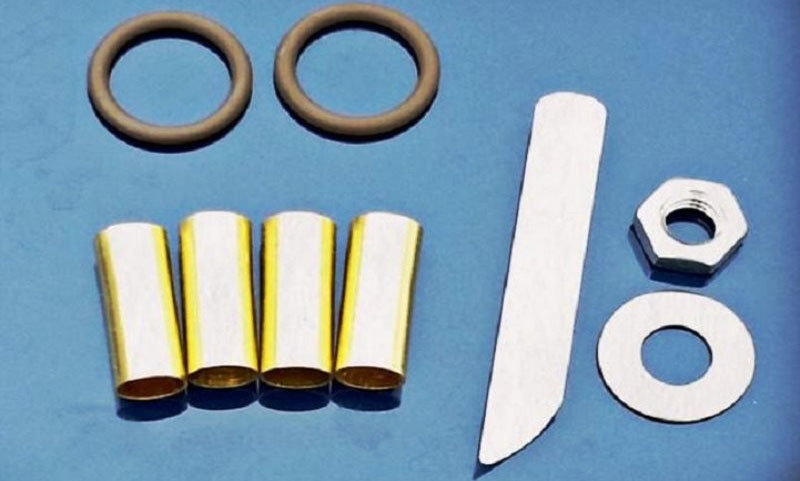
Figure 6. The Rockout Rocker Kit appears to have a higher success rate than most other products available
Featured Video: Rocker Locker for Harley
Related Discussions
- Rocker Lockers Installed - HDForums.com
- The Tapping, the Quest is Over - HDForums.com
- Rocker Lockers - HDForums.com
- A Word About Installing Rockout Rocker Shaft Inserts - HDForums.com
- Tick Gone! Rockout Rocker Shaft Inserts! - HDForums.com
- Rocker Locker Versus Rockout - HDForums.com