Harley Davidson Touring: Why is My Brake Light Staying On?
A brake light that is stuck on can be a real annoyance and a potential safety hazard. Fortunately, this is a fairly common problem on various Harley models, so diagnosis and repair of the failed component(s) have been well documented. If you are experiencing a brake light problem, a quick once over of the brake circuit will often identify the fault.
This article applies to Harley Davidson Touring models.
Harley owners occasionally find that their brake light is continuously illuminated even without applying the brakes. While there are typically no mechanical faults that prevent the bike from being ridden, a brake light that is always on can present a huge safety risk since it indicates to other vehicles when you are slowing down. Additionally, the cruise control system uses the brake light switch and may not work if the switch is stuck in the on position. The brake system is not overly complex, so tracking down the source of the problem is often quick and easy. If the brake light on your Harley Touring model is stuck on or flickering, this article will focus on several issues that could be causing the problem.

Materials Needed
- Digital multimeter
- Torx sockets
- 1/4" drive ratchet and extension
- Adjustable wrench
Step 1 – Check brake light switch
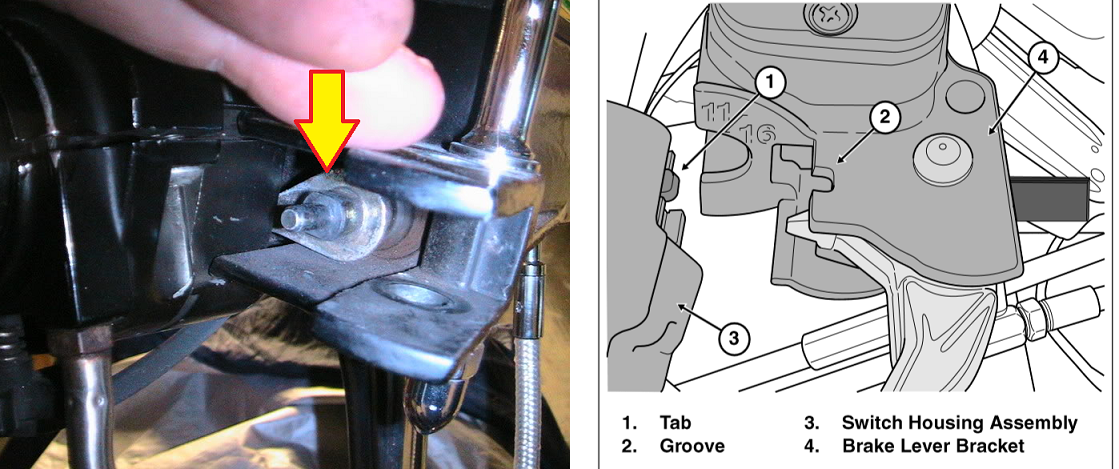
Nearly all cases of a brake light staying on or continuously flickering have been caused by a damaged or faulty brake light switch. The problem is usually found in the right handlebar switch housing where the front brake switch is located. Actuation of the switch is accomplished by the interplay between the brake lever/master cylinder assembly and the light switch. If the brake lever has been changed out or the master cylinder replaced, it is easy for the delicate switch to become damaged or misaligned and remain in the on position, even when the brakes are released, thus causing the brake light to stay on. The housing can be easily taken apart to inspect the brake switch. If any damage to the switch is found, replace the switch and ensure the master cylinder assembly is correctly aligned with the switch housing upon reassembly.
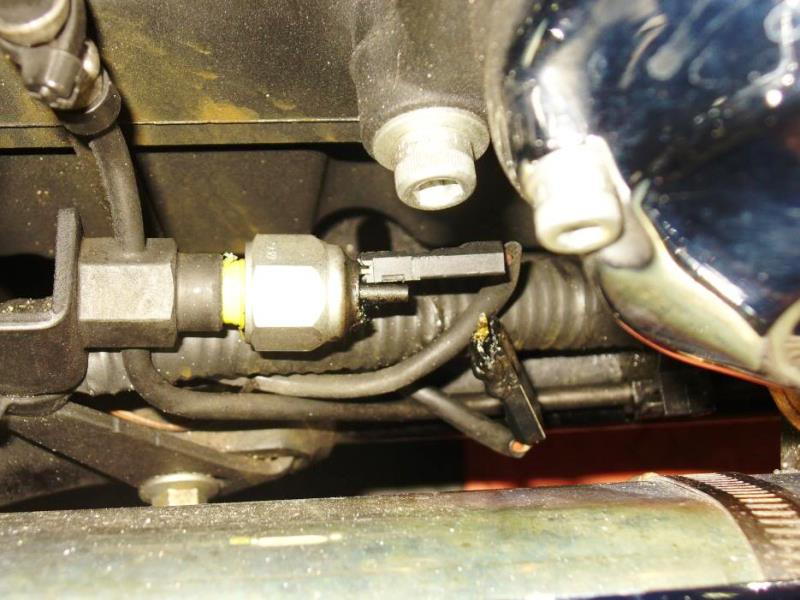
The rear brake light switch has proven quite problematic as well, and even forced Harley at one point to issue a recall on Touring models for it failing. The rear switch is hydraulic pressure-operated and, being close to the exhaust system, can fail in a variety of ways. Inspecting the electrical connections and testing functionality of the switch with a test light can indicate if a replacement switch is needed.
Featured Videos: Brake Light Alignment and Testing
-
Brake Light Switch Alignment
-
How to Test Rear Brake Switch
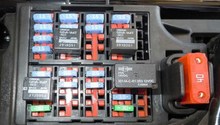
Step 2 – Check brake light relay
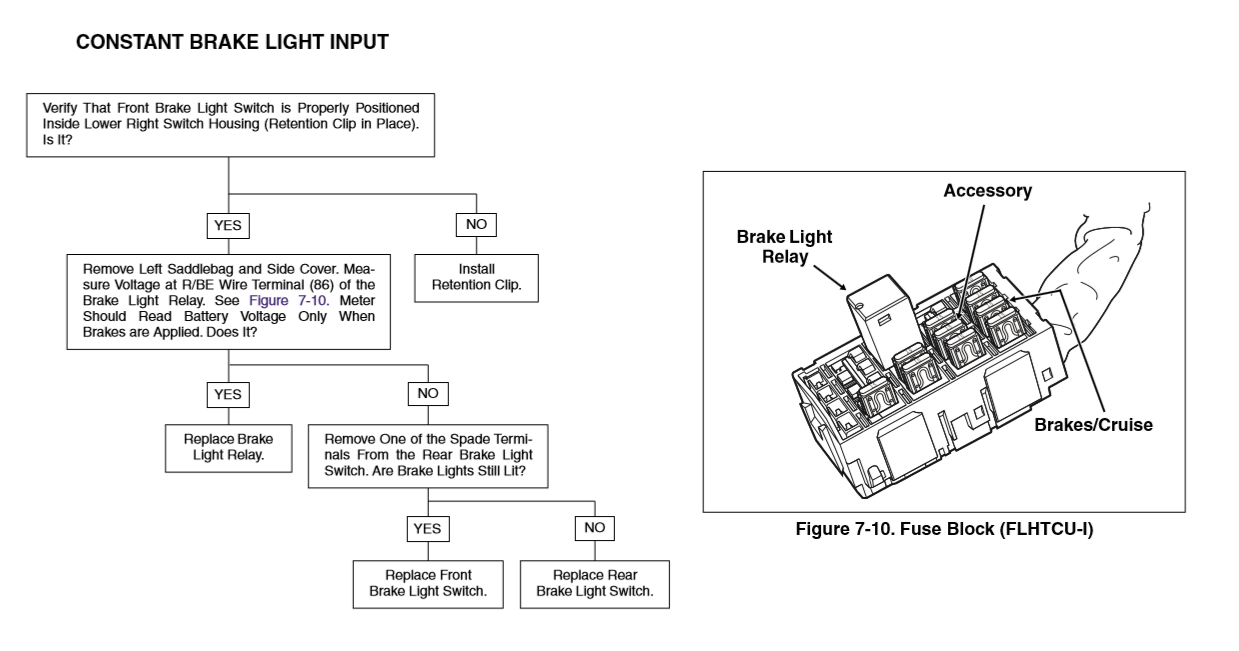
While not as common, a faulty brake light relay can cause constant brake light illumination. A relay is an electronic switch triggered by the front or rear brake light switch, which sends power directly from the battery to the brake light bulb. The relay is located in the fuse box behind the left side saddlebag. Harley suggests testing the relay circuit with a digital multimeter, but a simple test light will work, too. If the switches test good, and there is still voltage coming out of the relay, this indicates the relay itself is bad. Some individuals prefer to skip this testing procedure and simply swap in a new or known-good relay since they are readily available and relatively cheap.
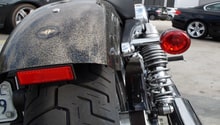
Step 3 – Check brake light bulb
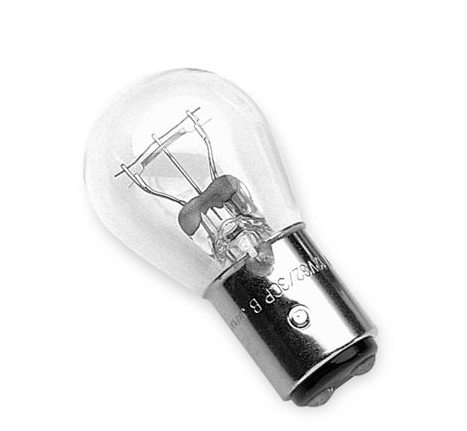
Although it may seem overly simple, check that the brake light bulb does not have any internal filament damage. Several cases have been reported where the brake light filament has shorted across to the tail light filament, causing the light to be overly bright as if the brake light was on. As with the brake light relay, bulb replacement is quick as well as easy and may just solve the problem.
Related Discussions
- Brake Light Stays On - HDForums.com
- Brake Light Relay - HDForums.com
- Brake Lights Won't Turn Off - HDForums.com