Harley Davidson Touring: How to Replace Your Headlights and Fog Lights
Changing the headlight or the fog lights on your Harley Davidson Touring bike is one of the easiest DIY jobs you will ever have to do. You can also upgrade to higher output bulbs at the same time, and it is still plug and play.
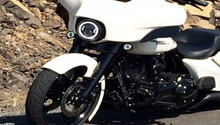
This article applies to the Harley Davidson Touring bikes (1994-2016).
If it's time to change the bulbs out on your headlight or fog lights, don't fret because this is one of the easiest jobs you'll ever have to do. There are no special tools required, just a Phillips head screwdriver is the only tool you'll need. For the Road King, this job will take you all of five to ten minutes. For the Glides and the Ultras, it may take longer if you need to remove the faring. Replacing the bulbs is a very straightforward and easy job, as they have a universal base and should all be plug and play with the exact fitment. You can have a professional do this for you, but it's such an easy job, put that money back in your wallet and read on.

Materials Needed
- Phillips head screwdriver
- Shop towel or rag
- 1/2" ratcheting box wrench (optional)
- T25 Torx wrench (optional)
Step 1 – Remove faring (if applicable)
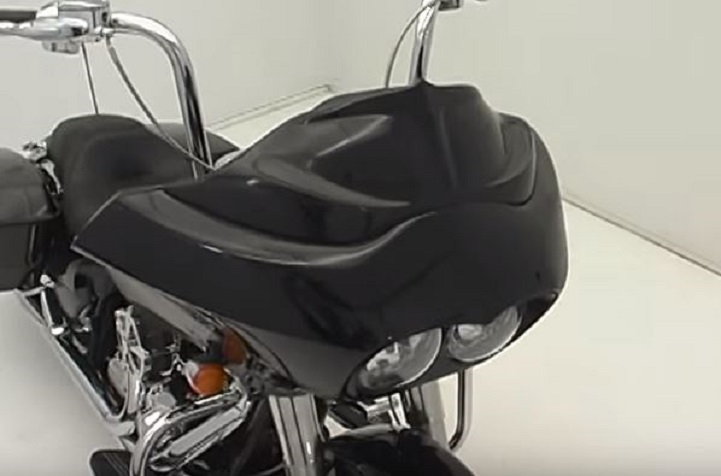
For you Glide and Ultra owners, you'll probably want to remove your faring first in order to make the bulb replacement go a lot smoother. Luckily, removing the faring is easy.
- From the seat of your bike, look around the edge of your faring.
- There are T25 Torx screws holding the faring in place. These will need to be removed.
- The upper Torx screws and the middle Torx screws are both the same size.
- Remove the lower Torx screw from either side. This one is longer than the others.
- Use the 1/2" wrench to remove the turn signal mounts, which is also the faring's lower mounting hardware. (Turning the handlebars will give better access to remove the hardware.)
- The faring can now be lifted and pulled straight off, but be careful as the headlight wiring harness is still connected.
- Disconnect the wiring harness from the back of the headlamps.
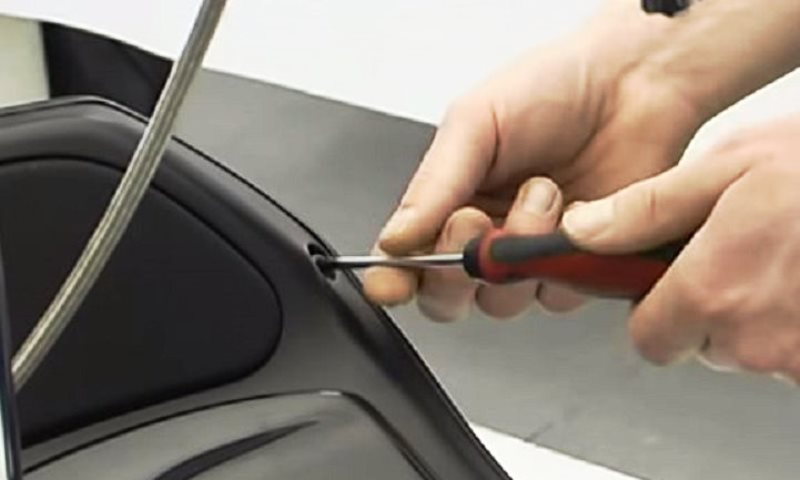
Figure 1. Remove the T25 Torx screws from the edges of the faring. There are three on either side. 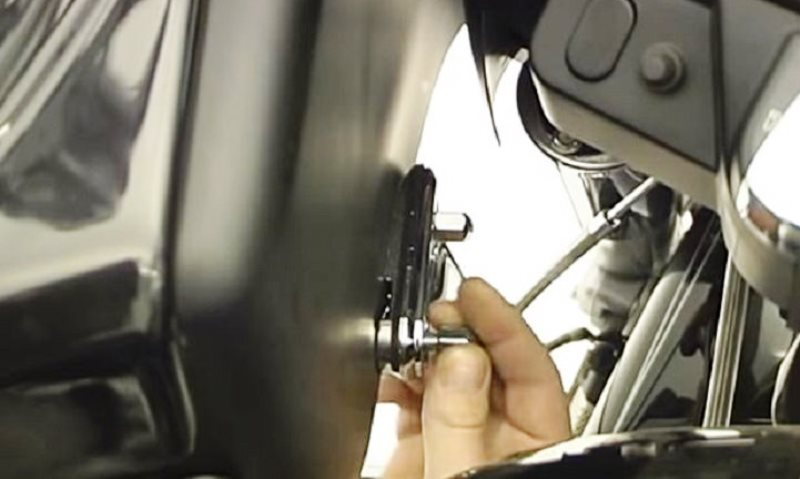
Figure 2. Use a 1/2" wrench to remove the lowing faring mounting bolts. 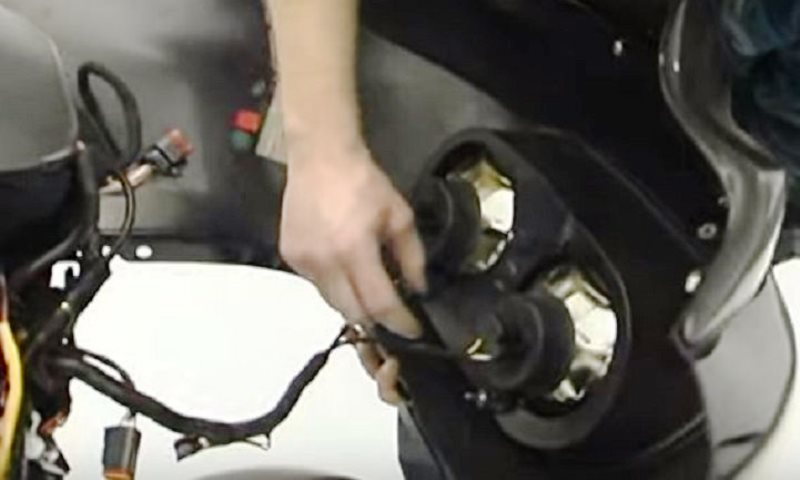
Figure 3. Remove faring, and disconnect wiring harness from headlamps.
Featured Video: How to Remove Fairing
Step 2 – Remove headlamp housing (if applicable)
For Road King owners or anyone else without a faring and integrated headlamp system, your headlamp assembly is very similar if not basically the exact same.
- Remove the screw from the bottom of the outer housing ring for the headlamp.
- Turn or twist the housing ring counterclockwise about an inch or two.
- Pull the housing ring off the headlamp.
- The inner retaining ring has three Phillips head screws. Remove these three, but maintain control of the headlamp at all times.
- When the three screws are removed, the retainer ring and the headlamp will both fall right out.
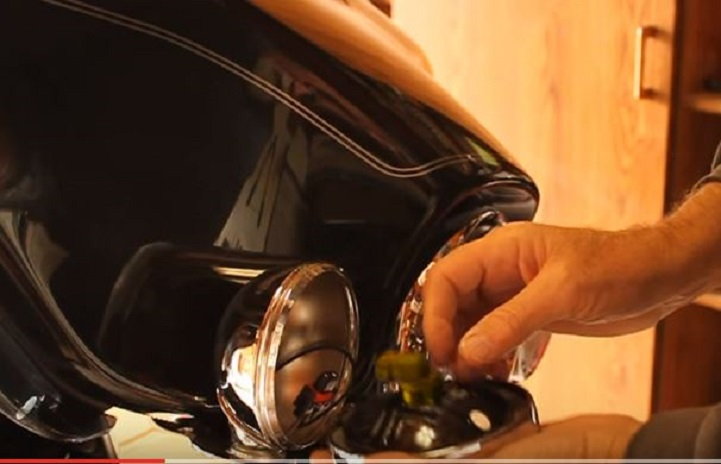
- Disconnect the wiring harness from the backside of the headlamp housing.
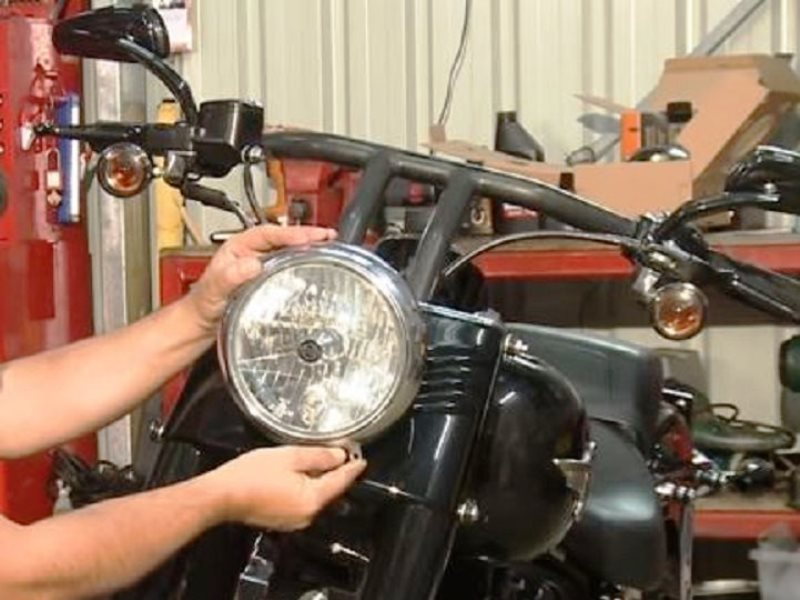
Figure 4. Remove the screw from below the housing ring and give it a counterclockwise turn about a couple of inches. 
Figure 5. Remove the three screws that hold the inner retaining ring in place. Be careful and maintain control of the headlamp at all times. 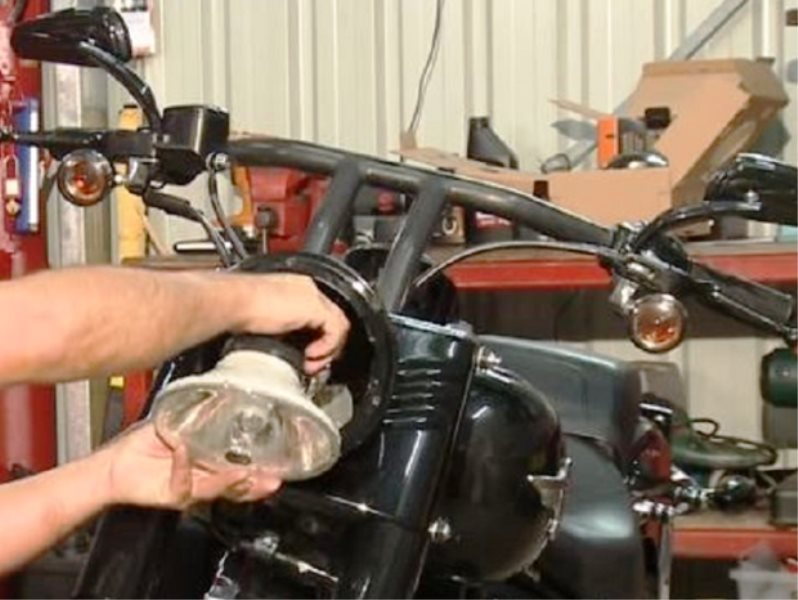
Figure 6. Unplug the wiring harness from the backside of the headlamp.
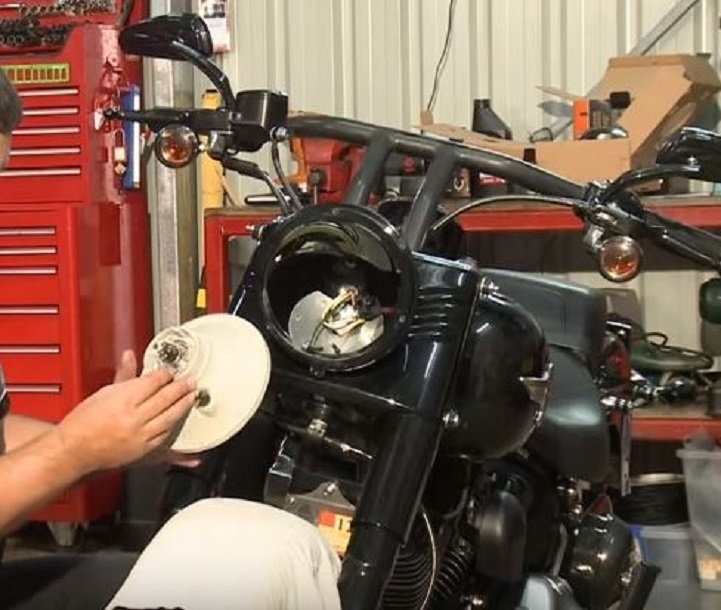
Step 3 – Change the headlamp bulbs
At this point in the process, we should all be on the same page whether or not you own a Glide, Ultra or King. The basic bulb replacement procedure is very similar among models. Some bulbs may be a straight-prong type, others may have an L-shaped base.
- Turn your attention to the backside of the headlamp housing.
- Remove the rubber cap or seal from the back of the headlamp housing if yours has it.
- Some models have a retaining clip that is disengaged by pushing in on a spring.
- Remove the bulb, insert the new bulb, push the retaining clip back down to secure the bulb in place.
- Models with the L-shaped stem of the bulb will see this part protruding from the back of the housing.
- In this case, grab the base of the bulb and turn it counterclockwise about a half turn.
- Pull the old bulb out, insert the new bulb and turn it clockwise to secure it back into the housing.
- Replace the rubber cap if your model had one.
Pro Tip
Never touch the bulb portion of the new bulb when you install it. The oil from your hands can cause the bulb to blow, and these bulbs aren't the cheapest in the drawer. Use cotton gloves to install the new bulb into the housing if you have to.
Step 4 – Replace the fog light bulbs
The driving lights can converted to fog lights just by replacing the whites with yellows. This is even more simple than changing out the headlamps with no integrated faring. The process is exactly the same, with one exception. There is only one outer ring to remove on these smaller fogs. There is no inner retaining ring. From the bottom of the lamp housing, find the locking or mounting screw and remove it. The entire fog light assembly will pull right out, but be careful as it is still tethered by the wiring harness. Reach in there and unplug the wiring harness from the back of the fog light. Once disconnected, simply turn the fog lamp bulb counterclockwise about a half turn until it clicks. Pull the bulb out and replace. Turn it back clockwise until it clicks again.
Step 5 – Reassemble lights and housing
Replace the rubber caps to the backside of the lamp housing if applicable and then reconnect the wiring harness. Once the bulbs are replaced, you can give a quick test to make sure it's all good before you reassemble everything.
- For the headlamps, place the inner housing back in place and secure with the inner retaining ring, which is mounted with the three screws.
- Secure the outer mounting ring by putting it over the headlamp and turning it clockwise back into position, then secure the screw.
- For the fog lights, the entire housing is only one unit, just put back in place and line up for the mounting screw and tighten it back down.
- For models with the integrated faring, once the caps and harness is connected, you'll just remount the faring to the lower supports first and then reinstall the Torx screws on the top, middle as well as lower unit. Remember that the lower Torx screws are longer than the others.
Featured Video: Fog Light Replacement
Related Discussions
- Headlight Bulb Replacement - HDForums.com
- Driving/Running Light Replacement Bulb - HDForums.com