Harley Davidson Touring: How to Replace Running Light Bulbs
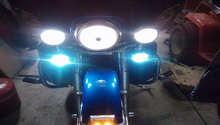
Always be on the defensive when riding. This includes making sure you have fresh and bright lights running everywhere you go.
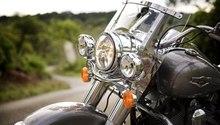
This article applies to the Harley Davidson Touring models (2000-2015).
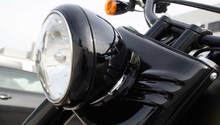
If it's time to change or upgrade the headlamps on your Harley, don't fret because it is one of the easiest DIY jobs you could possibly do to your bike. If you aren't quite ready yet for a full upgrade to super bright LEDs or Trucklites, you can still improve the overall effectiveness of your lamps with just a higher wattage bulb. It is likely that your running lights are the 881 bulbs, which are 25 watts. The 896 bulb will fit and it's 36 watts—much brighter. For less than five minutes and a few bucks, you can have much brighter running lights and be on your way. You will save a lot of time and cold hard cash by doing this job yourself, and not taking it to the dealership to do it for you. If you must go to the dealership, take a screwdriver with you so you can change the bulb yourself in their parking lot.

Materials Needed
- Phillips head screwdriver
- 25W (#881) or 36W (#896) bulb
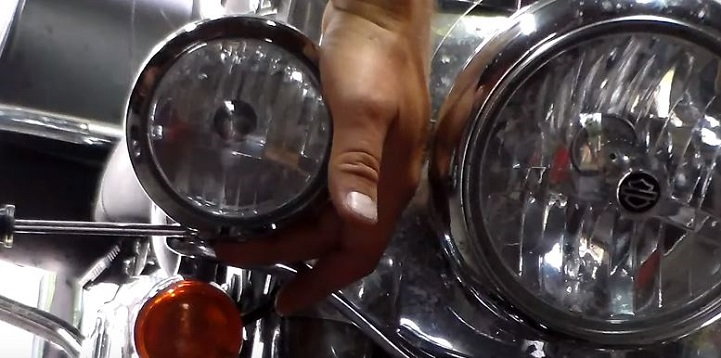
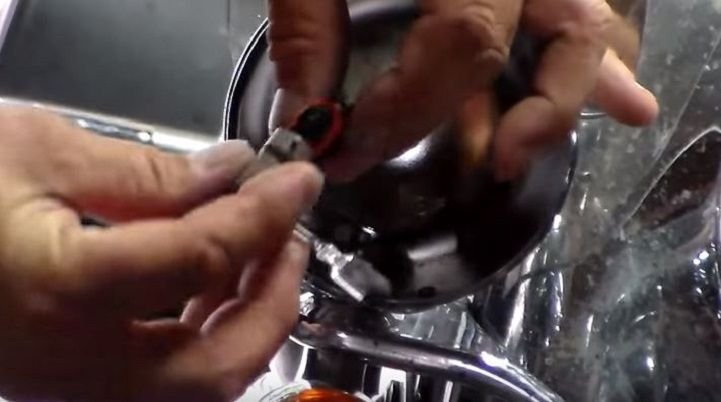
Step 1 – Remove the lens cover
The lens on the running lights on most Harley Tourers is much like a hose clamp. There is a screw and a nut that when tightened, compresses the circumference of the lens cap, making it tight against the light housing. This Phillips head screw is on the bottom of the running light, just above the turn signal, and on the other end of the screw is a nut. You don't have to remove it completely, the only thing you need to worry about it taking the screw all the way out and dropping the nut. Just loosen it up a few rotations until you can start to turn the trim ring and remove the running light lens.
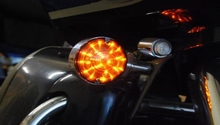
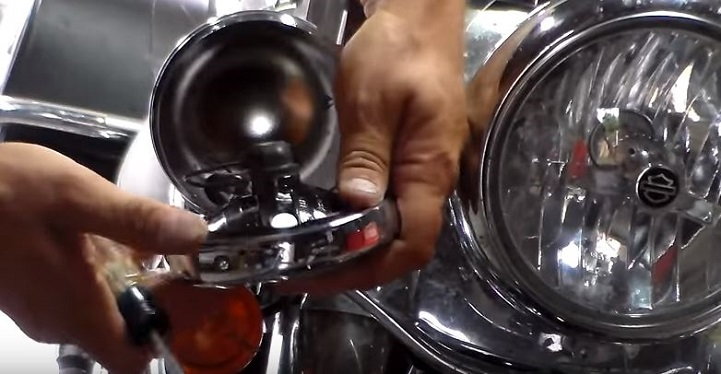
Step 2 – Pop the lens out of the housing
When you have loosened up the screw enough, the lens will pull right out of the housing. You'll see the back side of the actual bulb.
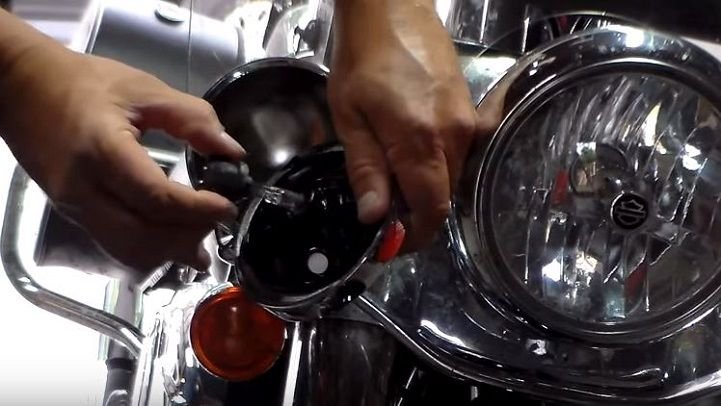
Step 3 – Remove the bulb from the lens
Grab the back of the bulb that is protruding from the back of the lens housing and turn it a half-turn counterclockwise. The bulb will pull right out from the lens. Carefully set the lens on your seat or other safe surface so that it will not get scratched or cracked.
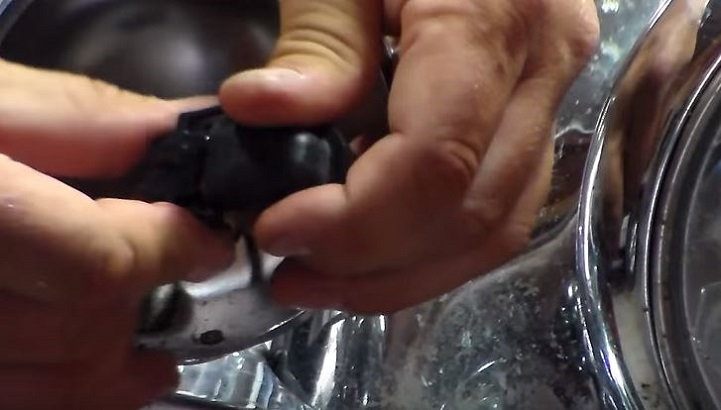
Step 4 – Remove the bulb
The bulb is now only connected to the wiring harness. This is a quick release tab that the base of the bulb seats into and it pops out really easy. Simply pull out and away the two tabs on either side of the quick release base, and then pull the bulb out.
Step 5 – Replace the old bulb with a new one
- Once the old bulb is out, simply pop in the new bulb (it can only go in the correct way) until you hear and feel the tabs click, then lock it into place.
- Avoid getting oil from your fingers on the new bulb or it may not last very long.
- Replace the bulb back into the lens housing and turn clockwise until it locks into place.
- Replace the lens back into the housing and tighten down the Phillips head screw while holding the nut until it is nice and snug.
- If one bulb was burnt out, it is recommended to just replace both sides at the same time because the other is likely to go soon anyway.
- Turn on your bike and make sure the lights are working.
Featured Video: How to Replace a Passing Lamp Bulb on Harley
Related Discussions
- Driving/Running Bulb Replacement Bulbs - HDForums.com
- HD LED Turn/Running Light Mirrors...install help? - HDForums.com
- Halogen Passing Light Reflectors - HDForums.com
- Just Installed HD LED Headlamp and Driving Lights - HDForums.com