Harley Davidson Touring: How to Replace OEM Fog Light Bulbs
Many owners change their driving lights over to fog lights for better visibility. Changing or replacing the bulbs is a simple process you can do in about 10 minutes.
This article applies to the Harley Davidson Touring (2000-2015).
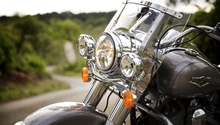
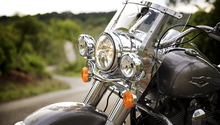
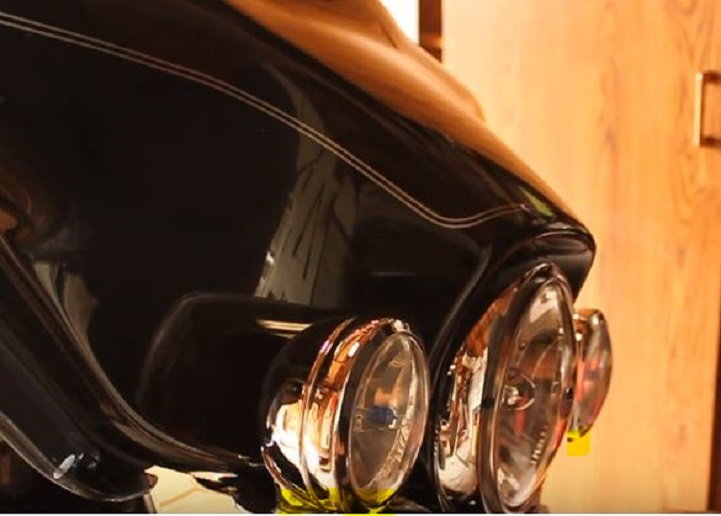
If you are unhappy with the standard light bulbs in your fog lamps, they can easily enough be upgraded to a higher wattage bulb of your choice. This is a very basic job that should take you only a matter of minutes to change out yourself. It's even easier than changing bulbs in newer cars. The standard OEM bulb is a white #881 that is about 26 watts, but you can easily upgrade to a #896 bulb that is about 38 watts and much brighter. There are even brighter bulbs and LEDs or HID bulbs that can be fitted. If you want yellow fog lamps instead of white, you can change to a yellow bulb, or change out the whole lens to one with a yellow tint. All recent Touring bikes have the standard bulb and lens separate, and it is just about the easiest maintenance job you'll ever perform, so keep that money in your wallet and tackle this job yourself. Here we'll walk through a standard driving light bulb replacement for yellow fog lamp bulbs.

Materials Needed
- Phillips head screwdriver
- Replacement bulb
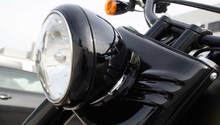
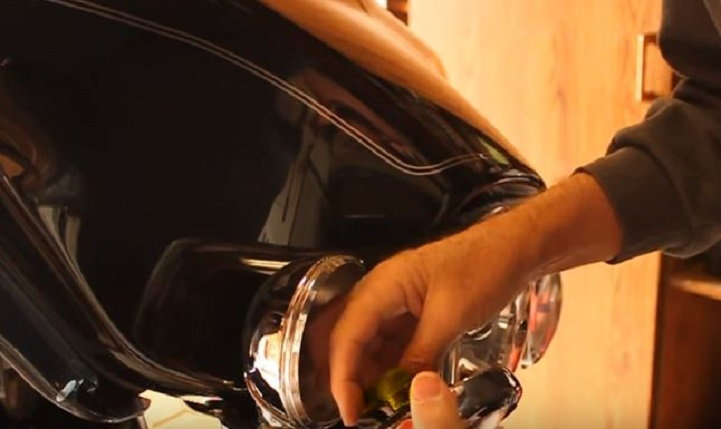
Step 1 – Loosen the mounting screw
You will find the mounting screw on the bottom of the driving light lens housing. If you have a faring, this will be concealed a little more, but you don't need to remove the faring in most cases. Use a Phillips head screwdriver to loosen this screw, which holds the hose clamp-like retaining ring. Take care and do not yank too hard as you take the lens from the housing, because the bulb is still tethered to the wiring harness.
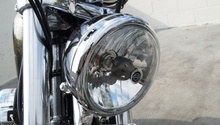
Step 2 – Remove the lights
After you have loosened the mounting screw and pulled the light bulb as well as lens from the housing, you can disconnect the bulb. Turn the bulb 1/4 turn and it will pop out of the housing. Set the lens aside someplace safe so it doesn't fall, or scratch your bike.
Step 3 – Replace bulb
You can replace this bulb with a higher wattage comparable replacement, or a yellow colored bulb that is perfect for both fog and to make you more visible to inattentive drivers. Insert the new bulb into the back of the lens housing and turn it a 1/4 turn until it clicks and locks into place, then reconnect the wiring.
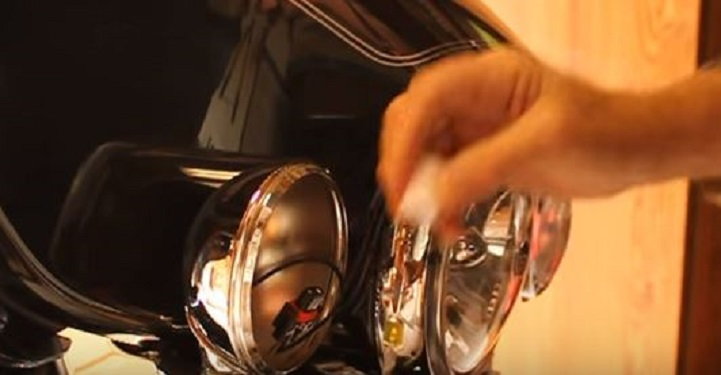
Pro Tip
When replacing the bulb, take care to not touch the bulb itself. The oils from your skin will cause it to crack as soon as you turn your lights on. Always handle the bulb by the base.
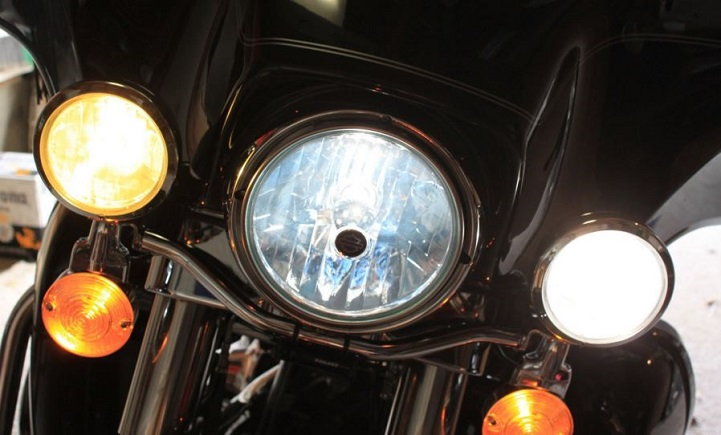
Step 4 – Remount fog lamp into housing
With the bulb locked back into the lens housing, re-connect the wiring harness connector to the base of the new bulb. Tuck the wires into the fog lamp housing, then seat the lens and bulb into it. Tighten the Phillips head screw down snug. Test your headlights, fog lights and turn signals. If all is looking great, use this simple DIY job as an excuse to take her for a test ride.
Featured Video: Fog Light Replacement (Part 2)
Related Discussions
- Best Upgrade Bulb for HD Fog Lights? - HDForums.com
- Driving/Fog Lamp Replacement Tip - HDForums.com
- Driving/Running Light Bulb Replacement Bulbs - HDForums.com