Harley Davidson Touring: How to Replace Brake Master Cylinder
The master cylinder has been referred to as the "heart" of the brake system, as the fluid it moves is ultimately responsible for normal brake operation. If your master cylinder is leaking externally or losing pressure when the brake lever is held, inspect it immediately to prevent a dangerous brake system failure.
This article applies to the Harley Davidson Touring models.
The brake master cylinder is a hand (or foot) operated hydraulic pump responsible for proper brake operation. When the brake lever is used, the master cylinder piston moves in its bore and forces brake fluid throughout the brake system. Since fluids are not compressible, the movement of the brake lever allows for hydraulic action to take place and subsequently moves the brake caliper pistons outward, causing the brake pads to contact the brake rotor. A properly operating master cylinder should provide a firm, steady pressure when the brake lever/pedal is held to deliver continuous stopping power. Unfortunately, contamination, wear, and corrosion can cause a master cylinder to fail and leave you without any brakes. While Harley master cylinders are rebuild-able, many prefer installing a new master cylinder assembly for a few dollars more than it would otherwise cost to rebuild the old one. Similarly, many owners use this as an opportunity to not only restore brake system functionality, but to upgrade to improved custom units as well. This article will outline the procedure for replacing the front and rear brake master cylinders on various Harley Davidson Touring models.

Materials Needed
- Phillips screwdriver
- Torx sockets
- American Allen wrench set
- Snap-ring pliers
- American socket and wrench set
- 3/8" ratchet and extension
- Torque wrench
- Medium strength (blue) Threadlocker
- Hammer
- Drift punch
- Brake fluid
- Clear vinyl hose
- Lithium-based grease
- Shop rags
Step 1 – Drain brake fluid
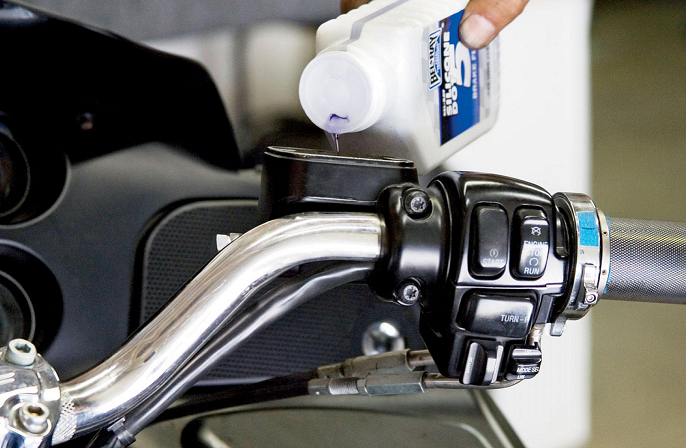
Before removing the brake master cylinder, draining the reservoir and brake lines of brake fluid can limit the chances of spilling fluid and damaging your bike's finish.
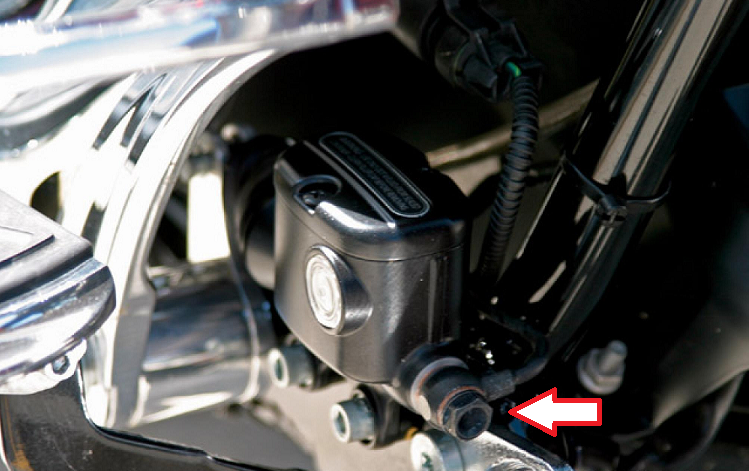
- Attach a clear hose to the bleeder nipple on the brake calipers. Place the other end in a suitable catch container. (Saddlebag removal required to access rear brake).
- Open the bleeder(s) and pump the brakes to empty the system of brake fluid. Tighten the bleeder when finished.

Pro Tip
A small syringe can be used to remove brake fluid from the reservoir as well.
If replacing the rear master cylinder, skip to Step 4.
Step 2 – Remove front brake master cylinder
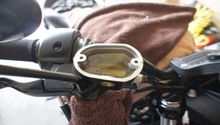
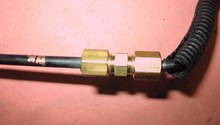
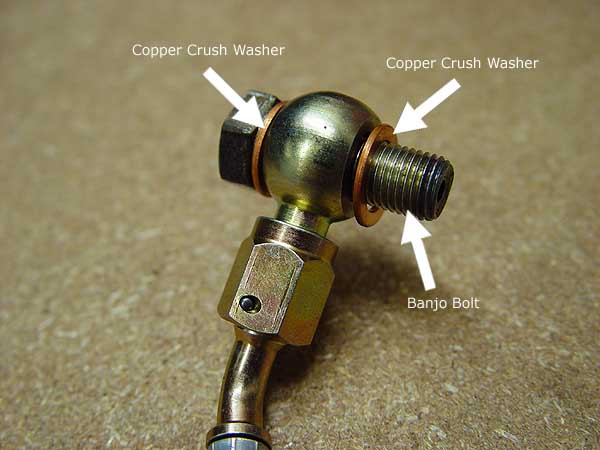
- Remove the banjo bolt and crush washers from the master cylinder to free the brake line. Have a rag handy to catch any emerging brake fluid.
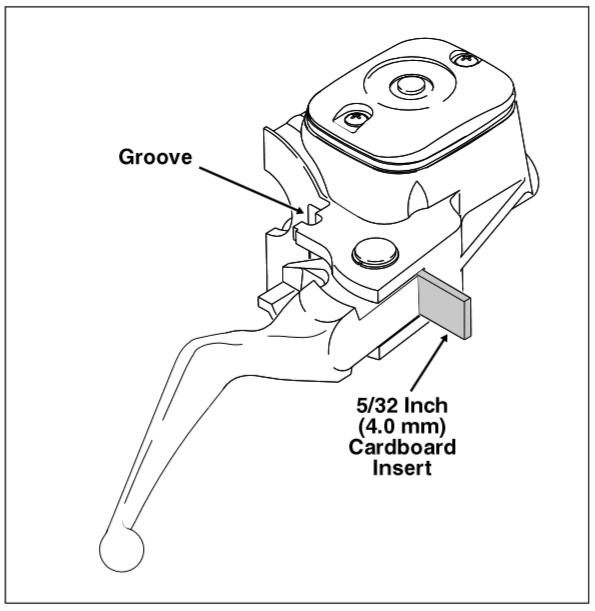
- To prevent damage to the brake light switch, place a small piece of cardboard between the brake lever and lever bracket.
-
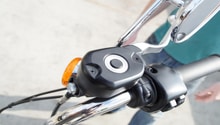
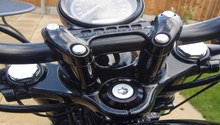
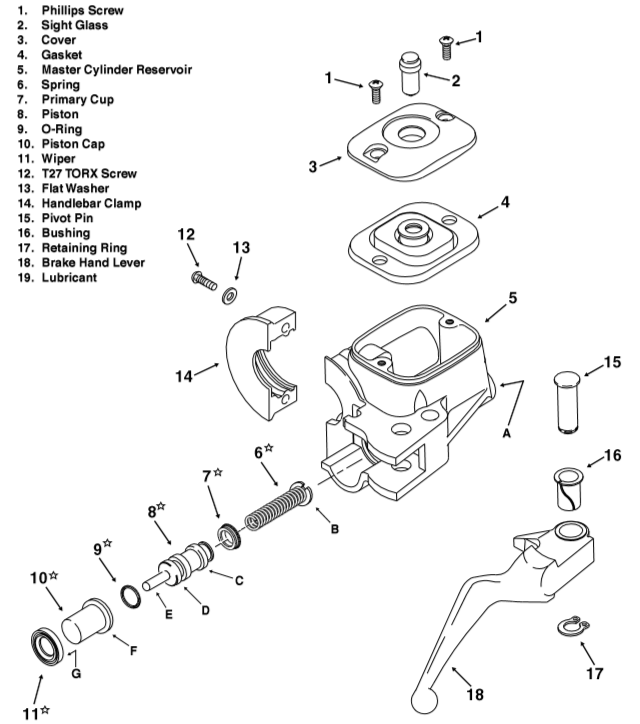
Remove the screw(s) from the handlebar clamp (see Figure 4) and separate the clamp from the master cylinder assembly. Remove the master cylinder from the handlebar.
Step 3 – Install new front brake master cylinder
- If your new master cylinder did not come with a brake lever pre-installed, transfer the brake lever from the old master cylinder to the new one by removing the pivot pin circlip and sliding the pin out of the housing. Place the lever into the new master cylinder housing and install the pivot pin and retaining circlip. Be sure to install a small piece of cardboard between the lever and bracket.
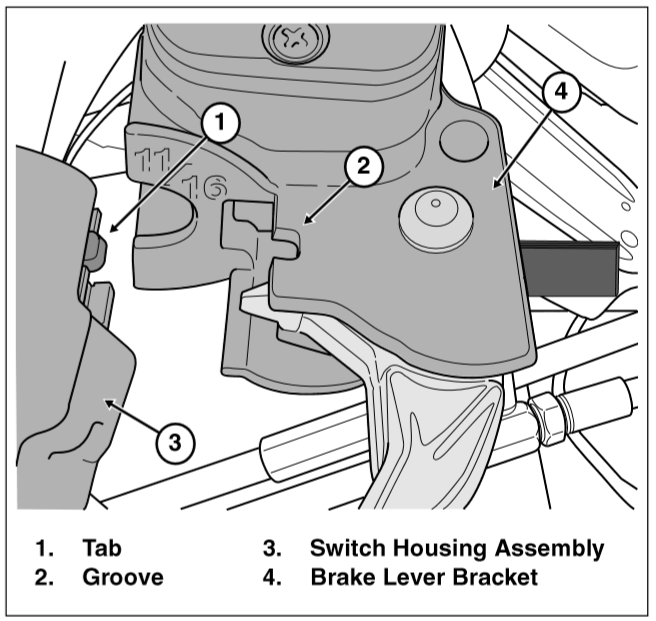
- Position the master cylinder assembly onto the handlebar. Be sure the groove on the master cylinder/brake lever bracket properly engages the tab on the switch housing assembly.
- Align the handlebar clamp to the master cylinder and install the fastening screw(s).
- Rotate the brake assembly to rider preference before tightening the screw(s) to 60 to 80 in/lbs.
- Install new crush washers on each side of the brake line fitting before installing the banjo bolt into the master cylinder. Torque the banjo bolt to 17 to 22 ft/lbs.
- Remove cardboard from between the lever and lever bracket, then proceed with bleeding the front brake system. (See the related article How to Replace Brake Line.)
Step 4 – Rear master cylinder removal
- Remove the right side footboard. This can be accomplished by flipping the footboard up and removing the two pivot bolts. Similarly, the footboard to frame mounting brackets can be removed to allow for the whole assembly to be removed.

- Remove the banjo bolt and crush washers from the master cylinder to free the brake line. Have a rag handy to catch any emerging brake fluid.
- Remove the mounting bolts or large mounting nut (depending on model) securing the master cylinder in place.
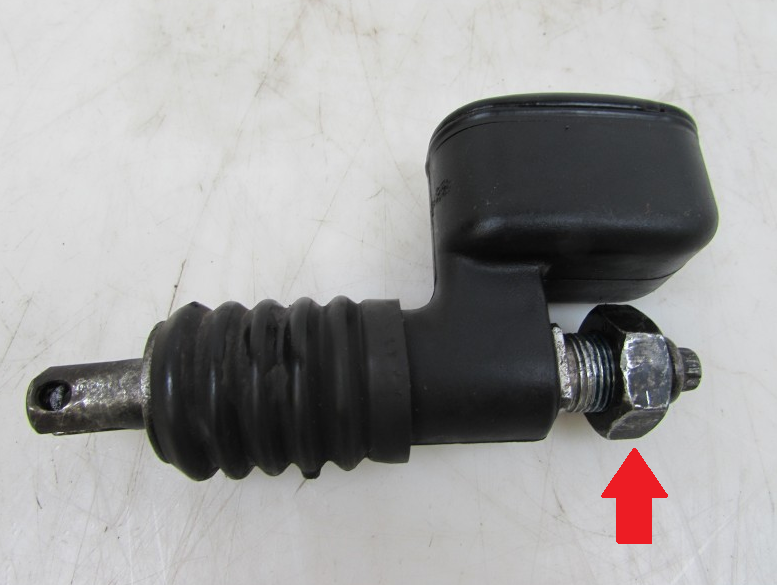
- Remove the lock nut from the brake pedal shaft and lift the master cylinder/brake pedal from the bike.
Step 5 – Installing new rear master cylinder
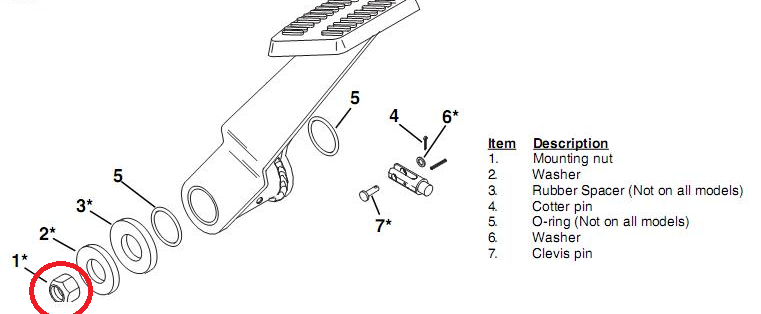
- Remove the cotter pin and clevis pin to separate the brake pedal from the master cylinder. A small punch and hammer may be necessary to drive the clevis pin out.
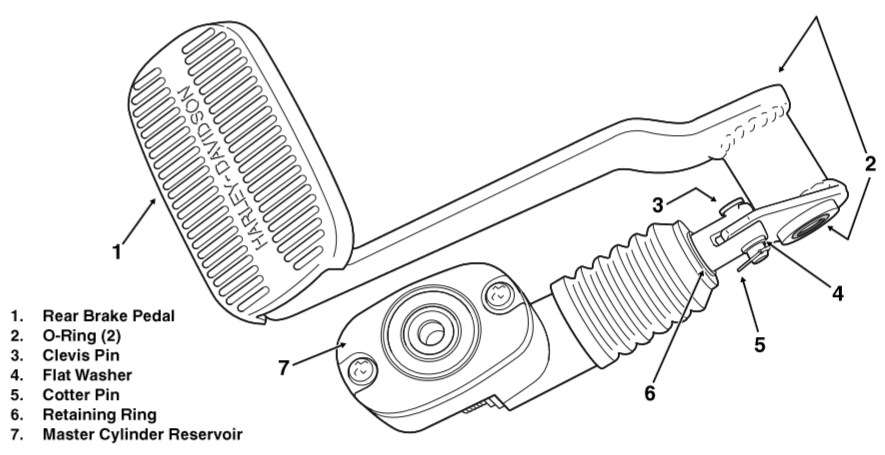
- Transfer the brake pedal to the new master cylinder and drive in the new clevis pin. Be sure to install a new cotter pin as well as new O-rings for the pedal shaft.
- Grease the pedal shaft and bore before placing the new master cylinder assembly onto the bike and attaching the brake pedal to the pedal shaft. Use a new locknut and torque to 15 to 20 ft/lbs.
- Install the master cylinder mounting bolts or large nut using blue Threadlocker on the threads. Torque the mounting bolts (12-15 ft/lbs) or nut (30-40 ft/lbs) to spec.
- Using new crush washers, attach the brake line to the master cylinder and tighten the banjo bolt to 17 to 22 ft/lbs.
- Proceed with bleeding the rear brake system. (See the related article How to Replace Brake Line.)
- Install the footboard and tighten the pivot bolts to 84 to 108 in/lbs. If the footboard to frame mounting brackets were removed, apply Threadlocker to the bolts and torque to 30 to 35 ft/lbs.
- Re-install the saddlebag.
Related Discussions
- Master Cylinder Rebuild Questions - HDForums.com
- Leaking Front Brake Master Cylinder - HDForums.com
- Bad Master Cylinder? - HDForums.com