Harley Davidson Touring: How to Replace Brake Lines
If you are considering performance upgrades, adding different handlebars, or just want to improve the look of your bike, it may be time for a new set of brake lines, or even an upgrade to braided stainless.
This article applies to the Harley Davidson Touring (2000-2016).
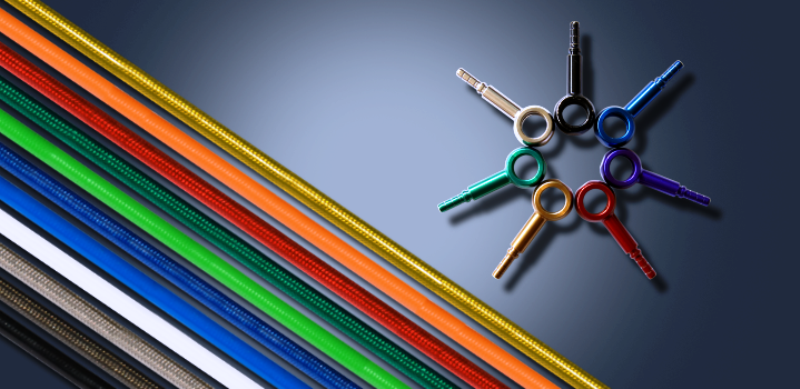
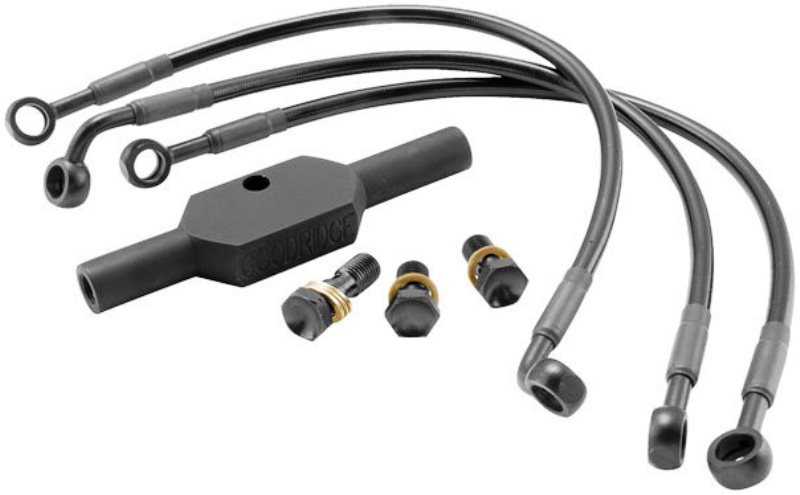
There are plenty of manufacturers making upgraded stainless steel and Teflon brake lines for Harley Davidson Touring bikes. They all feature a tough inner line and a soft outer coating to protect the bike’s paint, which can be had in many different colors to match the bike, or clear to show off the braided stainless. Any reputable brand should fit perfectly, and you can often choose different length to accommodate higher rise handlebars, or order a custom configuration from any number of online or local vendors. Replacing your brake lines is a straightforward process, but done improperly can lead to perilous results. So, be sure to take your time and do this job right the first time. Your safety depends on doing this particular job correctly.

Materials Needed
- Phillips screwdriver
- A set of SAE open/box end wrenches (3/8 to 5/8)
- A set of SAE socket wrenches
- Torque wrench
- T40 torx sockets (for the T-bar)
- Brake bleeder
- Brake fluid
- An assistant
When applying the brakes at the lever or pedal, you apply brake fluid pressure from the master cylinder through the brake lines. The fluid presses against a piston in the brake caliper and clamps the pads against the brake rotor, forcing the bike to slow and stop. The brake hose needs to flex with the suspension and steering movement of the bike, but it needs to be strong enough to handle the high brake fluid pressure and many other elements such as heat and fluid containment.
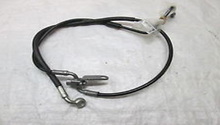
Step 1 – Brake line removal
Remove the old brake lines:
- Remove fairing if required.
- Remove fuel tank if required.
- Remove the brake line holders.
- If your application has one, remove the T fitting using a T star drive socket.
- Using a box wrench on the banjo nut, remove move the old line from the master cylinder.
- Using a box wrench, remove the brake line from the caliper.
- Remove the brake lines from the frame. (Note the route for when you replace them.)
Pro Tip
Brake fluid is slippery and will melt paint if it spills on your tank or fender. Place a towel over any painted or plastic bike parts that might catch dropped fluid.
Step 2 – Installing new brake lines
Installation:
- Attach the banjo connector to the master cylinder with two banjo washers and hand-tighten (these copper washers are crush gaskets and should be replaced with new ones to assure proper sealing).
- Route the brake line through the frame and down to the caliper.
- Connect the brake line to the caliper with two banjo washers and hand-tighten.
- Attach the brake line with the holders to the frame.
- Make sure that the brake line is properly routed, and not binding when the bike steers in either direction.
- Using a torque wrench, gradually tighten the banjo nuts to between 12 and 24 pounds.

Pro Tip
When hand-tightening the banjo bolts, watch the threading to make sure you are not crossing the threads. Jiggle the line while turning to allow free movement.
Step 3 – Bleeding the brake system
This write up assumes you are using a power vacuum bleeder, which is the quickest and easiest way to bleed brake systems. If you don't have one, you can get the same results by having an assistant pump the brakes while you open and close the bleeder valve. That bleeding process is explained in the article How to Flush Brake Fluid.
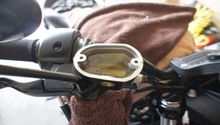
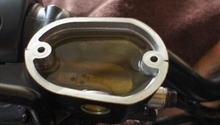
- Using a Phillips screwdriver, open the top of the master cylinder.
- Carefully pour in brake fluid and top it off before bleeding.
- Beginning with the brake caliper furthest away from the master cylinder, attach a power bleeder to the nipple of the caliper bleeder screw.
- Using an open end (3/8 or 7/16) wrench, loosen the bleeder screw.
- Pump the power bleeder to vacuum the brake fluid out through the line into the bleeder bottle.
- Watch for air bubbles in the fluid.
- Check your master cylinder reservoir periodically so you don't suck it dry.
- Continue this vacuuming until there are no air bubbles.
- Tighten the bleeder screw.
- Squeeze the brake lever or press on the foot brake.
- Check for leaks.
- Continue this same process with all other calipers.
- Top off the master cylinders and take the bike for a short ride to make sure that each brake is functioning properly.
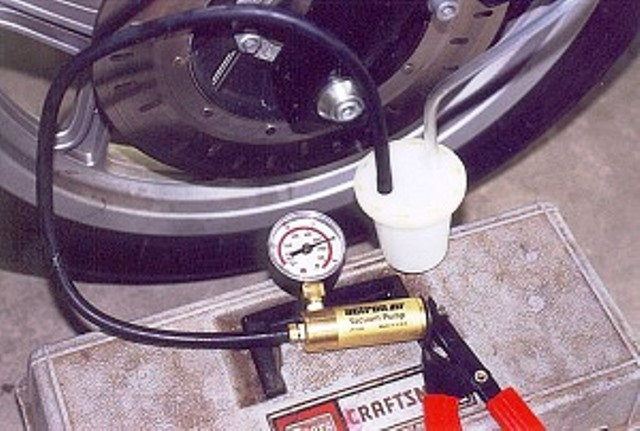
Figure 4. Bleeding brakes with the vacuum bleeder. 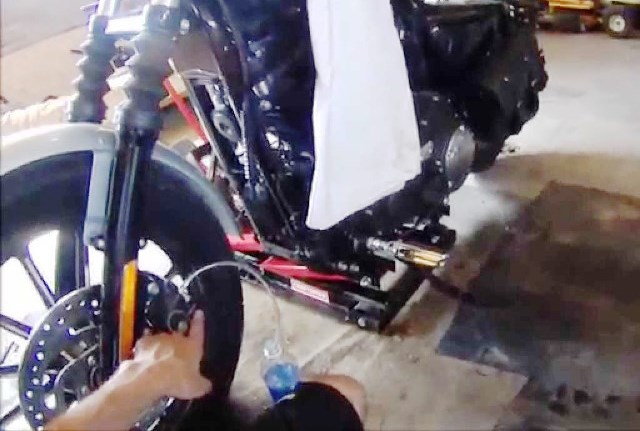
Figure 5. Bleeding the brakes the old way requires an assistant to pump the brakes.
Pro Tip
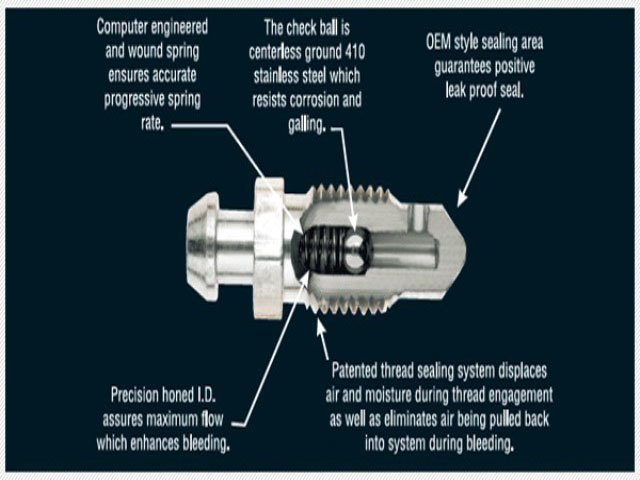
For not much money, a couple of Speed Bleeders are well worth the investment. Speed Bleeders have a built-in check valve that will eliminate the hassle of having to tighten the bleeder screw when pumping out the air. That way you don't need an assistant.
Step 4 – The rear brake and ABS
The rear brakes are accomplished in exactly the same manner as the front, but it is typically easier since you only have one caliper to work with. If you have a newer bike, with anti-lock brakes, or the latest linked ABS system on the Project Rushmore bikes, the plumbing is much more complicated. There is an ABS distribution block and pump located behind the side cover and all of the brake line go there before heading to the front or back calipers.

Related Discussions
- Replacing Front Brake Lines - HDForums.com
- Changing Brake Lines - HDForums.com
- How to Bleed ABS at Home - HDForums.com