Harley Davidson Touring: How to Remove Ignition Switch
The key on most Harley Touring bikes fits into a chrome turn piece, which actually turns the bike on and off. There are many reasons you may need to remove this bike knob, but no matter, if you have the key, you can remove it in minutes.
This article applies to the Harley Davidson Touring (2000-2014).
Aside from changing your oil, there is arguably no easier DIY job you can undertake on these bikes than removing this ignition knob. There is just a little trick to know, and you need the key, but otherwise it is simple. If you are going to modify the dashboard area of your fairing equipped Touring bike, sooner or later you are going to need to know this.

Materials Needed
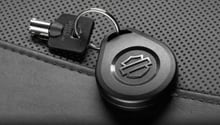
- Ignition key
- Flat head screwdriver (optional)
Step 1 – Turn your handlebars left to full lock
- You can turn your handlebars in either direction, but left is easier. Make sure they go all the way to full lock.
- Inert your key into the ignition and turn to the "lock" position.
- Slide a finger under the bottom right edge of the ignition lock and feel for the tab.
- Turn the key a little passed "unlock" while pressing up on the tab, and the ignition key knob will pull straight up and out.
- Watch you don't lose the spring under the knob as you take it off.
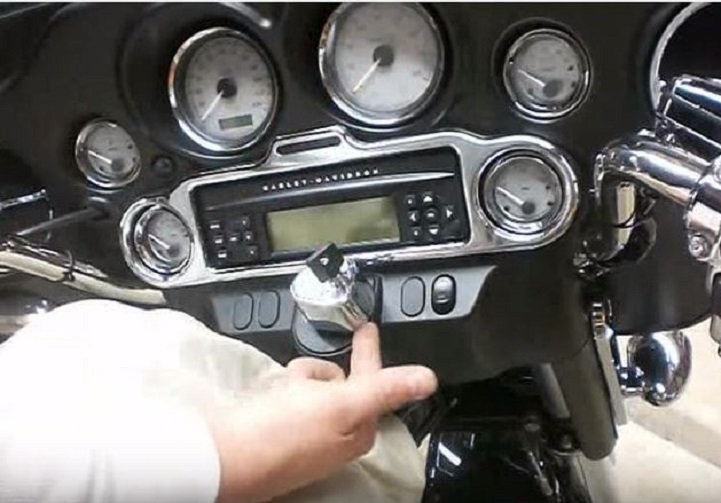
Figure 1. Feel for the tab under the ignition lock, bottom right corner. 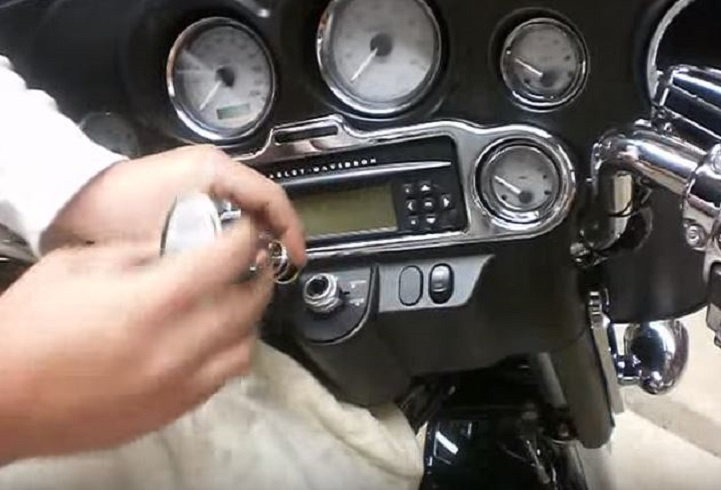
Figure 2. Turn the key and press up on the tab to release the ignition lock and key way. 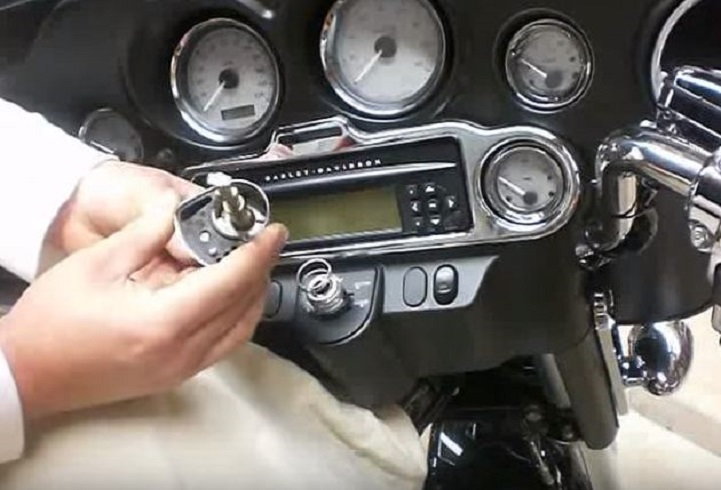
Figure 3. Be sure to position the spring first and then the ignition in the locked position first when reinstalling it.
Step 2 – Replace the new ignition lock
If you are replacing your ignition with an aftermarket model, follow the instructions that came with your new part. They should be plug and play, and installation should be exactly in the reverse of removal. Place the spring first and then make sure the knob is in the "lock" position.
- Flip your ignition lock over so you can see the underside.
- Insert your key and push in the lock button on the underside of the ignition. This locks the key into the switch.
- Install the new ignition onto the bike in the "lock" position.
- Remove the key, making sure the ignition turns and clicks into each position, then the steering locks and unlocks.
- Put the key back in and lock it, making sure that the ignition does not turn at all.
- Reinsert your key and go for a ride.
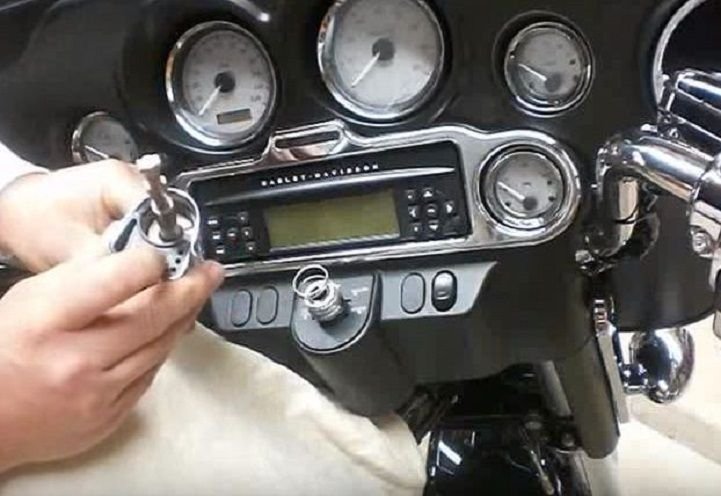
Figure 4. With key inserted, push the locking button on the underside of the ignition to lock the key in place. 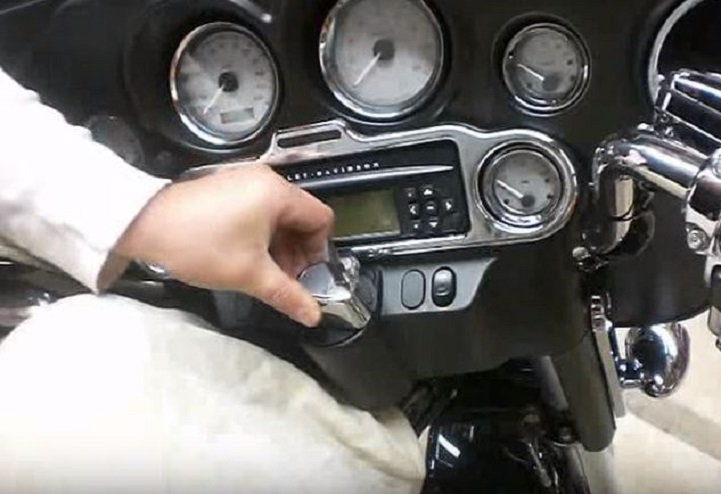
Figure 5. Install the new lock onto the bike in the locked out position. 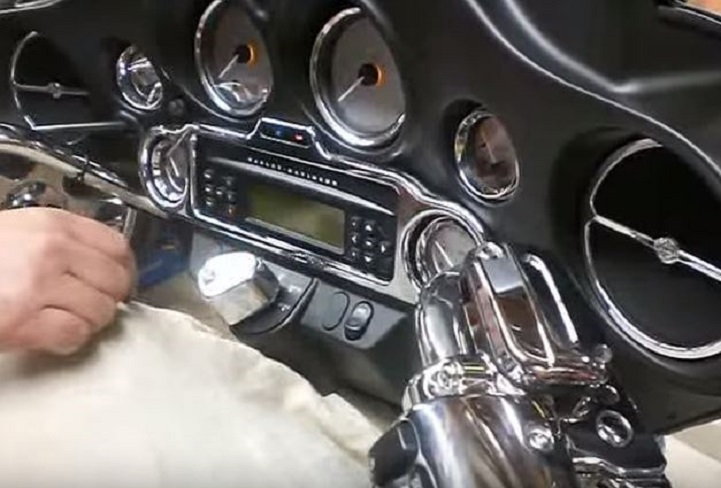
Figure 6. Remove key and make sure the ignition clicks in place in each position and the steering properly locks out.
Pro Tip
You can remove the ignition with the switch in the "on" position and the steering not locked, you just need a small screwdriver to press the tab. You will need to turn the ignition switch to the "lock" position when you reinstall the ignition switch knob.
Featured Video: Ignition Switch Removal
Related Discussions
- Need Help Removing Ignition Switch - HDForums.com
- Removing Ignition Switch Instructions - HDForums.com
- Fairing Cap, Ignition Switch Removal - HDForums.com