Harley Davidson Touring: How to Install Screamin' Eagle Heavy Breather Air Filter Kit
The stock air filter assembly is perfectly fine on a stock bike. If you are looking for performance or appearance upgrades, a new Screamin' Eagle air filter kit will fit the bill. Here is how to install it.
This article applies to the Harley Davidson Touring (2008-2015).
The air filter on your bike is there to keep dirt and other debris out of your motor to protect the rings and cylinders from damage. The stock air filter housing also has to muffle the sound of the air to satisfy the EPA noise police. It isn't the most attractive item on your bike, either. The Screamin' Eagle Heavy Breather air filter kit can solve all of these problems.
This article is for 2008 to 2015 bikes, but earlier and later bikes are similar.

Materials Needed
- Allen wrench set
- T27 Torx screwdriver
- Torque wrench for inch-pounds
- Torque wrench for foot-pounds
- Socket set and ratchet
Step 1 – Jack up the back of the gas tank
- Remove the seat and remove the two bolts holding the gas tank to the frame (Figure 1). There may be plastic trim over them.
- Remove the negative (black) battery cable from the battery terminal.
- Raise the back of the tank an inch or two, and support with a suitable block of wood or equivalent.

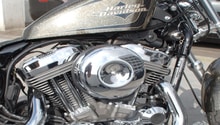
Step 2 – Remove the stock air filter assembly
- Remove the hold down bolt and the air filter cover.
- Remove three bolts holding the air filter with a T27 Torx screwdriver (Figure 2).
- Remove the air filter and pull off the breather hoses from the back.
- Remove the gasket and discard. Pull the breather hoses from the breather bolts (Figure 3).
- Remove the breather bolts and backing plate.
- Remove the support bracket from the throttle body by removing two screws. (Figure 4).
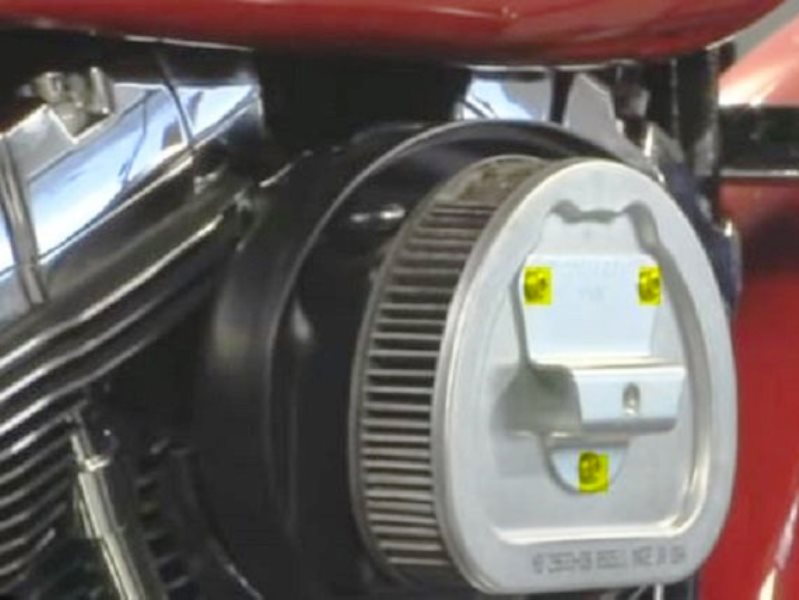
Figure 2. Air filter attachment screws. 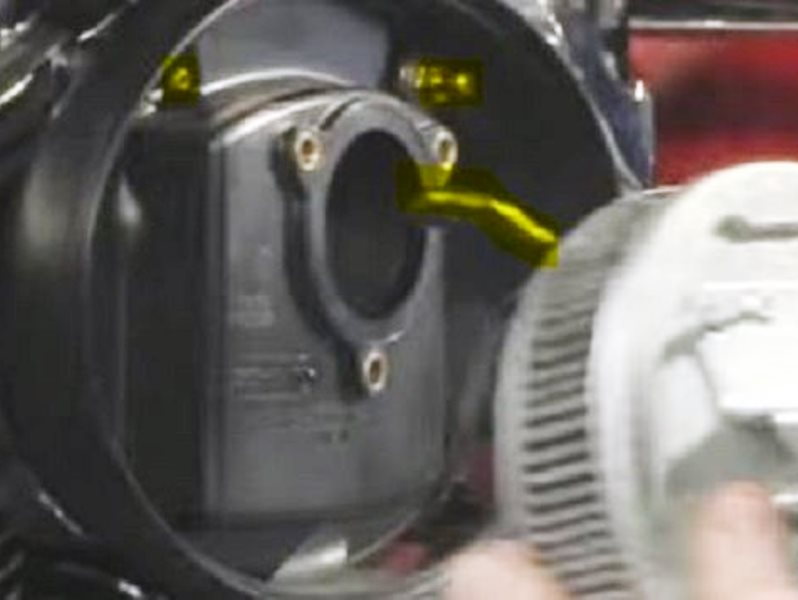
Figure 3. Breather bolts and hose. 
Figure 4. Throttle body support bracket.
Pro Tip
Clean gasket and breather bolt surfaces with carb cleaner.
Step 3 – Install new air filter backing plate
- Adhere new gasket to the back of the backing plate, making sure the three holes are aligned (Figure 5).
- Put a little grease on the two O-rings and install them on the backing plate.
- Position the backing plate on the throttle body and cylinder heads, ensuring O-rings are not dislodged.
- Put a drop of blue Loctite on the threads and install the three mounting screws, but do not tighten.
- Put a few drops of blue Loctite on the two breather bolts and torque to 120-144 in-lbs (Figure 6).
- Tighten the three back plate mounting screws to 55-60 in-lbs.
- Put a little grease on the four O-rings and install two on each breather plug. Press the breather plugs into the breather screw cavities (Figure 7).
- Install the adapter ring in the center hole, with 'this side out' facing correctly.
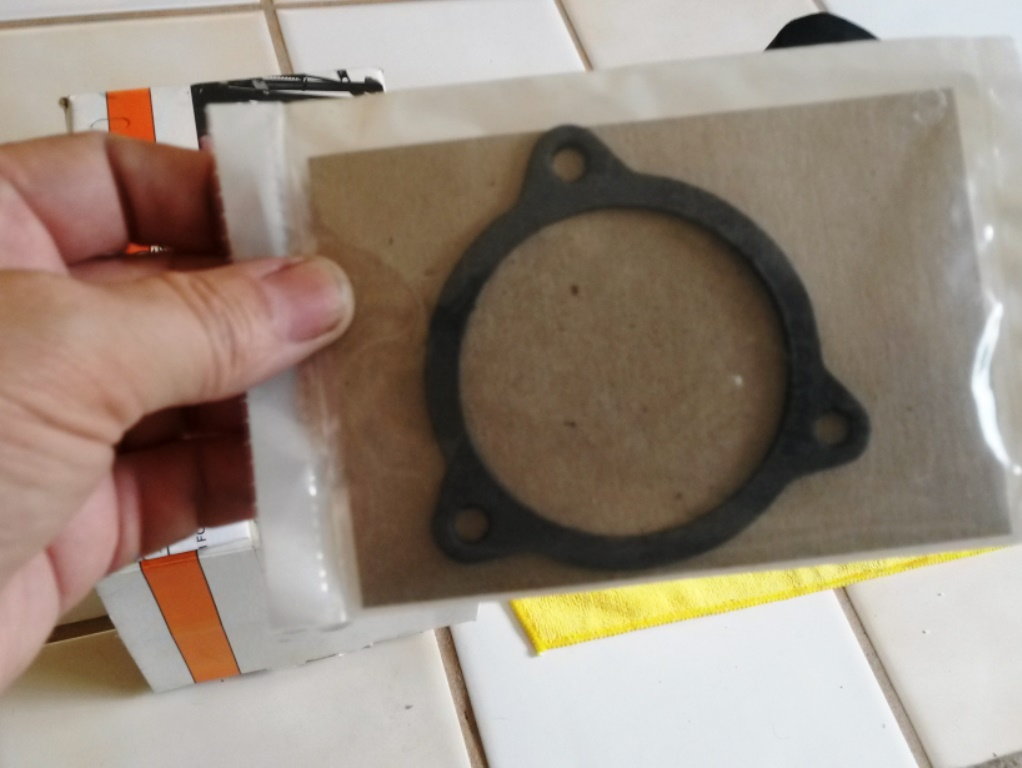
Figure 5. New intake gasket. 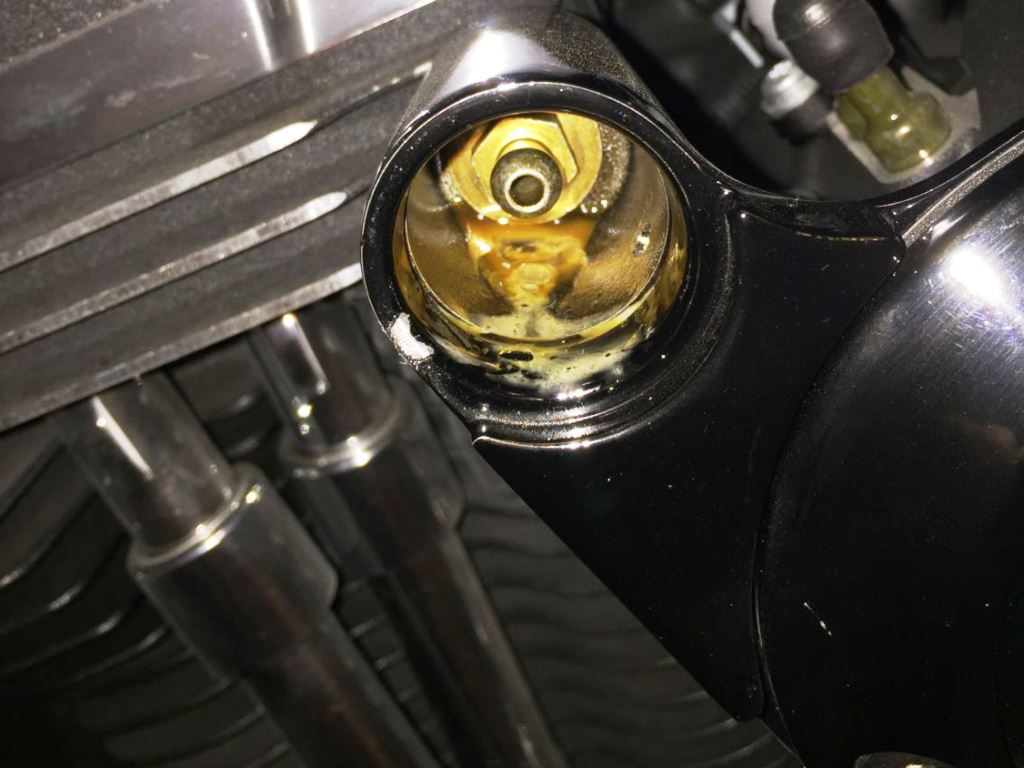
Figure 6. Breather bolt in recess of intake mount. 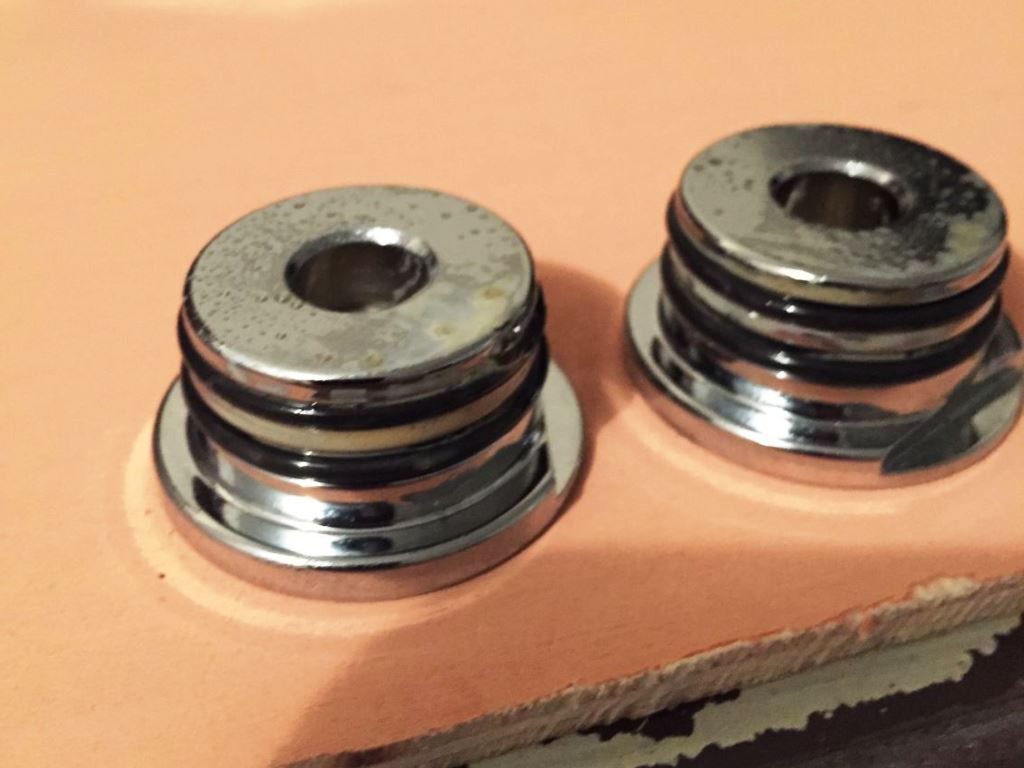
Figure 7. Breather plugs.
Step 4 – Install the intake tube and air filter
- Slide the mounting ring onto the intake tube with the countersunk holes facing outward (Figure 8).
- Place the gasket on the opposite side of the flange. Line up the holes and notches.
- Put a drop of blue Loctite on the threads of the three mounting screws.
- Install the tube, mounting ring and gasket to the backing plate. Tighten the screws to 55-60 in-lbs.
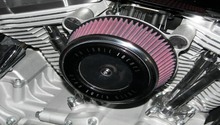
- Clean the surfaces on the band clamp cover and air filter where the adhesive ring will stick.
- Peel the paper and stick the adhesive ring onto the band clamp cover, ensuring it is centered.
- Dry fit the band clamp and air filter element onto the band clap cover, making sure the Screamin' Eagle logo is level and the screw clamp is toward the motor, so the screw slot is accessible but the screw mechanism is hidden when installed.
- Peel the paper and stick the air filter to the band clamp cover in the position determined above.
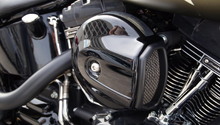
- Slide the air filter assembly onto the intake tube about 5/8" and tighten the band clamp, making sure the Screamin' Eagle logo is level. Tighten the clamp to 30-40 in-lbs (Figure 9).
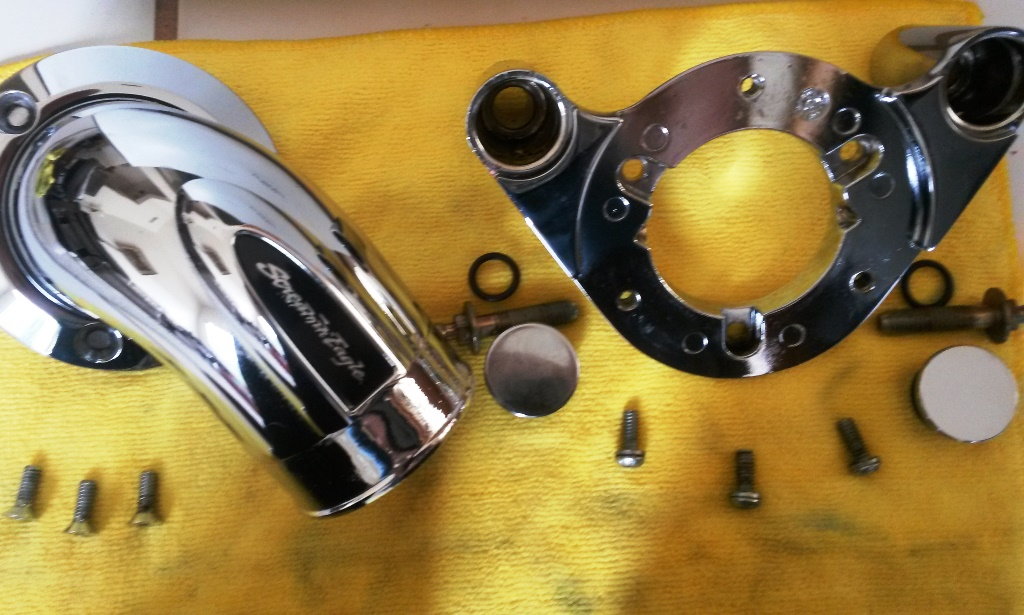
Figure 8. Heavy Breather intake tube and flange. 
Figure 9. Heavy Breather air filter installed.
Pro Tip
Install the rain sock over the air filter element if riding in the rain. Clean and inspect the air filter element every 5,000 miles or more often under dusty conditions.
Step 5 – Reinstall the gas tank and battery cable
- Remove the wooden support and lower the gas tank to the frame.
- Install and tighten the two mounting screws to 15-20 ft-lbs, and plastic trim if applicable.
- Attach the negative battery cable to the battery terminal and tighten bolt to 60-70 in-lbs
- Reinstall seat in accordance with your owner's manual.
Related Discussions
- Installing Screamin' Eagle Stage 1 Kit - HDForums.com
- Installing Screamin' Eagle Heavy Breather - HDForums.com
- Installing Screamin' Eagle Air Cleaner - HDForums.com