Harley Davidson Touring: Brakes Diagnostics Guide
Going for a ride is the greatest thing in the world, but along with going you need to be able to stop. Riding a bike is dangerous enough and to stay safe you need to be visible, maneuverable and able to stop on a dime if need be.
This article applies to the Harley Davidson Touring Bikes (1999-2016).
You're all packed. Your route is planned. Your bike is fueled up, the oil changed. You're all ready to go. But will you be able to stop when it's time to stop? Often, too often, brakes are something we take for granted. That means we don't think about them until it's too late. Please don't do that. Pay attention. As you ride around town, take a few minutes to listen and observe what's going on. Are your brakes dragging? When was the last time the brake fluid was changed? Do you hear any squeaking or noise when you apply the brake lever? Before you set out on your week-long trek through the mountains or across the desert, take some time to make sure your brakes are in good working order. Here are a few simple things you can do to address the issue.
Luckily, on a motorcycle, the front and brake systems are completely separate (except for the new Project Rushmore bikes with linked ABS), so you can easily determine if noises and problems are with the front or rear brakes. Also, even on a heavily loaded Touring bike, the majority of braking comes from the front brakes.

Materials Needed
- Basic mechanics tools: sockets, wenches, Allen/Torx bits, screwdrivers
- Tarp or cloth to protect the finish from scratches or brake fluid spill
- Bike jack/lift
Step 1 – Inspect your front brakes
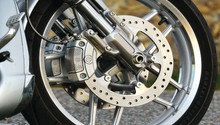
The majority of stopping power comes from the front brakes on a motorcycle, so those parts typically wear first. By the time you hear the grinding of metal on metal, it is too late; and you may need to replace the brake rotors as well as the pads, so it is better to catch the wear before it happens. The discs should be almost smooth to the touch, with no real visible grooves. There is no reason to check them for warpage, unless you have felt a pulsation, shimmy, or shudder when using the brakes. Depending on the caliper design, you may have to pull it off the fork in order to get a good view of the pads. New pads have nearly 1/4" of friction material on them, and you want to have at least 1/16" left on there before heading out on a long trip. If you do need to replace anything, click on the related article How to Replace Brake Pads, Calipers, and Rotors.

Figure 1. Typical Harley rotor showing grooves from years of usage. 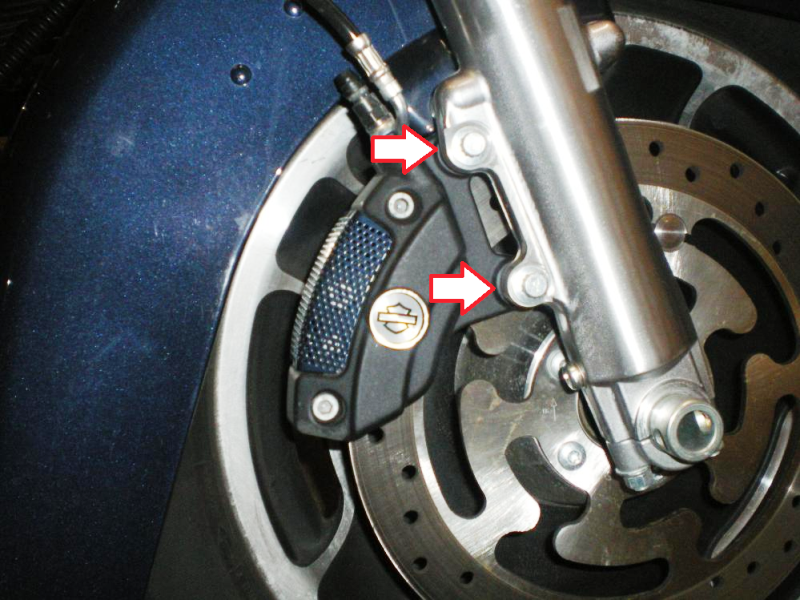
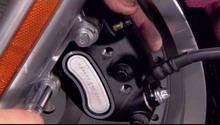
Figure 2. These bolts hold the caliper to the fork. 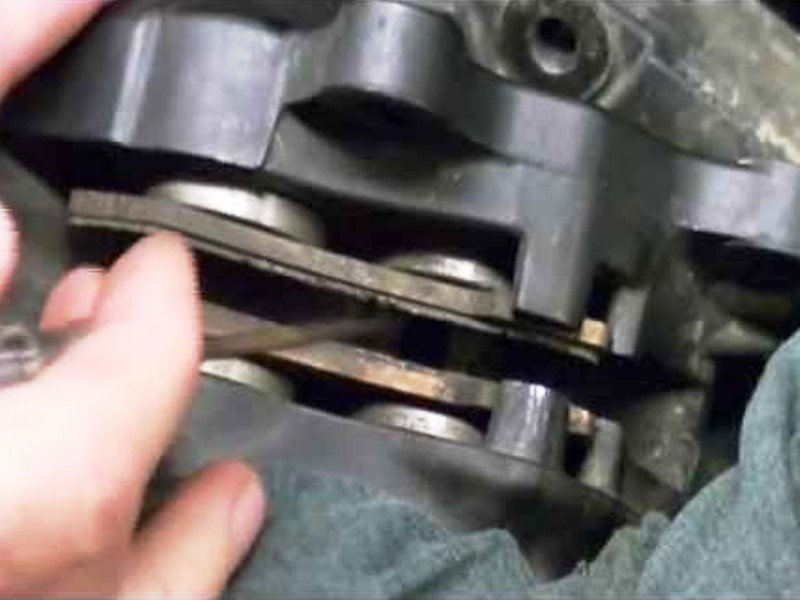
Figure 3. Brakes pads at the end of their useful life.
Step 2 – Inspect your rear brakes
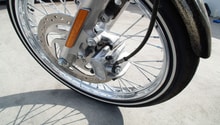
The front brakes are controlled with your right hand, while the rear with your right foot, and on the Harley Touring rigs, sometimes riders use that big rear brake pedal a lot, almost exclusively. Couple that with the fact that the rear disc and most of the wheel are hidden behind the bags, and its easy to wear out the pads before you even notice anything. In order to really inspect the back brakes, you need the bike up on a lift with the rear wheel off the ground. Then remove the saddlebag on the right side. The same criteria for the front brakes applies; you want a smooth disc and more than 1/16" of pad material. More information on the rear brakes is available here: How to Replace Brake Pads, Calipers, and Rotors
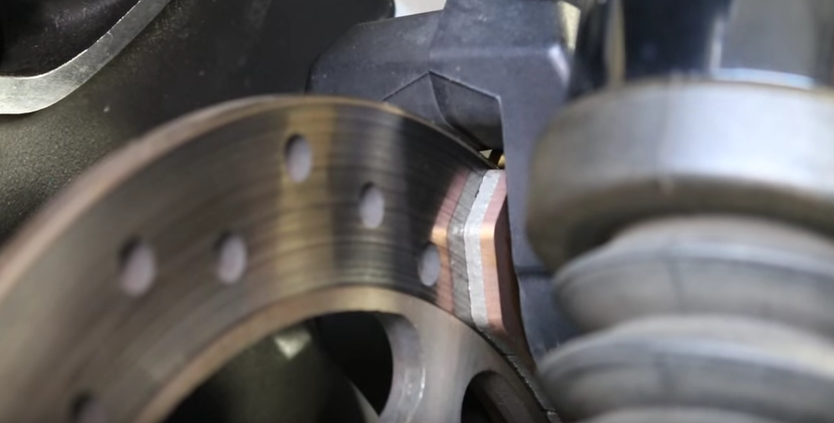
Figure 4. Check your brake pads. 
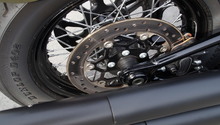
Figure 5. Rear brake caliper.
Step 3 – Inspect your master cylinders
Next, inspect both the front and rear master cylinders. Look for any signs of leaks, wetness, or dampness at the brake line banjo bolts and where the rod pushes on the piston. Now's a great time to clean any grease, oil and dirt off the cap as well. Test the brake light and make sure it lights up when you use both the front and the rear brakes. Most bikes have a switch built into the front master cylinder that is activated by the lever pushing or letting off a spring. The rear brakes trigger a switch via hydraulic pressure, and a switch in the line. These have been recalled for failure on certain years, so test it and inspect it for leaks.
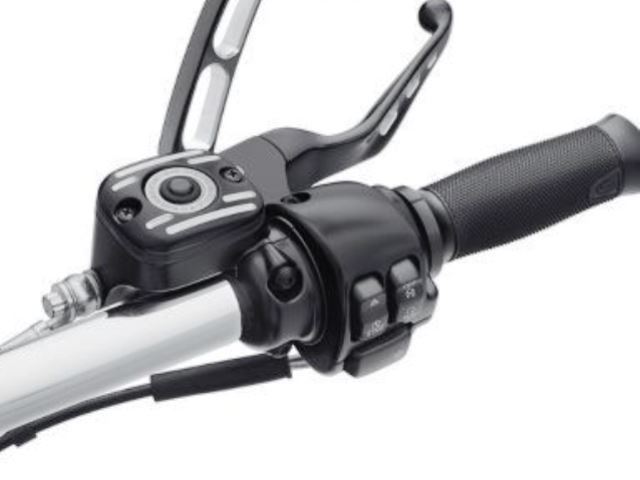
Figure 6. Typical front master cylinder. 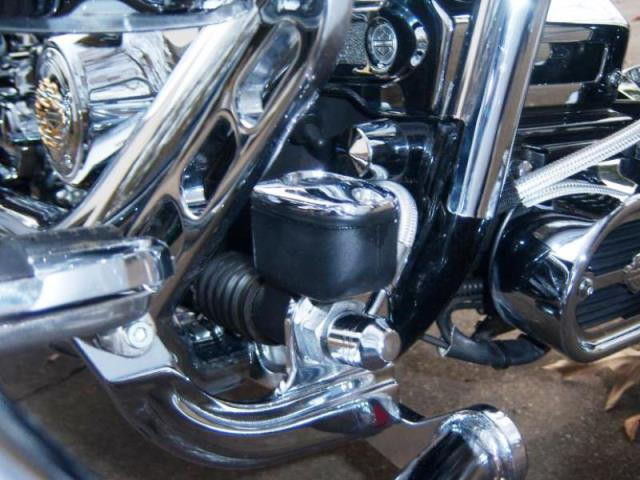
Figure 7. Rear master cylinder on forward control bike. 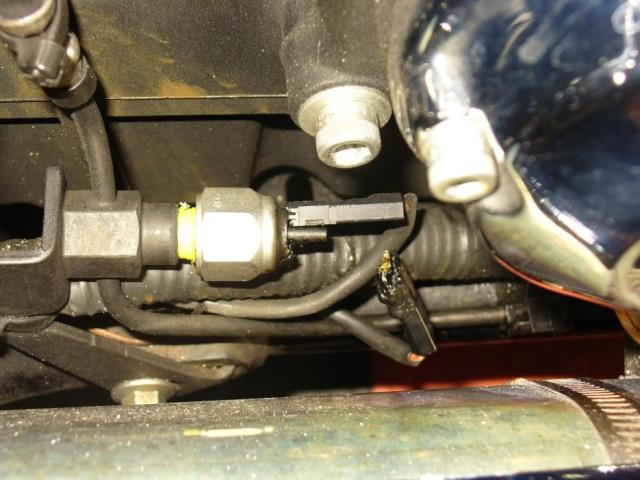
Figure 8. Bad rear brake switch.
Pro Tip
You will want some kind of tarp or rag over the fender and tank to make sure you don't scratch anything or get any brake fluid on the paint.
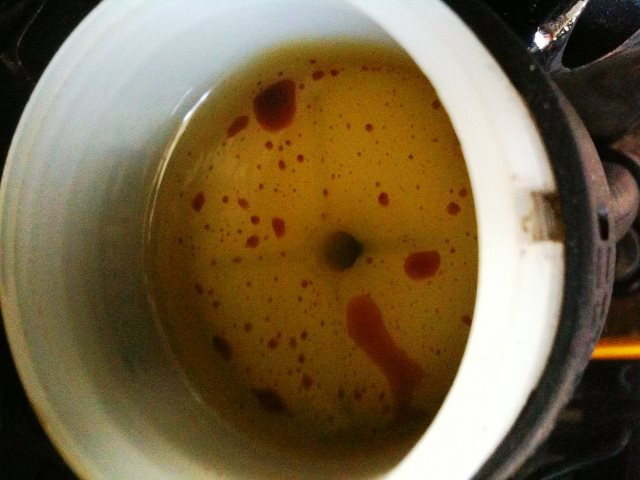
Step 4 – Inspect brake fluid and change if necessary
Changing your brake fluid and bleeding the brake lines is just part of normal bike and brake maintenance. It is simple as well as inexpensive to do, and does not take much time. Most people like to change out their brake fluid every other season, especially if you ride in an area with a lot of rain and moisture. This is also a good time to inspect the rest of the system for any signs of leaks; just follow all the brake lines and look for dark wet spots.
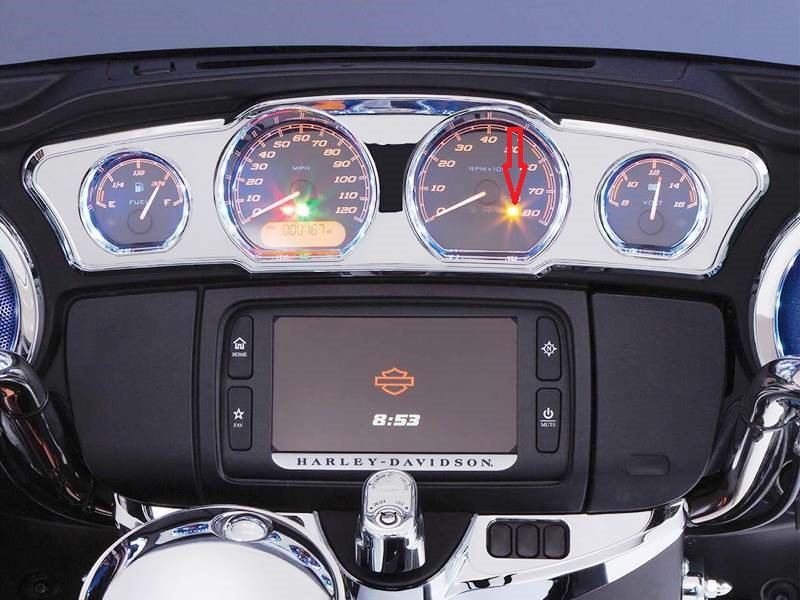
Step 5 – Check trouble codes, service bulletins and recalls
If you have a late model bike with ABS, the computer will alert you if it thinks you have a problem by lighting a light on the dash. You can read all the trouble codes with no other tools but your finger and ignition key. To find out how, click on Why is ABS Light On?
Some time ago, a recall was issued for several different models of Harley Davidson regarding trouble with their braking system. You can see all recalls and service bulletins via the Harley Davidson website here: Safety Recall Information.
Related Discussions and Videos
- Remove Pads Before Without Removing Caliper? - HDForums.com
- Replacing Your Clutch & Brake Levers - HDForums.com
- How to Replace Inspect Install Brake Pads on Your Harley - YouTube.com
- How to Change the Front Brake Pads on a Harley - YouTube.com
- Replacing Bleeding Front Brake Line - YouTube.com
- How to Replace Rear Brake Fluid - YouTube.com