Harley Davidson Touring (1984-1998): How to Replace Oil Pump
If you have a major oil leak and you can't find the source, it may be your oil pump, which may need replacing. Read along to find out how easy it is to do yourself.
This article applies to the Harley Davidson Touring (1984-1998).
If you are losing oil from your oil pump, you need to fix the problem sooner rather than later. The oil pump itself normally does not go bad, and the culprit is usually a bad seal or a busted gear inside the pump. While a new oil pump will set you back a couple of large bills, repairing or rebuilding a pump is much cheaper, but requires a bit more work. Either route requires the removal of the pump, so this how-to will cover you no matter what. One reason for the higher labor costs from a pro is that they will likely remove your pipes in order to have easier access to the pump. This is a completely optional step for you and will not be covered in these steps, as the job is much quicker by leaving the pipes on. Most exhausts are not in the way, much, but care should be taken that you don't scratch the pipes of the engine cases. There are no special tools required; all you need is a little patience as well as time, and you'll be back on the road enjoying many more miles of smiles.

Materials Needed
- 7/16 and 1/2" box wrench or sockets
- Flat head screwdriver
- Rubber mallet
- Shop rags
- Oil pan or catch basin
- Fresh oil
Step 1 – Drain oil from bike
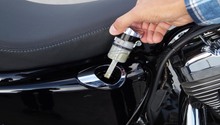
Removing the oil pump is a messy enough job. You'll need to drain the oil from the bike before starting the removal process. Find the drain plug under your bike and position your catch basin underneath. Remove the oil fill cap before removing the plug, as this will help drain the oil faster. Remove the drain plug and let the oil drain completely into your catch basin.
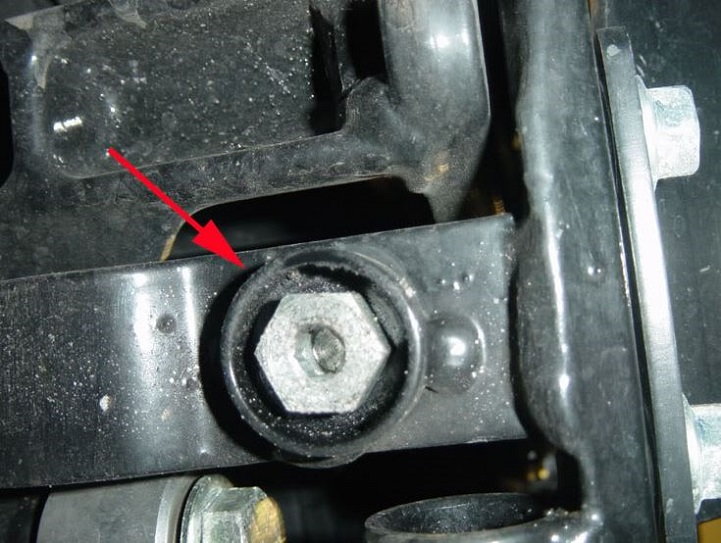
Figure 1. The oil drain plug is located under your bike near the temperature sensor. 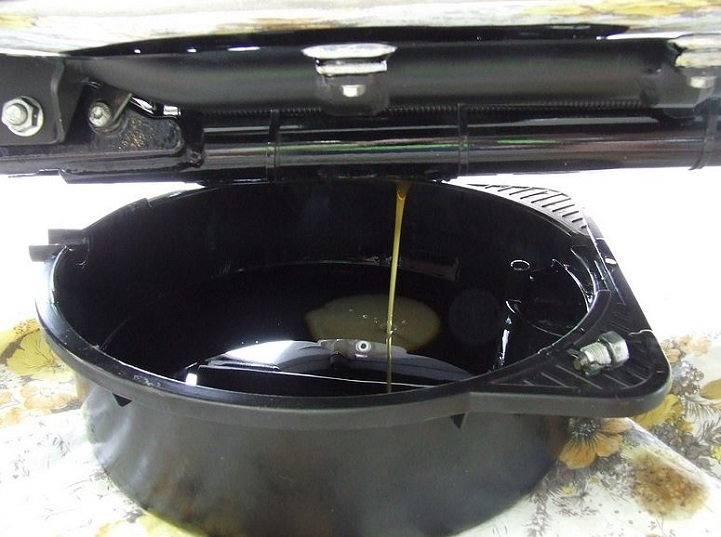
Figure 2. Be sure to drain the oil completely before proceeding.
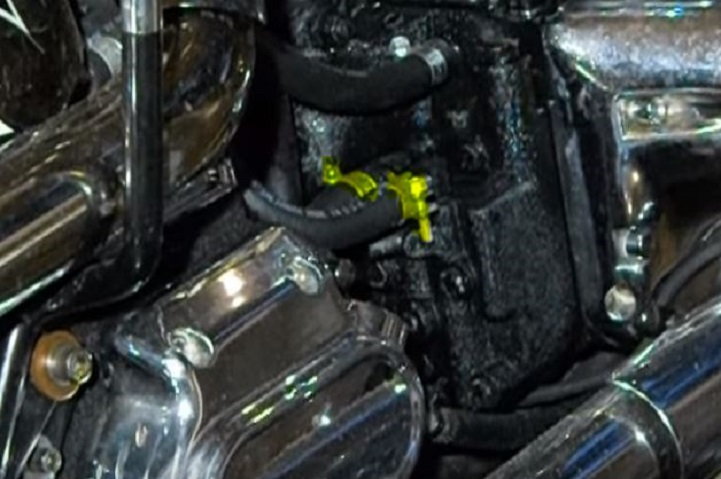
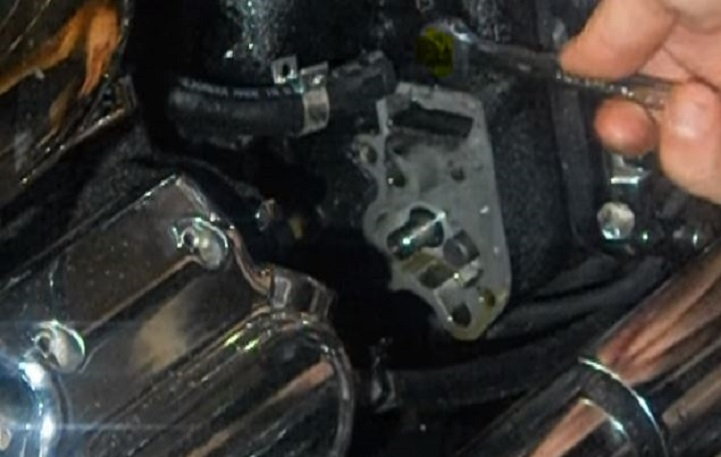
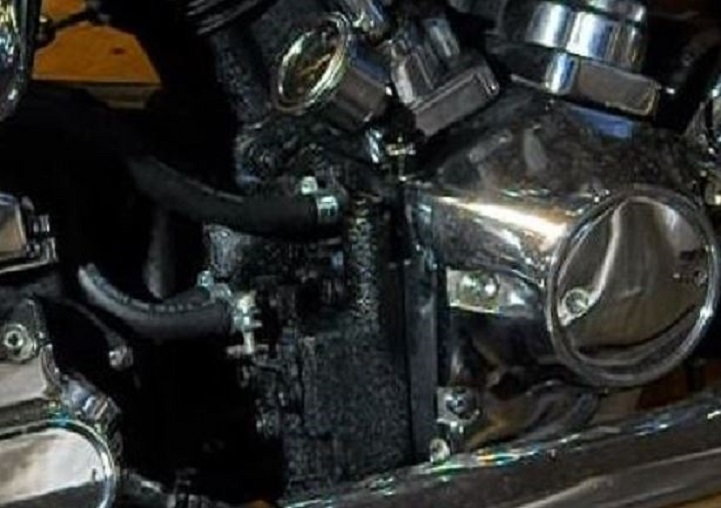
Step 2 – Remove two hoses from pump
There are two hoses that come out from the upper portion of the pump. These are secured with hose clamps that need to be loosened with a flat head screwdriver. Loosen the clamps and pull the hoses, but be prepared with a rag because there will be some oil spillage when the hoses are pulled.
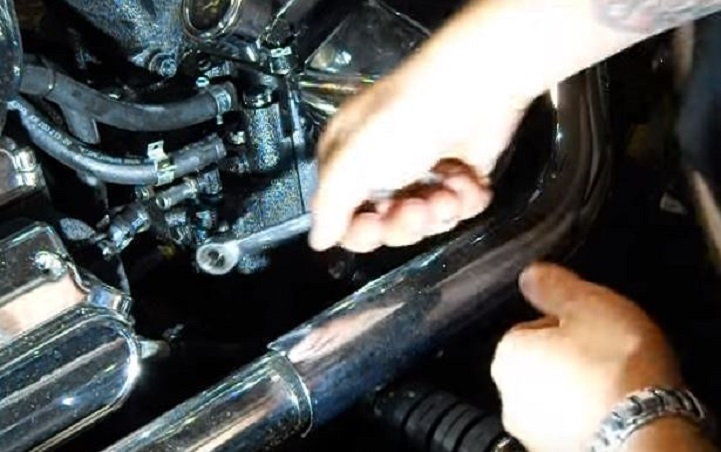
Step 3 – Remove front half of oil pump
Use a 7/16" box wrench to remove the four bolts that hold the front half of the oil pump to the rear portion. This is a messy job as well, so have your catch pan ready to collect the spilled oil. As these pumps are normally pretty solid, your culprit may be a bad gasket. Check yours out thoroughly. If it is cracked or brittle, this may be the only problem you really have and if you are certain, you can simply replace the gasket with a new one and button her back up. Prior to ending it here, you may want to double check the internal gearing for any damage from any debris that may have gotten in there. Assuming that this isn't the problem, continue with removal.
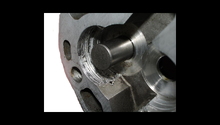
Step 4 – Remove internal gears and back end of oil pump
After the front of the oil pump is removed, you'll see the two internal gears. The larger one has a key way and can only be removed and reinstalled in one direction. To remove this larger gear, you will need to take a flat head screwdriver and remove the snap ring that holds it in place. The smaller gear does not have a key way and can simply be pulled out from inside the pump. Once these gears are removed, there are two more 7/16" bolts that mount the pump to the bike. You may need to persuade the pump to come off using a rubber mallet. Once the pump is removed, you'll see two more gears from the backside of the pump. Again, the larger gear has a key way, the smaller does not.
Inspect the gears for any damage such as missing teeth. If this is the case, then you can probably rebuild this pump by replacing the gears and giving it a good cleaning, further saving you a good deal of cash. Otherwise, proceed with installing the new pump.
Step 5 – Install the new oil pump
If you are replacing with an OEM oil pump, it simply goes back on in the reverse order of removal. Inspect the new pump and gears, and install the back half onto the bike, securing the two 7/16" bolts first. Make sure that the pump and gears go back on the shaft in the correct position. Add a new gasket to the pump. Install the front half of the pump, carefully lining up the gear teeth without damaging them. Don't force it into position, it should slip right in if everything is lined up correctly. Replace the four 7/16" bolts, then replace the two upper hoses. Tighten the clamps back down with a flat head screwdriver. If you purchase an upgraded pump, follow the manufacturer's installation instructions.
Step 6 – Replace the oil and take a test ride
Replace the drain plug and fill your bike up with your favorite brand of oil. You may need to use a little more than normal, as your pump will be filling up with additional oil that you may not have experienced with previous oil changes. Replace your oil fill cap and start your bike. If all the warning lights go off as normal, take her for a test spin and be proud of your successful DIY job.

Featured Videos: Oil Pump Removal
-
Part 1
-
Part 2
Related Discussions
- How Hard to Replace Shovelhead Oil Pump? - HDForums.com
- Replace or Rebuild Evo Oil Pump - HDForums.com