Harley Davidson Sportster: Why Won't My Bike Start?
In this article we'll discuss the common issues that cause no-start conditions on your Sportster. By covering each component of the starting system, beginning with the easiest and most common problems, you may be able to find a solution in 15 minutes or less!
This article applies to the Harley Davidson Sportster.
What does it take to start a Sportster? When you turn the ignition switch to the on position, current is sent to the start button. Pressing the button sends power to the starter solenoid, which sends a large amount of current from the battery to the starter to turn the motor. If the engine doesn't crank, it could be because of a failure at any of those stages, a weak battery, or a bad starter. If the motor cranks and still won't start, then it is likely a fuel or spark issue. A few tests can be performed to quickly track down the problem.

Materials Needed
- Jumper cables (jump starting)
- Multimeter
- Electrical terminal contact cleaner
- Digital battery tester (optional)
- Phillips and flat head screwdriver
- SAE socket set with ratchet
- Amp clamp (optional)
Step 1 – Attempt to jump start/push start
Refer to the articles Harley Davidson Sportster: How to Jump Start Battery and Harley Davidson Softail: How to Jump Start Battery for more information. For push starting, read Step 5 of the Softail article. Place your Sportster in second or third gear for the best results.
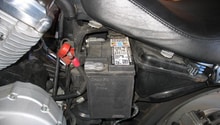
Step 2 – Check battery condition and cables
A battery that can't start your engine may no longer be recharging properly because of its age and current state of charge. The ground cables that connect the battery to your Sportster frame must also be undamaged and free of corrosion.
Refer to Step 2 of the article Electrical Diagnostic Guide to find out how to check your battery's current state of charge. If a new battery fixes your problem, confirm the charging system is working properly by performing the same test with the engine running. A normal reading is near 14 volts. If you find a different value, move to Step 6.
Even if your battery's charge level is normal, it may not have the capacity under load to supply enough amperage. Most auto parts stores can test a battery under load and will test your battery for free.
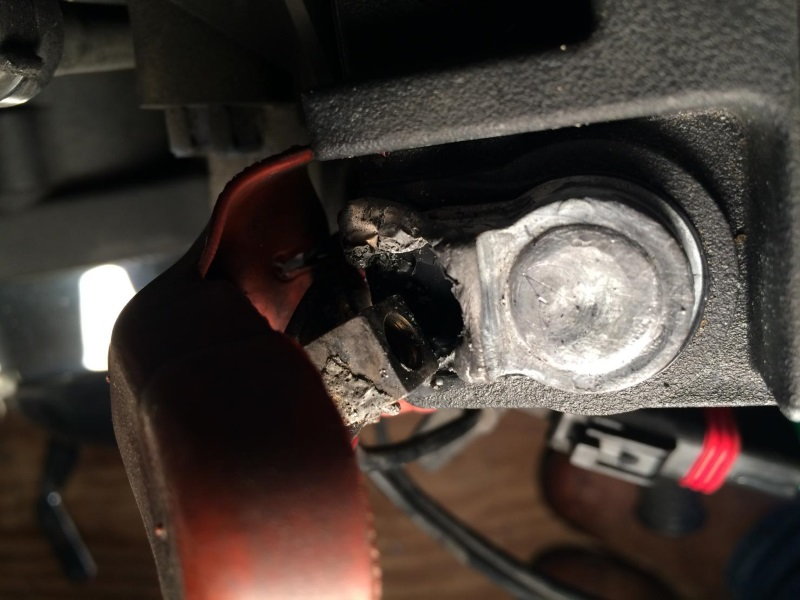
To check and clean your battery cables:
- Remove and clean the connections at the positive and negative battery cables. Look for signs of damaged copper wiring strands (fraying), as this will reduce the electrical system output.
- Follow the positive battery cable to the starter and remove/clean the connection. Use electrical terminal contact cleaner.
Step 3 – Check the starter and system relays
Read the article Fuse Box Information to find out how to locate as well as test your starter and system relays.
Step 4 – Test you kill/run switches
The run and kill switches are two position switches. The run switch receives power from the ignition switch and sends it to the starter solenoid. If the switch is damaged, battery voltage will not reach the starter.
To test the run switch:
- Remove the run switch from the right handlebar grip.
- Measure the resistance/continuity of the switch with the button pressed by placing each multimeter lead at opposite ends of the switch. The reading should read less than 0.1 ohms. If the reading is higher or "OL," you need a new switch.
The kill switch is connected to the ignition coil and ground. When the switch is in the off position, no power will flow to the ignition coil and no spark will go to the plugs. The engine can crank, but it will not run.
To test the kill switch:
- Remove the kill switch from the right handlebar grip.
- Measure the resistance/continuity of the switch with the switch unpressed using the same method described for testing the run switch. The reading should be 0.1 ohms or less. Press the switch and measure again. The reading should now be "OL" or infinite, meaning no connection is present. If you find different readings, replace the switch.

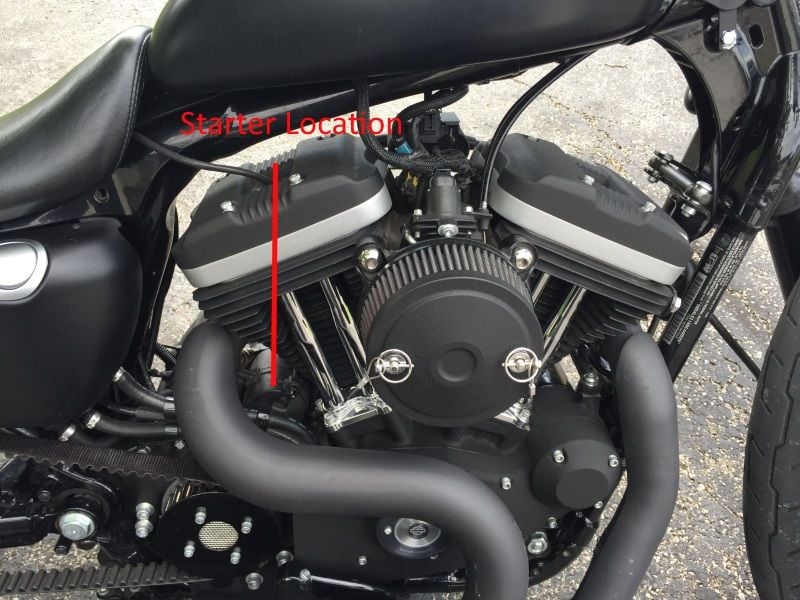
Step 5 – Test your starter
Refer to Step 4 of the article Electrical Diagnostic Guide for information on starter testing. In addition to the starter current draw test, you can measure the voltage at the wire connected to the starter solenoid from the ignition switch. With the ignition in the on/run position and the button pressed, 12 volts should be present at this wire. This test will also tell you if the ignition switch is working.
To measure the starter solenoids positive wire:
- Set your multimeter to read DC volts.
- Connect your red probe to the solenoid positive wire. This is a fat 12 or 14 gauge wire on the cylindrical portion of the starter.
- Connect the black probe to a known good ground.
- 12v should be present in this wire at all times.
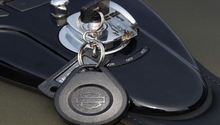
Step 6 – Check for fuel
If your bike cranks but doesn't start, the first thing to check is the fuel supply. It seems obvious, but open the cap and make sure there is plenty of gas in the tank. It is hard to test fuel injection systems in the field, but you can remove the air cleaner and should be able to smell gas at the throttle body if the injector is getting fuel. You also should be able to hear the fuel pump click and whir for a few seconds when you first turn the key to on. Refer to the Fuse Box Information.
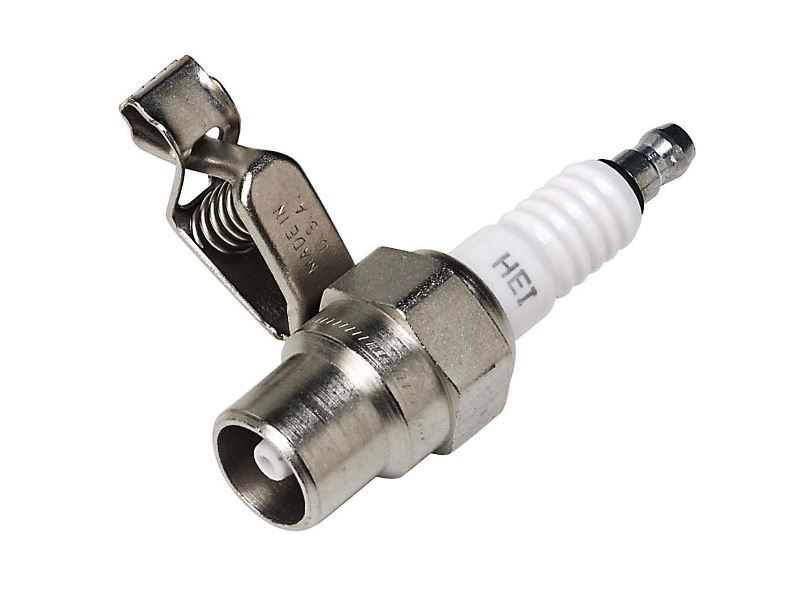
Step 7 – Check for spark
If your Sportster isn't giving you any trouble codes, it is unlikely to have an ignition problem, but there could still be a loose wire somewhere or a bad sensor. Look for a bad connection at the ignition coils, and test for 12v there with the key on and switch set to run. You can still test for spark the old fashioned way by removing a spark plug and grounding it against the motor, or buy a proper spark tester.
Related Discussions
- 2005 Sportster Won't Start - HDForums.com
- 1998 Sportster Won't Start - HDForums.com
- Bike Just Clicks, Won't Start - HDForums.com