Harley Davidson Sportster: How to Swap Front Brake Line and Add Riser Extension
Risers are installed to move the handle bars up. Instead of buying new handlebars and having to mess around with wiring (and stuff), all you do is change out the metal risers between the top clamp and the bars. You can get a pretty good rise without having to change out anything other than the brake line.
This article applies to the Harley Davidson Sportster (2000-2015).
Modified brake lines are typically installed for there longer length and stronger design. It's important to route the brake lines near the factory locations to avoid moving and crushing hazards. Once you've found out what length risers you'll be installing, grab the brake line and pull that amount of slack from the line. Move the handle bars completely from side-to-side. If the line has tension against it, a longer line must be installed. Remember to be careful not to spill when working with brake fluid, as it can eat your bike's beautiful paint.

Materials Needed
- Metric and SAE sockets, ratchet
- Torque wrench (25-40 ft/lbs)
- Blue Loctite
- Brake bleeding hose (5/16")
- Jar or container
- Shop rags and towels
- DOT 4 or 5 brake fluid (refer to Step 9)
- Rubber tubing or zip ties
- Phillips screwdriver
- Rubber gloves
- Safety glasses
- Small block of wood
- Tie down strap
Step 1 – Protect the painted surfaces
Use towels, cardboard, or plastic for protection. Place them below the master cylinder reservoir, above the front fender, and above the gas tank. Brake fluid is corrosive and can quickly damage painted surfaces.
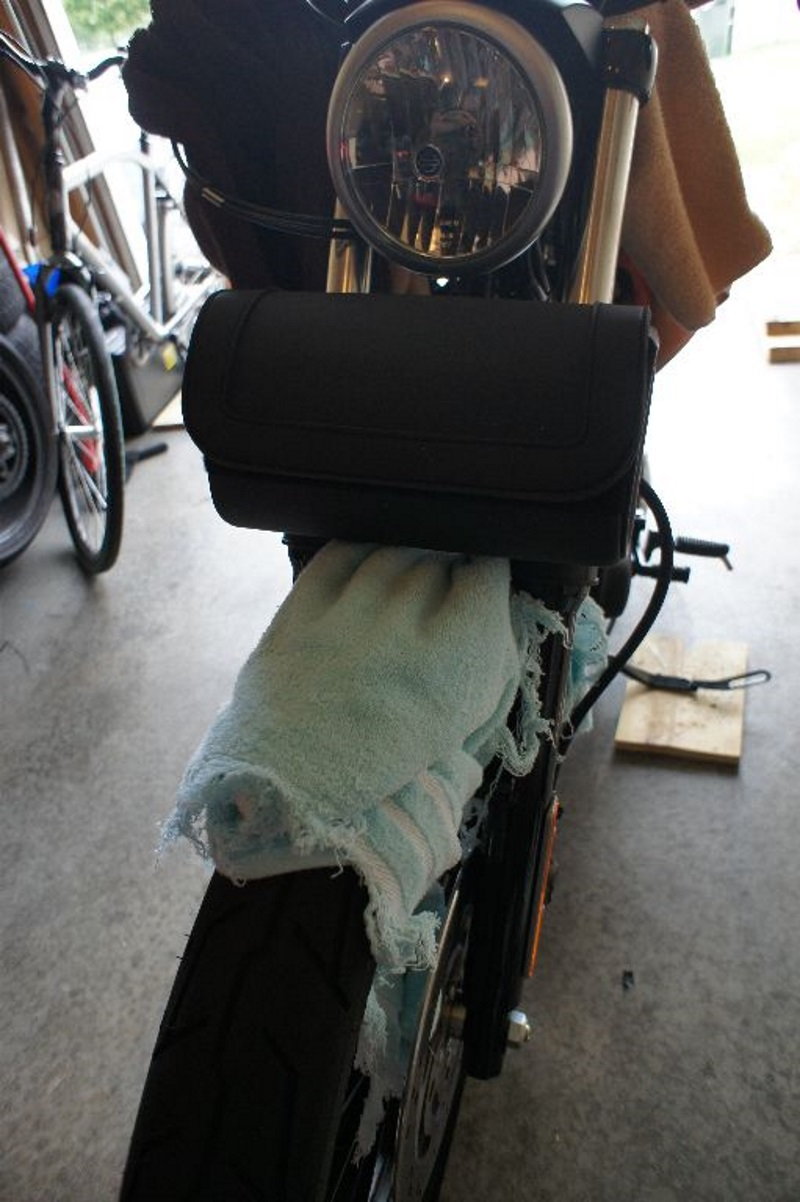
Step 2 – Level the motorcycle
You can place a small piece of wood below the kickstand to counter the lean. If the bike is leaning a large amount, brake fluid will drip from the master cylinder reservoir once the lid is removed. Whatever method you decide to use, make sure the bike is tied down to a sturdy object nearby that will protect it from falling.
Pro Tip
If you do spill brake fluid on the bike, don't try to wipe it off. Rinse it with a hose and water ASAP.
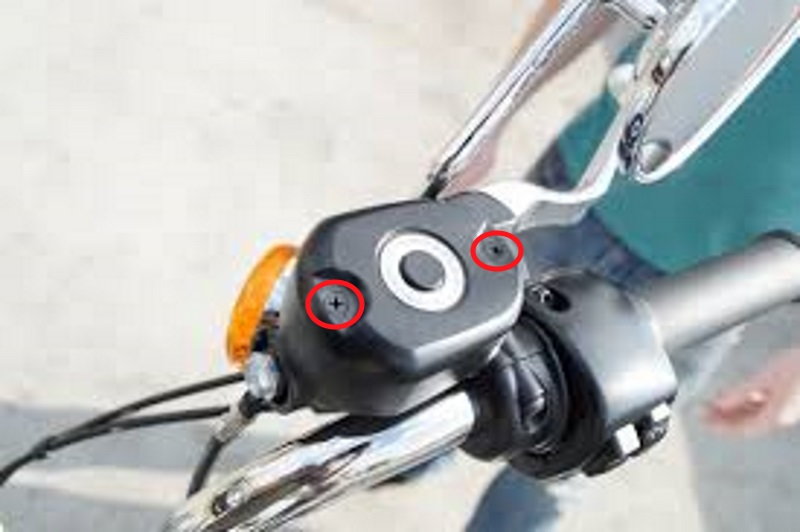
Step 3 – Remove the master cylinder cover
Remove the two screws from the master cylinder cover with a Phillips head screwdriver. Some year models may instead use a Hex head bolt.
Step 4 – Drain the brake fluid
Attach a length of 5/16" hose to the front brake bleeding screw and place the end of the hose into a container. This container must be large enough to hold all the fluid in the master cylinder. Loosen the bleed screw one full turn and wait several minutes as gravity moves the fluid through the hose and into the container.

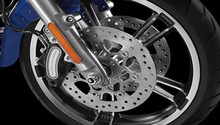
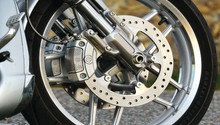
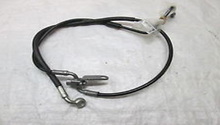
Step 5 – Remove the brake line
Remove the brake line retainer clamp at the bottom of the triple tower. Remove the bolt holding the brake line banjo fitting to the brake caliper. Take note of how the copper washers are installed on the banjo fitting. The service manual recommends replacing these, but if your inspection finds no damage to the washers, they should remain leak-free after re-installation. There may still be some brake fluid in the line, so have some towels nearby. Remove the brake line retainer clamp at the top of the triple tower. Unbolt the clamp holding the brake line banjo bolt to the master cylinder.
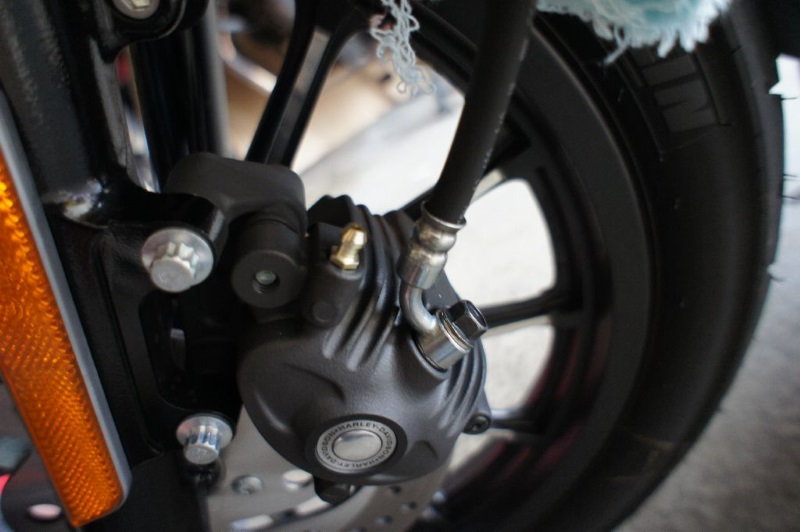
Figure 4. The brake line banjo fitting on the caliper. 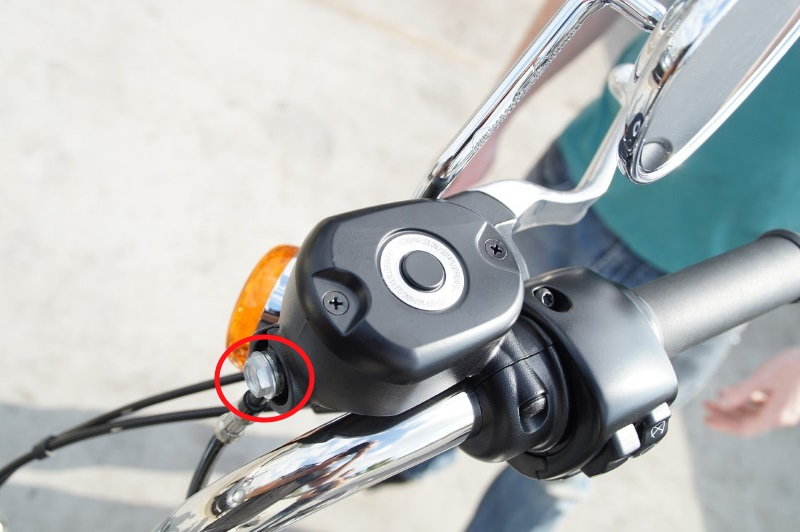
Figure 5. The brake line banjo fitting connected to the master cylinder.
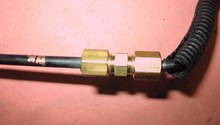
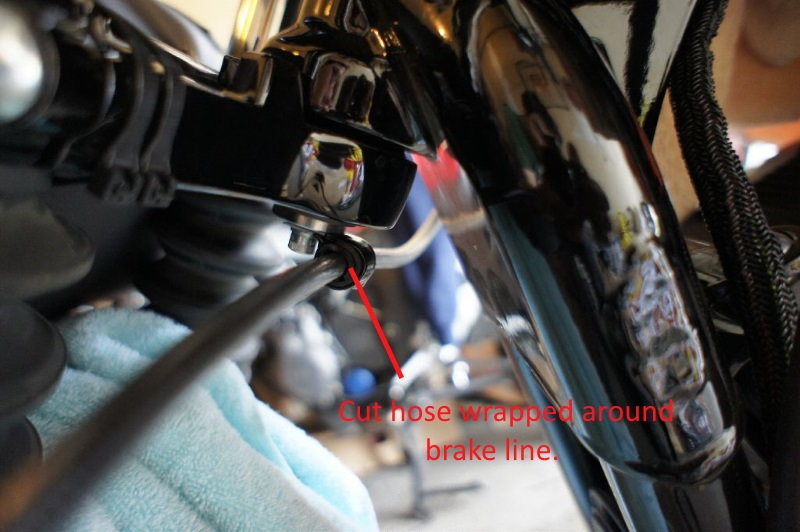
Step 6 – Install the longer brake line
Bolt the new brake line to the master cylinder. Place a washer on each side of the banjo fitting. Torque the bolt to 25 ft/lbs. Install the lower brake line clamp. If your new brake line is too small for the clamp, the line can be zip tied or a piece of hose can be wrapped around the brake line to fill up the space. Install the brake line to the caliper and torque the bolt to 25 ft/lbs.
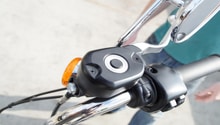
Step 7 – Remove the old risers
Loosen the factory riser bolts at the bottom of the risers on the triple tree. Remove the four top bolts that hold the handlebars to the risers and carefully lay the handlebars against the tank, being sure not to stretch or pull against any cables. Remove the riser bolts and the risers.
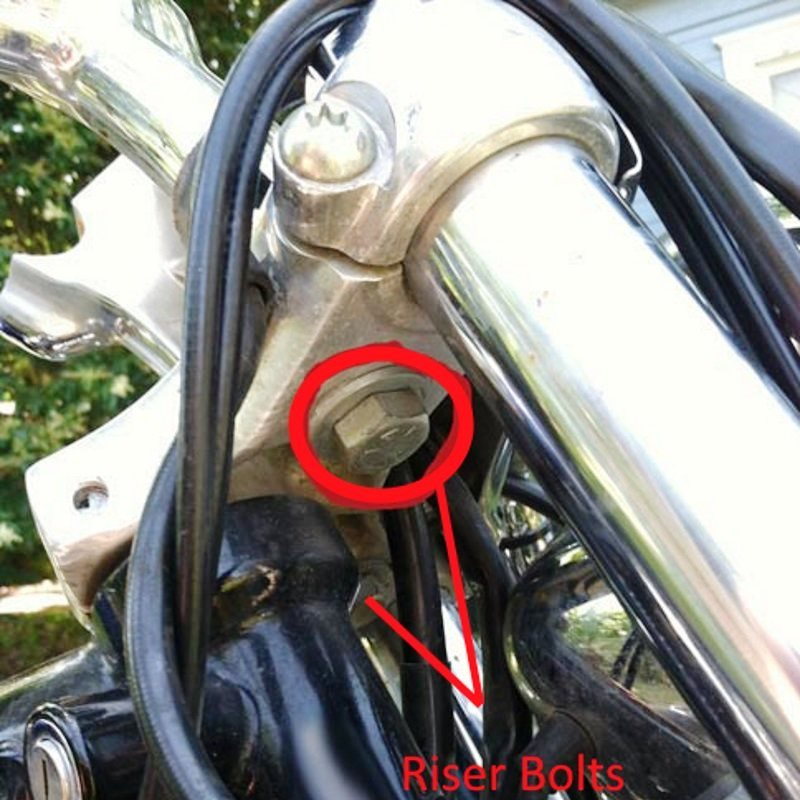
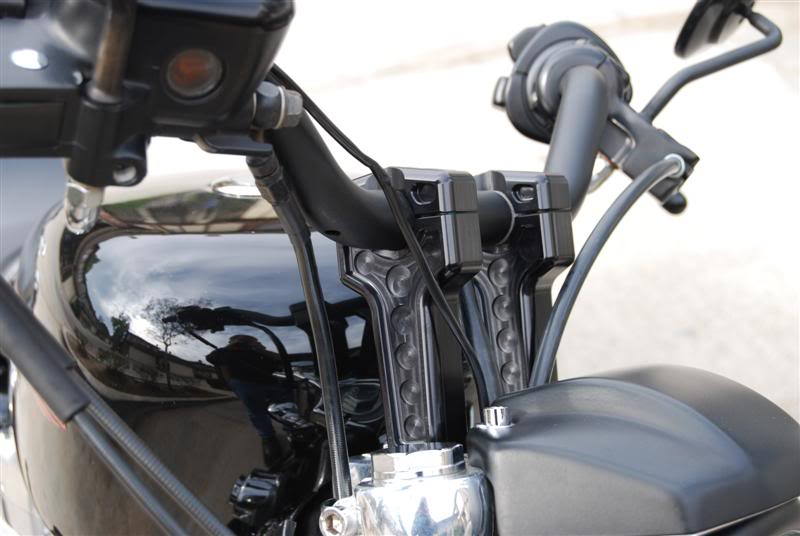
Figure 7. The large riser bolts. 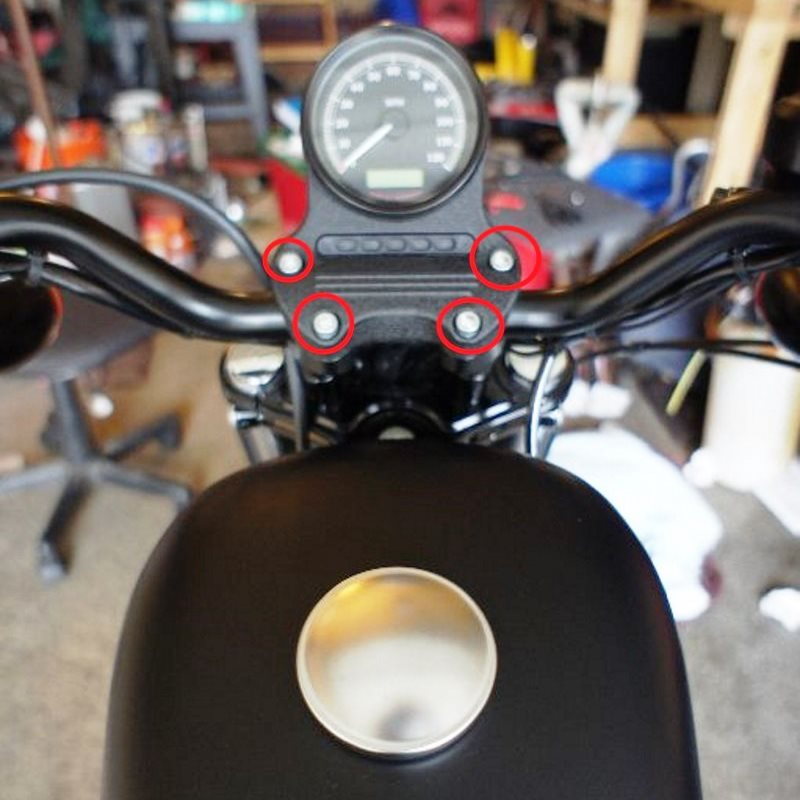
Figure 8. The riser cap bolts.
Step 8 – Install the risers
Slide the new risers in place with the bolts just loosely holding them. Install the handlebars with the four top bolts to hold the riders against turning, while you tighten everything. Place some blue Loctite on the riser bolt threads. Tighten the riser bolts for the new risers to the bottom riser caps. Re-tighten the four riser cover bolts. Torque the riser bolts to 35 ft/lbs.
Step 9 – Fill and bleed the front brake
Fill the master cylinder to the max level with the correct type of brake fluid. Check your master cylinder cover or owner's manual, as you may need DOT 5 or 4 depending on your year. Refer to the article How to Replace Brake Fluid for multiple bleeding methods.
Featured Video: Riser Installation
Related Discussions
- Step by Step Brake Line Swap How-to - HDForums.com
- Risers Help - HDForums.com