Harley Davidson Sportster: How to Replace Spark Plugs and Plug Wires
Your spark plugs and spark plug wires, or high tension (HT) leads, are at the center of proper engine performance. Failing to change them when needed can negatively affect your riding experience. All the fancy intake and exhaust tuning in the world won't make a difference if the fuel mixture is not efficiently burned. This is a very straightforward job you can do yourself, even with limited mechanical experience. In this article, we'll show you how to change the spark plugs and HT leads with basic tools at home.
This article applies to the Harley Davidson Sportster.
Spark plugs are simple, inexpensive components of your ignition system and, on the Sportster, very accessible, so there's no reason not to keep them fresh. A good plan is to replace them every 8,500 miles or so, or roughly every other oil change. The spark plugs and HT wires work together with the ignition coil and other components to produce a spark strong enough to leap across the gap at the electrodes of the plug. When installed in the engine, the electrodes are located in the combustion chamber and deliver a properly timed spark to ignite the fuel/air mixture provided by the fuel system. If the electrodes have worn to the point where the gap becomes too large for the spark to jump or the HT wires have become old and electrically leaky, a misfire can occur, resulting in poor running, stalling, excess emissions and even an inability to start the engine at all.

Materials Needed
- 13/16" spark plug socket or box end wrench
- Spark plug gap setting gauge
- Anti-seize compound
- Dielectric grease
- Torque wrench
Step 1 – Remove spark plug wire from spark plug
We'll do the front cylinder first. Position yourself on the left side of the bike in order to see the spark plugs and wires. Grasp the spark plug wire by the cap, not the wire. There may be a metal shield present on some models; if so, remove that shield first.
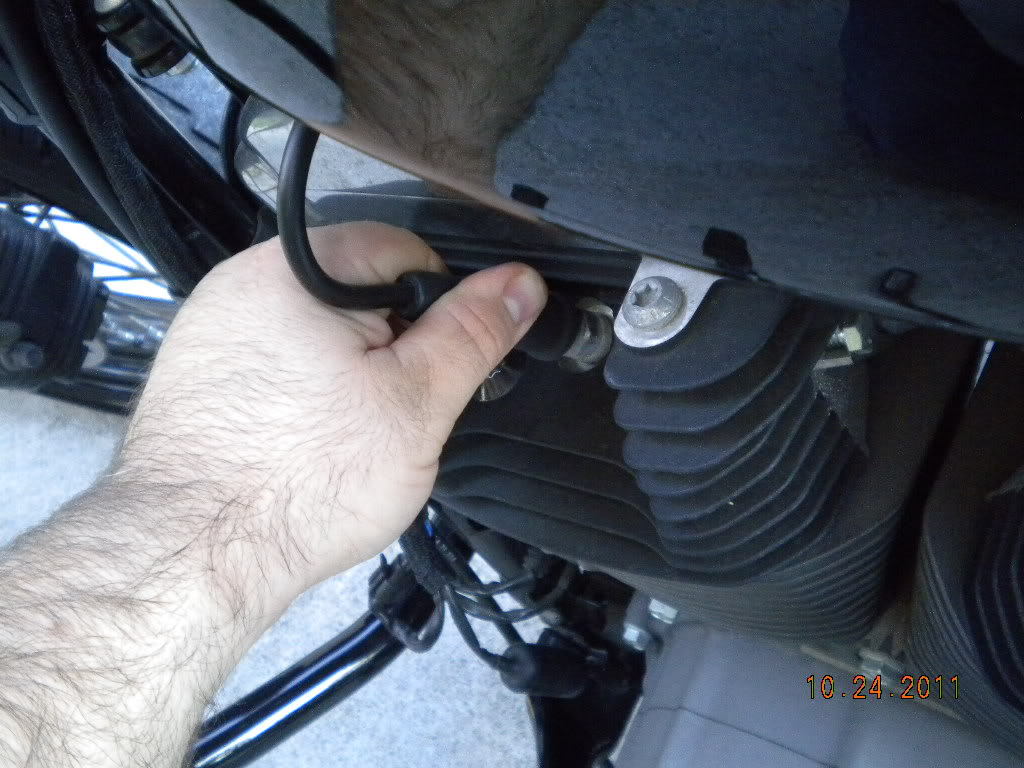
Figure 1. Grab the plug wire from the base. 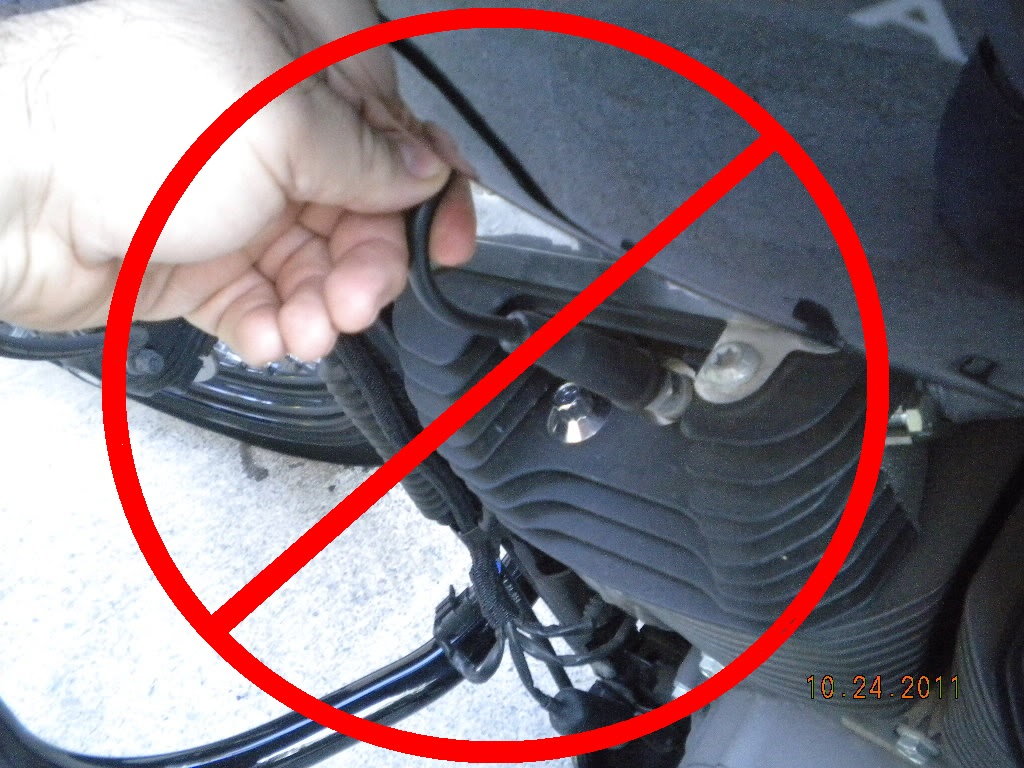
Figure 2. Do not pull from the wire itself.
Pro Tip
Be careful not to rock the cap back and forth too vigorously, lest you risk breaking the spark plug or cap.
Step 2 – Remove spark plug
Using your 13/16" spark plug socket, carefully remove the plug by rotating it counterclockwise. The engine should be cool to avoid damage to the threads and possible burns to your hands.

Don't force the plug to turn; if it seems too tight, try spraying the base of the plug with some penetrating oil.
Pro Tip
If you use a purpose built spark plug socket, there will be a foam cuff inside to retain the plug once it is free of the engine.
Step 3 – Repeat to remove plug from rear cylinder
Repeat the same steps used above to remove the rear spark plug. Once both plugs are removed, they can tell a story about how your engine is running. It's a good idea to examine them for any trouble. Compare them to the chart below.

Step 4 – Remove spark plug wires
Now, let's replace the spark plug wires or HT leads. We'll do one at a time. When you purchase new leads, the longer one goes to the rear cylinder and the shorter one to the front cylinder. The leads connect to the coils, which on the Sportster are located just above the front cylinder head behind the steering neck. In some cases, the coil set may be located between the "V" of the engine on the left side. You may need to remove a cover or slightly lift the fuel tank to ease access to the coil. The spark plug lead presses directly into the coil. Remove the old lead by pulling straight out on the boot, not the wire. Match the length of the new wire and press the coil end of the wire into place until you feel it snap securely onto the coil. Route the new lead exactly the same way the old one was routed.
Now, repeat the process for the other cylinder. Once the wires are installed and properly routed, you are ready to install the new spark plugs.

Pro Tip
Before removing the old HT leads, carefully note how the wire is routed. A digital camera can be handy here.
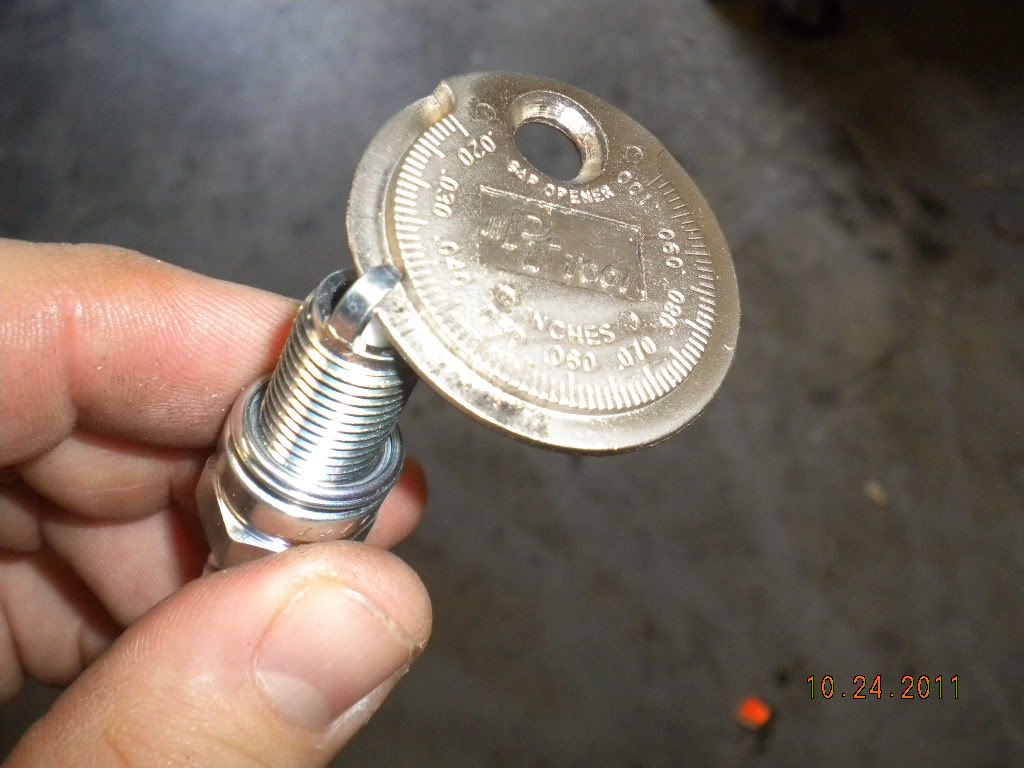
Step 5 – Gap new spark plugs
Before installing the new plugs, you'll want to prepare the plugs first. Check the electrode gap with a spark plug gap gauge. Check the proper gap specification for your year and model bike, but it should be around 0.035" to 0.040". Most plugs come pre-gapped with a plastic or cardboard tube to protect the side electrode in shipping, but if the gap needs to be adjusted, use the gap gauge to gently bend the side electrode until the correct gap is achieved
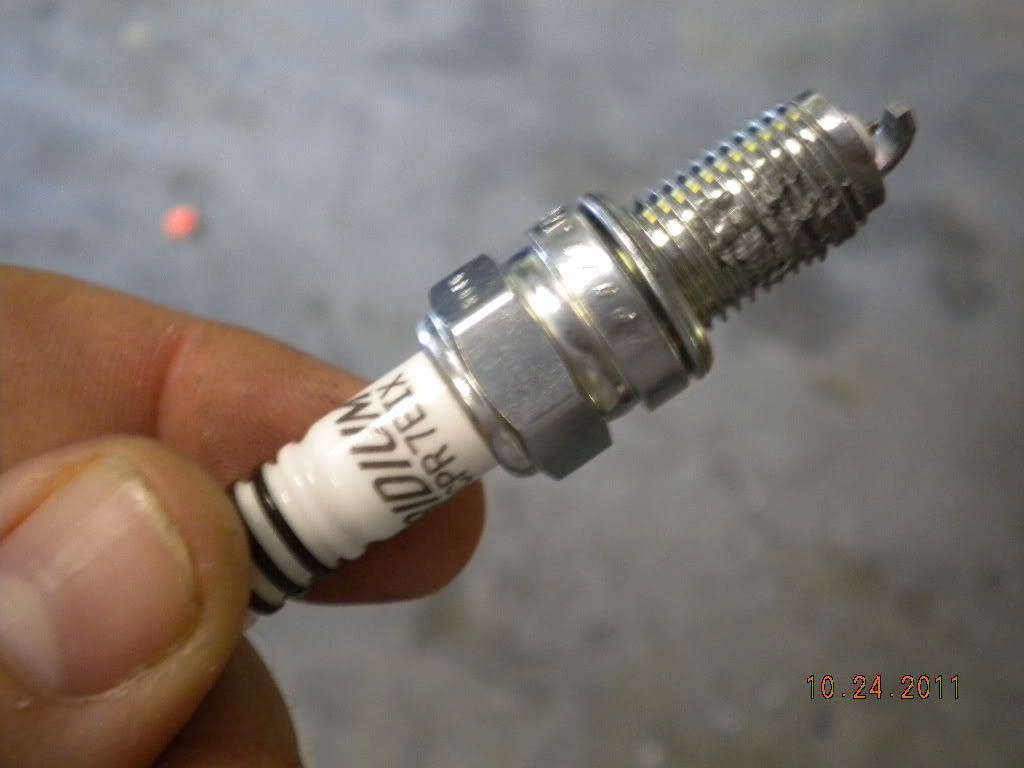
Pro Tip
Avoid levering against the center electrode when adjusting the the gap. The center electrode on some plugs can be extremely fragile and it's possible to crack the porcelain insulator nose. Damage to either will ruin the spark plug.
Step 6 – Install new spark plugs
Before installing the new plugs, apply a small amount of anti-seize compound to the threads of the plugs. Anti-seize will prevent corrosion of the threads and make removing the plug easier the next time. When installing new plugs, always start them into the thread and turn them as far as possible by hand. In most cases, the plugs will screw all the way down to their seats easily. This insures that you don't cross thread the spark plug hole, which will be an expensive proposition to repair.
Step 7 – Tighten new spark plugs
You'll want to make sure the plugs are properly tightened, but it does not require much. Ideally, a torque wrench should be used to tighten the plugs to about 14 to 16 ft/lb. If you do not have a torque wrench available, run the plugs down until they seat by hand and then tighten only 1/4 turn from there. All that you need to do is slightly crush the seal washer on the plug.
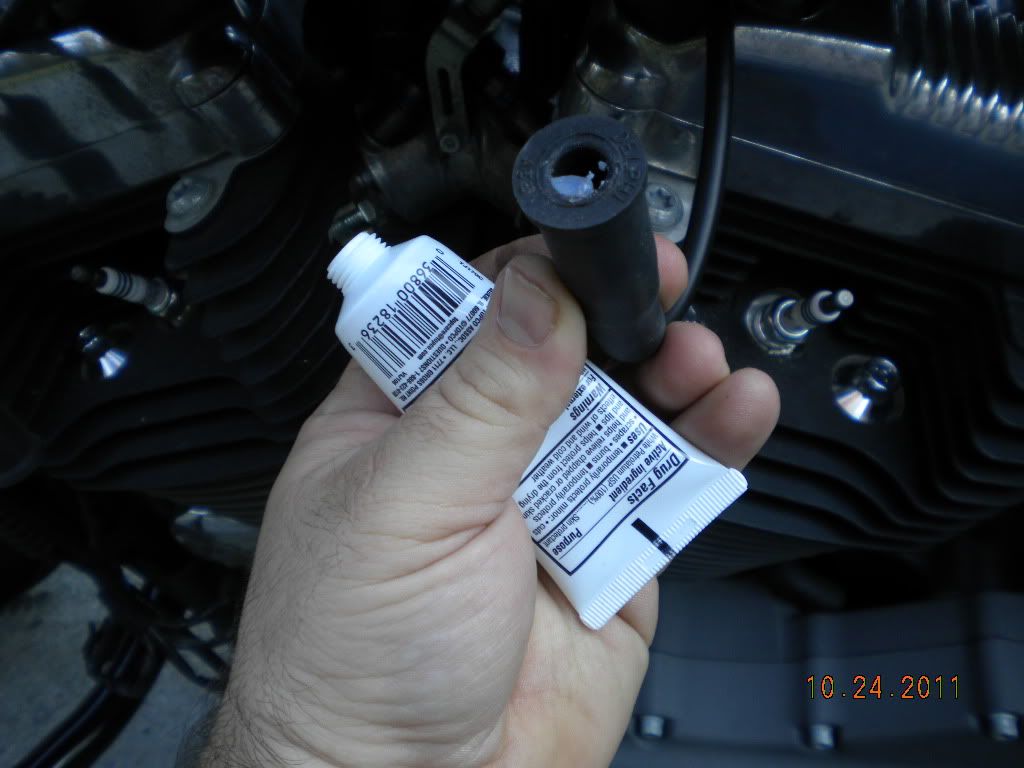
Step 8 – Reattach spark plug wires to plugs
In this step we'll re-attach the spark plug wires. Before you do so, use a little dielectric grease in the insides of the spark plug caps. This will prevent the caps from getting more or less "welded" to the spark plugs from the heat of the engine. An additional benefit is that it may make the plug caps a bit easier to seat back onto the plugs.
At this point you are finished. Replace any covers or shields you may have removed for access and you're ready to ride!
Featured Video: Sportster Oil Change and Spark Plugs
Related Discussions
- Spark Plug Replacement - HDForums.com
- How to Change Spark Plugs - HDForums.com
- When Do I Change Spark Plugs - HDForums.com
- Replacing Spark Plug Wires - HDForums.com