Harley Davidson Sportster: How to Replace Rear Brake Line
Brake lines transfer the fluid inside the master cylinder to the brake caliper. These lines must flex as the frame and wheels travel over bumps. The combination of flexing, high heat, and the elements all result in wear which, if left unchecked, can result in a leak and loss of brake pressure.
This article applies to the Harley Davidson Sportster.
Brake line replacement is a great idea for any earlier model Sportster owner. Even the later models can develop leaks at banjo and crimp connections (where the rubber line meets the metal). Aftermarket options are available as well. Braided stainless steel lines help seal out heat from the fluid, reducing brake fade during times of heavy brake use. Here's how to replace the brake lines on your Sportster.

Materials Needed
- Container or jar
- 3 feet of 5/16" hose
- Rubber gloves
- Safety glasses
- 6 and 12 point sockets (6mm 12 point) (8mm-14mm 6 point)
- 3/8" ratchet
- Wrench set (10mm-18mm)
- Brake fluid
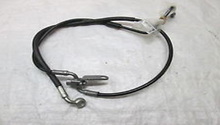
- Rear brake line
Wear rubber gloves and safety glasses while working near brake fluid.
Step 1 – Drain the brake fluid from the rear brake line
It's recommended to drain the brake fluid from the rear brake line to lessen the chance of damage to painted surfaces. Brake fluid is very corrosive and will quickly damage paint. Attach a hose to the rear brake caliper bleed screw and place it into a container. Keep the master cylinder fluid reservoir closed. Open the bleed screw with the appropriately sized wrench until fluid is seen passing through the hose. Wait several minutes as the master cylinder fluid reservoir drains.
To speed up the process, place the end of the hose into a container filled with enough brake fluid to keep the hose submerged. While squeezing the brake lever, open the bleed screw. Re-tighten the bleed screw before releasing the brake lever. Repeat the process until the fluid level becomes low in the reservoir. Don't squeeze the pedal once the fluid level is low. You'll need to use the method described in the first paragraph above, otherwise air will be sucked into the system.
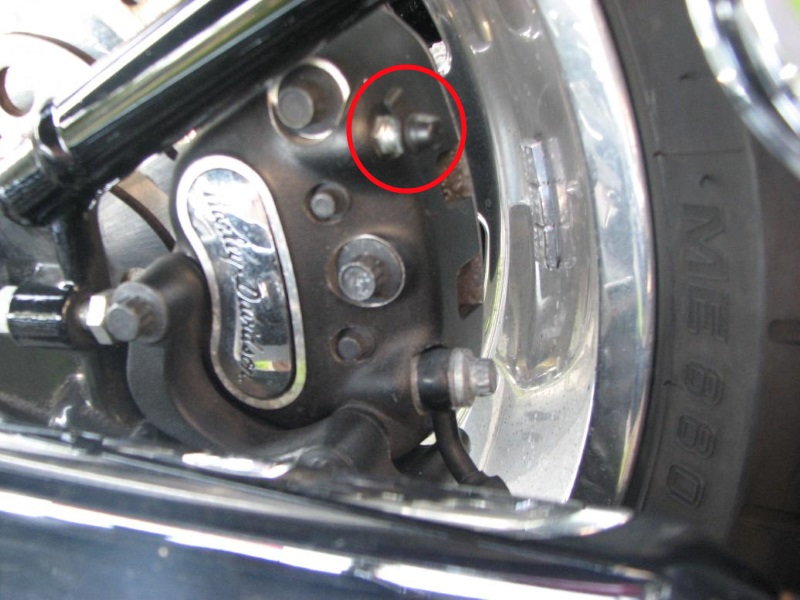
Step 2 – Remove the brake line from the caliper
A 6mm. 12-point headed bolt holds the brake line banjo connection to the caliper. Loosen the bolt and have a container underneath to catch the remaining brake fluid. Cover the opening with rags. You'll need to replace the two copper washers on each side of the banjo connection.
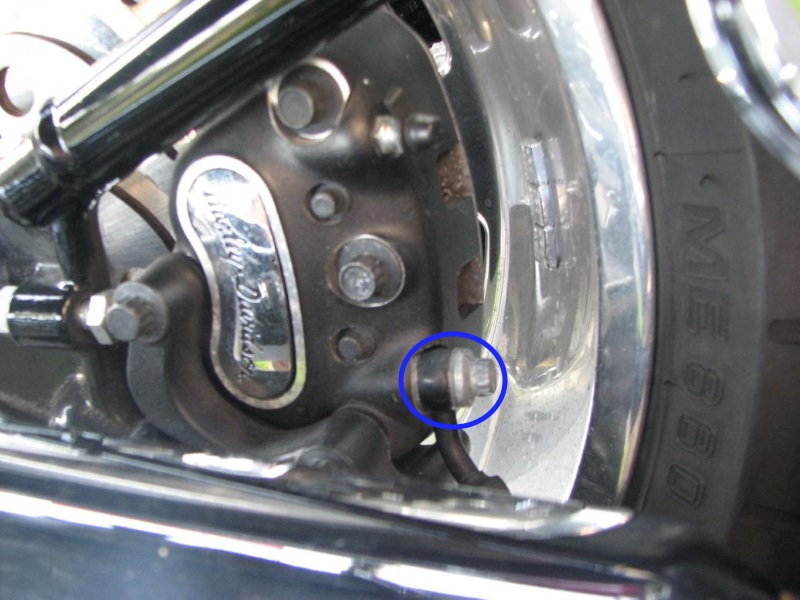
Step 3 – Remove the brake line from the rear brake light switch and frame
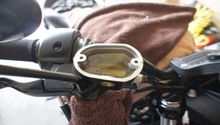
Follow the brake line halfway towards the front. You'll see where the brake line connects to a bracket. The bracket is bolted to the frame with one bolt. Sticking out the side of the bracket is wiring connected to a switch. This is the rear brake light switch. If your new brake line has the switch included, disconnect the switch electrical connectors by squeezing any flexible tabs and pulling the connectors away from the switch. Remove the bolt and let the assembly rest on top of the frame.
If your brake line instead came with two sections, you'll be using the factory brake switch. Remove the front and rear brake lines from the assembly. You can leave the assembly connected to the frame if you have enough room to work.

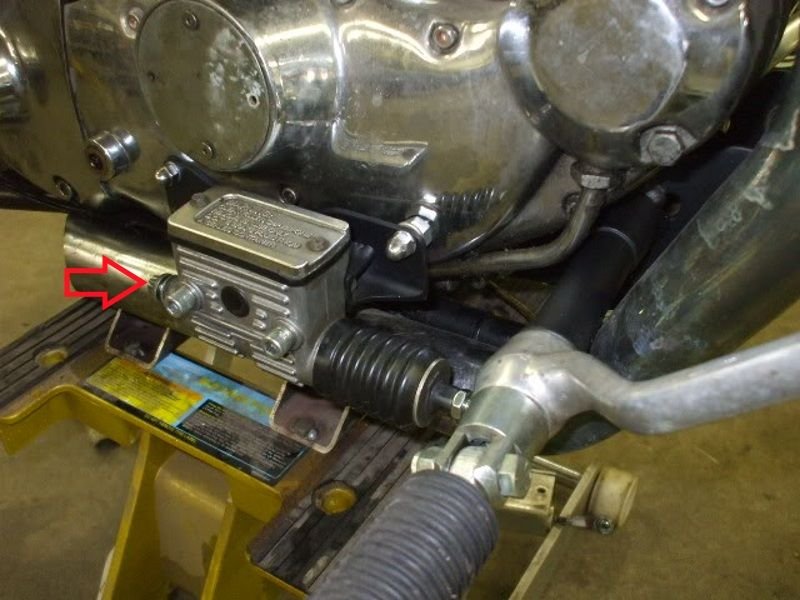
Step 4 – Remove the rear brake line from the rear master cylinder
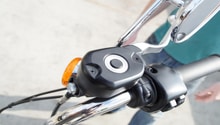
You'll see the banjo connection on the rear master cylinder. It's directly beside the rear brake lever. Remember to replace the two copper washers. Swap over any clamps onto the new brake line. If a space for these clamps is not available, zip ties can be used. Do your best to route the new brake line as close to factory as possible. This will ensure it's away from high heat sources and moving parts.
Step 5 – Bleed the rear braking system
Follow the procedures listed in the related article below:
(Related Article: How to Replace Brake Fluid - HDforums.com)
Make sure the type of fluid you're adding into the system matches the fluid previously in the system. If your bike is equipped with A.B.S. and your A.B.S. light is on, you'll need to take your Sportster to a dealer. At the dealer they can connect the bike to the "Dealer Technician." This tool actuates the A.B.S. pump, removing the trapped air in the process.
Related Discussions
- Replacing Rear Brakes - HDforums.com
- Changing Brake Line ABS - HDforums.com
- Rear Brake Line Problem and Fix - HDforums.com