Harley Davidson Sportster: How to Replace Grips
It's time for a new set of grips and you would much rather replace them on your own than have them changed out at a dealer. Installation of the grips is pretty simple. Most of you should be able to get this done in your garage fairly quickly and with basic hand tools.
This article applies to the Harley Davidson Sportster (1993-2016).
Why would you want to change your handlebar grips?
- The look: Maybe you want a vintage leather look or knurled aluminum?
- The function: Grips have the dual jobs of isolating your hands from vibrating and shock while providing important feedback information to your hands; very different jobs that are both pretty important.
- The grip: Maybe your current grips are just hard and slippery, so you want something easier to hold onto.
Changing the motorcycle grips may be frustrating if you haven't done it often, or if you haven’t found an easy way to do it. Fortunately, installing a new set is really simple. If you’re handy enough, you should be able to have a new set of grips onto your bike in under an hour.

Materials Needed
- Screwdriver
- T25 Torx screwdriver
- T27 Torx screwdriver
- Sharp blade or knife
Step 1 – Replace the left side
Although both (right and left) grips may look the same, removing and installing of those two are quite different procedures because of the throttle. As always, let's start with the easiest part—the left hand (non-throttle) side.
- Using a T27 Torx screwdriver, remove the two screws securing the clutch lever bracket to the handlebars.
- Using a T25 Torx screwdriver, loosen the switch housing screws.
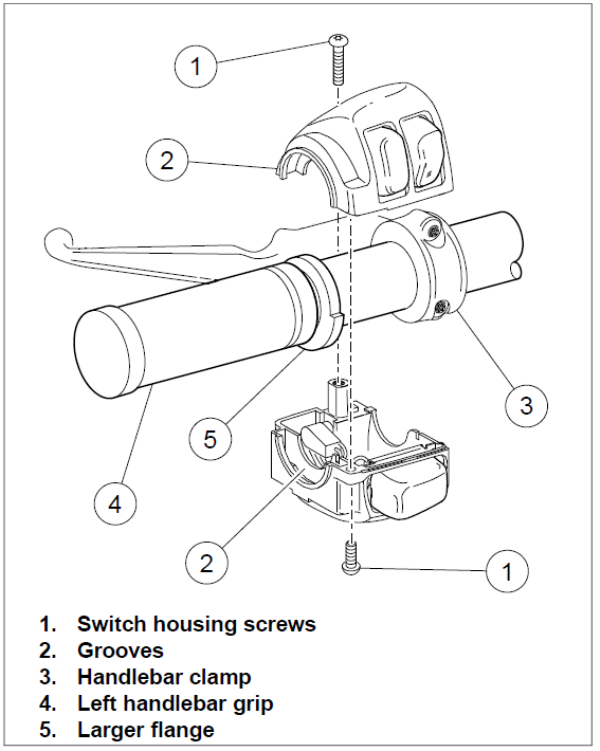
- You don't have to take the switch or the clutch completely off on many bikes, but late model Harleys have a flange on the stock grips that is covered by the switch housing.
- Remove the grip by making a slit down the length and peeling it off (you may have to remove any bar end weight or cap first). Of course, doing it this way means you can't reuse it.
- Make sure that the handlebar and inside of grip are both smooth, dry and clean of all dirt as well as dry adhesive residue.
- Position the new grip with the larger part of the flange at the bottom.
- Slide the grip fully onto the handlebar. Use some adhesive and it will actually work as a lubricant until it dries, making things easier.
- Fit the switch back over the flange of the grip, then tighten the screws, but not all the way.
- Fit the clutch handle back to the bar, and the switch housing, then tighten to finger-tight.
- Align everything back where it should be, and position the clutch as well as switch in a comfortable angle.
- Tighten the upper, then the lower clamp screws on the clutch lever perch.
- Tighten first the lower, then the upper switch housing screws.
Step 2 – Replace the right side
Unlike a lot of bikes, the throttle side grip on the Sportster incorporates the pulls for the throttle cables. In order to replace the grip you'll have deal with the brake's lever and switch, just like the other side, but also the throttle cables that attach to the grip via two small brass ferrules.
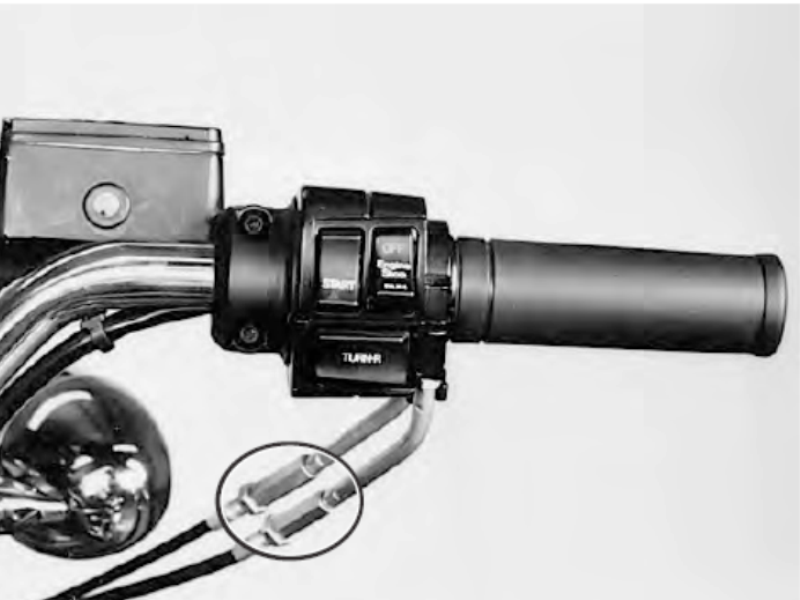
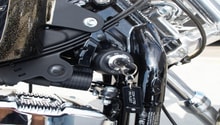
Figure 2. Throttle cable adjuster nuts. 
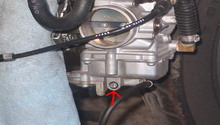
Figure 3. Clean and lube handlebar. 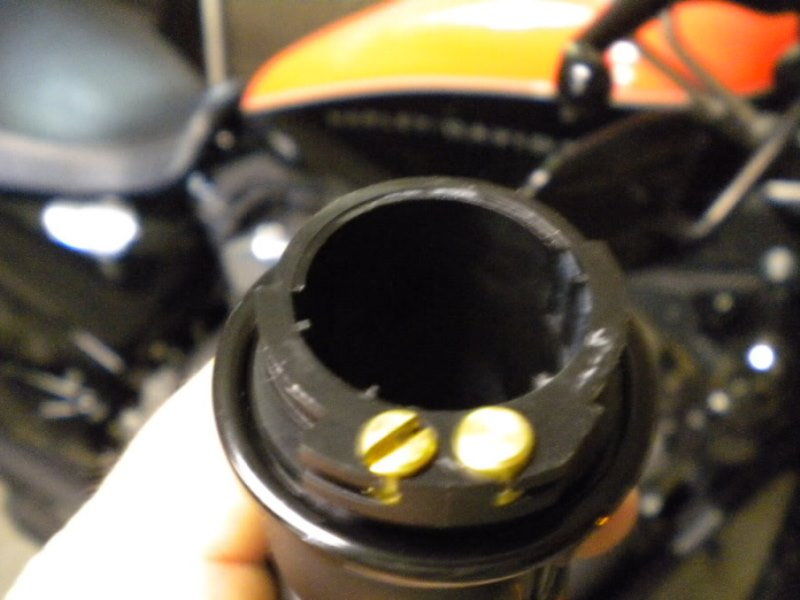
Figure 4. Brass throttle cable ferrules.
- Loosen the two throttle cables at the grip and turn the cable adjusters to obtain as much cable slack as possible. This may involve peeling back the rubber protector, and undoing a jam nut.
- You shouldn't have to touch the master cylinder, but you will have to undo the two T25 screws that hold the right side switch housing to the bars.
- Separate the upper as well as lower switch housings and you will be able to see how the cables slide into the grip.
- Line up the grooves with the cable, and slide the ferrules out of the grip one at a time. You may need a tiny screwdriver to push them out, or manipulate the cable end.
- Remove the old throttle grip from the handlebars, and clean the area it covered. Once clean, wipe the bars with some light oil to help the throttle rotate easier.
- Attach the throttle open and close cables by inserting the ferrules over the ball ends and into the new grip.
- Reinstall the switch housing by tightening the T25 screws.
- Adjust the slack out of the throttle cables, so the carb/throttle body starts to open with just a little motion of the grip.
- Start the bike in neutral and make sure the throttle cable is not pulled too tight that it gives you an artificially high idle speed.
- Rev the engine several times, making sure the engine speed returns to idle properly. Adjust the cable routing, or lubricate until everything works smoothly.
- Make sure all the screws are tight before you ride anywhere.
Featured Video: BiltWell Handlebar and BikeMaster Grip Install
Related Discussion
- Changing Sportster Grips - HDForums.com