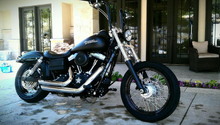
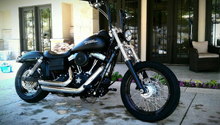
Harley Davidson Sportster: How to Black Out Engine Casing
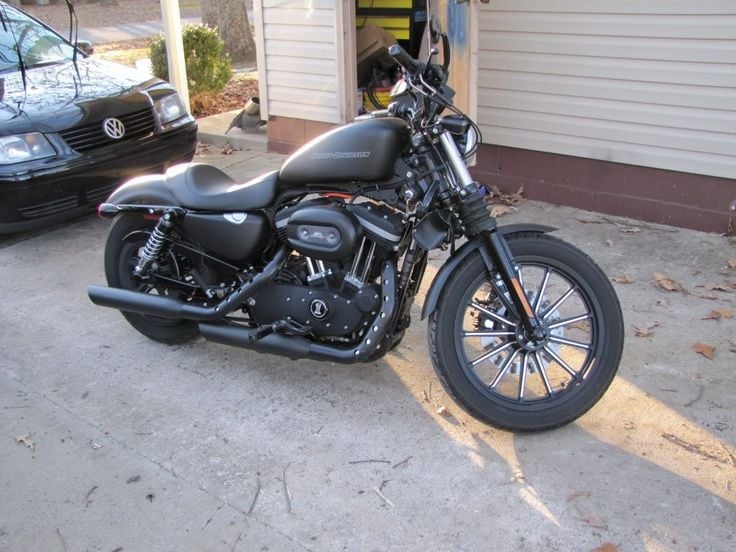
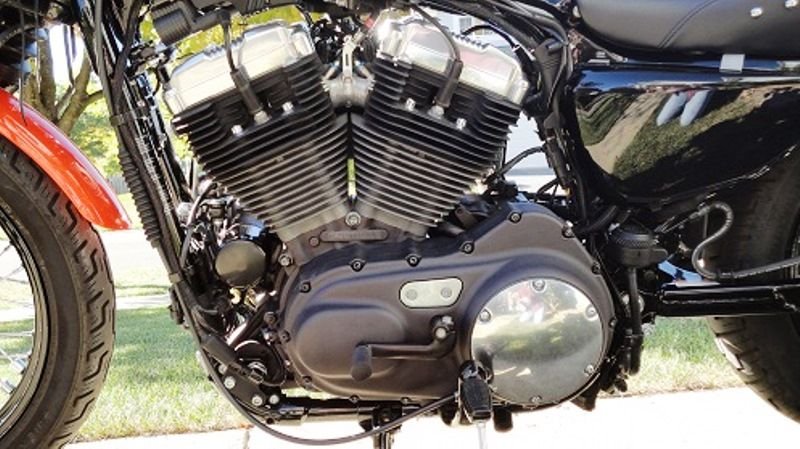
Blacking out the engine casing on your Harley Davidson Sportster gives the bike a dark, mysterious look. Some bikes leave the factory with this treatment, but if yours didn't, you can get it easily enough with a weekend's worth of work.
This article applies to the Harley Davidson Sportster (2000-2015).
The Harley Davidson Sportsters are known for their chrome, but no one can deny the effect of blacking out various bike components. In this guide, we will show how you can black out your engine cases, which will give you the perfect amount of darkness, and make any chrome stand out even more. The best way to do it is to remove all the easily removed covers and paint them separately, but it can be done with the bike all together as well. Read on to learn how to black out your engine casing on the Harley Davidson Sportster.

Materials Needed
- Painter's tape
- Black engine paint
- Spray paint trigger handle
- Rag
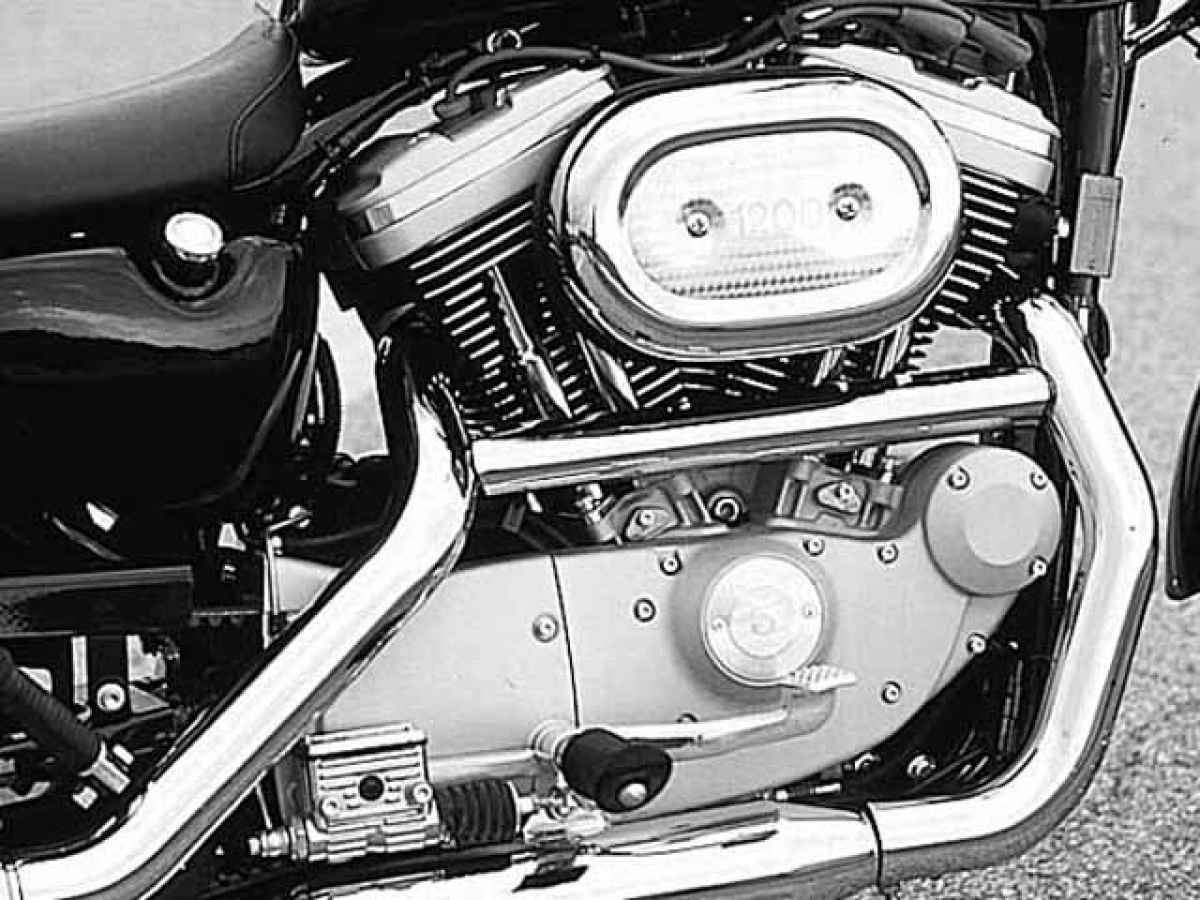
Step 1 – Clean engine cases
Start by washing the bike like you normally would. Next, use a rag to clean your engine casing with mineral spirits or other solvent to prep it for paint. You may need a long skinny brush if you plan on painting the cylinder fins and want to scrub them as well.
Step 2 – Mask off other parts
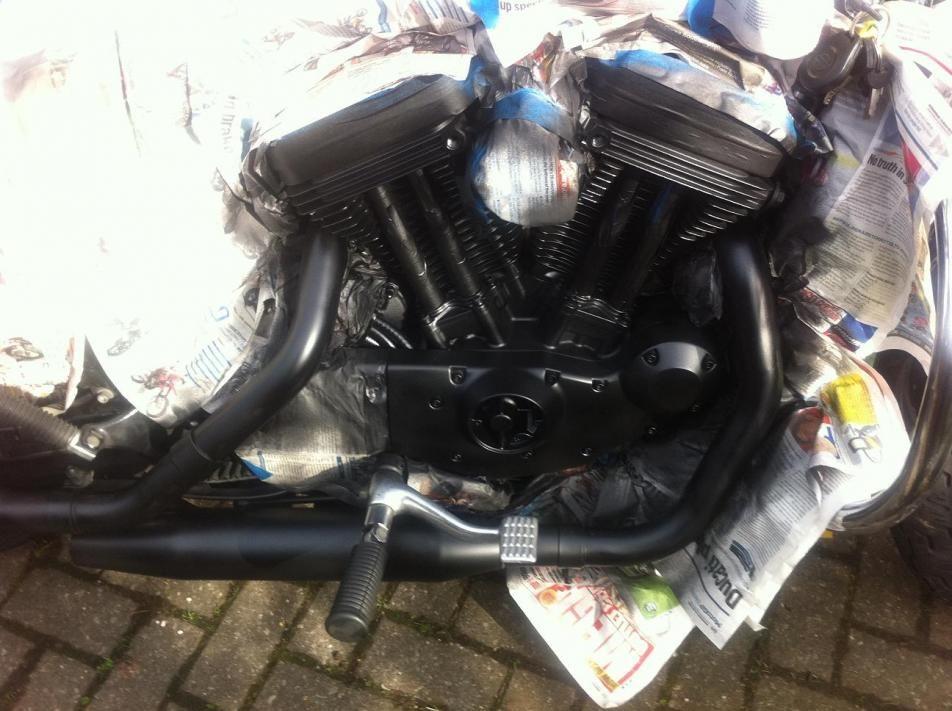
Tape off all other components that you don't want to black out. The more time you spend now, the less time you have to spend cleaning off over-spray later. It is best to take off the easy-to-remove parts, like the air cleaner and exhaust pipes. Cover any surrounding areas that the paint might get on.
Pro Tip
Paint specially formulated for high temperature usage need high temps to cure fully. Normal air cooled motors may not get hot enough to fully cure paint meant for exhaust systems, so be sure to use engine paint made for this use.
Step 3 – Paint engine casing
Shake the paint can for a minute or two, then hold it six to eight inches away from the engine casing. Start spraying, moving in a side-to-side motion, stopping your spray at the end of each pass. Aim for about a 50% overlap with each side-to-side pass. Do three coats total, leaving 20 minutes in between to allow each coat to dry. After the final coat, start peeling.
Related Discussions
- Blacking-Out Engine Casing - HdForums.com
- Painting Engine - HdForums.com
- Painted the Motor on the Nightster - HDForums.com

