Harley Davidson Softail: How to Replace Headlight Bulbs
Everyone knows the importance of being seen on a motorcycle, and you know that you want to see better as you tool around at night. This is how you can accomplish both.
This article applies to the Harley Davidson Softail.
Headlight bulbs can wear out with age. If yours are hosed, then step up to the plate and swap them out before disaster strikes. Step one in defensive driving is making sure others on the road can clearly see you coming. Step two is making sure your bike is up to the task of delivering a safe ride. So let's talk about changing your Softail's headlight to accomplish both goals.

Material Needed
- #1 Phillips screwdriver
Step 1 – Choose the best replacement bulb
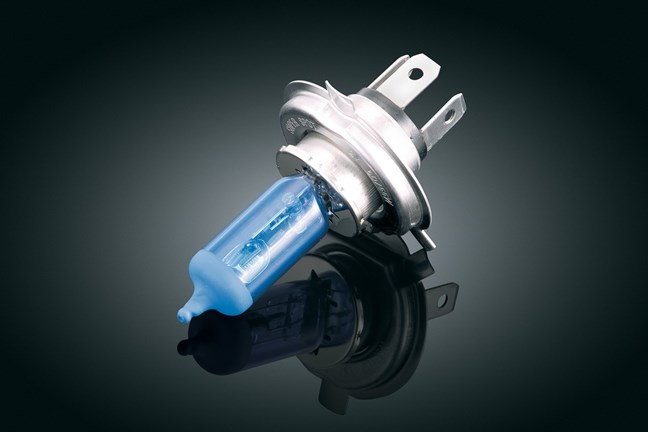
The forums are awash with opinions on lighting upgrades and what to do when it comes time to replace the factory-equipped lighting setup. Across the board, the forums indicates that upgrading to an LED lighting solution is worth the time and expense. Common mentioned upgrades include the Kuryakyn Super White H4 Headlamp bulb. It gives you a brighter light, lower draw, a longer life, better resistance to vibration than standard bulbs, and finally, the price isn't bad either.
Step 2 – Remove the headlight unit from your bike
There are some very simple steps to follow:
First, remove the screw holding the trim ring in place.
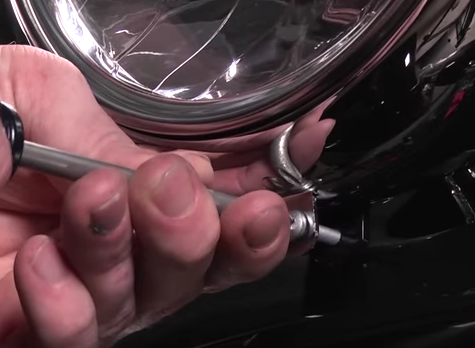
Second, remove the trim ring.
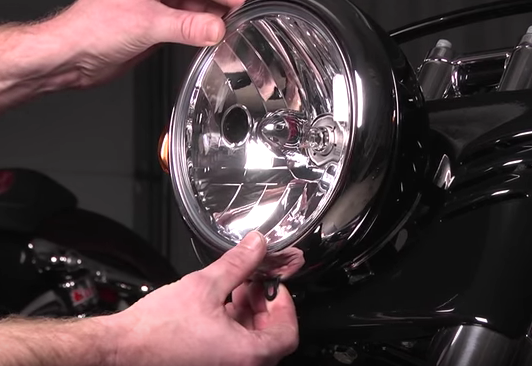
Third, remove the screws holding the headlight in place.
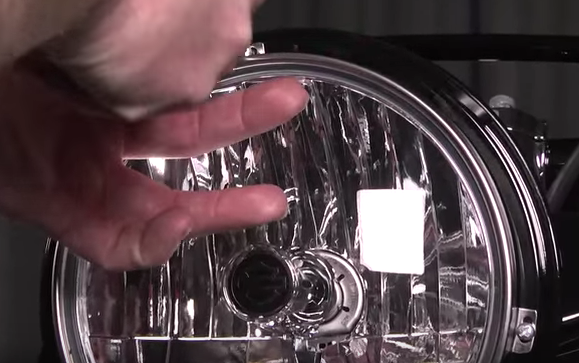
Whilst removing the headlight screws, be sure to hold the headlight in place. Doing so will prevent it from falling out and being damaged.
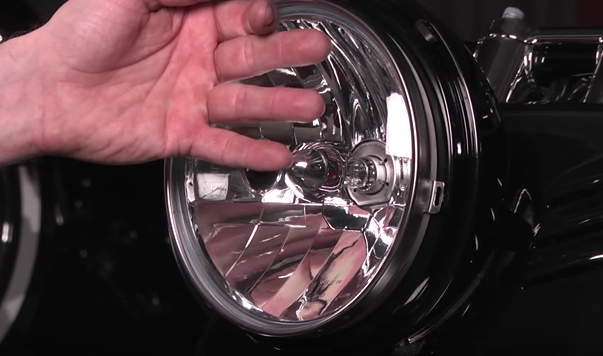
Step 3 – Remove headlight housing, unplug the lamp, and replace the bulb
First, unplug the headlamp and then remove the rubber housing around the bulb unit.
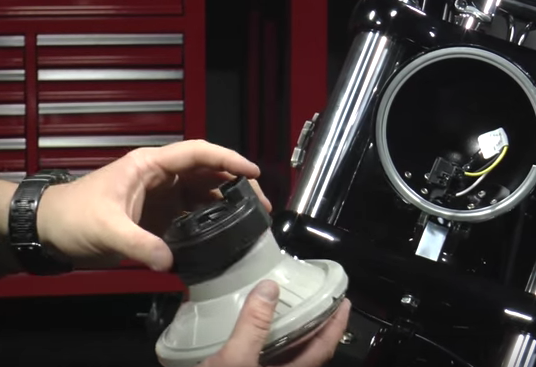
Second, loosen the set screw and remove the tab holding the bulb in place.

Third, remove the original bulb so you can replace it with your new bulb.
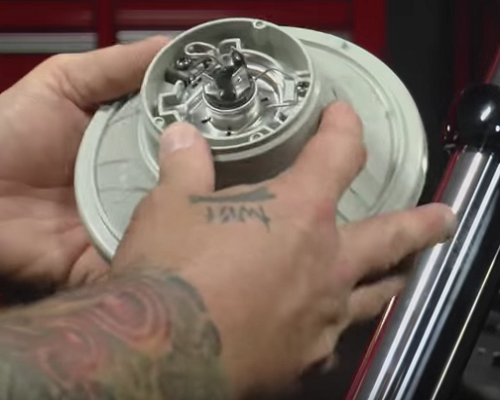
Figure 8. Old bulb is exposed and ready to be removed. 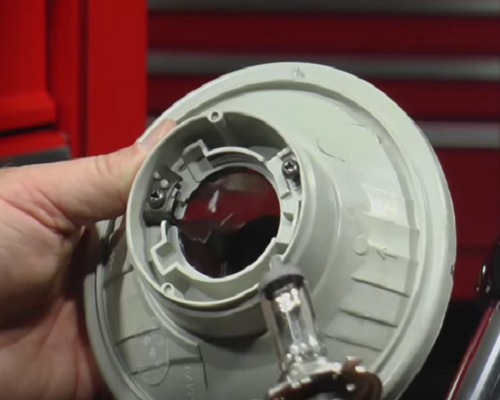
Figure 9. Headlight unit with bulb removed.
Caution
Do not touch the new bulb with your fingers. The oil from your skin will leave a residue on the bulb that will create a hot-spot. This will lead to the bulb burning out more quickly, necessitating you doing this job again, sooner that you want.
Step 4 – Put headlight unit back together, plug it in, and reattach to your bike
- Put the tab back in place to hold the bulb in place and tighten the set screw.
- Reattach the rubber housing around the bulb unit.
- Plug the light back into the wiring harness.
- Put the headlight in place and apply the screws that hold the headlight in place.
- Attach the trim ring and tighten the screw that holds it in place.
Pro Tip
Adjust the headlight properly by making sure the headlight lens is aligned properly. There should be an HD engraved in the headlight lens. This should be in proper readable position to let you know that you have installed it correctly.
Featured Video: How to Replace H4 Headlight Bulb on Harley Davidson
Related Discussions
- Best & Brightest Headlight Bulb? - HDForums.com
- Headlight Bulb Advice - HDForums.com


