Harley Davidson Softail: How to Replace Brake Master Cylinder
The master cylinder could affect your Harley Davidson Softail's braking performance if it's faulty. Read on to learn how you can replace it.
This article applies to the Harley Davidson Softail.
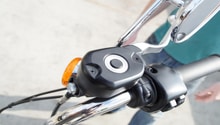
The Harley Davidson Softail has two master cylinders; one is located in the front on the ride side of the handle bar, which is in charge of the front brakes, and the second one is located in the back on the right side next to the exhaust. A faulty master cylinder can be detected by a change in the braking feel. If your brake lever or pedal feels spongy, this could be an indication your master cylinder needs replacement. Always check the brake line for leaks; if they aren't leaking, it's probably the master cylinder. Replacing the master cylinder will require you to bleed your brakes. Read on to learn how to replace the master cylinder.

Materials Needed
- Wrench set
- Clear hose
- Bottle
- Phillips screwdriver
- Brake fluid
- New master cylinder
- Thick cardboard (4mm)
Replacing the master cylinder is a similar process for the front and the back. The only difference is the location and the caliper you will bleed the brakes from. Front master cylinder is connected to the front caliper, and the rear master cylinder is connected to the rear caliper.
Step 1 – Bleed brakes
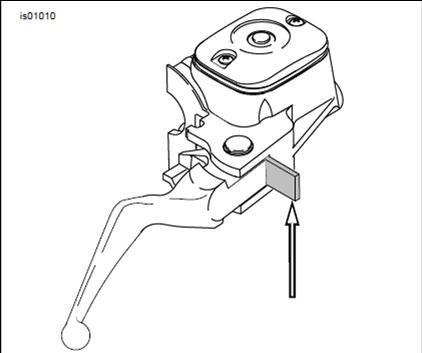
Before removing the master cylinder where all the brake fluid sits, you will have to bleed the brakes. Connect the clear hose to the caliper's bleeder screw, and then connect the other end of the hose to an empty bottle. Pump the brake lever a few times to create some pressure, then use your wrench to loosen the bleeder screw. As the fluid drains in the bottle, use your Phillips head screwdriver to open the top of the master cylinder and let it breathe, which will help with the bleeding flow.
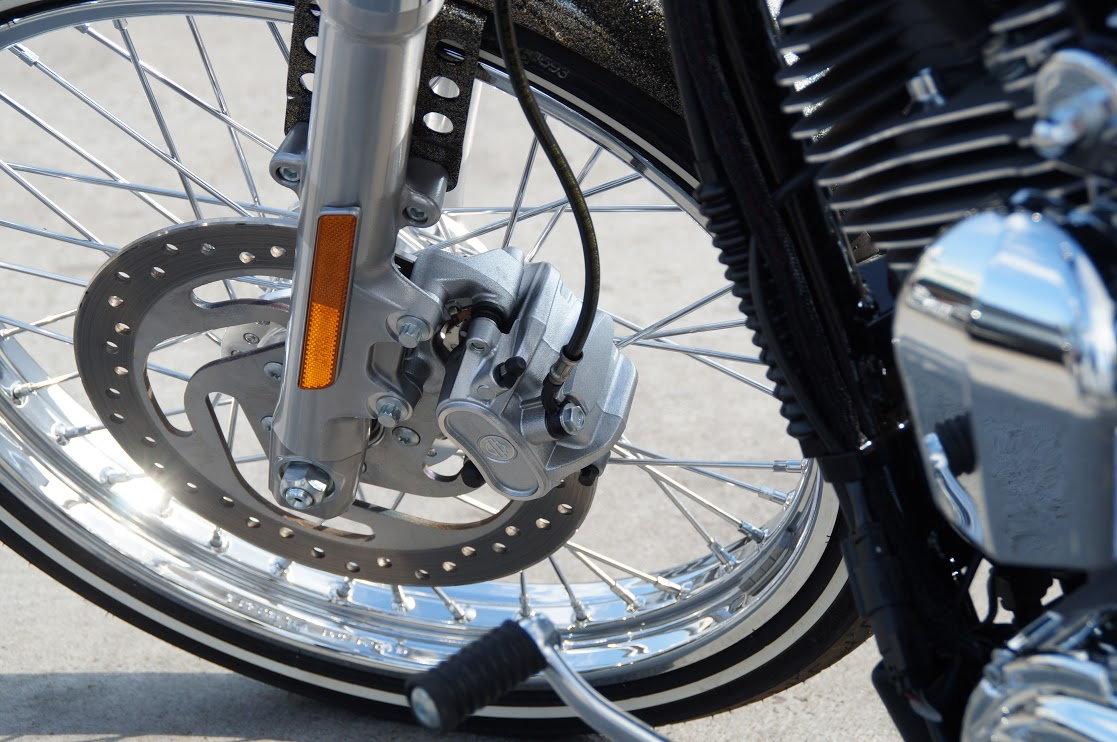
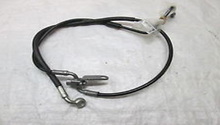
Figure 2. Connect hose to bleeder screw (covered in black cap). 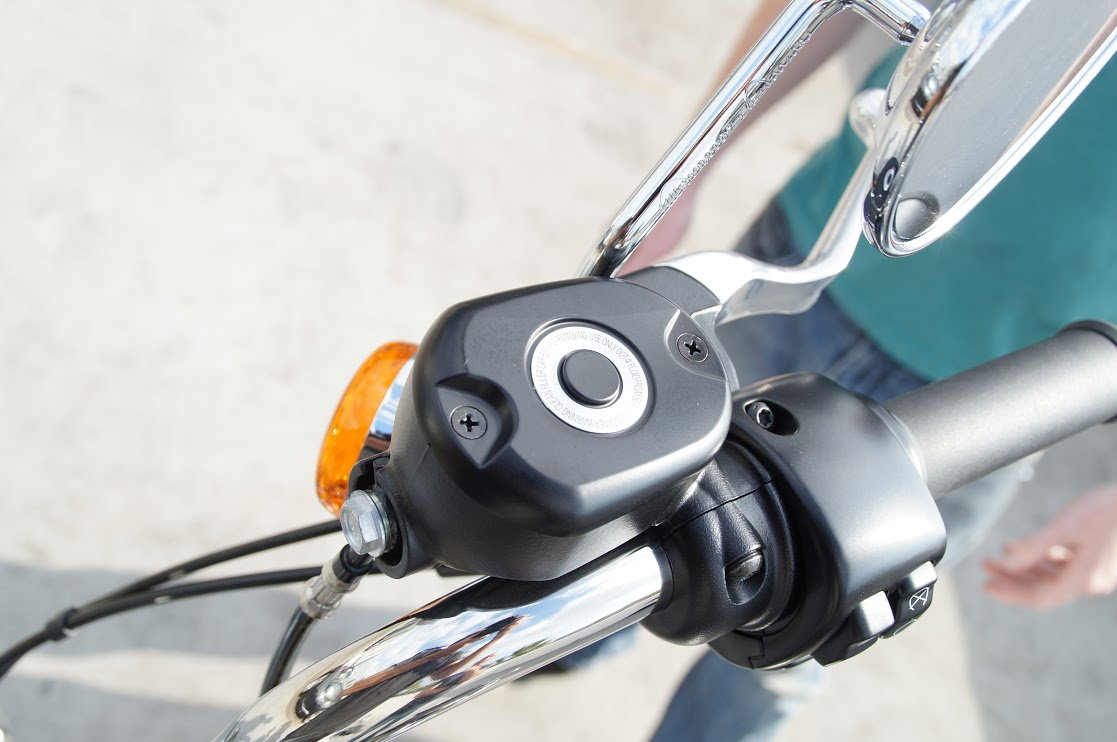
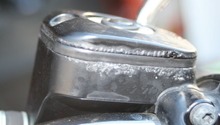
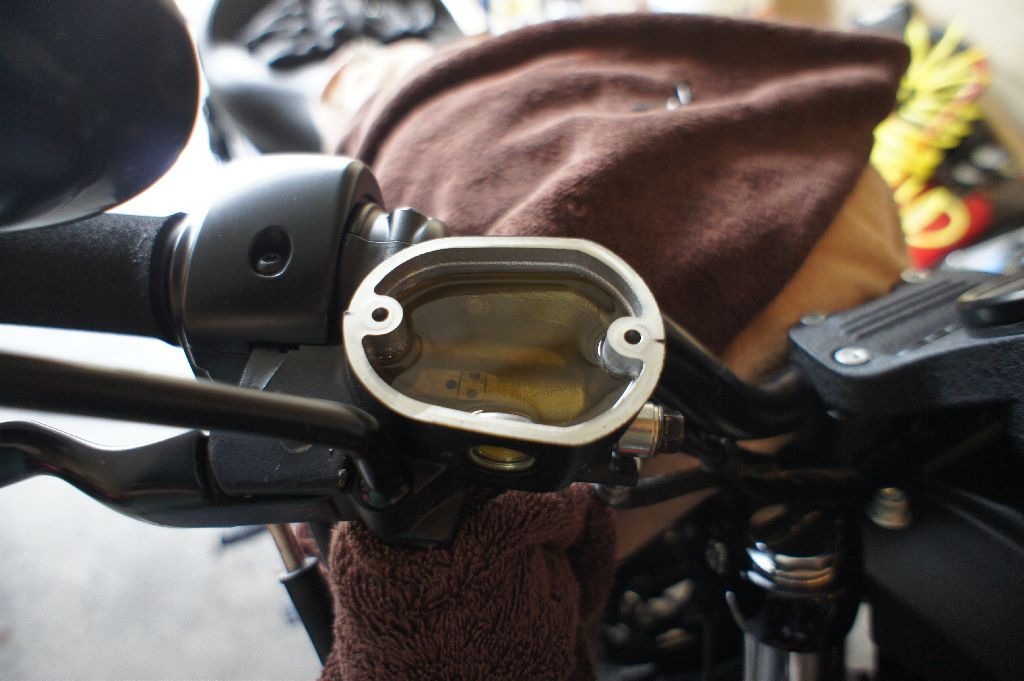
Figure 3. Remove master cylinder's cover.
Step 2 – Replace master cylinder
Let the brake fluid drain until it's completely empty. Using your wrench, remove the bolt holding the brake line to the master cylinder. Be sure to plug it so it doesn't drip on the paint. Before removing the master cylinder, insert a 4mm thick cardboard between the brake lever and the lever bracket. Remove the bolt holding the master cylinder in place from the front, then remove the master cylinder. Install the new master cylinder in place. Don't remove the 4mm thick cardboard until you've installed the master cylinder. Reinstall the brake line to the master cylinder, then tighten the bolt holding it in place.
Step 3 – Refill fluid and bleed
With everything in place, make sure the caliper's bleeder screw is tightened. Pour brake fluid into the new master cylinder until it's filled. Then pump the brake lever a few times, then loosen the bleeder screw while the brake lever is compressed. Watch the fluid coming out and once you stop seeing bubbles, tighten the bleeder screw, then let go of the brake lever. Top of the master cylinder to the proper level, close the cover, and tighten the two Phillips screws.
Related Discussions
- Should I Replace Master Cylinder? - HDForums.com
- Replace Front Master Cylinder - HDForums.com