Harley Davidson Softail: How to Install Tank Console
Adding a console to your Softail is an easy DIY job that really improves the lines of your tank.
This article applies to the Harley Davidson Softail (2005-2016).
Installing a center console to your tank will really make your Harley Davidson Softail pop. It gives your tank an even bigger look without taking up a lot of space and with little effort. This is a relatively easy DIY job that won't take you all day and won't break the bank. A professional will charge you a good deal for doing something that you can easily do yourself in your own spare time, so save yourself the money for some extra mods that you are longing for. You don't need any specialized tools, and it all comes together very nicely without any custom modifications needed. So read on and get started.

Materials Needed
- Flat head screwdriver
- Torx head ratchet with various sized Torx bits including T25, T27, T35 and T40
- Wrench or socket set
- Exacto knife or other razor sharp bladed knife
- Shop rags or painter's tape
This how-to article is specifically based on the Breakout version of the Softail with a Blackline center console, but it is similar to many other bikes and consoles.
Step 1 – Remove the seats
You don't need any special tools for this job. Remove the passenger seat (if fitted) and driver's seat by removing the three obvious bolts; often times these are just knurled fasteners you can remove with your fingers. Remove the single bolt on the rear fender behind the passenger seat and pull it straight out. Once the rear seat is removed, the two mounting bolts for the driver's seat are exposed. Remove these two bolts and pull the driver's seat off. Some models may use a nut and stud that comes up through the fender. Make reassembly easier by putting the nut or bolt back to keep the mating piece from falling out.
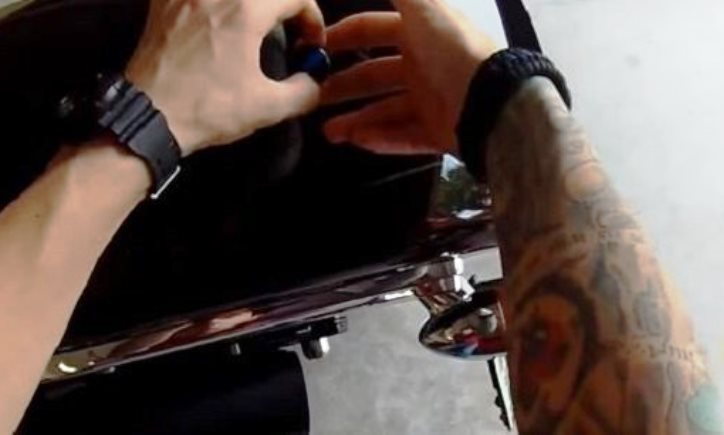
Figure 1.1. Remove the rear seat nut or bolt and pull off the passenger seat. 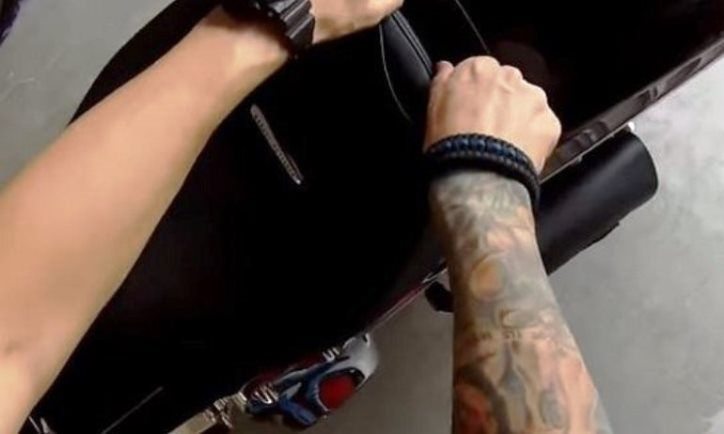
Figure 1.2. The two front seat bolts are removed next.
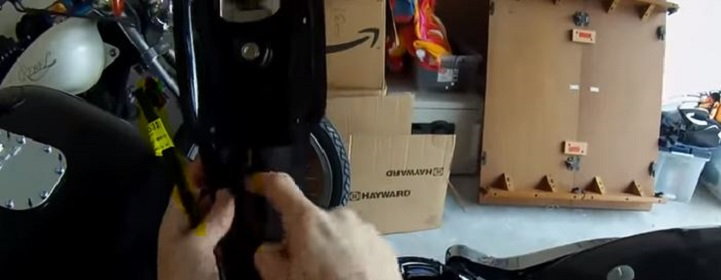
Step 2 – Remove the stock console
There are a couple of steps involved in removing the stock console. Take care not to scratch the chrome when removing in case you want to put it back or sell it.
- Use a small flat head screwdriver to pop off the center cap.
- Use a Torx to remove the exposed nut. Save this nut for later use.
- At the base of the console are two more Torx bolts, a little smaller, that need to be removed but will not be re-used.
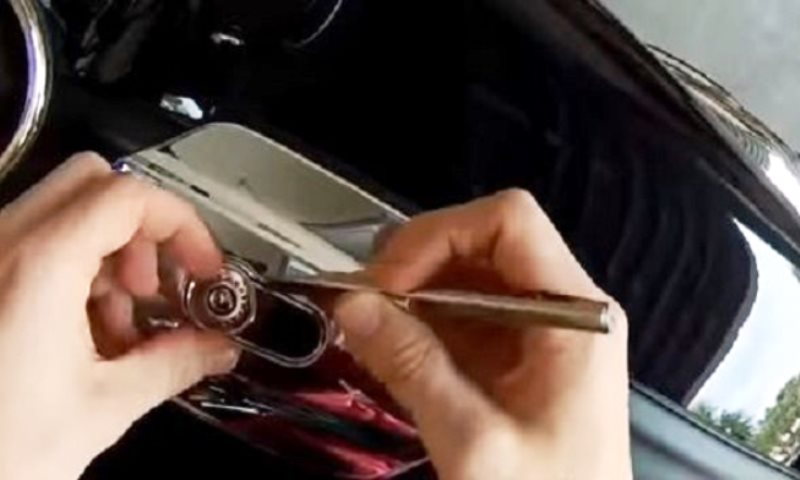
Figure 2.1. Use a flat head screwdriver to pry up and remove the center cap. 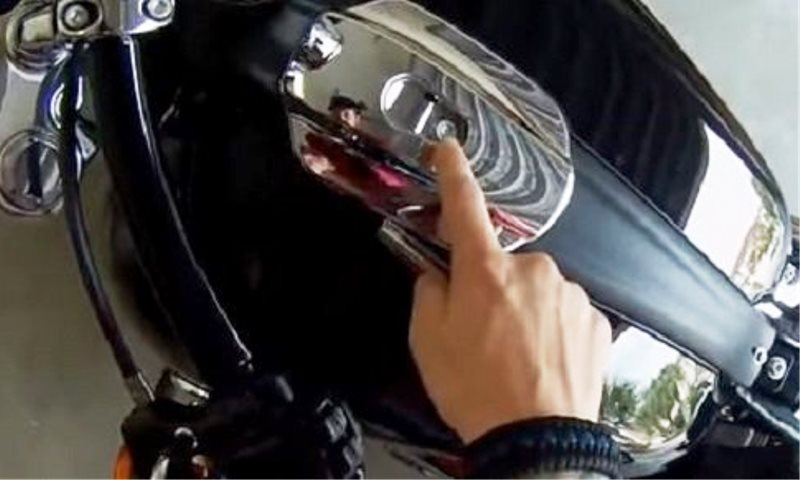
Figure 2.2. When the cap is removed, a Torx nut is exposed. Remove and save for later. 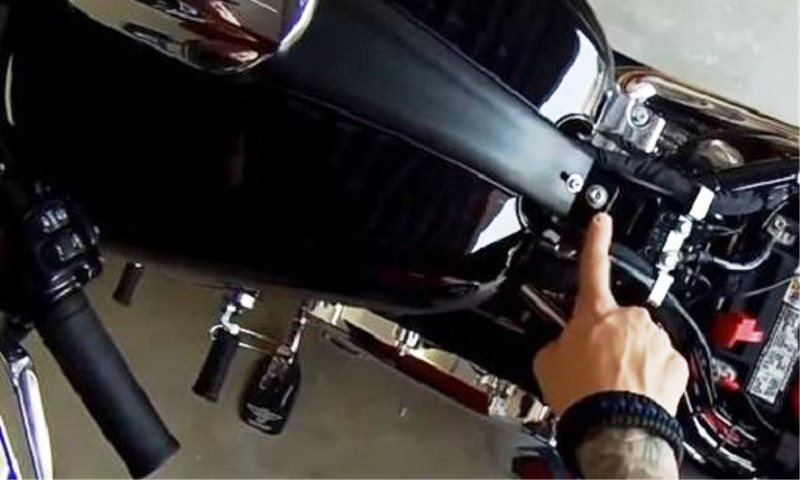
Figure 2.3. The lower console mounting Torx bolts must also be removed, but will not be re-used.
- Once all the bolts are removed, gently pry up the console and turn it on the side once it is free.
- Disconnect the fuel tank wiring harness by pushing in on the quick connect clip.
- Set the console near the bottom of the tank as it is still tethered to the wire.
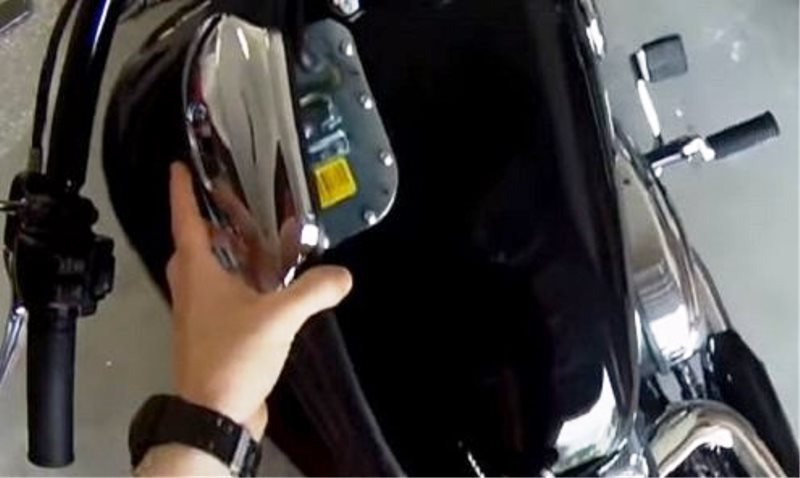
Figure 2.4. Start from the bottom and carefully pry up on the console and give it a turn to the side to get to the wiring harness. 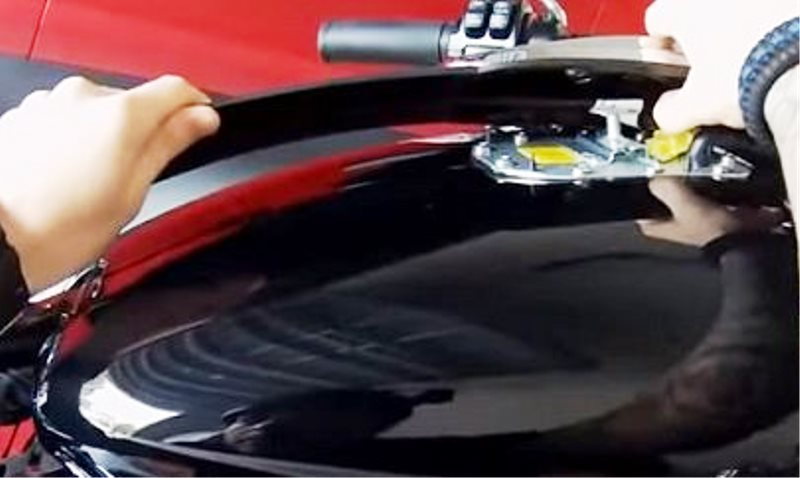
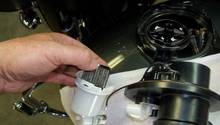
Figure 2.5. Push in on the quick connect clip to disconnect the wiring harness for the fuel pump.
Pro Tip
As you will be removing hardware from your tank, you may want to put something over it so you don't scratch the paint.
Step 3 – Remove the top plate from the tank
- There are 10 Torx screws mounting the top plate to the tank. Take care when removing these so you don't scratch up the paint on your tank. Painter's tape around the edges of the plate will help prevent scratching and won't leave a sticky residue.
- Once the bolts are removed, carefully twist and pull off the breather hose. Don't just muscle in there and try to yank it off.
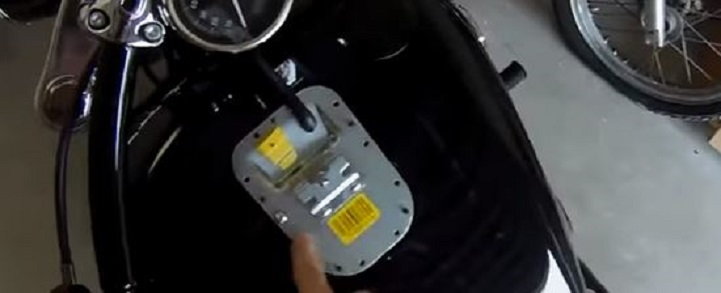
Figure 3.1. Remove the 10 Torx screws that mount the top plate onto your tank. 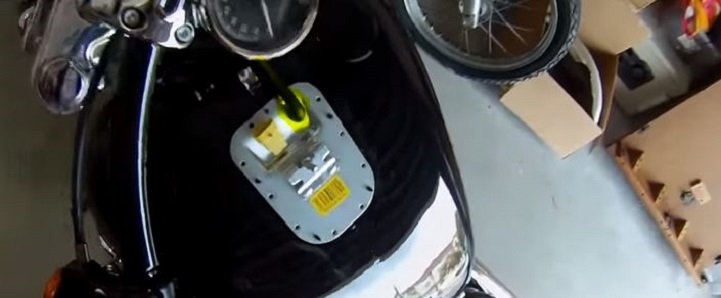
Figure 3.2. Carefully twist and pull off the breather hose.
- Carefully lift up on the plate and take note of all the connections underneath.
- Use a pair of needle nose pliers to pinch the metal clamp style connections to open up and disconnect the hoses.
- The electronic connections are disconnected in two steps: Pull out the gray tab and push in the lower black tab to release them.
- Carefully, use a flat head screwdriver to pry out the clamp on the plate that clips to the fuel pump.
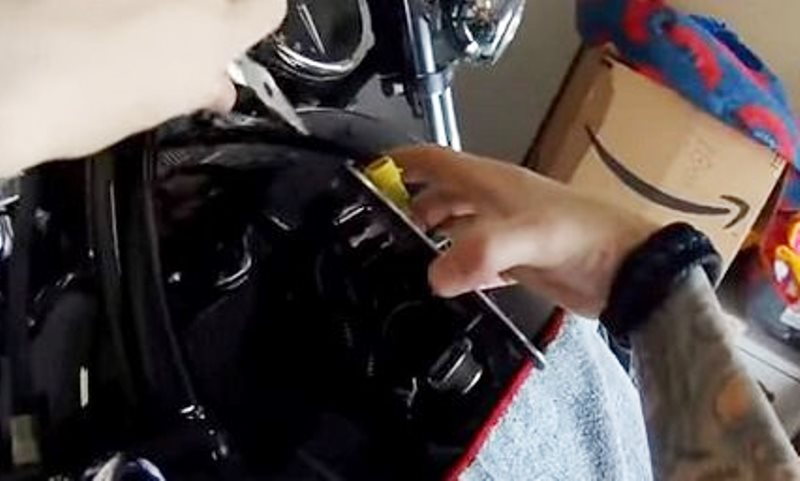
Figure 3.3. Use needle nose pliers to pinch the hose clamp to disconnect it. 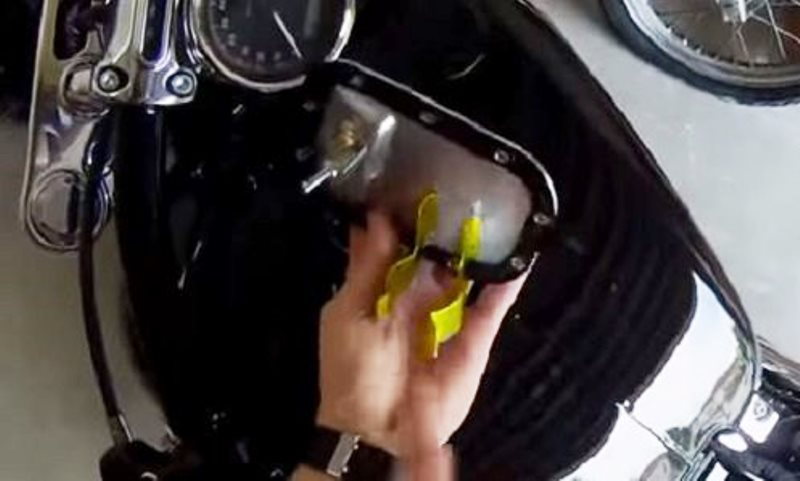
Figure 3.4. The fuel pump is connected to the plate by way of this C-clamp that is a little tough to remove.
Step 4 – Install the new top plate
The new top plate is pretty much identical to the existing, except the mounting bracket is a little different. If your new console includes a speedometer or additional options, there may be more wires to hook up. You will re-use the center nut from the stock plate, so save it for installation of the new one.
- Clip the fuel pump to the top plate first as this is the most difficult part. It's a bit easier to work with when you do it first.
- Re-attach the fuel line.
- Re-connect all the electronics. Make sure they are completely reattached.
- The new top plate already comes with the gasket installed. Simply re-seat into position.
- Reattach the breather hose.
- Replace all 10 Torx screws.
- Don't forget to re-use the center bolt from the original top plate and re-use it on the new top plate. It pops right in.
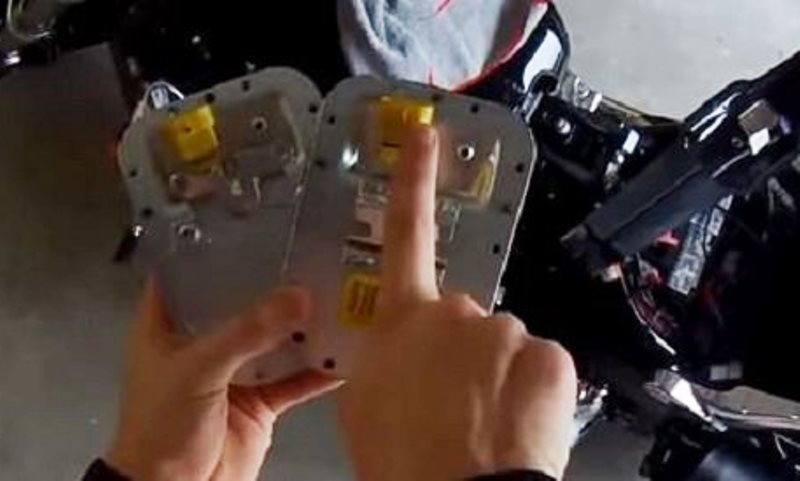
Figure 4.1. The Blackline top plate is on the left, stock is on the right. Only the mounting brackets are different. 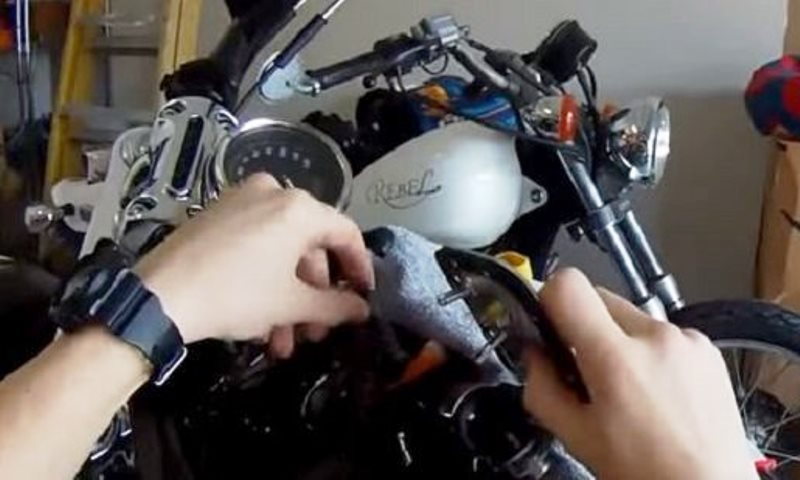
Figure 4.2. When installing the new plate, clip on the fuel pump first and then make all the other connections. 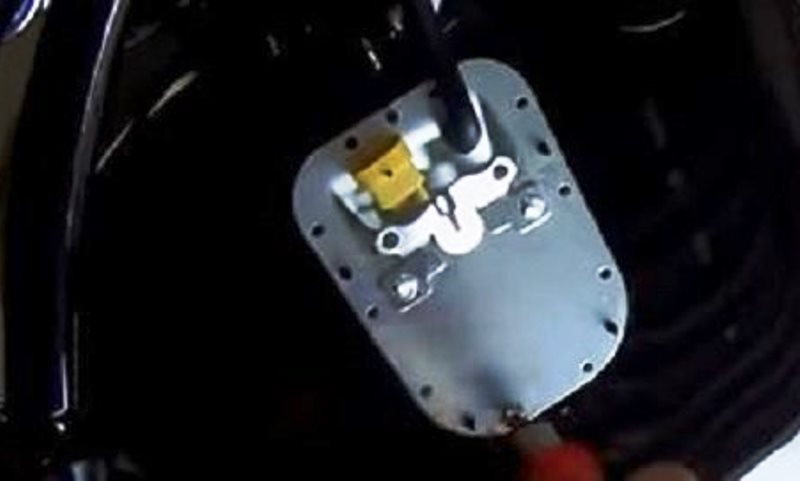
Figure 4.3. Attach the breather hose first and then replace all 10 Torx screws.
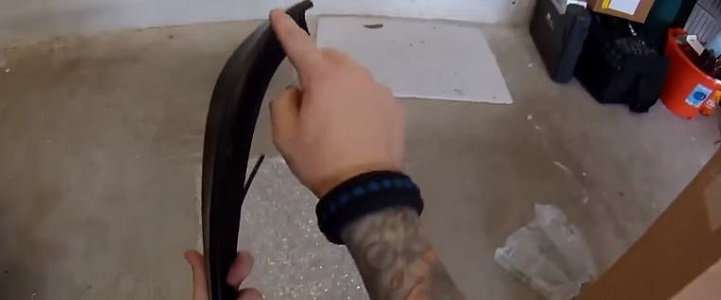
Step 5 – Install the new gasket onto the console
The new console will come with gaskets that you will need to install. These are long rubber gaskets that are thicker on one end and taper off towards the other end. The thicker side will go to the outside of the console. You will need to trim it to length, near the end of these steps.
Step 6 – Cut out fuel pump line from old console
Carefully cut out the fuel pump line from the bottom of the old console and set the old console aside. Be very careful when doing this procedure to not cut into the gasket or damage the old console if you want to return the bike to stock or sell the old console outright. Attach the fuel pump line to the new top plate.
Step 7 – Bolt on new console, replace seats
Place the new console into position for correct fitment before you start making connections permanent. You'll then want to trim any excess gasket away for a nice finish.
- When installing the top Torx bolt, push down on lower end of console to ensure there are no gaps between it and the tank.
- Secure the lower Torx bolts.
- Pop the Harley logo into place to cover the top hold down bolt.
- Reinstall the driver's seat and then the passenger seat
- Enjoy the incredible new look that you just created.
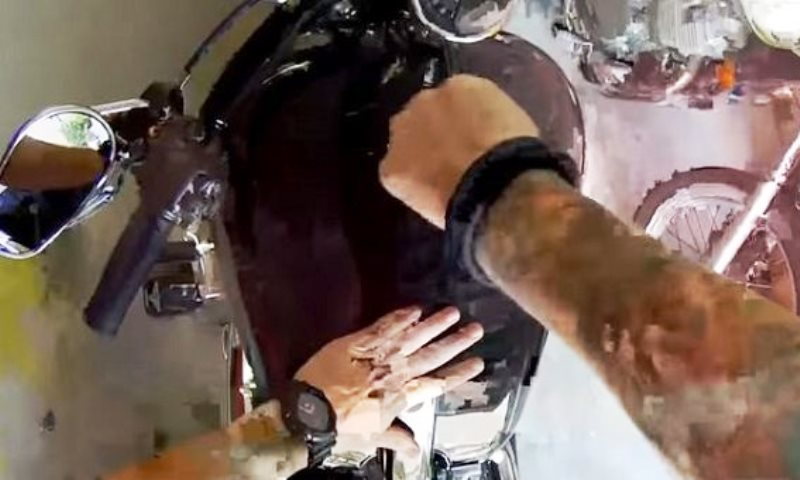
Figure 7.1. Press down on the lower portion when securing the upper Torx screw. 
Figure 7.2. Don't forget to pop in the new Harley Logo that came with your Blackline console kit.
Featured Video: Breakout Console Installation
Related Discussion
- Blackline Tank Console Added to Breakout - HDforums.com