Harley Davidson: How to Fix Tire Leak
A tire leak can often feel like slow death in the Harley Davidson. Sometimes it just isn't practical to replace the entire tire, but sometimes that is the only option.
This article applies to the Harley Davidson Softail, Touring, Dyna Glide, and Sportster (1995-2015)
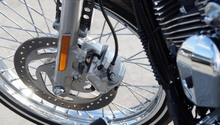
A tire leak is a major inconvenience in the Harley Davidson. If you notice it is low, even a day after checking and filling it, then you have a small air leak somewhere. Luckily, if you have a bike with tubeless tires, there are kits that are designed to plug such leaks. However, before you purchase a kit, be sure the leak is coming from the tire and not the valve stem. Sometimes you can listen for the leak, and sometimes you will actually find the cause of the leak still sticking out of the tire. If you don't see anything obvious, spray water and soap on the tire and valve stem, one small section at a time. When you see bubbles, then you've found your leak. Once you're sure the leak is from the tire itself, and not a valve stem or a bent rim, purchase a plug kit and get working. Read on to learn how to use it to plug the tire on your Harley Davidson.

Materials Needed
- Water and soap
- Pliers
- Scissors
- Phillips head screwdriver
- Tire plug kit
Warning
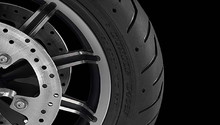
Tire plugs can only be used on tubeless tires and cast alloy wheels. Spoked wire wheels still have an inner tube inside of them, even if the tires are listed as tubeless. The only solution for a tire with an inner tube is to replace the tube.
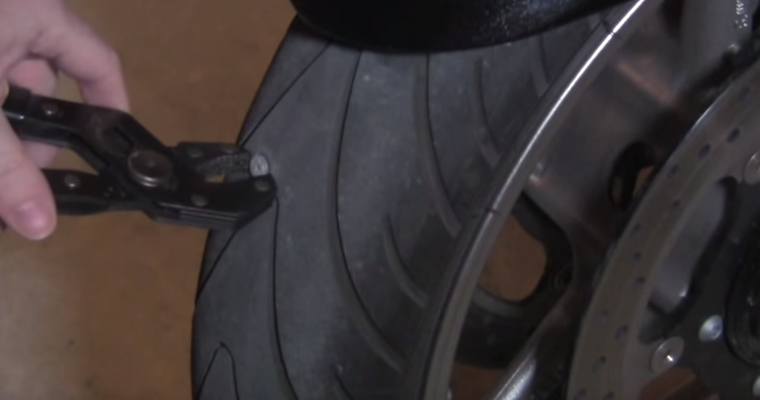
Step 1 – Remove cause of puncture
If your tire still has a nail or screw in it, finding the leak is easy. Pull the offending object out with a pair of pliers, or if it is a screw, unscrew it. If the leak is from the valve stem, or even worse the rim itself, you have no option other than taking the wheel off to fix it.
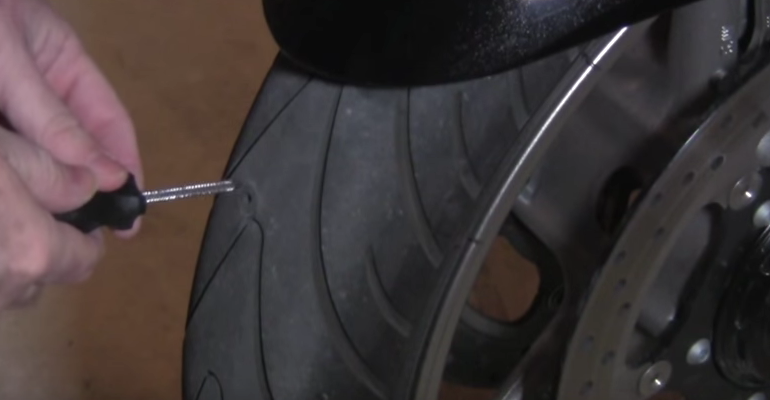
Step 2 – Ream the hole
Most plug kits come with a reamer to clean out the hole. Clean the hole so it is even and there is no debris in it.. If you don't have a ream, you can use a proper sized Phillips head screwdriver.
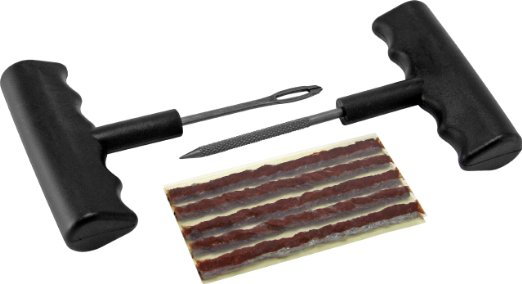
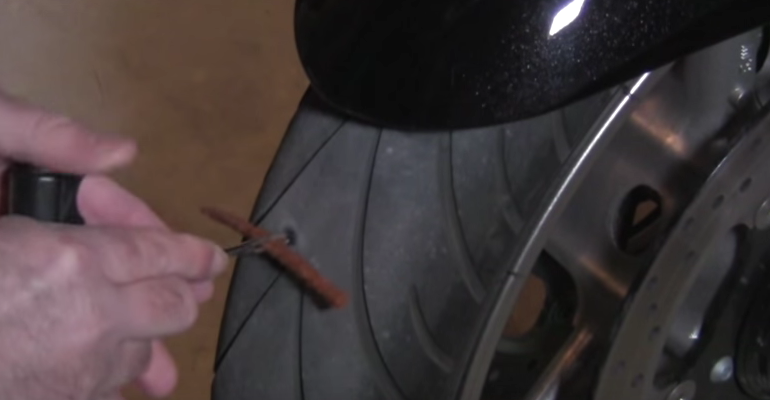
Step 3 – Plug the hole
The most important part of the tire plug kit is the plug material, a soft brown/red or black rubber. The plugger tool is a cross between a sewing needle and a screwdriver. Thread the plug through through the plugger, then insert it in the hole. If you have reamed the hole properly, you should be able to force the plug into the tire, and pull out the plugger. It should come out by itself without the plugging material.
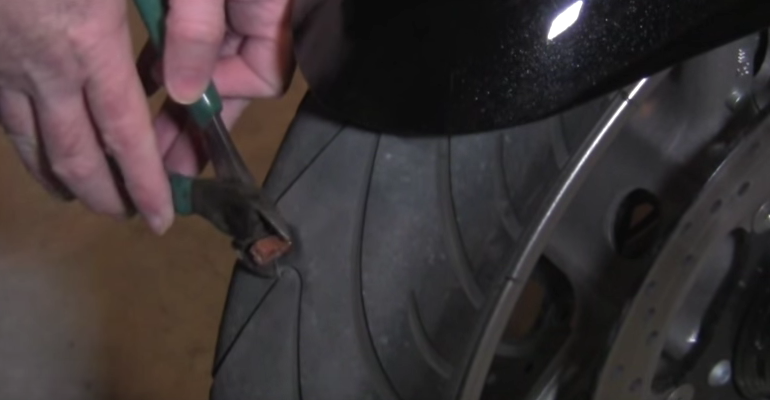
Step 4 – Trim excess
Trim the material sticking out using your wire cutter or scissors. No need to cut it perfectly flush, as a little sticking out will help you seat the plug in the tire as you ride.
Step 5 – Re-inflate and monitor tire pressure
This plug can last for months, or it could still leak slowly from the time you fix it. Re-inflate the tire to the proper pressure, or even a little more, and ride it. Monitor your tire pressure for a few days, checking at every stop to see if it is still leaking.
Pro Tip
These plugs are designed as a temporary solution to the tire leak. Be sure to visit a tire shop to get it probably sealed.
Related Discussions
- Tire Leak - HDForums.com
- Rear Tire Leak - HDForums.com
- Tire Leaking - HDForums.com