Harley Davidson Dyna Glide: How to Replace Your Tail Lights
The tail light is a vital part of your Harley Dyna Glide. If they don't work, you'll end up being stuck in a dangerous situation. Luckily, replacing them is pretty easy. Here is how you do so.
This article applies to the Harley Davidson Dyna Glide.
Broken tail light? An evening drive and tight traffic is one the worst situation you can place yourself in. Like on a car, the tail light's purpose is to warn other drivers when you are coming to a stop. Without these warning lights, riders are prone to put not only themselves in danger, but surrounding motorists. The tail light on your Dyna Glide is very simple to remove, and can be completed at home in under 30 minutes. Use these instructions to replace the tail light bulb on your Harley Dyna Glide.

Materials Needed
- Phillips screwdriver
- Replacement tail light bulb or assembly
Note: This article details how to replace a stock tail light assembly only. We will not be discussing other tail light modifications that can be done.
Step 1 – Loosen and remove screws
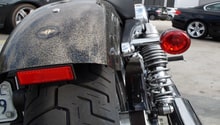
It is rather hard to miss the bulky tail light on your rear fender. Although many Dyna owners believe this to be a sore sight on many models, it does have its perks. The tail lights are mounted using two Phillips screws, which are located on the left and right side of the housing. Use your screwdriver to remove them.

Step 2 – Remove assembly
With both screws off, you can easily pull off the entire assembly from the rear fender. Do so carefully, so as not to damage the small wiring harness that will still be connected. Once you make enough room, disconnect the plug that goes to the bulb.
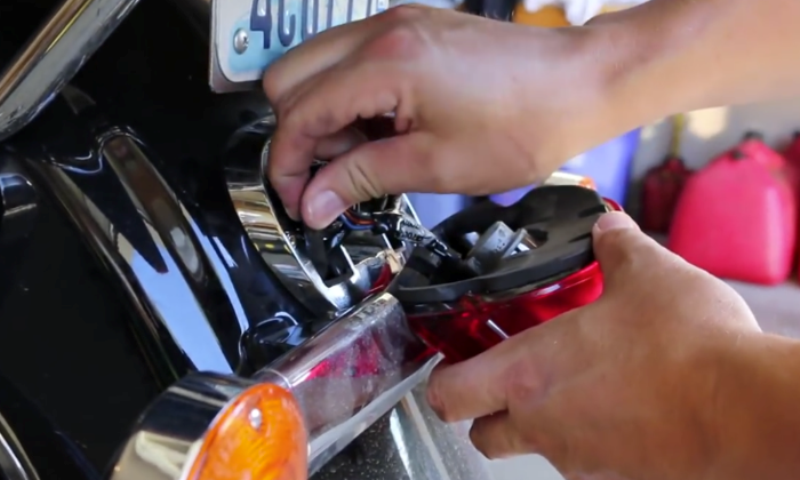
Figure 2. Remove the tail light assembly. 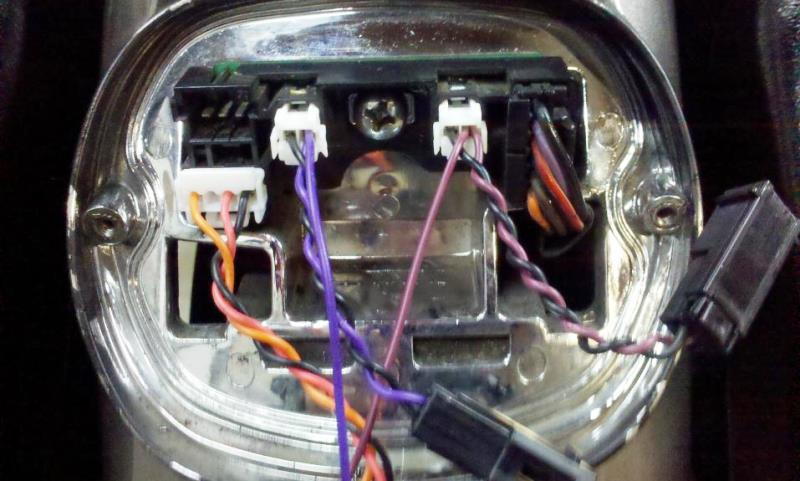
Figure 3. Top portion of tail light mounting bracket.
Step 3 – Install new tail light bulb or assembly
This next step depends on whether or not the tail light bulb or assembly is damaged. If it is just the bulb that is burned out, push in and turn to remove the old one from the socket, then replace it. For the entire assembly, first make sure the new model fits. Align each mounting hole to the rear fender and tighten the screws in place.

Featured Video: LED Brake Lights and Turn Signals Install
Related Discussions
- Different Tail Light Suggestions - HDForums.com
- Help Replacing Tail Light Bulb, Please - HDForums.com
- Custom Dynamics Integrated LED Tial Light/Blinker Setup - HDForums.com