Harley Davidson Dyna Glide: How to Replace Brake Lines
The brake lines on the Harley Davidson Dyna Glide are exposed to various weather conditions that can make them crack and leak. This guide will show you how to replace them.
This article applies to the Harley Davidson Dyna Glide.
The brake system on your Harley Davidson Dyna Glide is a pressurized system. In order for it to remain effective, you need to maintain the pressure inside of it. A bad brake line can ruin the whole system; as it introduces air into it, it sacrifices brake performance and feel. If you visually see a leak from your brake line, or if you feel that the brake pedal or lever feels spongy, you may need to replace a brake line. Replacing the brake line isn't a hard process; however, you will need to bleed the brakes after to ensure there isn't any air in it. Read on to learn how you can replace your brake line yourself on the Harley Davidson Dyna Glide.

Materials Needed
- Wrench
- Socket
- Bottle
- Clear hose
- Phillips head screwdriver
- Brake fluid
- New brake line
Working on the front or back brake line is a similar process, except for the location. The right hand lever is the front brakes, while the right foot pedal is the rear brake. The master cylinder on the handlebar is for the front brakes, while the master cylinder on the right side, by the exhaust, is for the rear brakes.
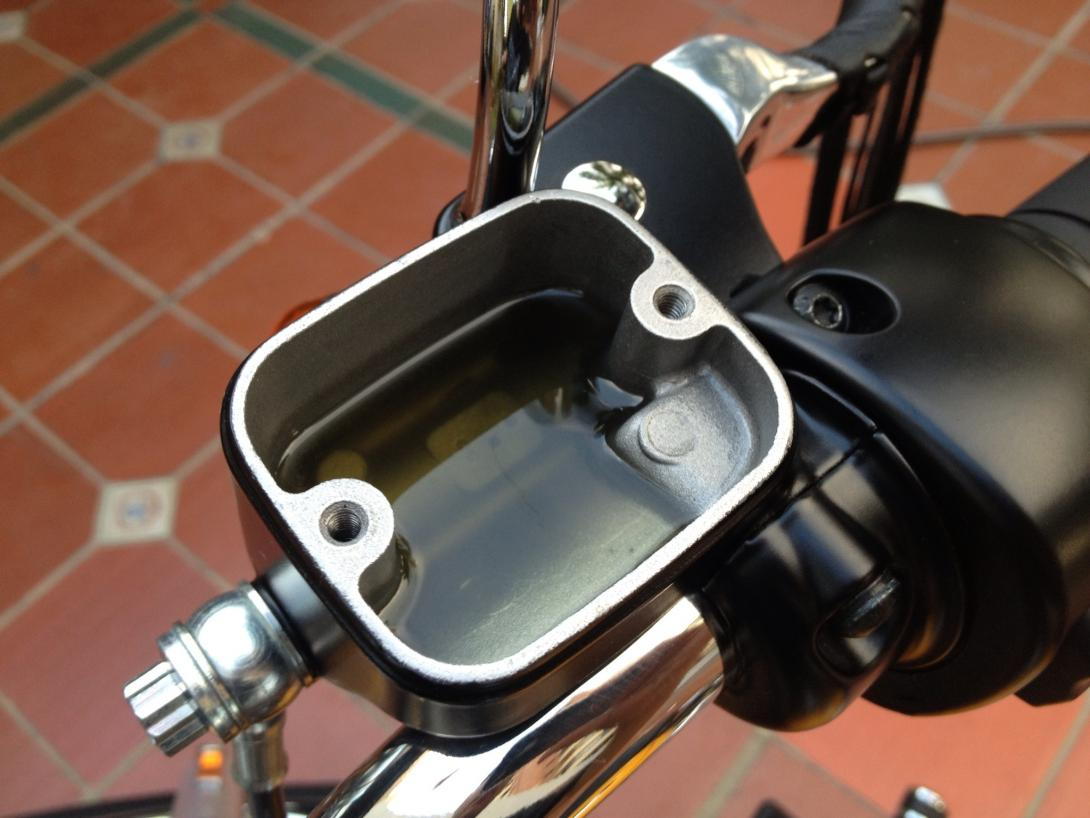
Step 1 – Flush old brake fluid
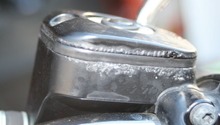
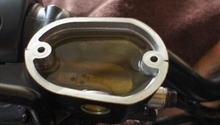
Before you remove the brake line, you will have to remove the brake fluid first to avoid a massive mess. Remove the master cylinder's cover using your Phillips screwdriver. Connect the clear hose to the bleeder screw on the front brake caliper, then connect the other end of it into a bottle. Considering you are working on the front brakes, loosen the bleeder screw to drain the brake fluid. Let the fluid drain completely.
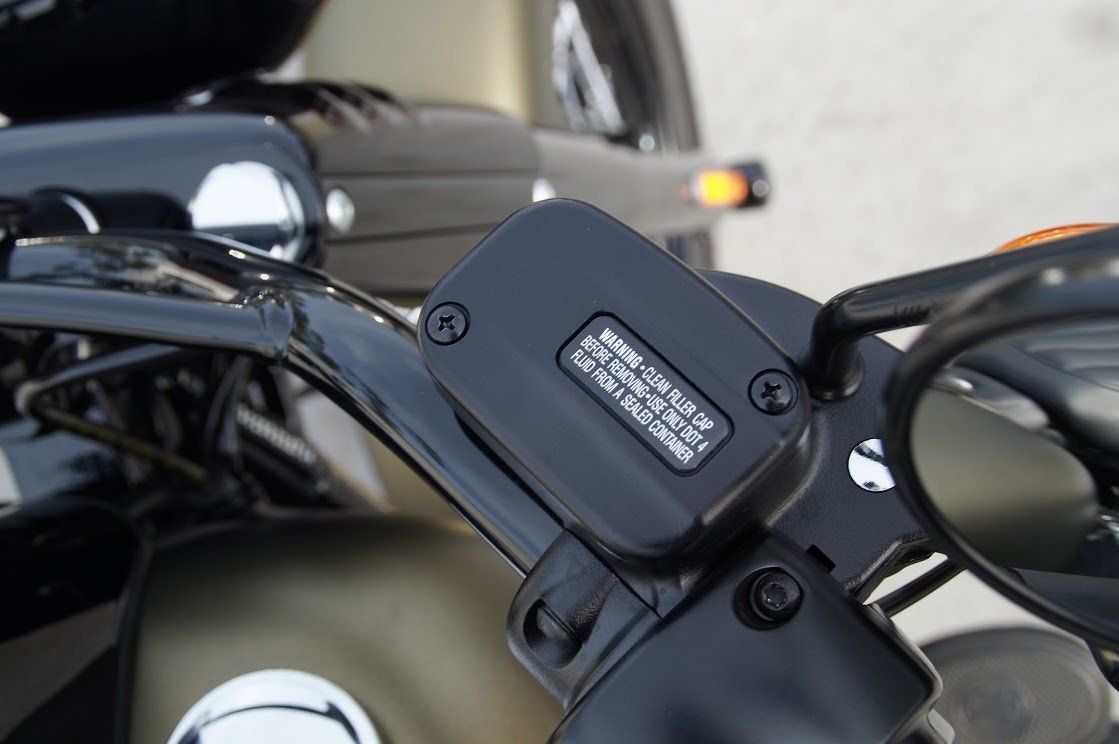
Figure 1. Master cylinder's cover. 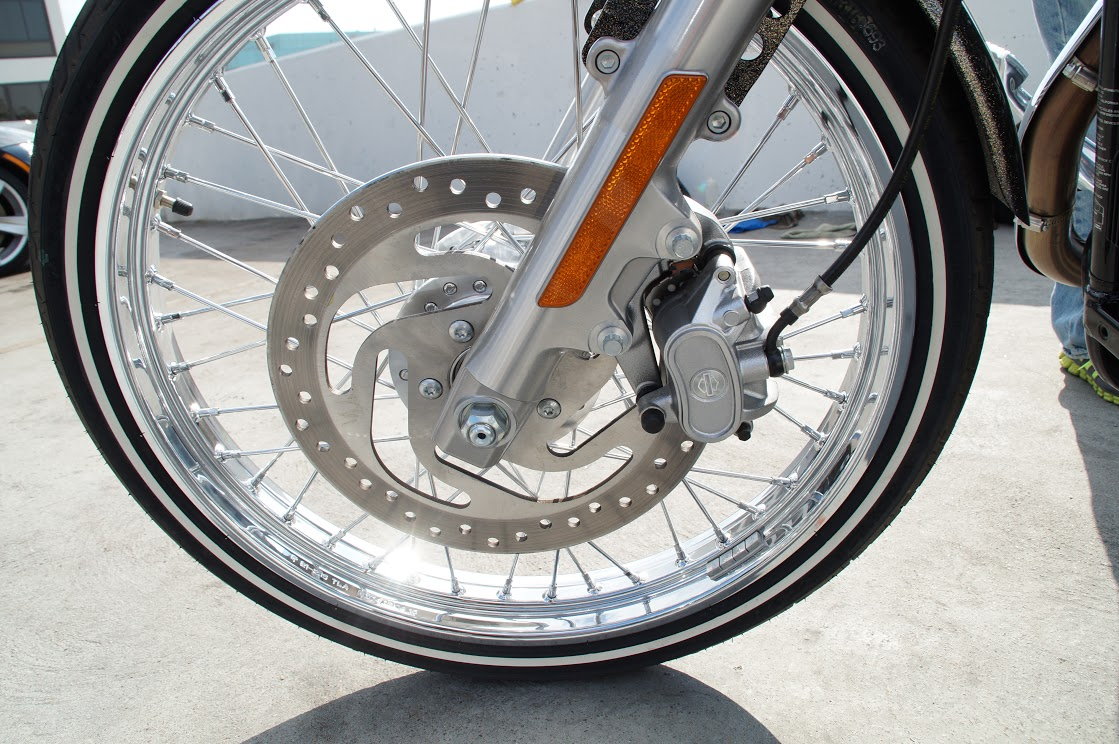
Figure 2. Connect hose to bleeder screw and loosen it to drain fluid.
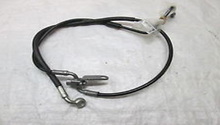
Step 2 – Replace brake line
Remove the bolt holding the brake line in place, the one connecting it to the master cylinder, and the one connecting it to the brake caliper. The line is held in place by a series of clips. Install the new brake line by connecting it to the master cylinder, then route it the same way the old one was routed (using the same clips you had on), then connect it to the brake caliper.
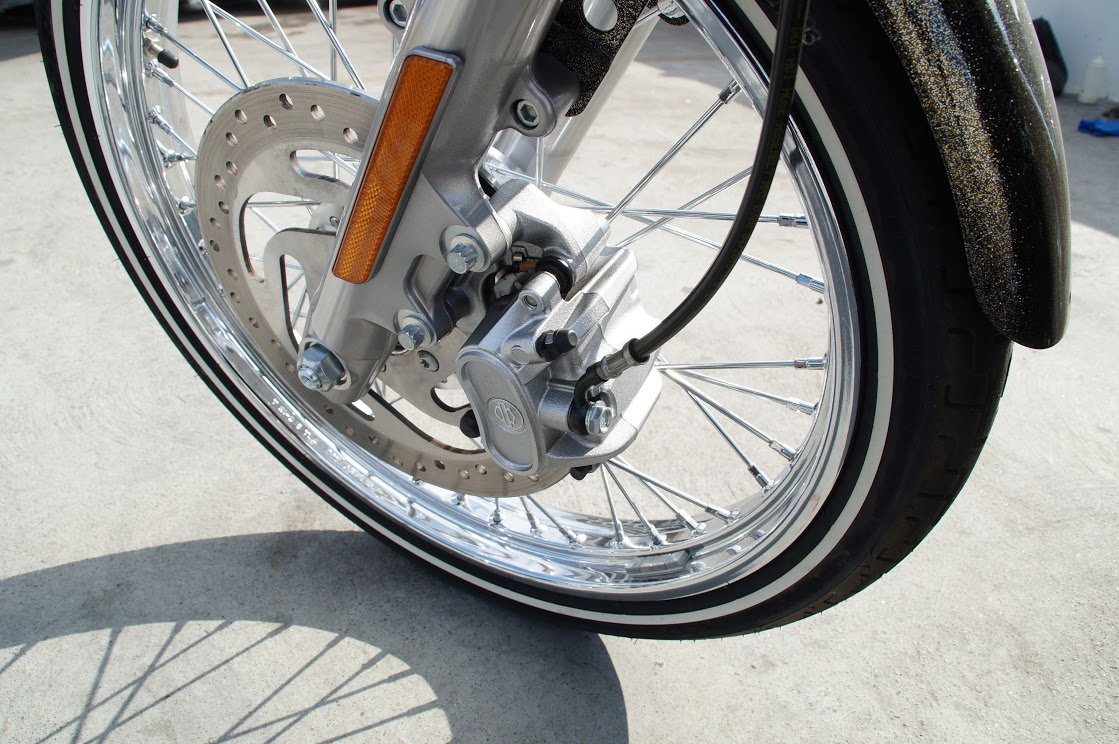
Figure 3. Brake line to caliper. 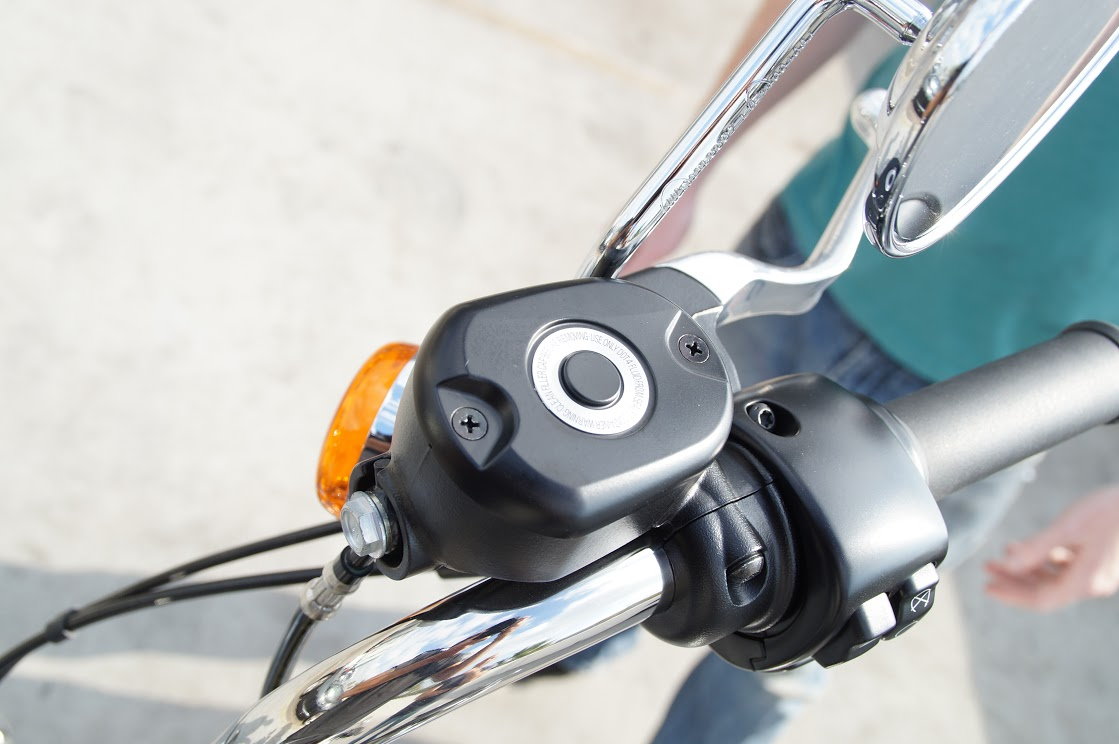
Figure 4. Brake line to master cylinder.
Step 3 – Refill with fresh fluid
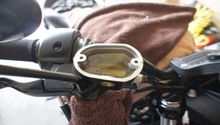
After ensuring the brake line connections are tight, make sure the bleeder screw is tight, then fill the master cylinder with fresh fluid until it's full. Finally, you have to bleed the brakes from any air one last time. Pump the brake lever a few times, then keep it pressed, loosen the bleeder screw and keep an eye on the fluid draining. As soon as you stop seeing bubbles in the fluid, tighten the bleeder screw first, then let go of the brake lever. Top off the master cylinder with fresh fluid, then close the master cylinder's cover and tighten its two screws.
Related Discussions
- Gasket for Brake Line - HDforums.com
- Help Changing Brake Line - HDforums.com