Harley Davidson Dyna Glide: How to Plasti Dip Various Parts
Painting various parts with Plasti Dip will give you the freedom to make your Harley Davidson Dyna Glide unique looking. Read on to learn how to successfully do it.
This article applies to the Harley Davidson Dyna Glide.
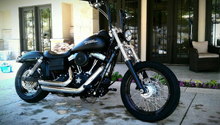
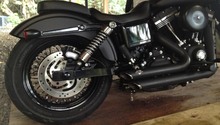
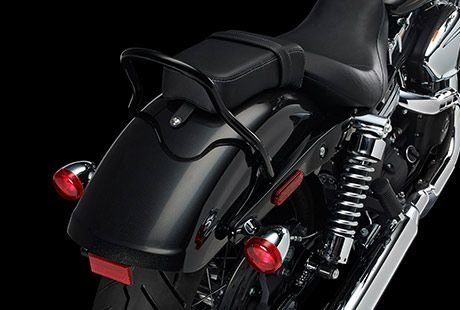
The Harley Davidson Dyna Glide comes in just a few stock colors, which means your bike looks a lot like many mass produced bikes. Plasti Dip allows you to paint various components any color you want without damaging the original finish, and it peels right off when you get sick of it. Whether you want to black out the whole bike, paint your rims army green, or change the color of one little component that you feel would look perfect in red, Plasti Dip allows you to achieve that. This guide will show you to paint various parts. You have two options before you start the painting process: you can either remove the part completely and paint it away from the bike, or you can mask everything around it with paper and painter's tape. It's recommended you remove the parts completely to avoid any mess; however, some are harder to remove than others. Read on to learn how to paint your parts using Plasti Dip.

Materials Needed
- Painter's tape
- Plasti Dip
The most important parts of painting are preparation and patience. The better you prepare, the better the result. Take your time masking the part or removing it completely so you don't have ugly over-spray on other parts. Clean everything thoroughly so the Plasti Dip sticks properly and you don't get dirt trapped in the finish. Painting various components requires the same process. Once you've established the part you will be painting, read on to learn how to actually paint it.
Pro Tip
Plasti Dip is more sensitive to heat than regular paint, so avoid using it on engine components or other parts that will get hot.
Step 1 – Tape around part
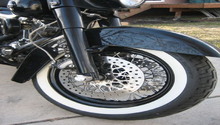
It's very important you tape patiently around the part you will not be painting to avoid getting Plasti Dip all over. Use your tape to cover anything that you may want to maintain original color. If you're painting the wheel for instance, tape the tire and the tire stem. If the wheel will stay on the bike while painting it, tape the forks and anything that you don't want to paint.
Step 2 – Clean parts
You don't want dirt or anything to be trapped under the paint, and the parts have to be clean to get proper adhesion, so clean the part you will be painting. If it only has dust on it, wipe it off with a dry towel, and if it has dirt stuck on it, wet the towel and clean it thoroughly. To get the best Plasti Dip finish, do the final wipe down with glass cleaner or rubbing alcohol to remove any grease or oil from your fingers.
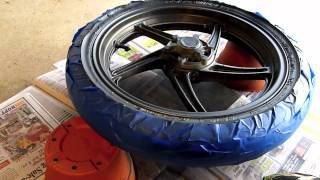
Step 3 – Paint parts
Shake the Plasti Dip can very well, then hold the spray can approximately 6 to 8 inches away from the part. Start spraying and keep your hand steadily moving as you paint. Don't stop at any spot or you will have the paint run down.
Wait 15 to 20 minutes for the first layer to dry, then paint another layer the same way. Paint three to four layers to build up a thick enough finish, so you can peel it off easily later when you wish to remove the Plasti Dip. It takes four to six hours for the paint to completely dry, so don't drive the bike until then. For clean masking lines, remove the tape an hour or so after the last coat has been sprayed, but before it is fully dry.
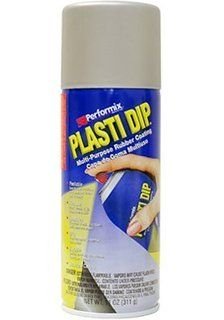
Figure 3. Plasti Dip spray can. 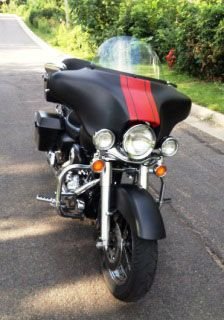
Figure 4. Plasti Dip Road King.
Featured Video: Plasti Dip Painting
Related Discussion
- The Plasti Dip Thread - HDForums.com