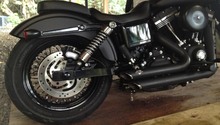
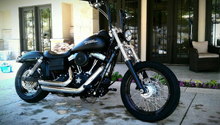
Harley Davidson Dyna Glide: How to Paint Your Rims Using Plasti Dip
Painting your Harley Davidson Dyna Glide's rims using Plasti Dip is a great way to completely change its looks.
This article applies to the Harley Davidson Dyna Glide.
Plasti Dip is an easy to remove paint that comes in a spray can that allows you to refinish parts of your bike without ruining the original finish underneath. It requires a few steps to perfect the end result, but the process can be learned by anyone. Painting your Harley Davidson Dyna Glide's rims with Plast Dip is a great way to customize its looks. The great thing about Plasti Dip is that it gives you the freedom to easily scratch it off later on when you want to go back to stock or change to a different color. If you are ready to paint your rims, choose your color, buy a can of Plasti Dip, and read on.

Materials Needed
- Plasti Dip
- Painter's tape
- Water and soap
- Rag
- Glass cleaner or alcohol (optional)
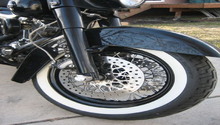
Step 1 – Clean rims
Before you start anything, you want to make sure your rim is as clean as a whistle. The last thing you want is beautiful paint trapping dirt and dust. Use water and soap to thoroughly clean your rim. Then be sure to dry it off completely. For best results, glass cleaner or alcohol can be used for the final wipe down.
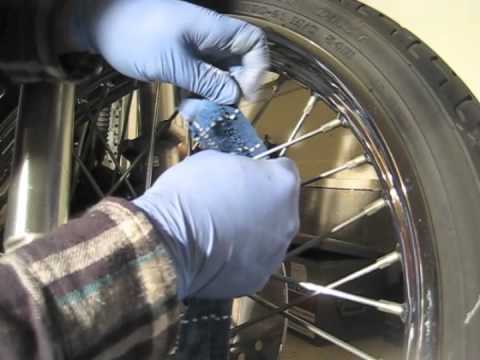
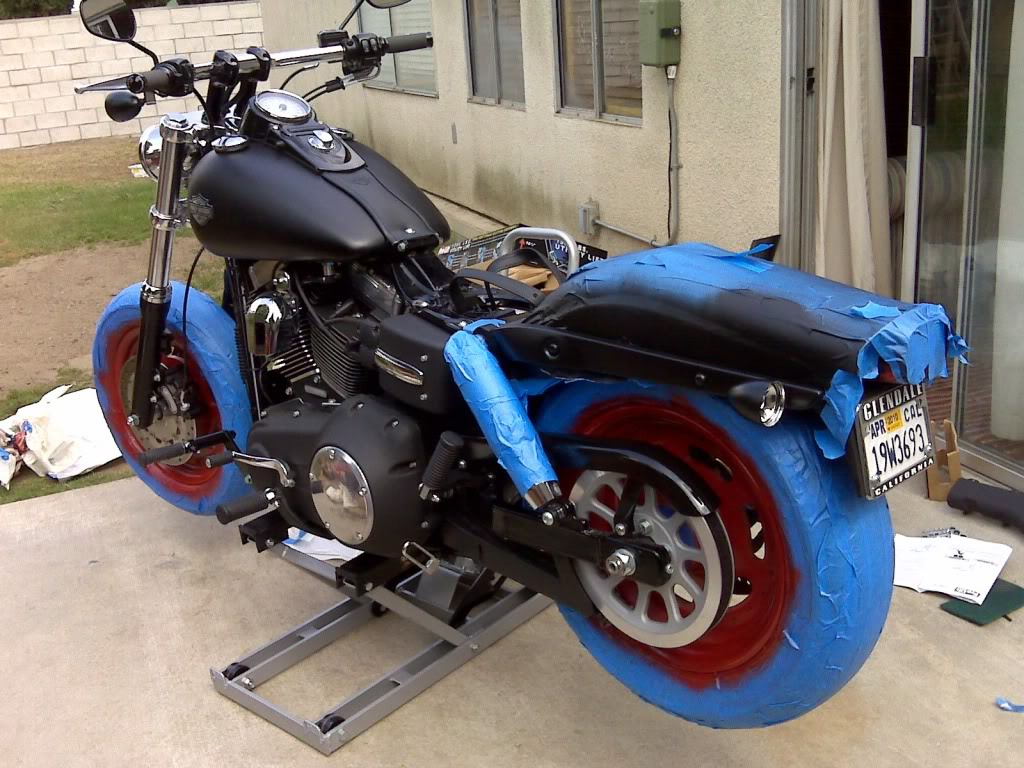
Step 2 – Tape off around rims
Tape off any part that you don't want paint on. It is easier to remove the wheels from the bike, but if not, tape off the forks, the tire itself, and the brake components. It's best you remove the brake caliper to gain more room. You can do that by simply removing the two bolts holding it to the the fork. Be sure not to get any Plasti Dip on the brake rotor or pads, or it may result in dangerous braking behavior.
Be sure the tape is tight and covering all parts that won't be painted.
Step 3 – Paint rims
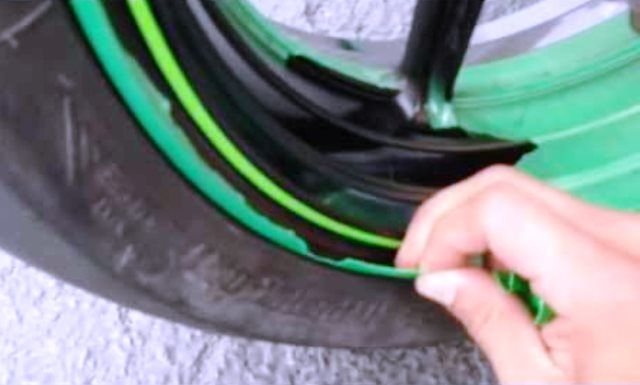
Shake the can of Plast Dip well for a good five minutes. Hold it six to eight inches away from the rim, and keep the can moving the whole time to avoid paint running down from too much sprayed in one spot. Be sure to get the spokes and everything. Wait 15 to 20 minutes, then do the same thing for the other side. Wait another 15 to 20 minutes, and do a second coat, then the other side the same way. Spray several coats instead of trying to get away with fewer thicker coats. You should get a good result by applying three clean coats of paint. Peel off the tape within an hour of the last coat, before the Plasti Dip is fully hard in order to get the cleanest lines.
Related Discussions
- Plasti Dip experiment - HDForums.com
- Playing with Plasti Dip - HDForums.com