Welcome Area OnlyNew Member Welcome Area Only. Be sure to pop in here and introduce yourself & let us know what Harley Davidson you own. Save your bike related questions for the proper area.
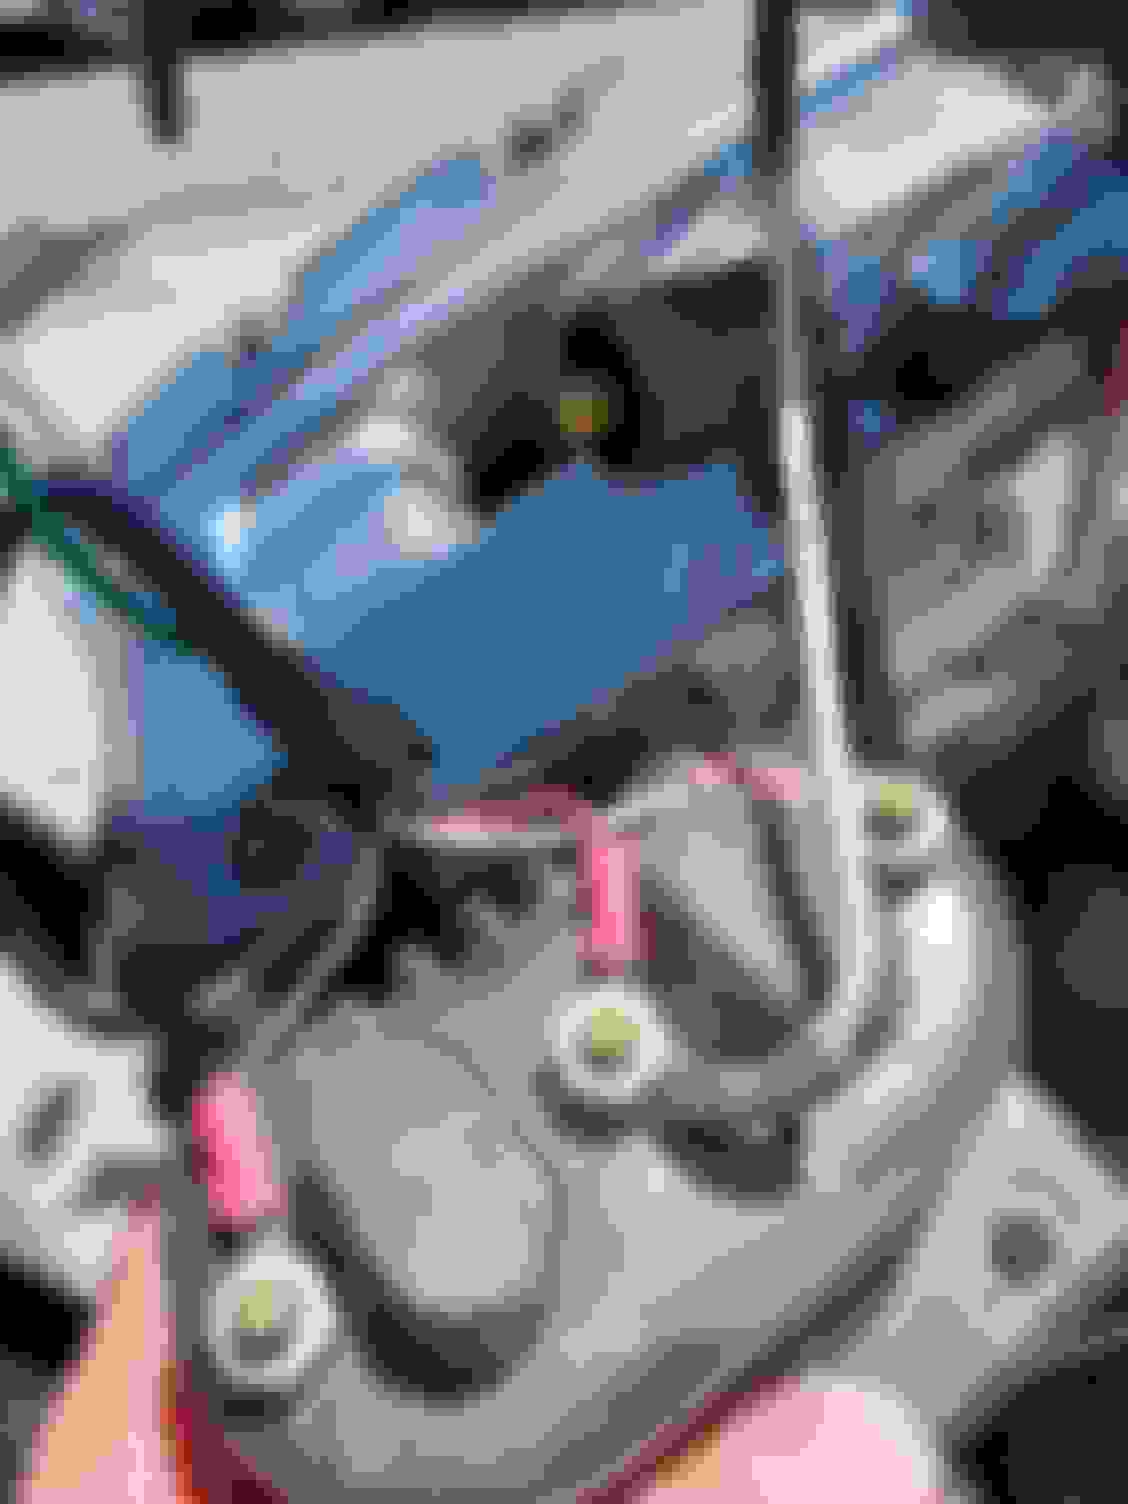
HI there all. New to the threads I just purchased a new to me 96 road king and rode great home until about an hour out from my house. found out my coil crapped out on me and I am in the middle of changing it out but I am stumped on how I need to put my wires to my coil. I took pictures of previous coil and wiring to remember where everything went and got home from Harley and this coil was only a 2 post as the previous was a 3 post. I called Harley and they reassured me this is the right coil for my bike. my question is if that is the case how would the wires go to the 2 posts to have proper spark. one set of wires has three from a harness that goes down to ignition module a pink white and black. then the other comes from back near battery single wire by itself and original wire is black and white with whoever changing in to a white wire. but I assume that's my hot and from what i have read in a few other threads is that on most single fire the three go together and the other by itself. I went ahead and tried this method with crank but no start. where do i go from here?
New Member Welcome Area Only. Be sure to pop in here and introduce yourself & let us know what Harley Davidson you own. Save your bike related questions for the proper area.
You can ask your questions or get advice in the proper sections later.
If you haven't read the rules, please do so now. They are posted at the top of this section.
If you are here to buy/sell/trade items, be advised that you need to have 5 posts and be a member for 5 days before you can use the Classified section. No ads are allowed outside of that area.
Add a Signature Line in your USER set up for your bike year, model, and all the letters that Harley recognizes it with so others see at the bottom of all your post. This enables others to know your exact model if you ever ask a question.
And an Avatar of your favorite shot in the USER set up for the small picture others will see in the top left corner of your post.
! DUAL FIRE INSTALLATION
Single plug: use Dynatek DC6-1 or stock coil. Dual plug: use two DC2-1 coils wired in series (equals 3 ohms).
1. Remove the stock ignition module. Remove the outer and inner covers on the cam position sensor. Mark the
engine case near the middle of the sensor. Remove the cam position sensor. The pins may be removed from the
connector housing by slowly but firmly pulling the wires from the rear of the connector.
2. Feed the wires of the 2000i through the hole in the engine case and seat the ignition. Rotate until the timing
pickup (nearest to the switches) is at the mark made in step 1. Replace the screws that held the cam position
sensor, finger tight.
3. Remove the wires from the coil. Use a test light or meter to find the white wire that has +12V when both the key
and the Run/Stop switches are on (later models have only a single white/black wire). Attach this and the white wire
from the 2000i to one of the primary terminals. Attach the pink wire from the 2000i to the other primary terminal.
4. Tach connection (if equipped). Attach the pink wire from the tach to the 2000i green wire with the large (.250)
blade connectors. If the bike had only one pink (or pink/black) wire at the coil, connect this to the 2000i green wire.
Do not connect the 2000i tach wire to the coil or damage to the ignition may result.
5. Remove the wire from the VOES (Vacuum Operated Electric Switch). Connect the 2000i purple wire with the
small (.187) receptacle terminal. If the VOES is not installed, see the tuning tips on the last page.
The blue wire is left unconnected. If there is no tach, the green wire is left unconnected. These should be folded
back and tucked into the harness sleeve. The unused stock wire harness can be removed or taped up.
6. Skip to the "Configuring The Mode Switches" section of these instructions
! SINGLE FIRE INSTALLATION (Two coils, one firing each cylinder)
Single plug: use Dynatek DC6-5 Twin-Fire II Performance Coil or two DC3-1 single output coils. Dual plug: use two
DC1-1 coils or DC6-4 Twin-Fire. Mounting brackets for two-coil installations are available from your dealer.
1. Follow the "Dual Fire Installation Instructions" above, through step 2.
2. Remove the coil. Use a test light or meter to find the white wire that has +12V when both the key and the
Run/Stop switches are on (some models have only a single white/black wire). Attach this and the white wire from
the 2000i to the coil (+) terminal (a jumper is supplied for two-coil installations). Note: dual tower coils do not have a
(+) terminal; either one can be used.
3. Connect the 2000i pink wire to the rear cylinder coil (-) terminal. The blue wire connects to the front cylinder coil
(-) terminal.
4. Tach connection - attach the pink wire from the tach to the 2000i green wire with the large (.250) blade
connectors. If there is no tach, fold the wire back into the harness sleeve.
If the bike had only one pink (or pink/black) wire at the coil, connect this to the 2000i green wire.
Do not connect the 2000i tach wire to the coil or damage to the ignition may result.
5. Remove the wire from the VOES (Vacuum Operated Electric Switch). Connect the 2000i purple wire with the
small (.187) receptacle terminal. If the VOES is not installed, see the tuning tips on the last page.
If there is no tach, the green wire can be folded back and tucked into the harness sleeve. The unused stock wire
harness can be removed or taped up.
! CONFIGURING THE MODE SWITCHES
The 2000i has 6 mode switches which allow you to configure the ignition for your engine build and riding style. Stick
the enclosed switch position label on the inside of the cam cover for future reference.
Switch 1 V.O.E.S. Description
OFF Normal Allows timing to reach full advance by 1500 rpm under light engine load
conditions, improving throttle response and gas milage. Most bikes should be set
to this mode.
ON Retard Uses the V.O.E.S. wire to retard timing for nitrous or turbo equipped bikes. See
below for further explanation.
Switch 2 Switch 3 Advance Curve Description
OFF OFF Curve 1 - This curves brings up the advance the earliest and to the highest
final value (most aggressive).
ON OFF Curve 2 - This curve brings up the advance a little slower than curve 1 to
prevent detonation on near stock motors.
OFF ON Curve 3 - This curve is good for built motors that tend to detonate, advance
comes in slower than curve 2 and to a lower final value.
ON ON Curve 4 - This curve should only be used if your motor still detonates using
curve 3, advance is brought in still slower and to a lesser final
value than curve 3 (least aggressive).
The proper advance curve will be determined by the level of engine modification, weight of bike and rider, gasoline
octane rating, air temperature, altitude, etc. Start with curve 2 which is similar to the stock curve. If you experience
any "pinging", try curve 3 . If the bike runs well on curve 2, try curve 1. Generally, you should run the curve that is
most aggressive without causing pinging.
Switch 4 Switch 5 Rev Limit Application
OFF OFF 6000 RPM stock motor
ON OFF 6500 RPM modified street motor
OFF ON 7000 RPM race motor (most Harley valve trains don't like
ON ON 7500 RPM race motor to be revved this high)
Switch 6 Firing Mode
OFF Dual Fire
ON Single Fire
 06-03-2022, 10:37 AM