K, The 1 inch pipe is too small to wrap around the tensioner spring and the "cup" must be opened up. Trial and error. Put it in a vise, beat it with a hammer, buy it a few drinks, whatever it takes... Once you have a close fit to the spring you can start the mods to catch the spring where it enters the cam plate...
Pictured is the 1.8 carbide burr for the dremel tool and a rough sketch of the slot for the spring tang.
It will look somewhat like this when you're done. Note that once the slot for the spring is cut, you must put it in the vise and, with a square end punch, or drift, the pointy end of the hook must be bent in towards the pivot axis
a slight amount. This, again, is a tap it, then check the fit, over and over till it slides under the spring. You will have to file it and shape it to capture the spring end where it enters the cam plate. Not a great pic, but you get the idea.
You will find, at this point in the fabrication, that the fit of this cup between the inner cam chain and the tensioner spring is way too snug. The wall thickness of the pipe will have to be reduced by about 20% or so to allow it enough room for the pointy hook to be maneuvered under the spring end. Grab it with vise grips and
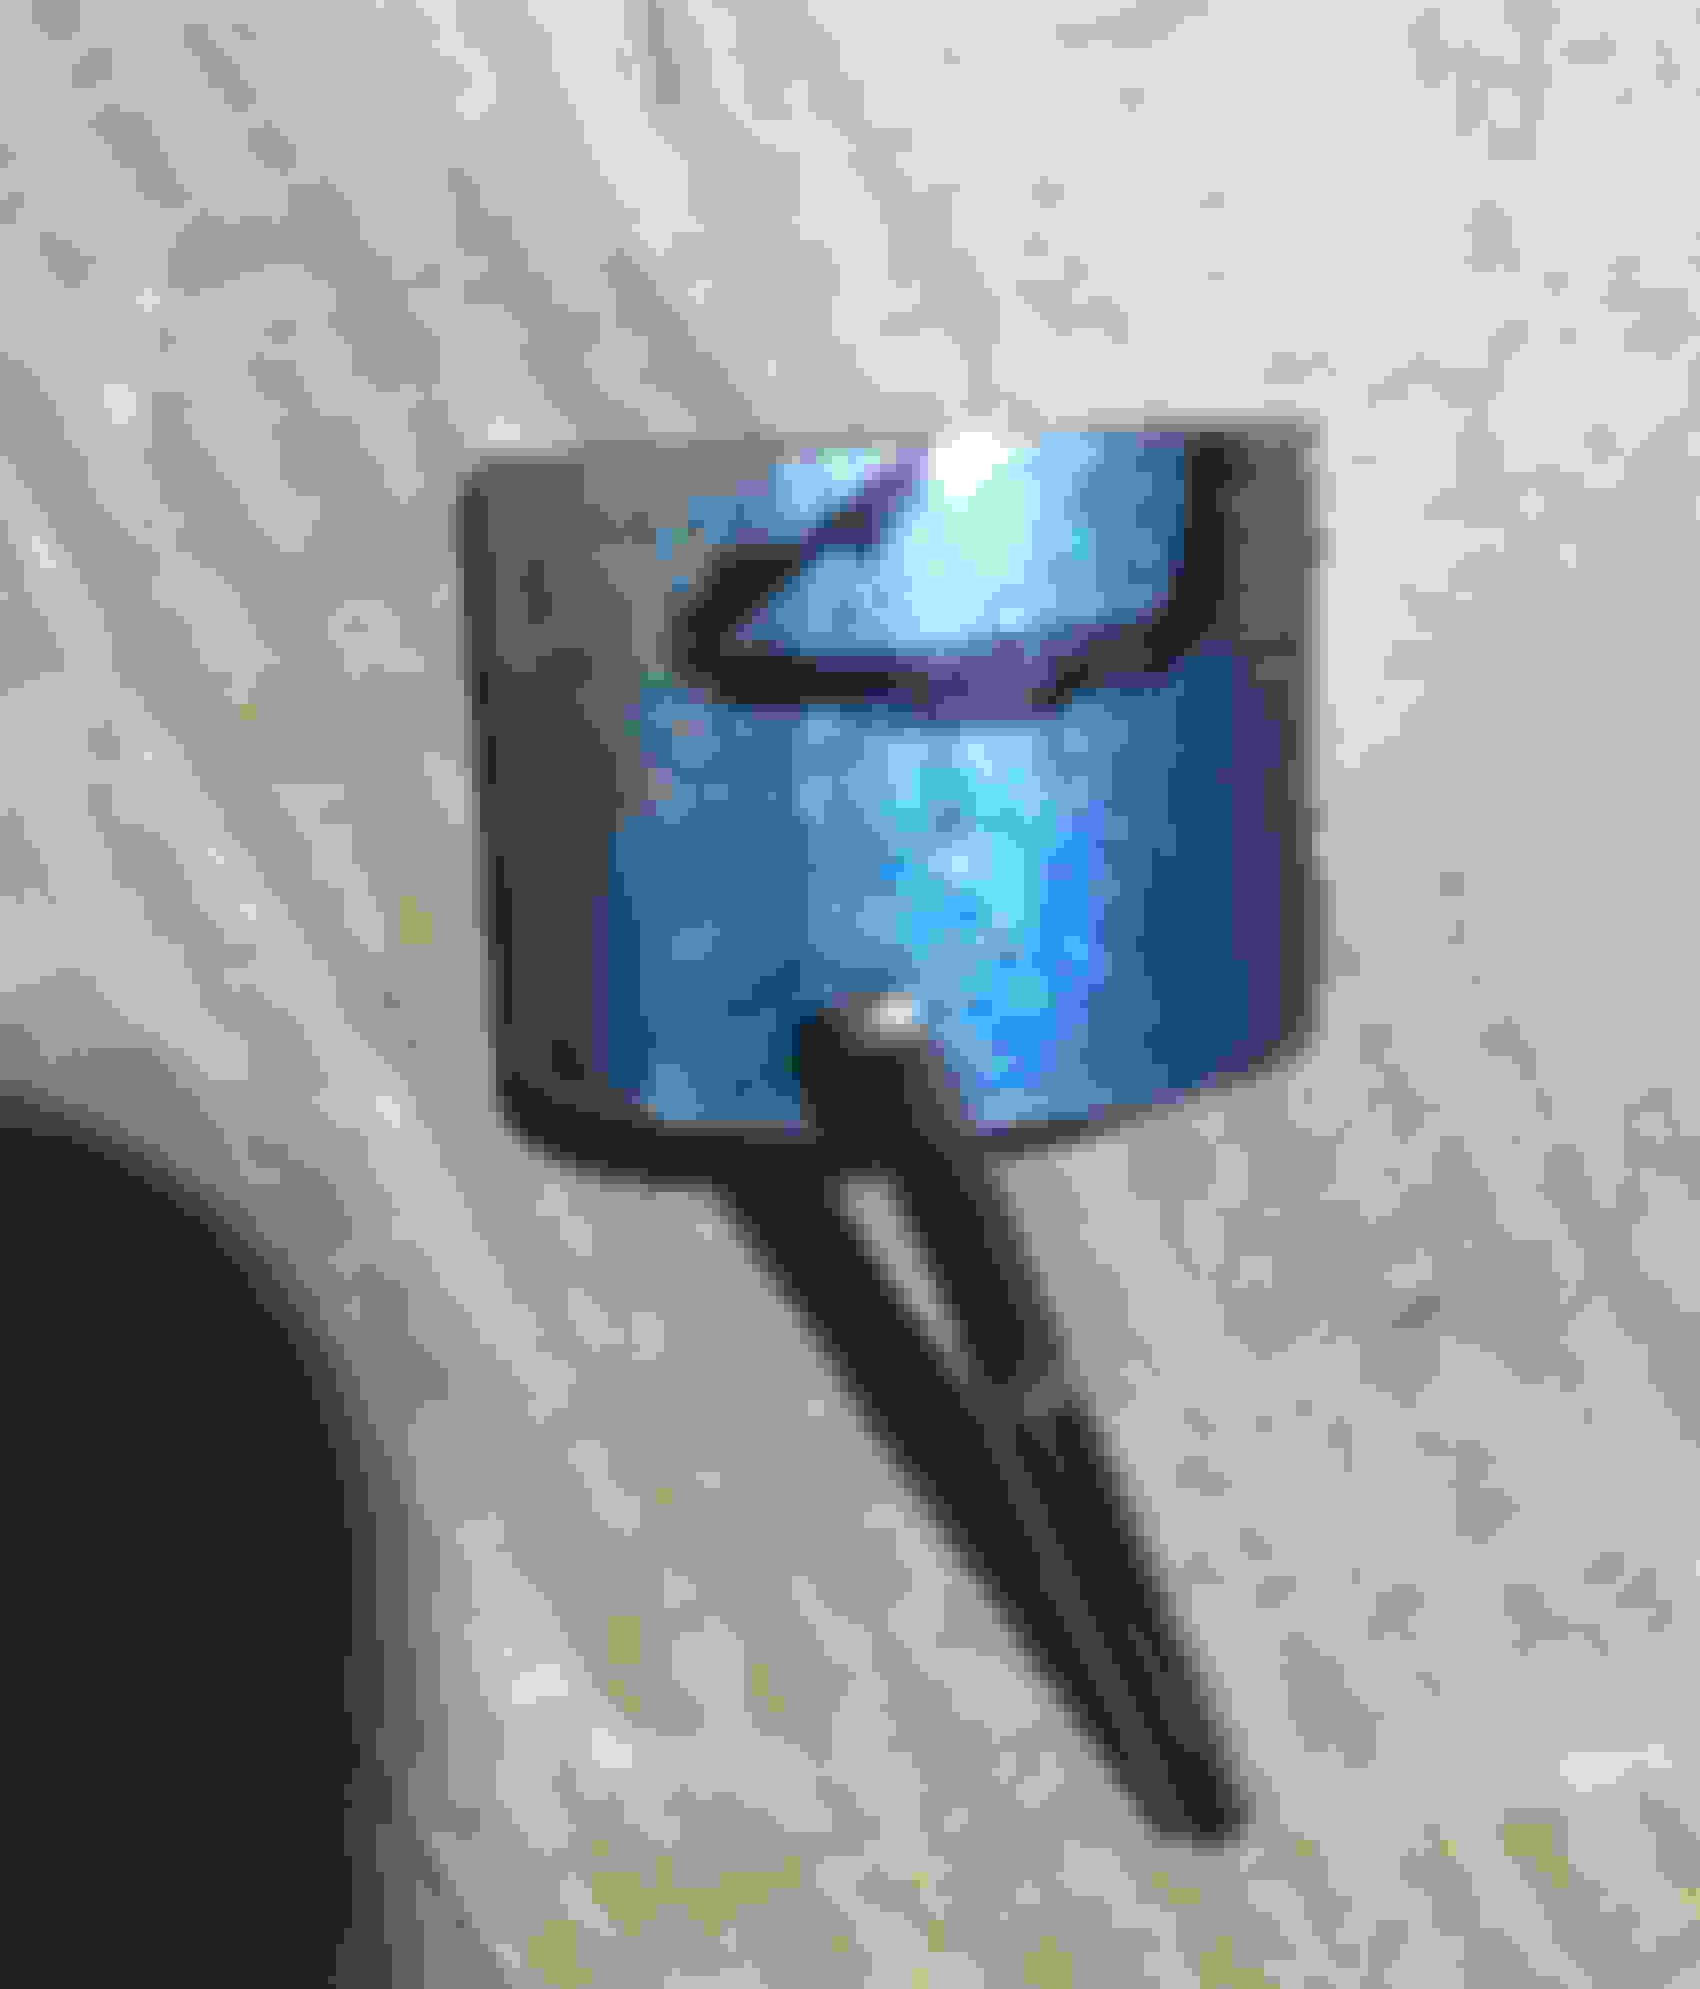
" add " some clearance with the belt sander. Only the thickness of the wall of the cup behind the hook needs to be thinned. Section "A" on this pic.
Once you have a good fit on the cup, it rotates easily around the spring and the hook moves easily under the spring end without binding or having to be wiggled and maneuvered awkwardly, you're done with the cup. On to the next step.
You will find, at this point in the fabrication, that the fit of this cup between the inner cam chain and the tensioner spring is way too snug. The wall thickness of the pipe will have to be reduced by about 20% or so to allow it enough room for the pointy hook to be maneuvered under the spring end. Grab it with vise grips and
" add " some clearance with the belt sander. Only the thickness of the wall of the cup behind the hook needs to be thinned. Section "A" on this pic.
Once you have a good fit on the cup, it rotates easily around the spring and the hook moves easily under the spring end without binding or having to be wiggled and maneuvered awkwardly, you're done with the cup. On to the next step.
I made one of these myself when I for the tensioner job. I tested it with OEM tensioners and it worked perfect. I put in complete Cyco tensioners and their spring must have more tension as I did not use thick enough wall material on the cup. It collapsed so I ended up ended up taking the cams out and upgraded them too. In the end it all worked out.
Now for the Handles. I used 1/8 inch flat mild steel, because it was already in the shop, it is easy to cut if you don't have a metal saw ( I do ) and it keeps the finished piece light. Bulk for no reason is not pleasing, to me. That said, installing a pivot point requires a pin or axel of some sort. There are gobs of ways to do that. I chose to use a 1/4-20 screw because it would work, and I have, like, a billion 1/4-20 fasteners. Git yer crappy set of dial calipers and do the 5/8 's thing and locate that point 5/8 from each side and 5/8 from the end and punch your location point and drill your #7 hole. There isn't enough "meat" in my opinion, to stabilize a 1/4-20 screw in a 1/8 thickness, so I cut an additional piece to weld on the end to "fatten" it up.
Of course, you need two handles so do another but without the "thinkening' extra layer.
Now that the original handle is 1/4 inch thick, the base plate for the catch for the shoe end of the tensioner should be 1/4 inch as well. A triangular piece of 1/4 steel from some shop scrap was butt welded to the side of the catch handle. The catch was the welded to this 1/4 inch piece.
The distance from the pivot point to the catch face for the shoe end is about right on the $. However, to really do a good job, the catch face should be moved a bit. My tool will not open the tensioner quite far enough to put in the retaining pin. If I need to do that, I will have to locate the face about where that white spot is on the 1/4 inch steel base for the catch. I also want to point out the small lip in the face of the catch. This slides just under the inner arm of the tensioner to prevent it from sliding off the arm. This will prevent twisting of the tensioner frame and subsequent torque damage to the shoe pin which, on cheaper tensioners, could lead to failure because of deformation of the pin holes in the tensioner arms, The cheap Chinese tensioners can probably hold up but not if they are twisted during installation. The Chinese plastic shoes, of course, are another thing altogether. The catch face will have to be trued with a file to make it contact the arms of the tensioner evenly.. It will move out of square when it is welded to the 1/4 plate.
Now I'm going to make some lame excuses for my obvious welding mess that would bring shame to a high school shop class dropout. When I retired, I moved to North Carolina. I couldn't move my lathe, milling machine, sand blast cabinet, and a long, long list of other stuff. Once I got here, it slowly became clear to me I jettisoned too much stuff. I simply cannot replace all the quality equipment same/same so I got a Chinese tig. I made sure to get the foot pedal type, so I could control the amps. Well, that's not how it works. The pedal is an on-off switch. Amps are controlled by a **** on the panel, and your puddle is now controlled by the speed at which you move it. I have to get used to a totally different weld technique. Max pointed out, correctly, that between my older shaky hands and poor eyesight, magnification is needed. Badly ! I also didn't bother to clean the oil off the parts. That would have helped. The military guys say, if it's stupid, but it works, it's not stupid. Well, it's ugly, but it works, so I'll be happy to keep it.
So here's the final note. The cam chest is back together. I want to thank Max, djl, and everyone else for joining in here. My take on the HD Twin Cam, is this. Over all, I think it is a good design but a Twin Cam will not reward neglect. Because the oil must go through the filter before it goes to critical engine parts, it seems that only the outer cam bearings and pump are likely to suffer from the tensioners being destroyed. It seems the oil on this motor has been changed multiple times since the tensioners self distracted and the oil pan was clean. I think the level of difficulty in working on this power plant is about average. Some motors are much harder.
I feel so very low tonight. I really thought I got this. Oil pressure is 60 PSI. At 1000 rpm. So the oil pressure relief valve stuck immediately when the oil reached it.
It has to come apart again. Looks like the oil relief cylinder is scored too badly to use. I am so sick of working on this bitch.
Sorry to hear; have been where you are with an Axell all bore 107 Mountain Motor setup that would not hold a true bore. Went through four rebuilds before I got it sorted out. I was ready to set the bike on fire.
IIRC, the bikeyou are working on is a 2004 model and you have been trying to upgrade to an '07 up cam plate, hydro setup? If you want to rever to the early cam plate and CYCO tensioners, I have an early cam plate you can have for shipping cost. I think I have chains and sprockets as well; PM me if interested.
 06-18-2024, 09:33 AM