He had driven the shaft mounted race ALMOST flush with the sprocket nut.
t.
They will do this on their own, this is why I always fit an S&S inner primary bearing when doing Evo and Twin Cams, the buggers will walk, either in towards the wedding band seal, or out and into the back of the clutch, or as near as it can get.
Useless idea from the manufacturer. The S&S race ain't cheap to buy but boy does it save you some grief in the long run!
I have had only one race walk from the factory. I usually use support plates and threaded rod, with big sockets. Last time I used a press. I really don't think rods is bad though.
I have had only one race walk from the factory. I usually use support plates and threaded rod, with big sockets. Last time I used a press. I really don't think rods is bad though.
And you say you've had to replace the IPB 4 times?
Chapter 2 : One of the things that annoys folks is guys that ask questions and then are never heard from again. I'm going to follow through and " show my work " .
First off, the oil pump inspection with pics, If I can figger out how to load 'em.
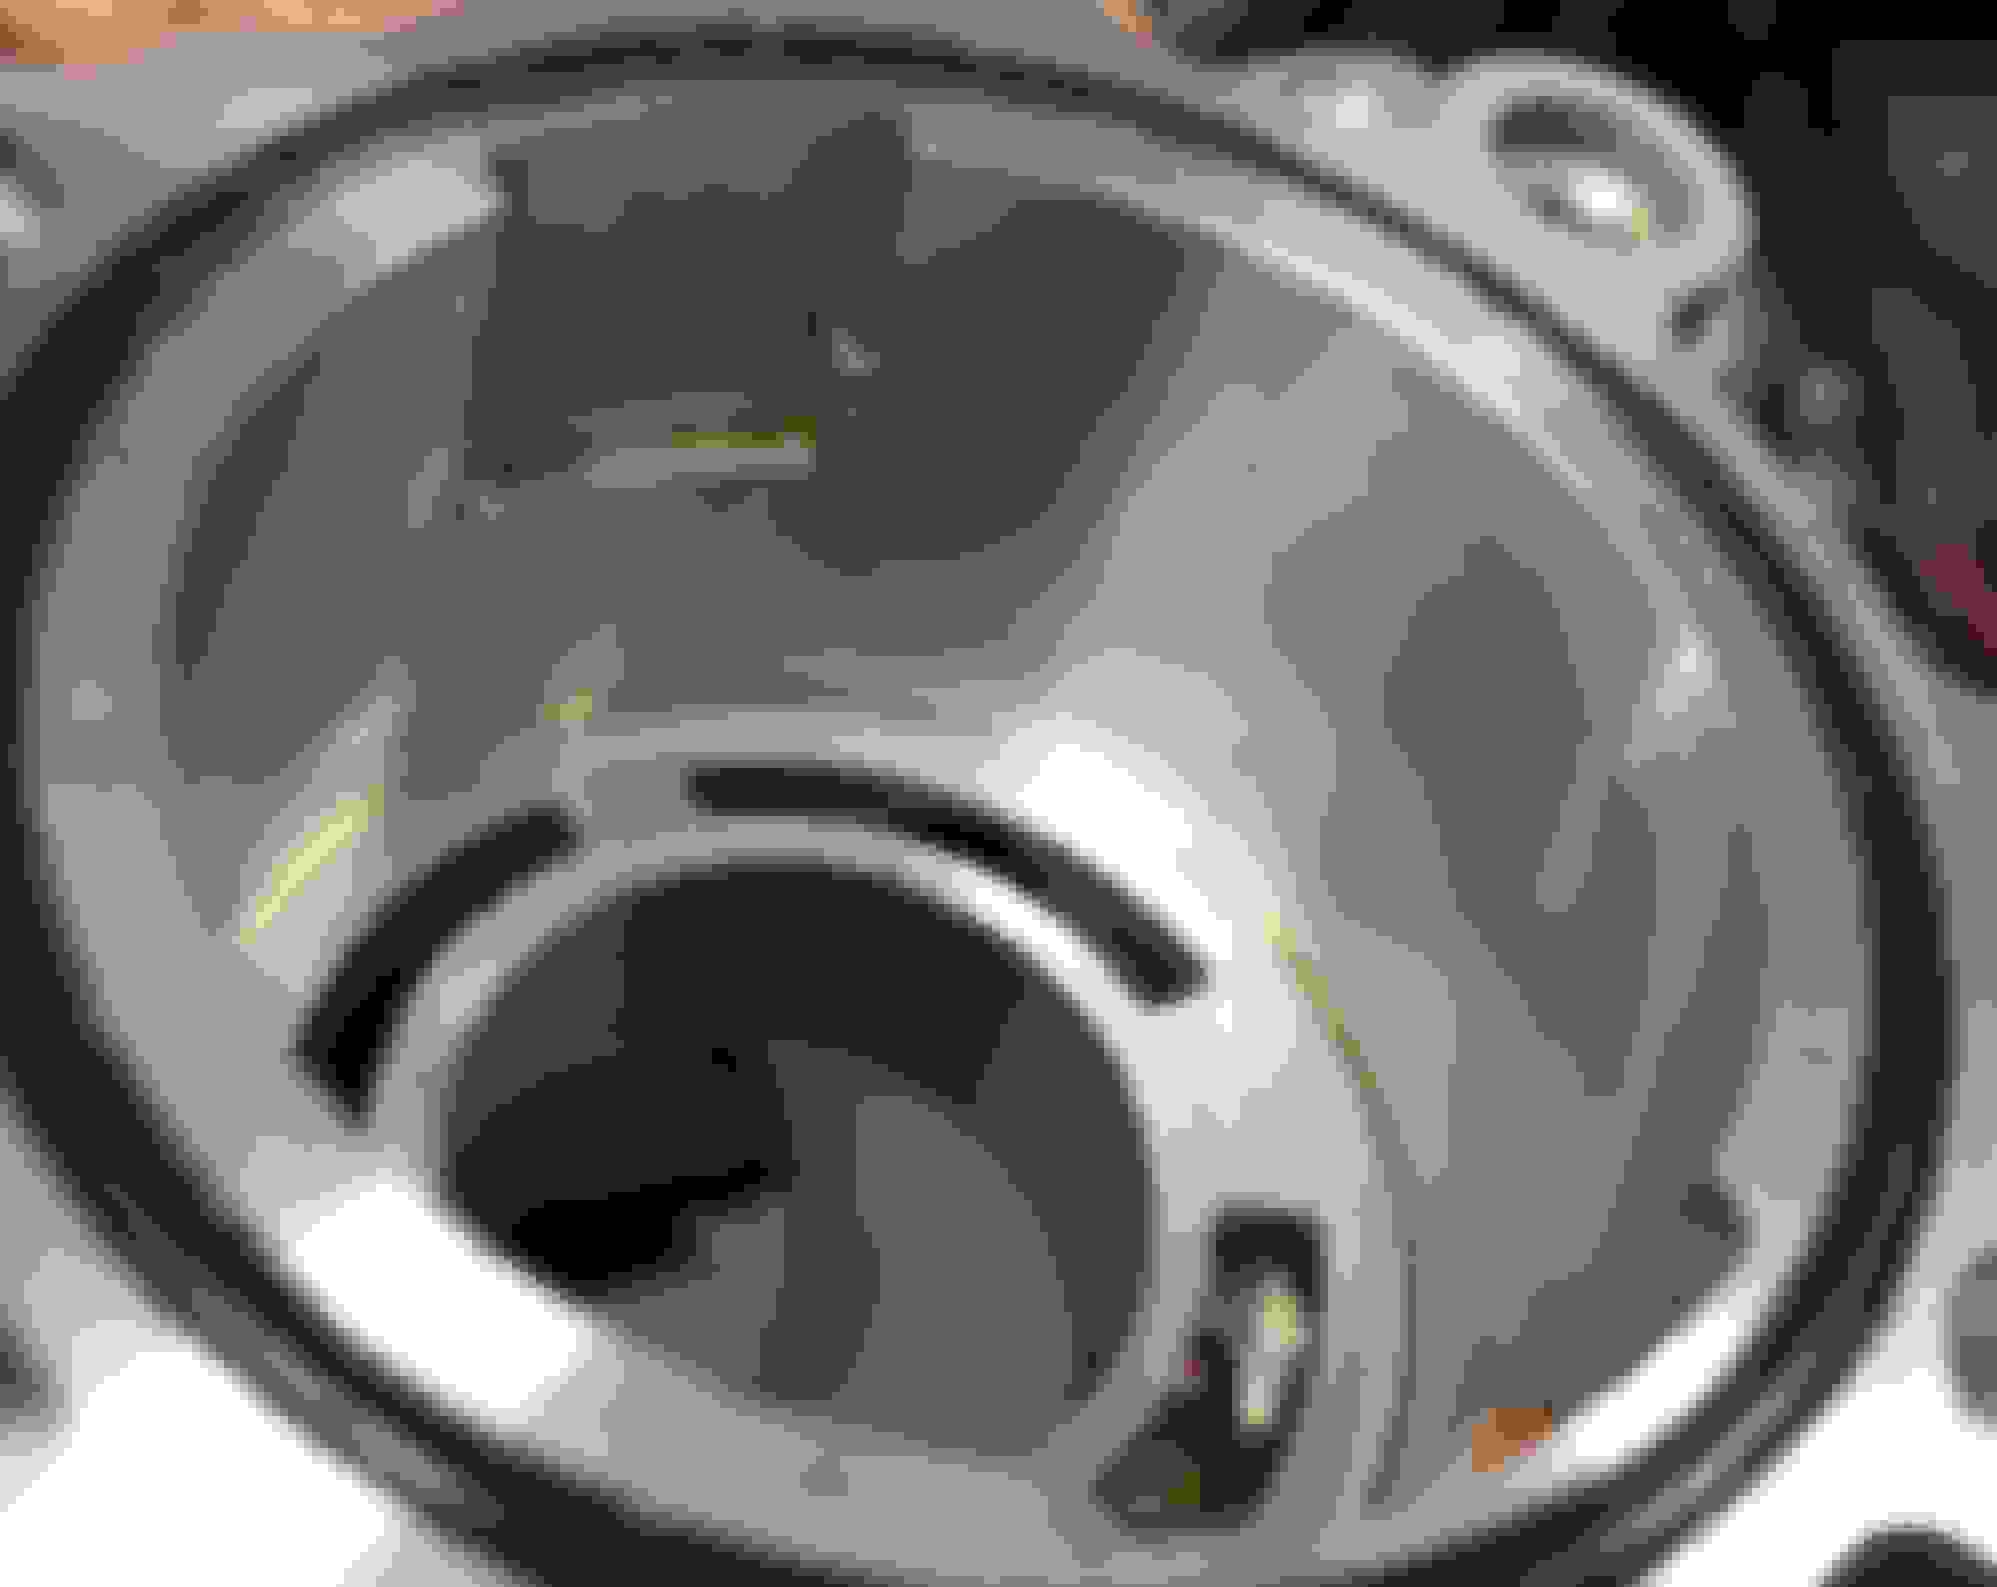
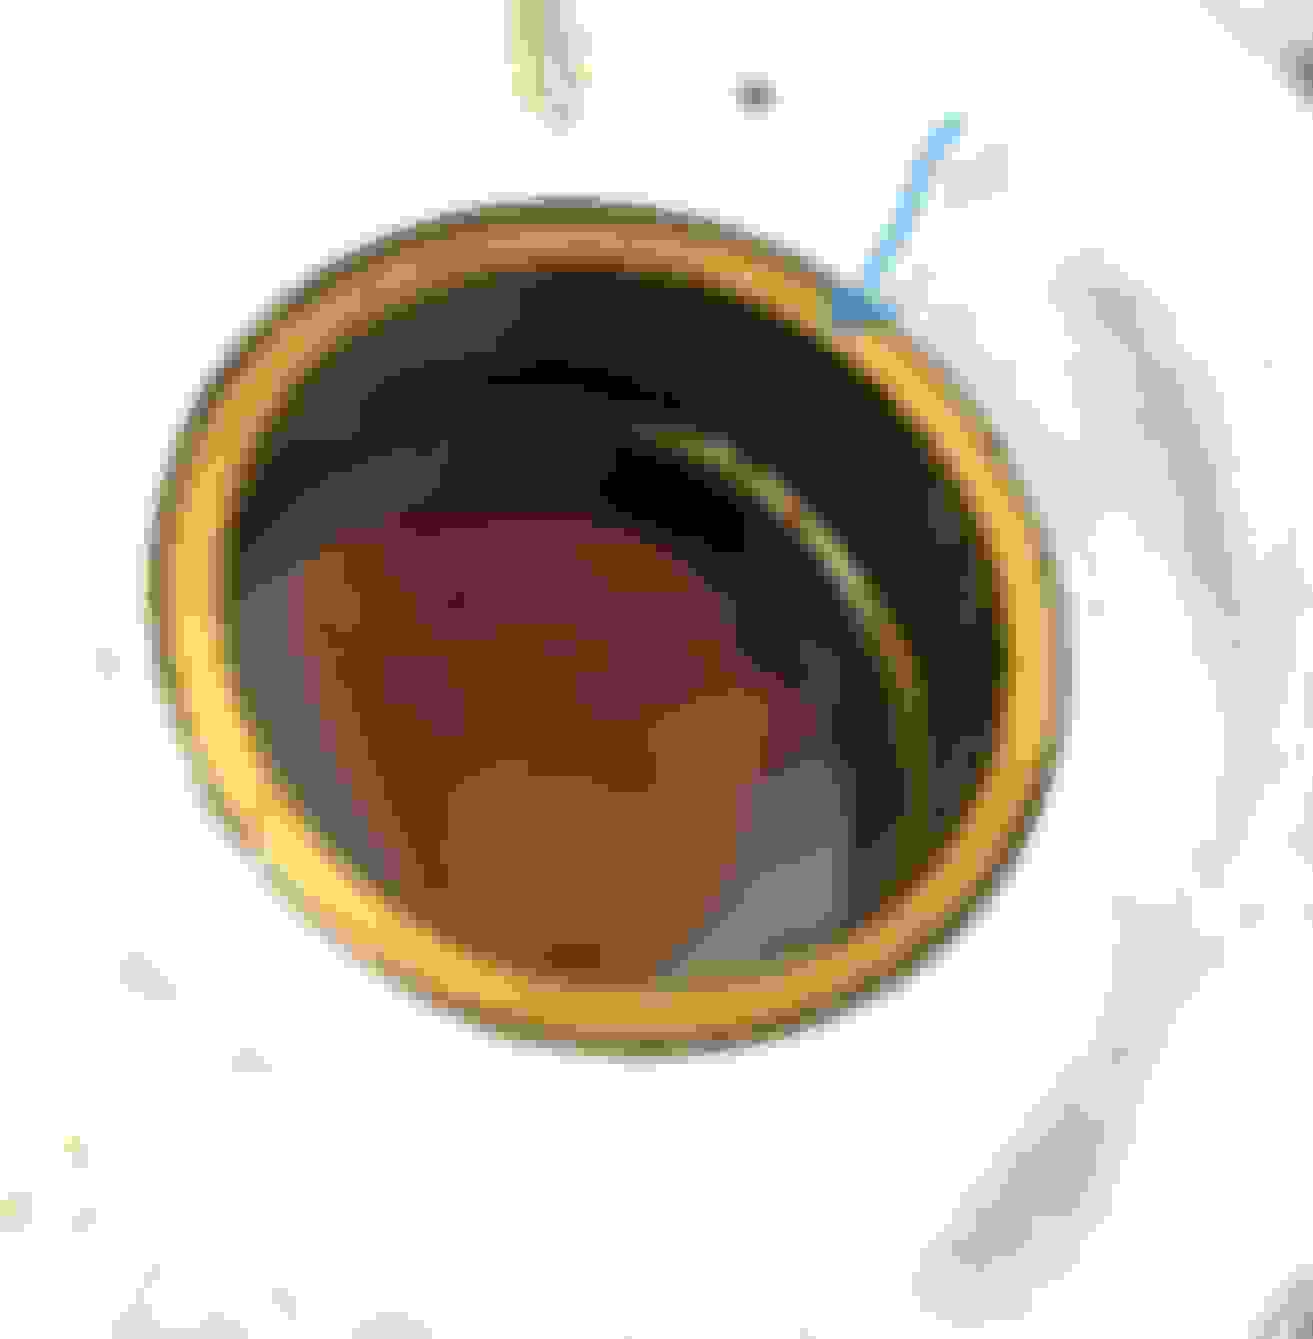
This is the good side of the pump. Almost no wear at all. Looks good.
This is the other side. The scoring is deep on both scavenge and pressure sections.
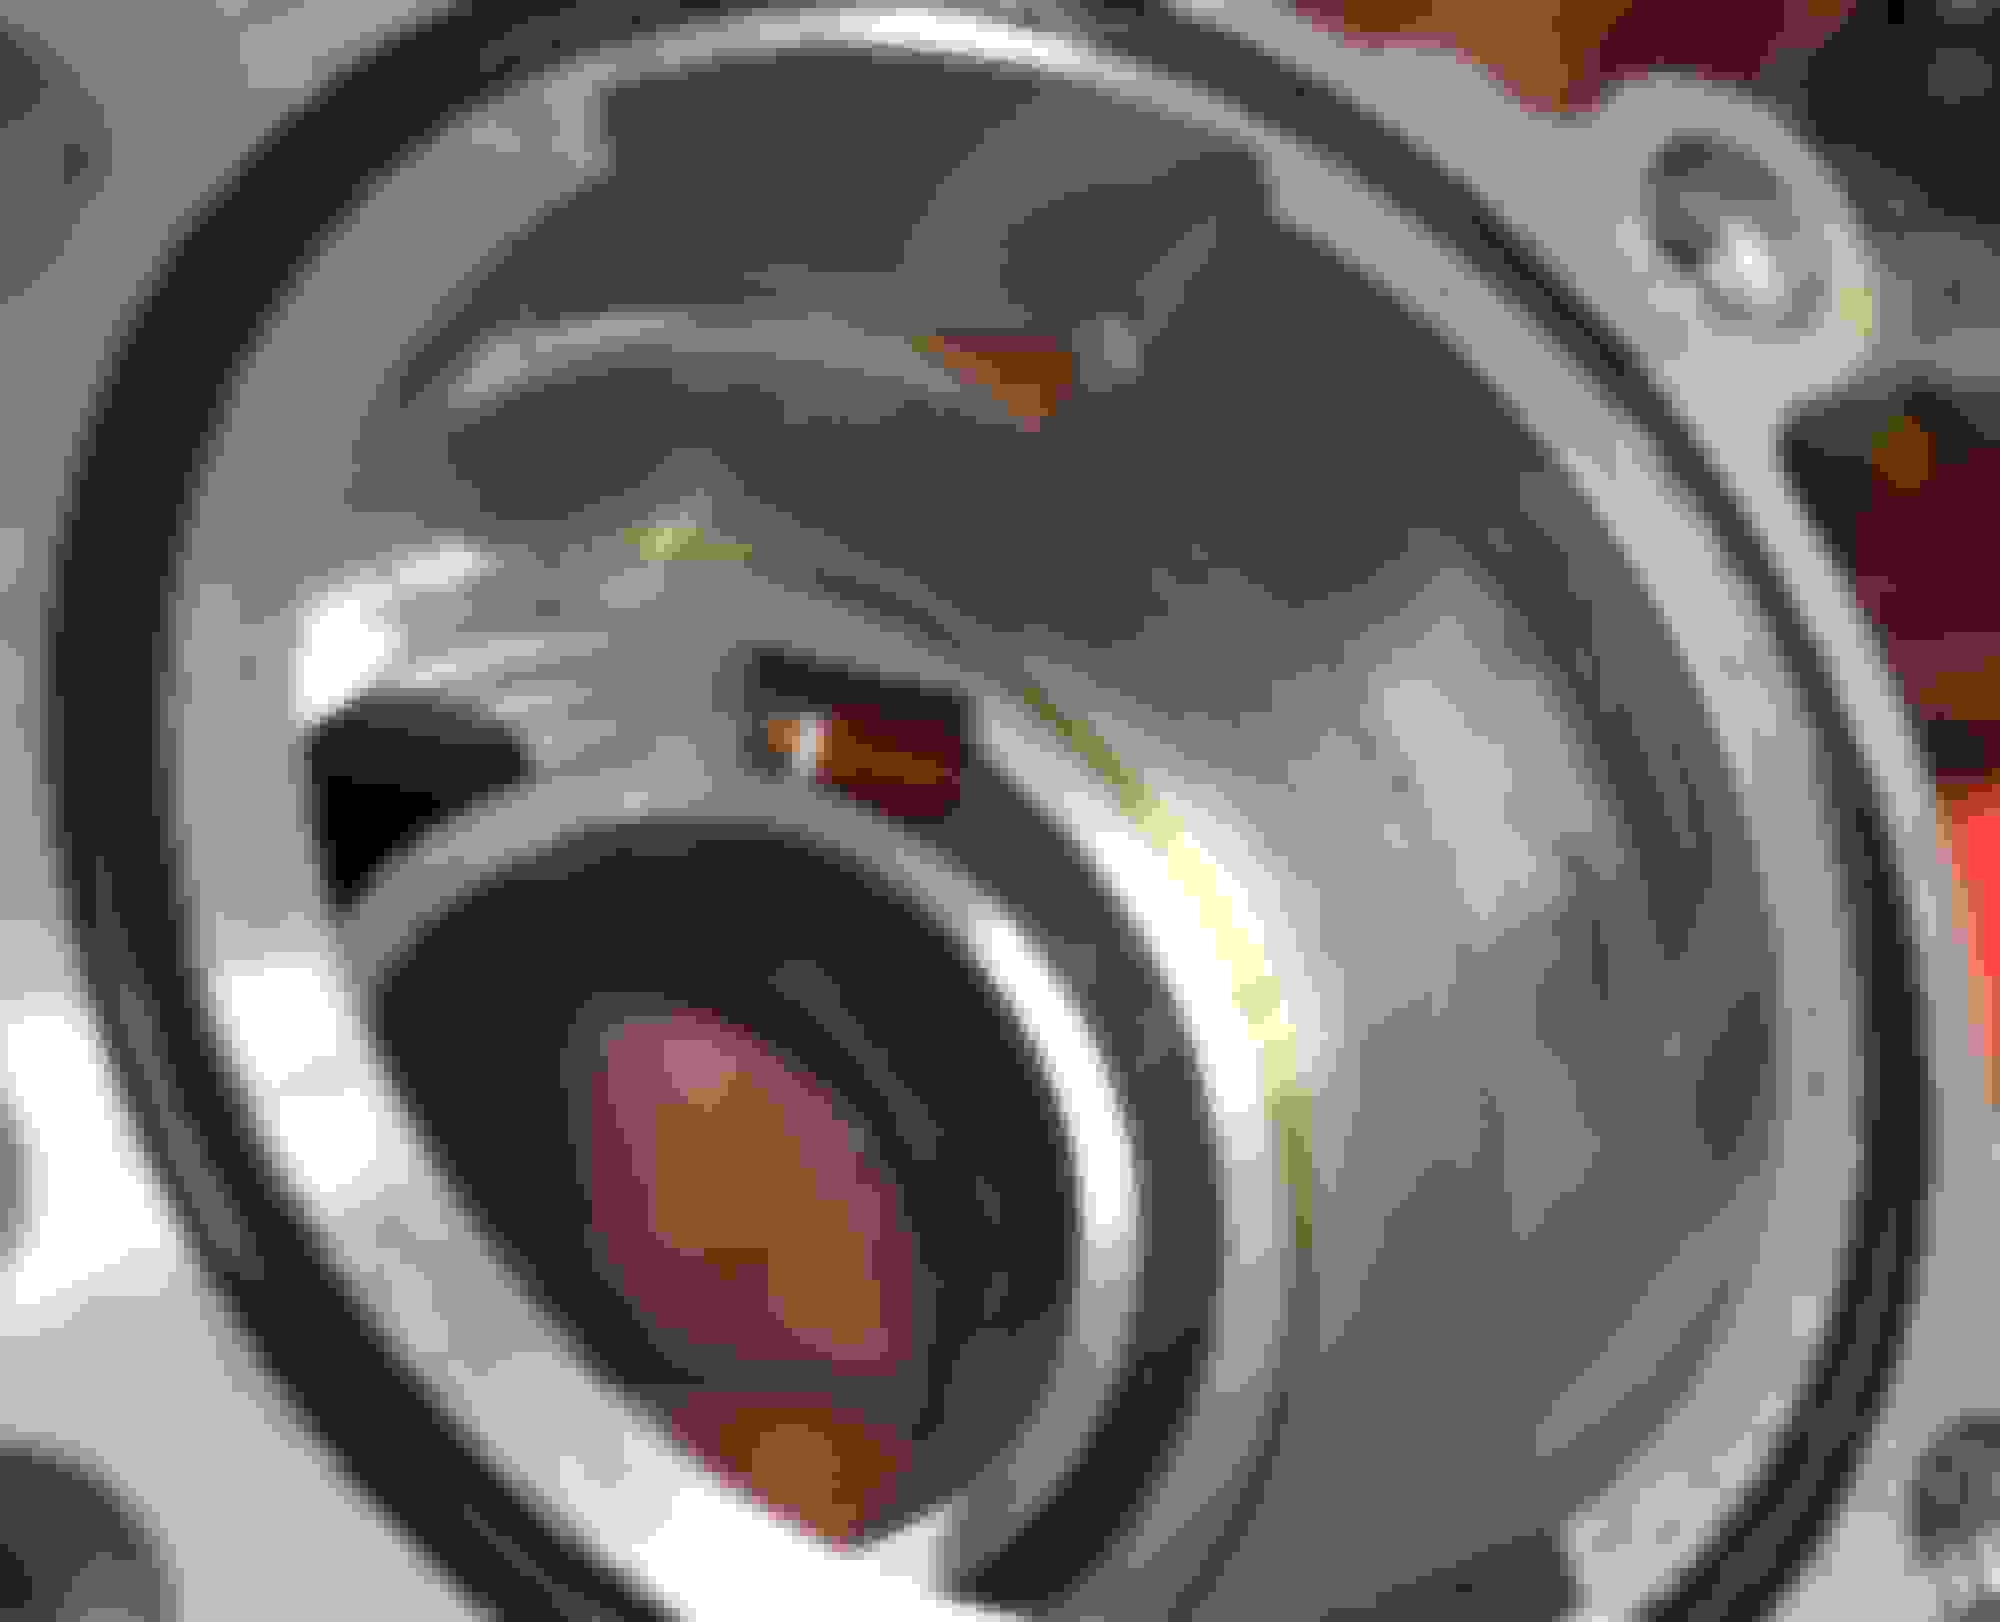
Now the gerotors, just the bad spots. If I don't show it, figure the wear is minimal.
Exterior wear, the pressure gerotor is similarly scored. Debris damage wear on the side of the pressure gerotor
This seems to indicate the pump has two dimensions of damage. Debris have damaged the pump gerotors, both the sides and the interior surfaces. I did not mic the width or the tooth clearance. Also there is significant damage to the outside rotational surfaces. Without any further examination, I condemn the pump.
Now the next step in this process. The examination of the crankshaft and the cam plate. First the pics, then the diagnosis.
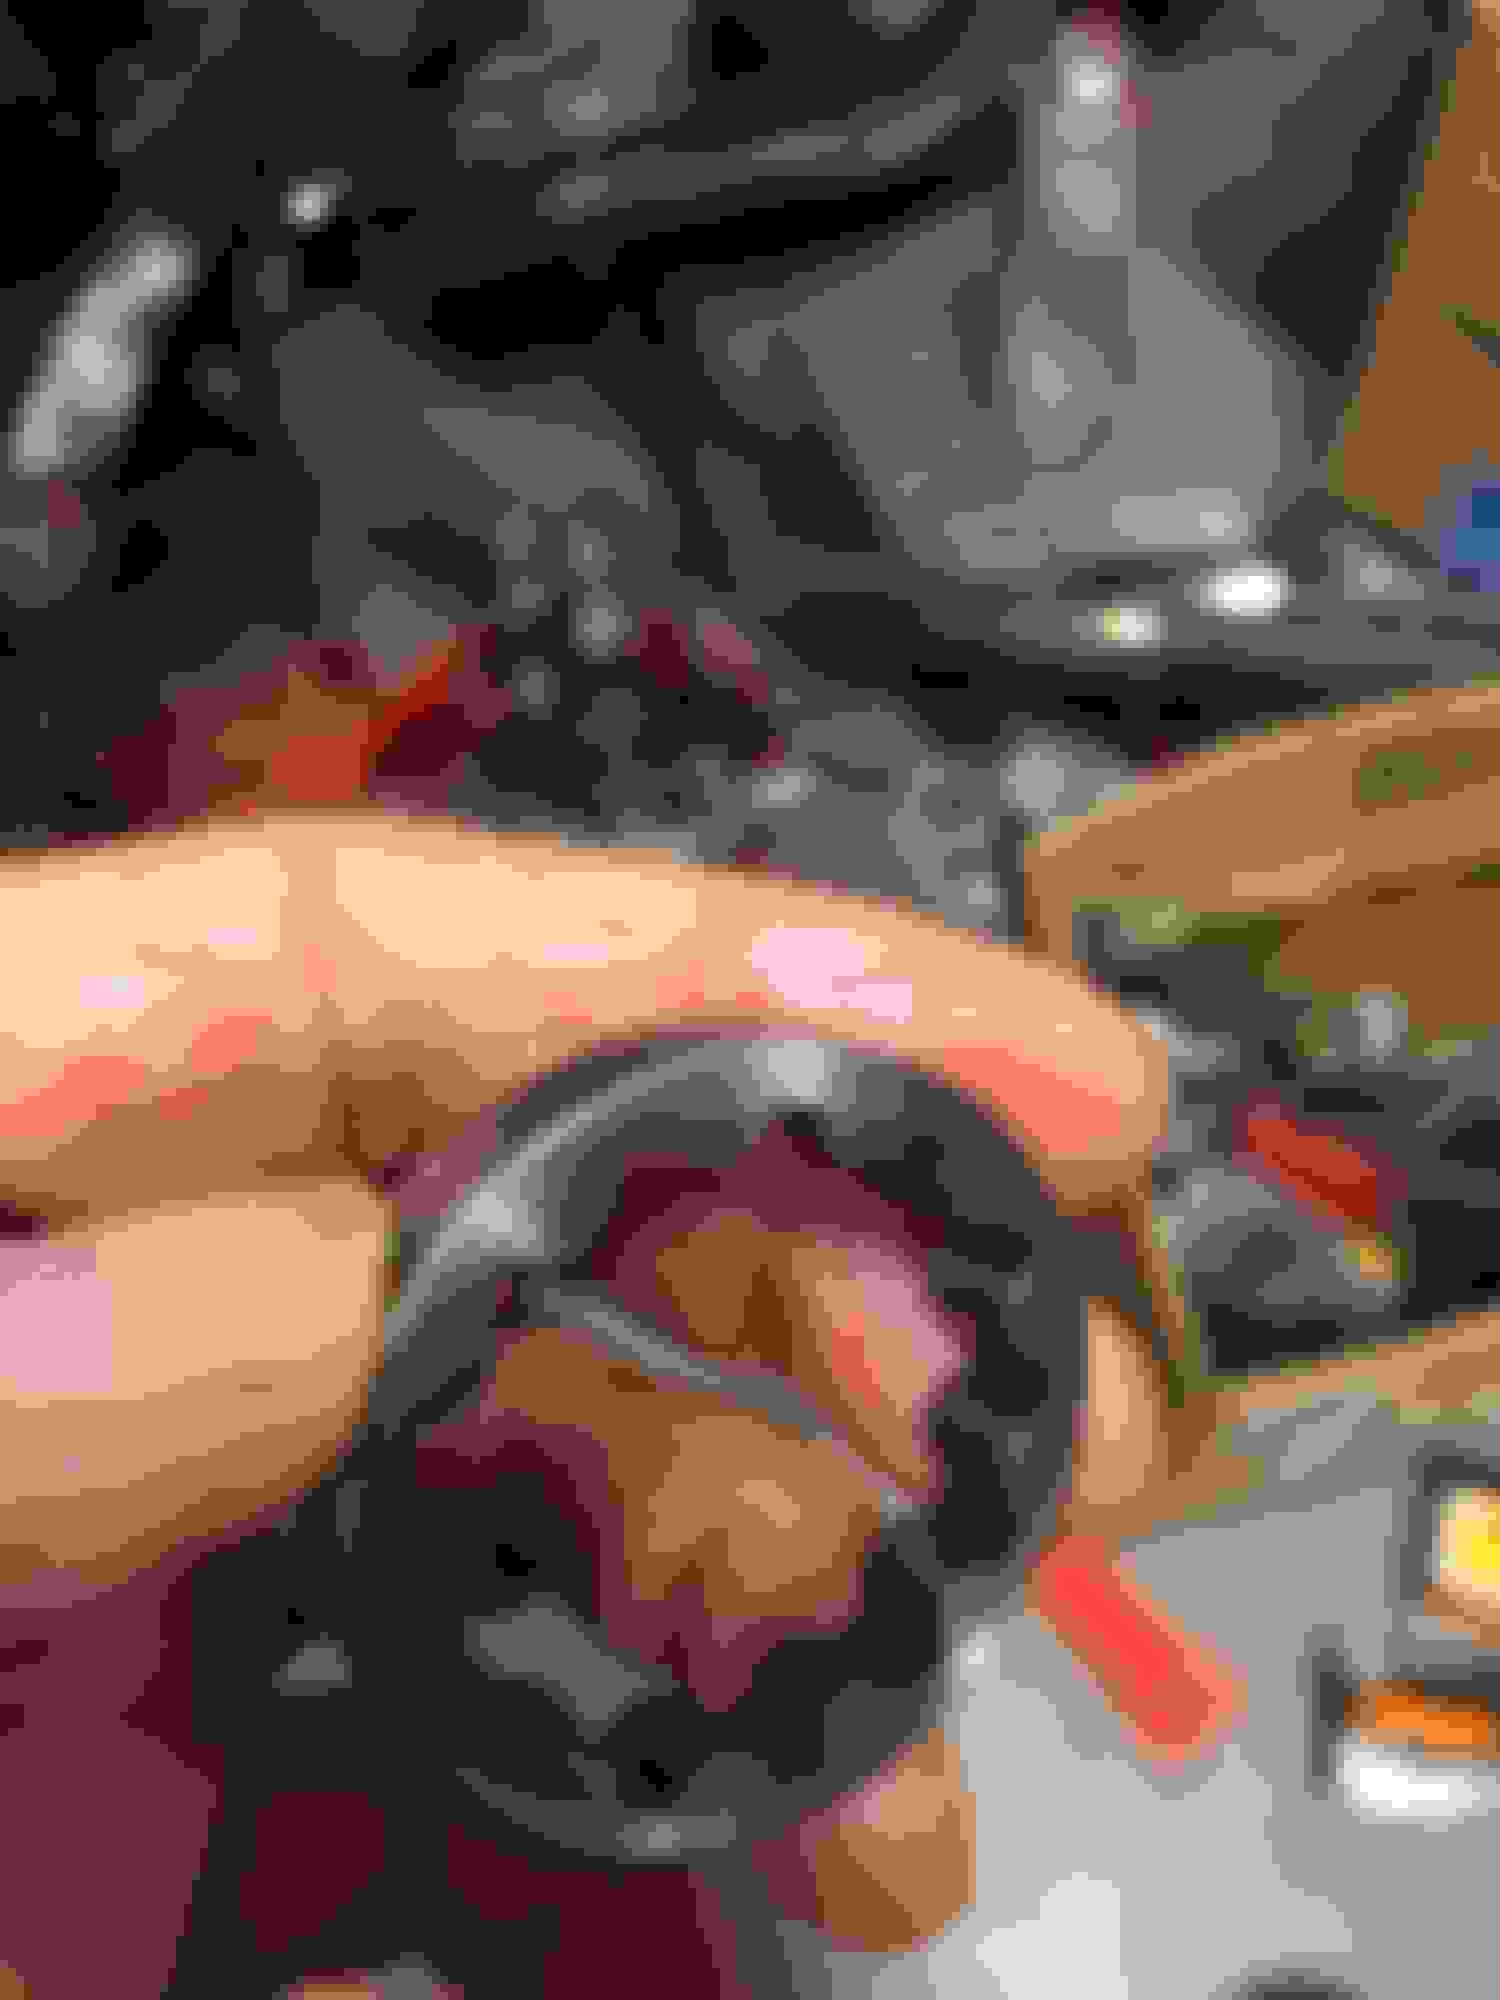
The first pic shows the chamfer, with arrow, of the cam bushing on the good side.
The second picture does a poor job of showing the LACK of a chamfer on the bad side of the bushing, both taken from the outboard side of the am plate.
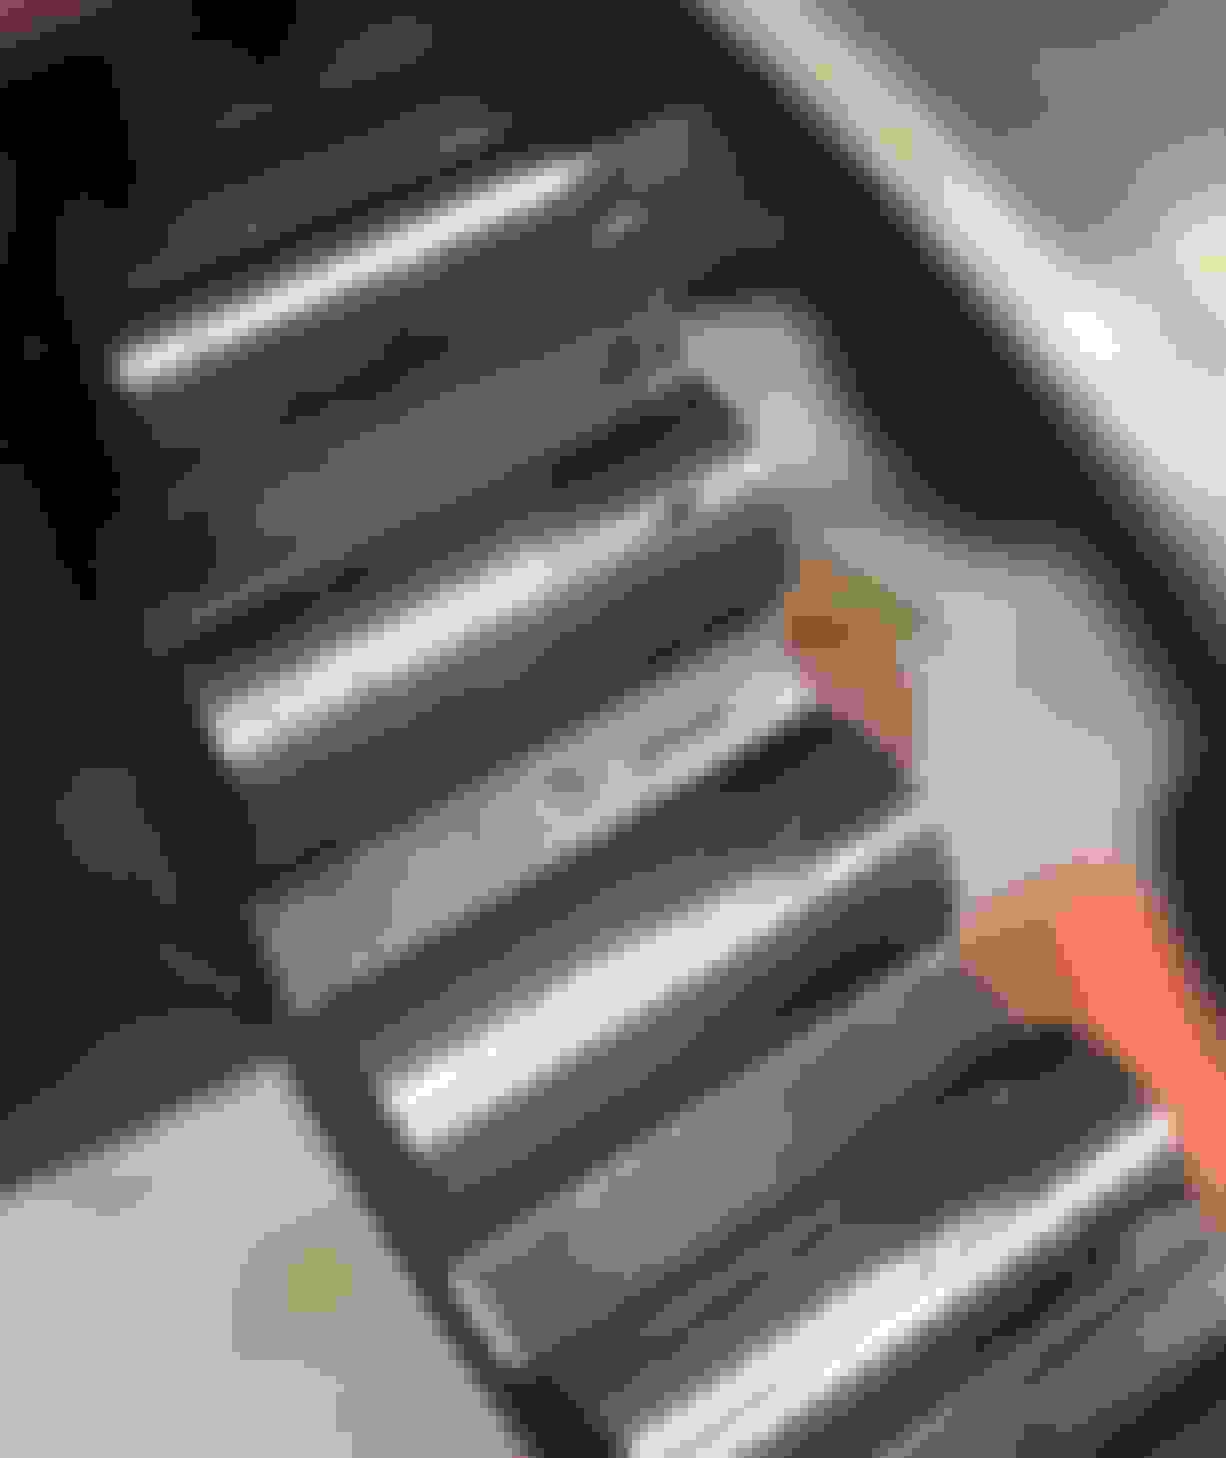
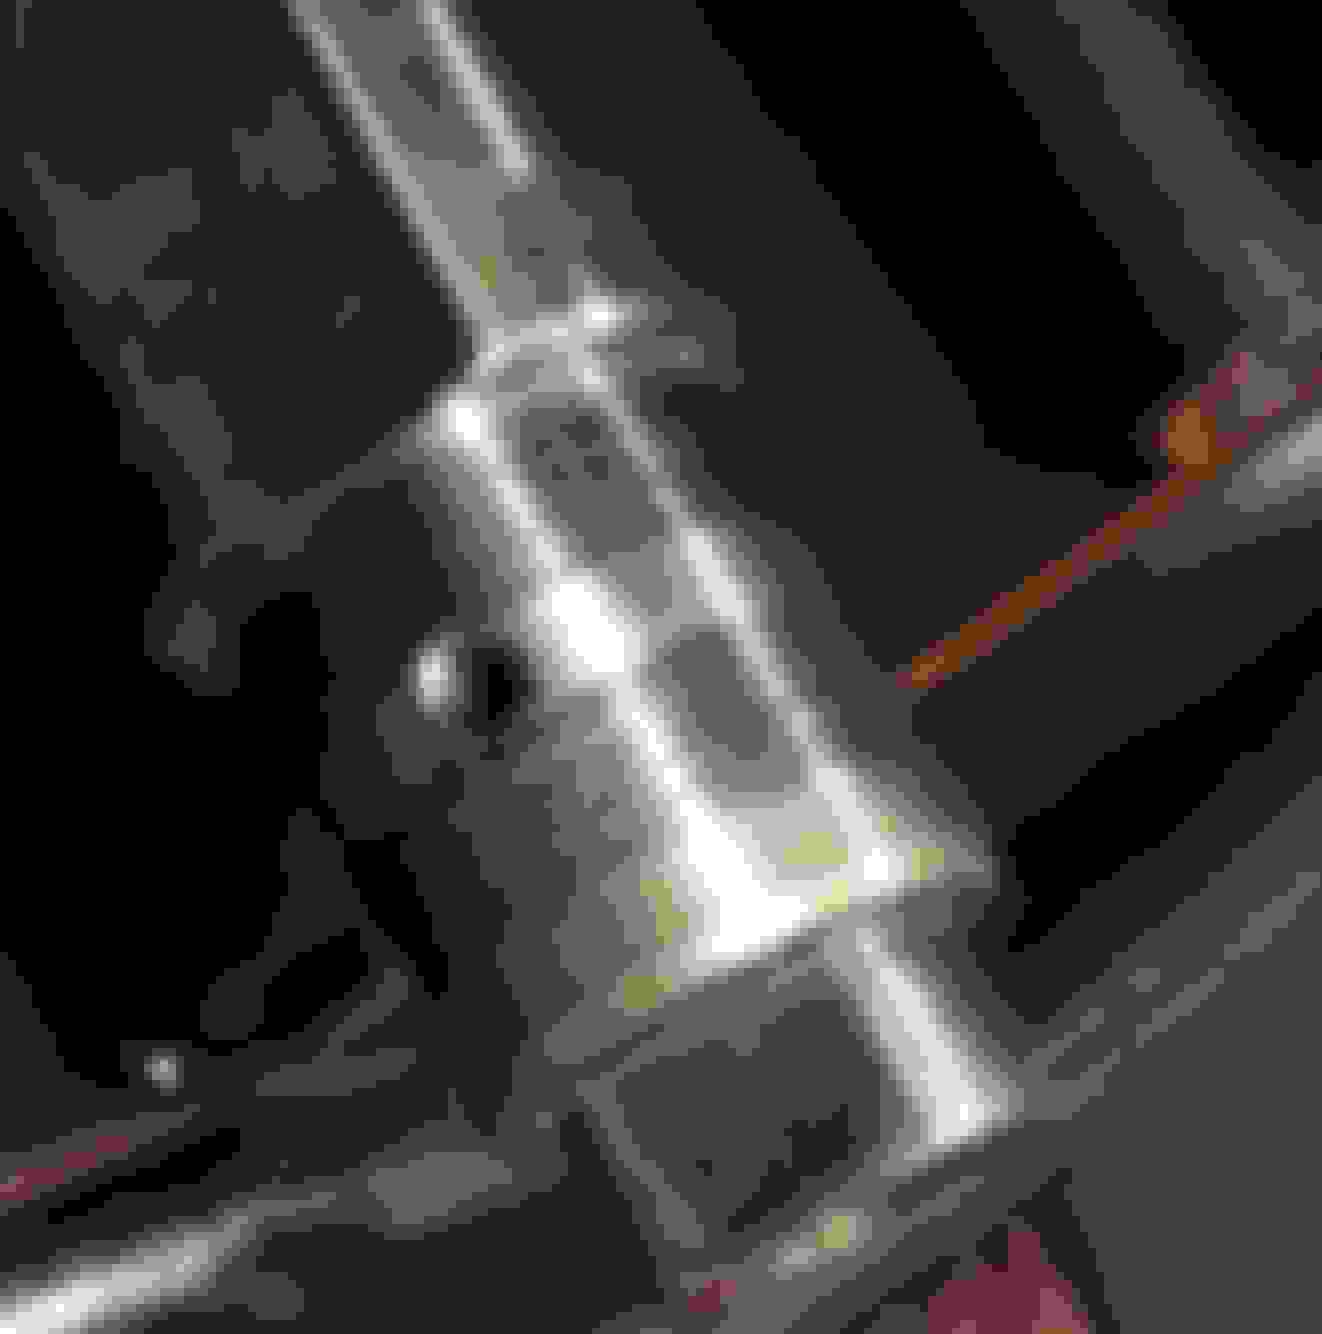
The last pic is the scoring on the crankshaft.
MY analysis of this evidence I've presented. Jest a thumbnail sketch, so to speak....
During the process of "masticating " chunks of cam chain tensioner, the pump repeatedly passed particles ( chunks ) that essentially hammered the pump from the inside. This not only moved the pump on the cam plate, it actually moved the cam plate as well. This, in my opinion, caused the wear on the crankshaft where it passes through the brass bush in the cam plate. The measurement of the loose dimension of the now egg shaped brass bush indicated I am .00013 under the wear limit for the bush. ( Yeah, I got good measuring tools ! ) The crankshaft looks worse than it is. It is discolored, but there is little actual scoring. Though you can detect a slight roughness in the darkened areas, there is no ridge and the roughness is very slight.
I think this situation can be salvaged. Installing the pump is a cakewalk, You line up the bits, tighten the pump down just a smidgen beyond finger tight, rotate the motor a few times to mush the parts to the right position, tighten it all down. Don't use a hammer. Do use plenty of assy. lube. K ?
The problem is the cam plate. This will require some diagnosis not in " The Book ", as well as a fix not recommended, I'm sure. The next step in the process, will be to figure out if the cam plate location dowels have been compromised or if the plate itself is damaged. I'm thinking its the dowels, though it could be the case where the location dowels live. I will have to fashion some kind of feeler gauge to check the bush to crankshaft clearance If that plate can float under vibration and stress, that's a bad thing. In the next few days, I will find a way forward. I need to get some information that contains decimal places for a decide now.
Oh, Forgot to mention. The new pump is the high pressure / high volume type pump. My fantasy is that it will out volume and out pressure the " leakage " around the worn cam bush - but only if I get it centered. Remember, the wear measurement I took is at the very most worn location. Even that location was under the wear limit, even if only a tiny fraction of an inch.
So it's the pump that ate the tensioner.. With that in mind, some of the outer rotor wear is probably from the swarf generated. It does look like the oil pump is off but was it before the guy replaced the tensioners or after? The cam plate alignment issue can happen from the factory.. Chamfer is non issue. Bushing reamed in a fixture after pressed in is my bet.
Now the next step in this process. The examination of the crankshaft and the cam plate. First the pics, then the diagnosis.
[snip]
MY analysis of this evidence I've presented. Jest a thumbnail sketch, so to speak....
During the process of "masticating " chunks of cam chain tensioner, the pump repeatedly passed particles ( chunks ) that essentially hammered the pump from the inside. This not only moved the pump on the cam plate, it actually moved the cam plate as well. This, in my opinion, caused the wear on the crankshaft where it passes through the brass bush in the cam plate. The measurement of the loose dimension of the now egg shaped brass bush indicated I am .00013 under the wear limit for the bush. ( Yeah, I got good measuring tools ! ) The crankshaft looks worse than it is. It is discolored, but there is little actual scoring. Though you can detect a slight roughness in the darkened areas, there is no ridge and the roughness is very slight.
Chapter 3 next...
You do have good measuring tools.. Did you do it in a climate controlled room?
FWIW I've run them at the wear limit without issue.. Might take a second or 2 to built pressure tho..
 05-27-2024, 11:50 PM