I use a thread chaser set followed by a quick shot of brake cleaner and a blast of air. Makes sure nothing is trapped or left in there. I typically run the bolts thru as well.
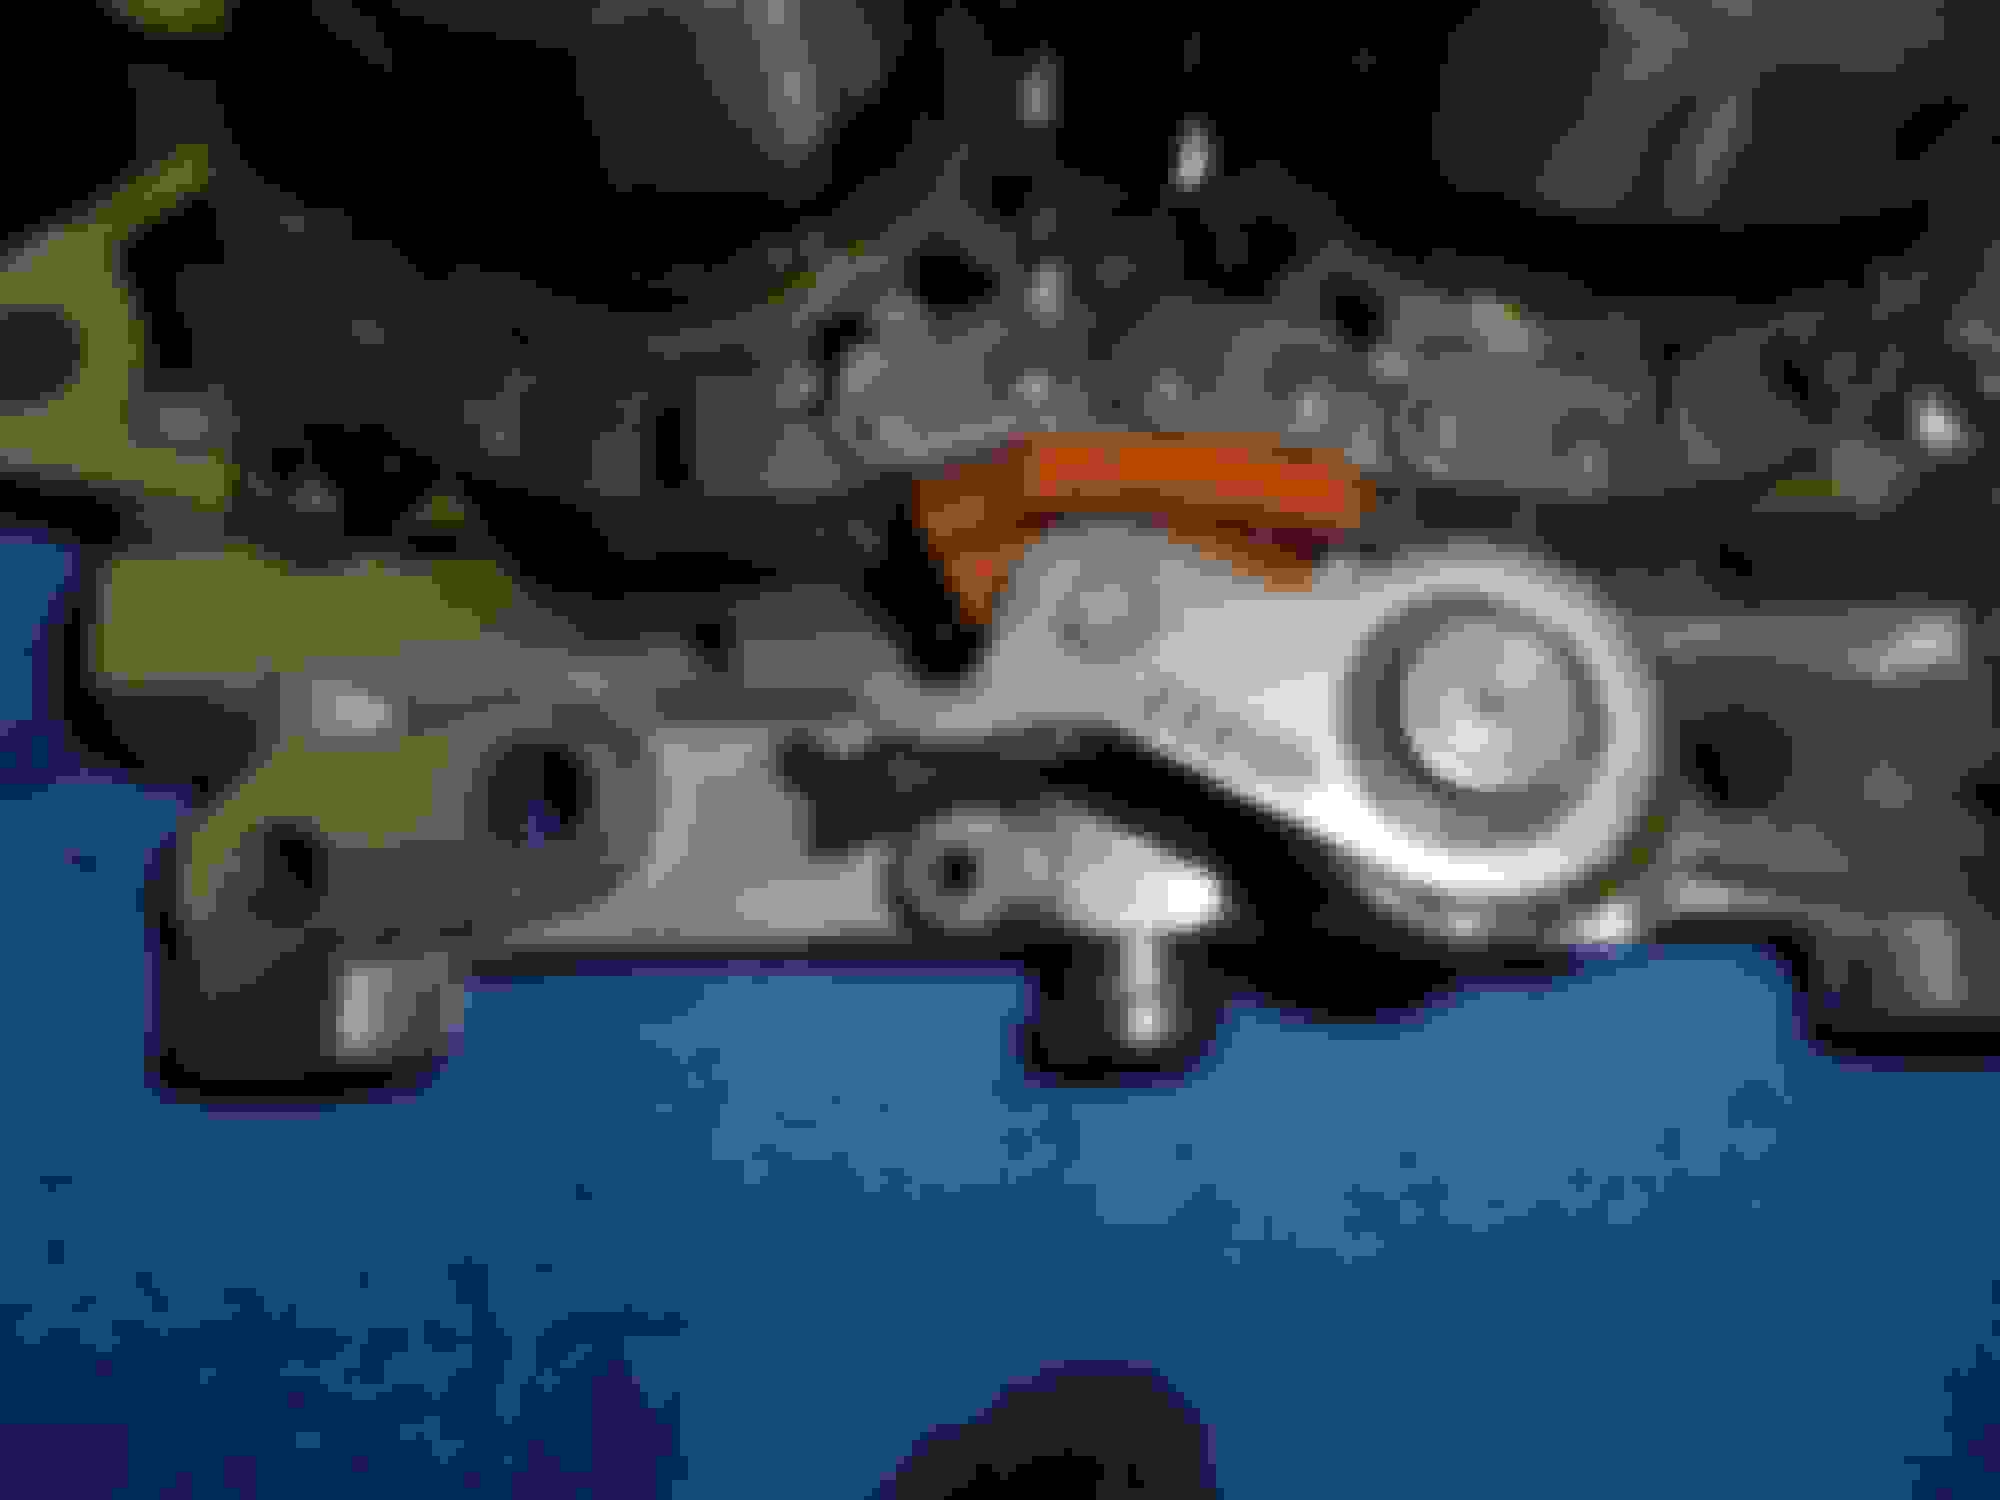
You did a lot of work without actually reducing your chances of having a shoe failure. At 18 model years old those OEM shoes are brittle, they can break apart and frag your engine on the very next ride. Change them out for Cyco shoes along with the INA caged inner cam bearings at the very least (search the topic and see other options like replacing the plastic breathers and re-using OEM pushrods). This OEM tensioner shoe "looked good" just a few hundred miles before this:
Originally Posted by PaperBag
Last night I got going on the cam chest cover. Thankfully, each and every bolt broke free easily! NO drama! I followed the manual and took the time to label each bolt in the order it came out. Too much attention to detail? LOL The cover came off with no coaxing, too.
The PO did appear to have put some sort of stuff on the threads - they all had a white residue on them. Before I put it all back together, I'll clean them thoroughly. I didn't take the time to consult the manual as to using stuff on reassembly, as I needed to get to bed - I will not work on or try to assimilate critical info if I'm tired. Before it does go back together, I'll want to clean out the bolt holes, too. Any suggestions for an efficient method?
Although it was getting late, I did take a quick look at the outer tensioner shoe. No picture now, as I didn't immediately have a means of holding the tensioner open, but it has minimal wear. For 36k miles, I think I'm doing OK. I'll check the inner one as soon as I can find my mirror....
Pix including the removed exhaust:
Last edited by Campy Roadie; 01-07-2021 at 07:19 AM.
You did a lot of work without actually reducing your chances of having a shoe failure. At 18 model years old those OEM shoes are brittle, they can break apart and frag your engine on the very next ride. Change them out for Cyco shoes along with the INA caged inner cam bearings at the very least (search the topic and see other options like replacing the plastic breathers and re-using OEM pushrods).
The early OEM tensioners can look great one day and disintegrate the next ride. The inner usually looks worse than the outer.
Sound advice, Nomad and djl. Although I had considered the hydraulic plate as a replacement, that mod just isn't in the budget. Nor is a new/rebuilt engine due to a broken shoe....Going into the replacement with new Cyco shoes, the inner bearings will be replaced, too.
Going slowly, one step at a time. I'm still thanking my good fortune for not having issues getting the cover open! No jinxes in saying that - it's true. I'm a bit daunted with the pushrod bit, but I'll persevere.
Feel free to PM me, I'd be happy to walk you thru the process.
Probably too late but I agree with replacement of the tensioners ever 10 years. They get brittle from hot oil bath.
Also save yourself some time by just using a ice pick to poke cardboard in the pattern and poke bolts thru.
I do it on all my motor rebuilds. I have had 2 dozen or more of them at one time for assembly and it adds a lot less guessing going back.. Especially when projects span weeks. You can't be too ****.
I take two clean pieces of cardboard that I lay gaskets on. I put a film of quality RTV black on both sides. (JUST A FILM). I put it together with just a twek with a T driver between my fingers. AFTER IT DRIES, I retwek. Then I roll off any excess. It looks like a pin size black rubber band. No mess or clean up. I retwek after warm up.
I have seen my work ten years later and no leaks. Covers come off with a litte bump of a soft hammer.
When I was still in the trades as a toolmaker apprenticeship, our heat-treating section age hardened white Delrin that we 3 axis machined for guide mask supports for the periscope on our Subs.
This was in the late 60s. Then NC Machines read punch tape and still had tubes in the control cabinet.
Last edited by Jackie Paper; 01-09-2021 at 10:00 AM.
Probably too late but I agree with replacement of the tensioners ever 10 years. They get brittle from hot oil bath.
Also save yourself some time by just using a ice pick to poke cardboard in the pattern and poke bolts thru.
I do it on all my motor rebuilds. I have had 2 dozen or more of them at one time for assembly and it adds a lot less guessing going back.. Especially when projects span weeks. You can't be too ****.
I take two clean pieces of cardboard that I lay gaskets on. I put a film of quality RTV black on both sides. (JUST A FILM). I put it together with just a twek with a T driver between my fingers. AFTER IT DRIES, I retwek. Then I roll off any excess. It looks like a pin size black rubber band. No mess or clean up. I retwek after warm up.
I have seen my work ten years later and no leaks. Covers come off with a litte bump of a soft hammer.
When I was still in the trades as a toolmaker apprenticeship, our heat-treating section age hardened white Delrin that we 3 axis machined for guide mask supports for the periscope on our Subs. This was in the late 60s. Then NC Machines read punch tape and still had tubes in the control cabinet.
Rip makes a good point. You absolutely do not want to mix up cam cover bolts and cam plate bolts. You dent a lifter bore like that.
Thanks, Nomad, I surely will when I get to that point. Between work and commitments, my time on the bike isn't as much as I'd like, but is it ever? LOL
Ripsaw, I haven't yet progressed beyond what you see above, because, well, time. I *might* get some time in tomorrow evening, but more likely Monday after work. Great suggestions!
This is pretty much my only major project for the bike this winter besides trading out the front brake line and changing the rest of the fluids. I really try to not take on more than what I think I can actually get done in the allotted time. Experience is a good teacher....
If someone tries to give you advice on how to do the job and they don't understand what the photos below are, move on quickly. All this can be done for relatively cheap and it would be sound repair.
Thanks, Nomad, I surely will when I get to that point. Between work and commitments, my time on the bike isn't as much as I'd like, but is it ever? LOL
Ripsaw, I haven't yet progressed beyond what you see above, because, well, time. I *might* get some time in tomorrow evening, but more likely Monday after work. Great suggestions!
This is pretty much my only major project for the bike this winter besides trading out the front brake line and changing the rest of the fluids. I really try to not take on more than what I think I can actually get done in the allotted time. Experience is a good teacher....
Ii am coasti�g down but been retired since 2012. All my labor is free. I have had a bike, Civic and Jeep going at once and a side of Yamaha Outboard plus a China weed eater going at one time. So my cardboard plates of bolts along with each subassembly end up seperate boxes waiting for parts and such.
The Jeep got so far down, subassemblies went to the outbuilding.
Wife just shakes her head. My buddies call me Mr Organization. She has long ago wants no part of my organization of her and that's were it stops. The iceing was her new car she had had a week. I put OEM fog light on it. That involves removing the front and dash which looks pretty invasion.
I don't dare mess in her kitchen and if something gets misplaced by her, I always get the blame...
PS. Be aware if you modify the valve plate for idle pressure, keep red lights at a minimum. You don't want to do that in a TC in hot climates or lot of stop and go city. The oil injectors will cook the oil.
Last edited by Jackie Paper; 01-09-2021 at 11:12 AM.
 01-07-2021, 06:57 AM