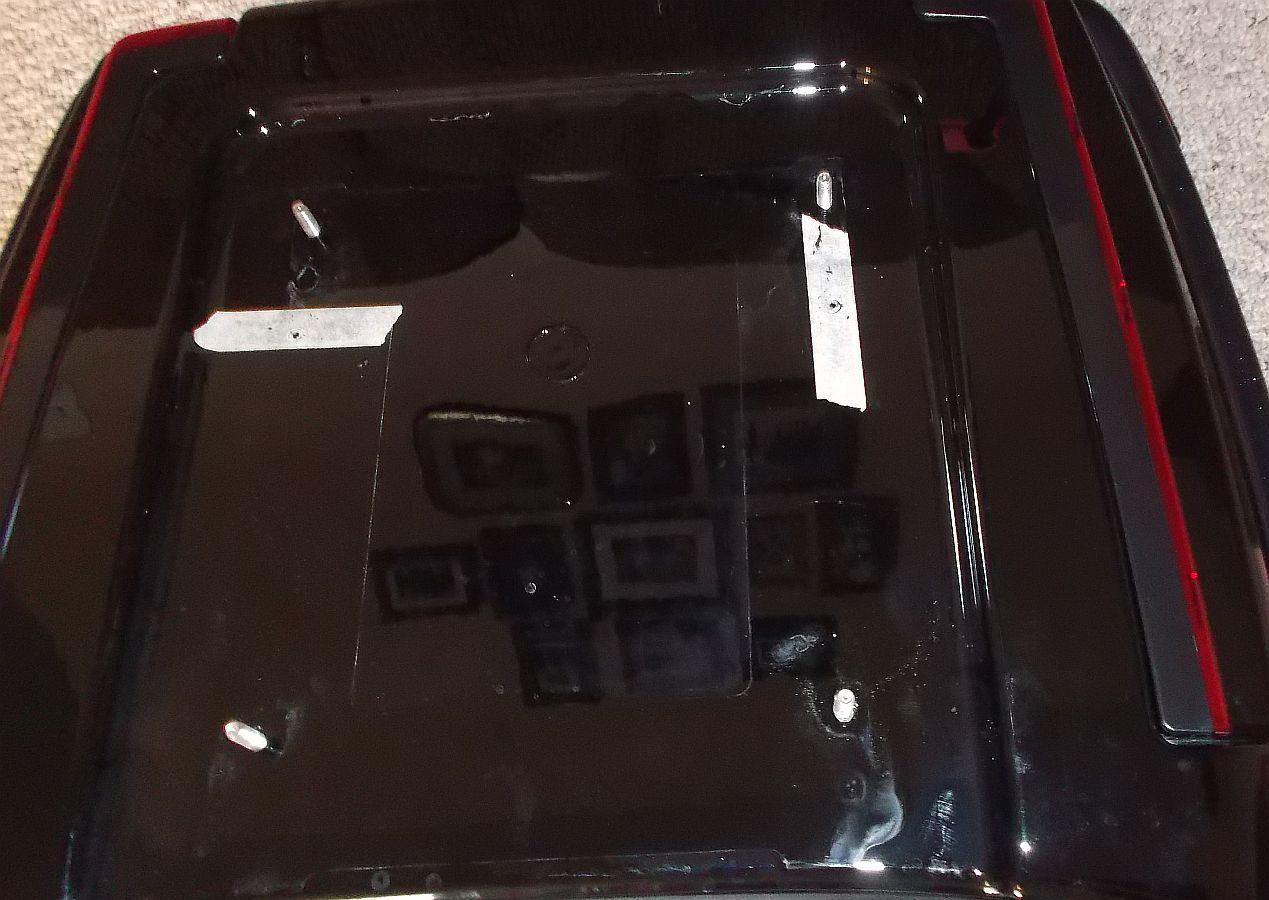
I went to move the tpac back and see 2014 is a different width pattern than previous years. I now have an Ultimate relocation plate going for sale and here is my quick solution, 2 strips of alum, couple holes, 2 holes in tpac base. The rear bolt is "pinched" the base is not long enough for another hole. I should have csk those 2 rear holes and added a couple bolts... I do have more of these strips.
I did about the same thing, but I added a couple of shims in that gap, and used longer straps, which bolt to the old bolts on the bracket in the front. Works great.
That middle nut and bolt just tie the bracket and the strap together. It's a flathead and the bracket is countersunk. Setback is 1 3/8" and no changes to the tour pack itself.
Last edited by Oogie Wa Wa; 05-04-2015 at 12:44 PM.
Reason: clarification
Question for you guys...why are you using a TP relocation kit. We sell them for earlier year models, cause that is the only way to move them back, but on these later year models, we don't make them because we don't see a need.
Here's what I did with my 2011 TG and my 2014 TG, copied from another thread.
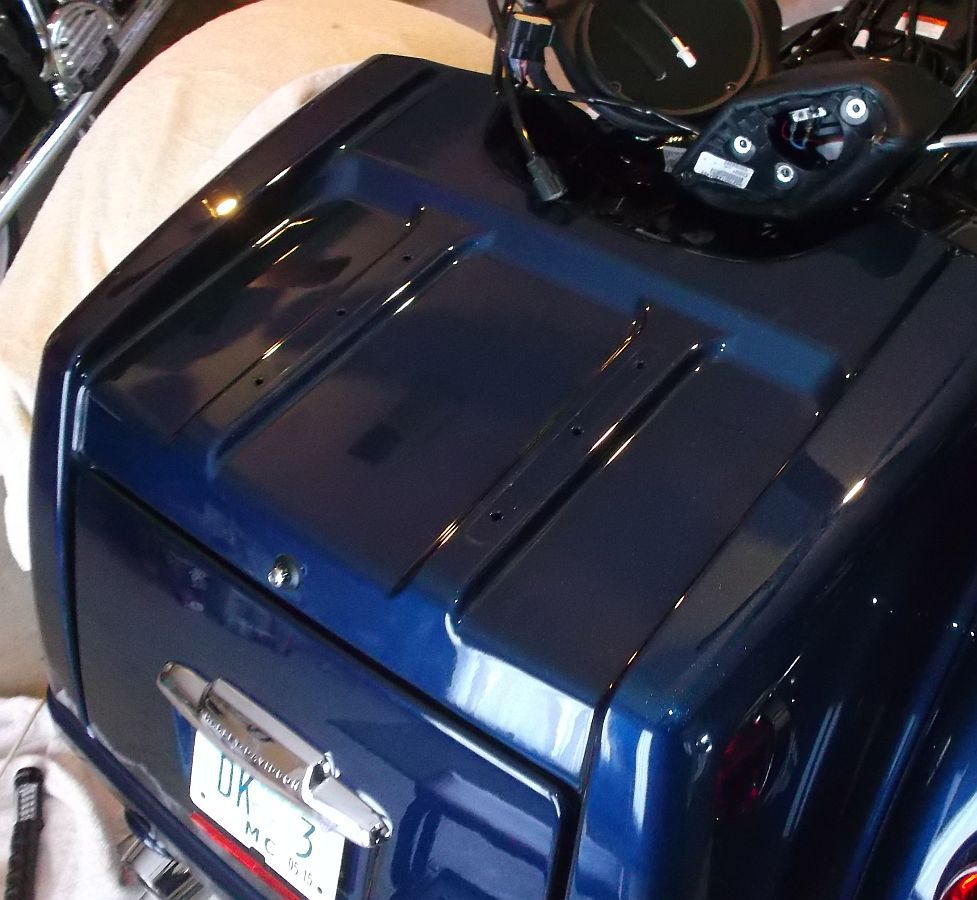
Next up was a Tour Pak relocation. The TP was delivered to us in the rear most position (oem has two location choices).
As with other Tour Paks in the past, we decided to relocate this one another 2" further back than stock. This gives Mary plenty of room, but does not put the TP so far back that it compromises integrity of the mount or the handling of the TG.
For decades HD has used a tubular rack for the TP mounting. This is a fundamentally flawed design that is prone to cracking/breaking.
8 years ago we began producing a Tour Pak relocation kit that is essentially a flat plate that sits on top of the tubular rack and allows the TP to be moved back. Besides allowing for adjustment for TP placement, it also strengthens the flawed HD tubular rack.
When the Tri-Glide was introduced HD used the flat plate design instead of tubes for mounting the TP. Then in 2014, All Tour Paks are now mounted on a flat plate from the factory.
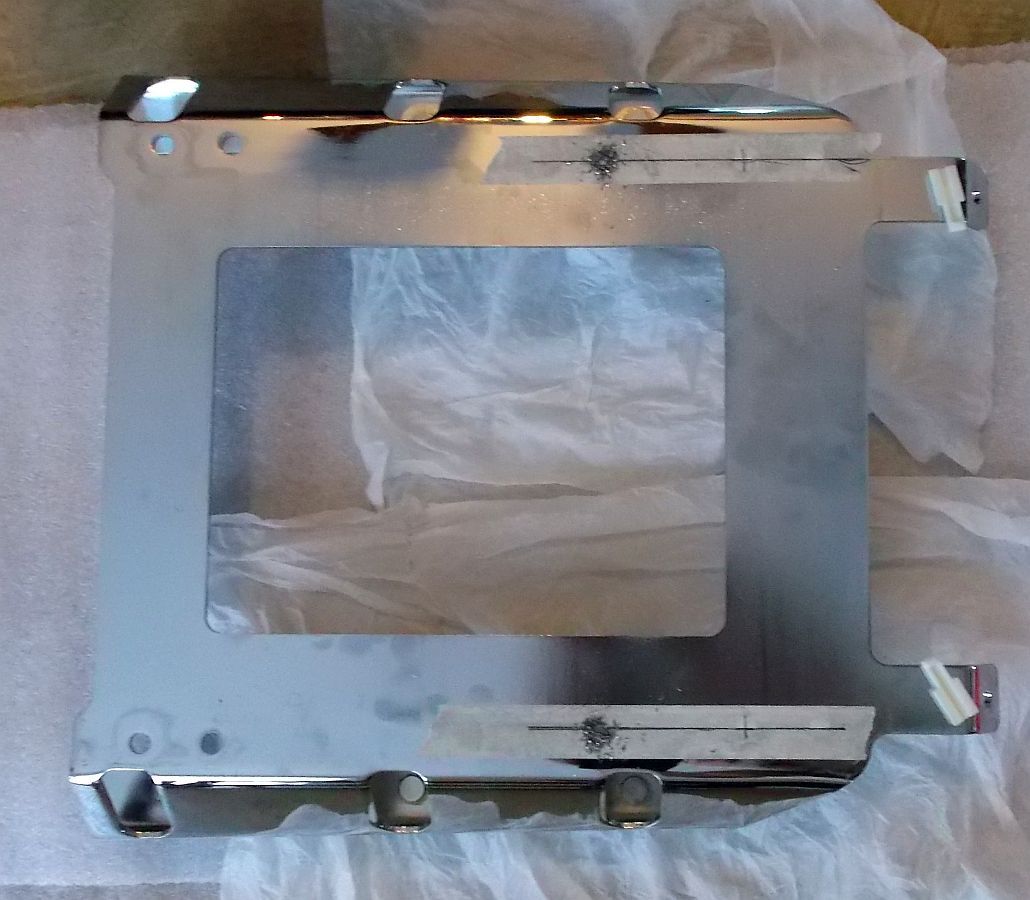
The first step was to unhook all the wiring to the Tour Pak, remove the speakers from the Tour Pak (there are no connectors on the wires to the speakers that you can detach without removing the speakers), and then remove the TP mounting rack from the trunk. There are 6 bolts that hold the rack to the top of the trunk and you can access them from inside the trunk.
Next step was to remove the mounting rack from the bottom of the TP. 4 nuts.
Next step was to use some masking tape to mark where we wanted to drill the new holes in the mounting rack for the front 2 bolts/studs.
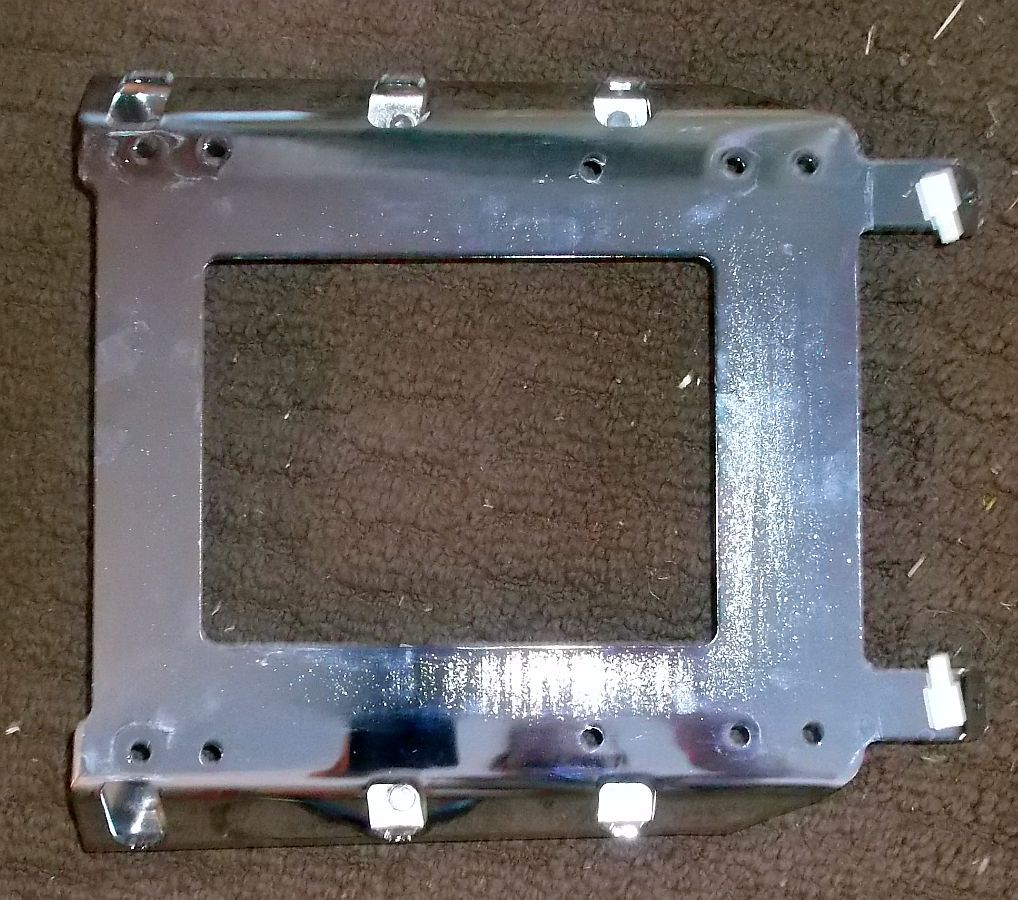
This picture shows that I drilled pilot holes before the full size holes.
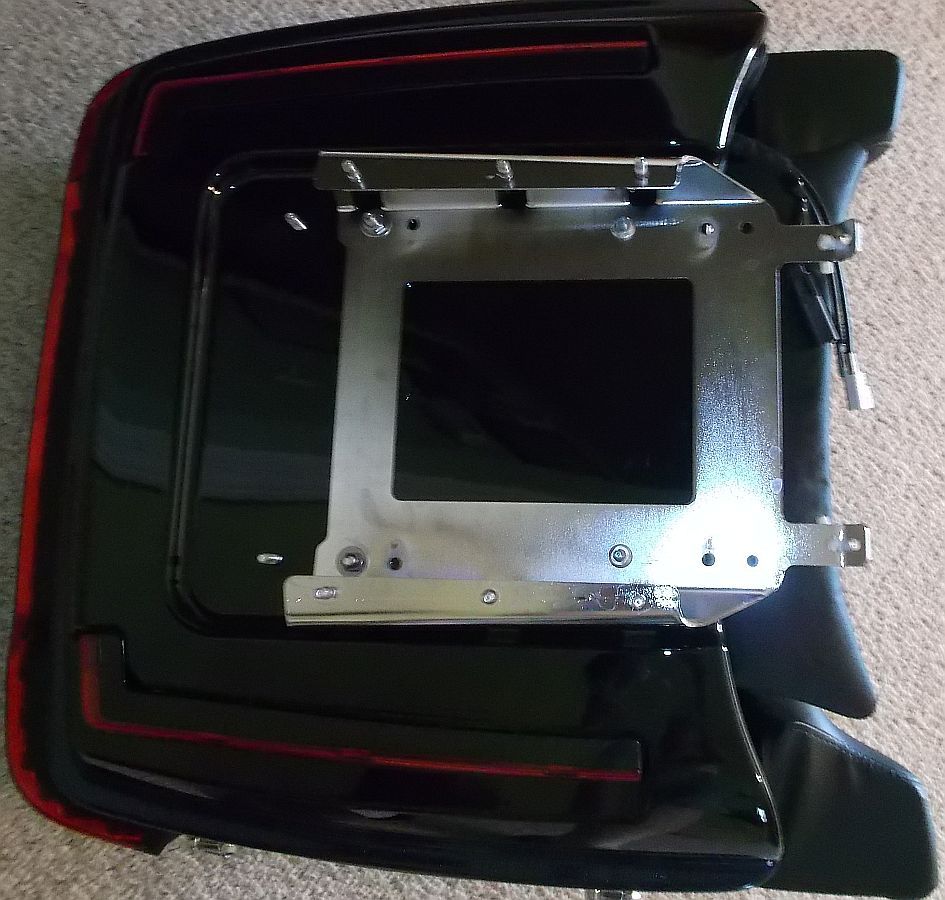
Here the holes are drilled and ready for fitment.
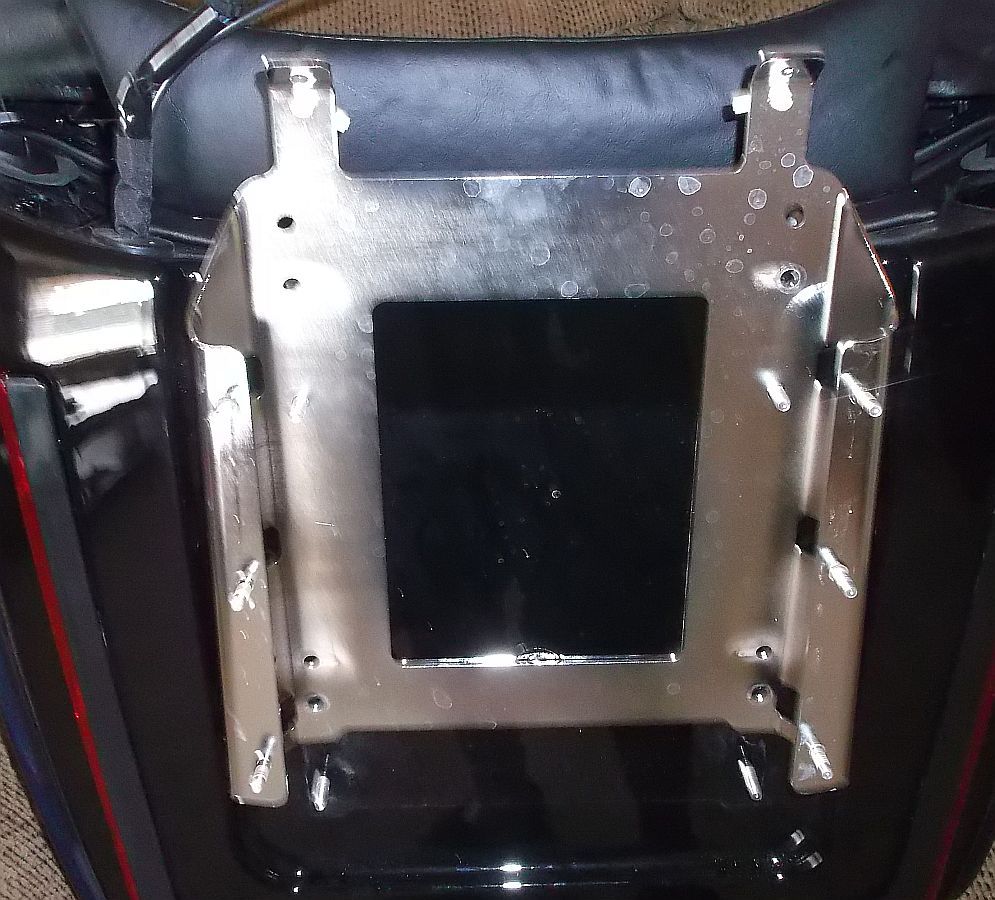
Next was placing the mounting rack on the TP so that we could mark where we wanted the new back holes to be in the TP.
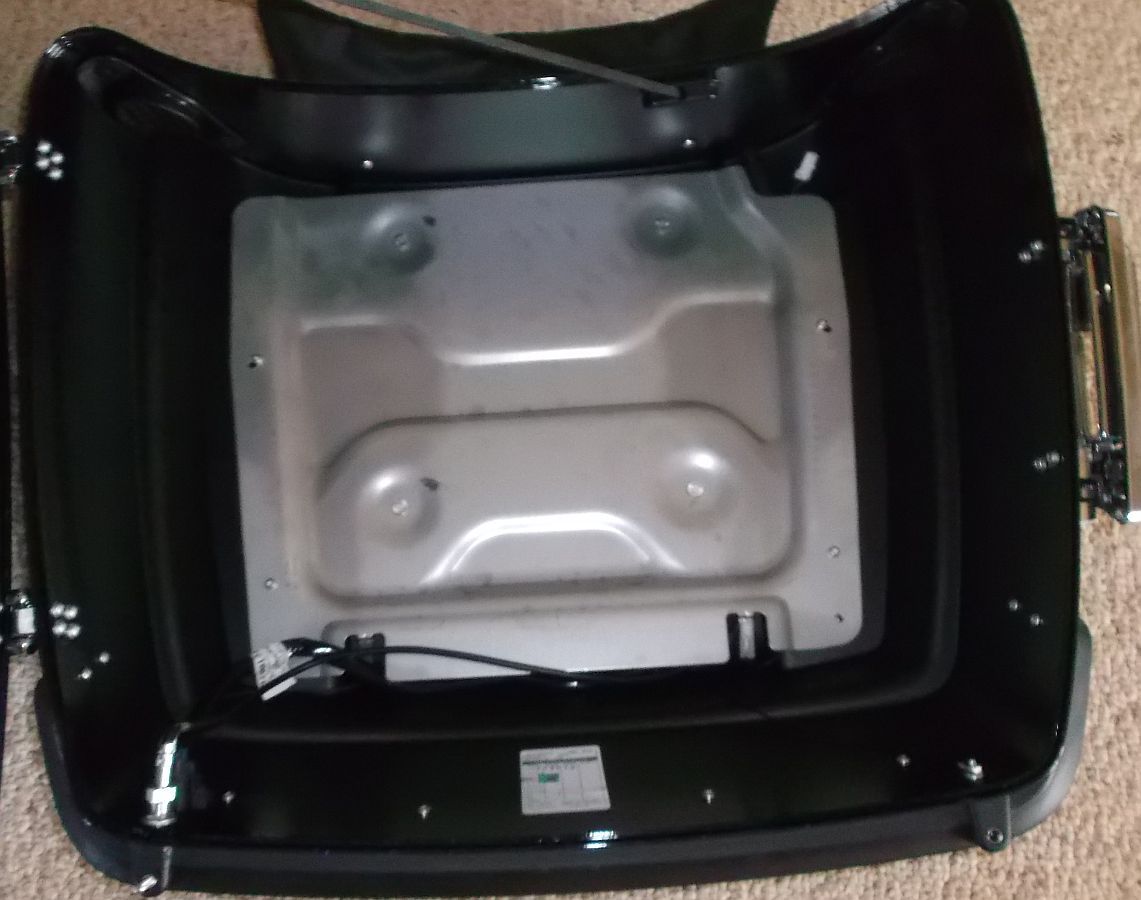
Here is where we want to drill the new holes in the TP...thru the plastic AND the inside metal plate.
Before drill the new holes thru the TP and the inside metal plate, we removed the inside metal plate to make sure no wires were in the path of where we would be drilling.
Metal plate inside TP, below liner. btw, to remove the liner, the bottom side of the retractable tether must be removed.
There were none, but in the past I have seen wires running right across the path of where we wanted to drill holes.
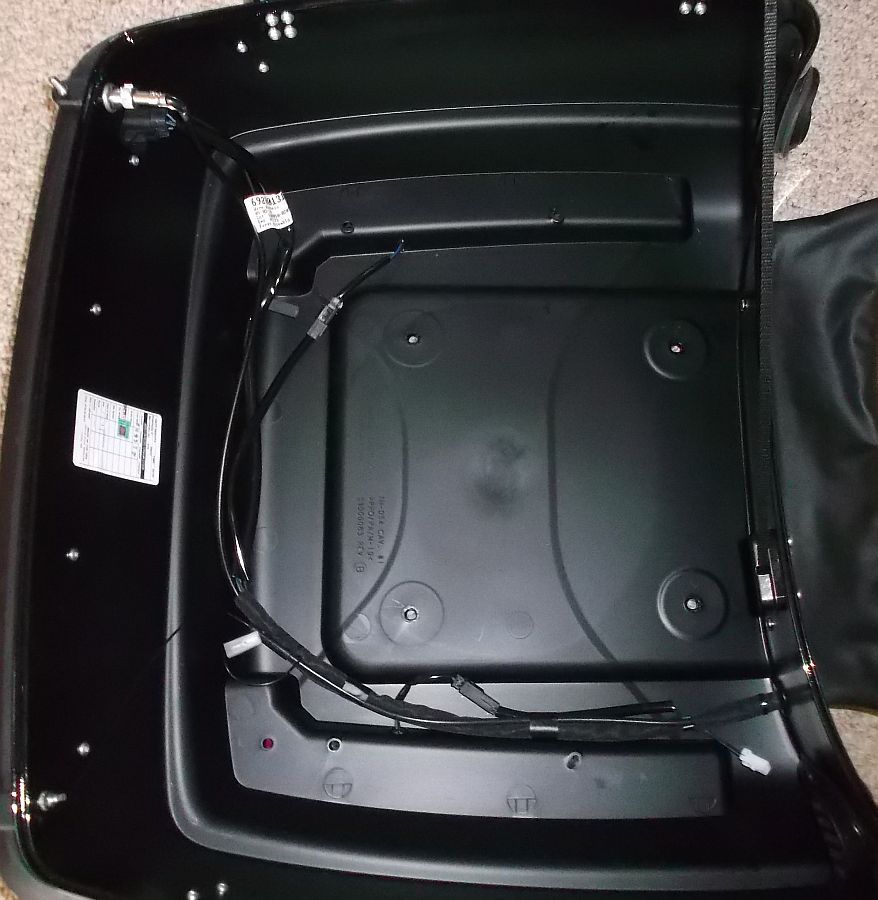
Now we drilled the new holes thru the TP and the inside metal plate, and then attached the TP to the mounting rack in the new position, 2 inches further back.
Note- in the past HD used bolts that ran thru the metal plate and then the TP. Now they are using press fit studs in the metal plate. That is why you see the extra "bolts" in the following picture. I could have cut them off, but they are not visible unless you get your line of sigh lower than the bottom of the TP, so I left them there.
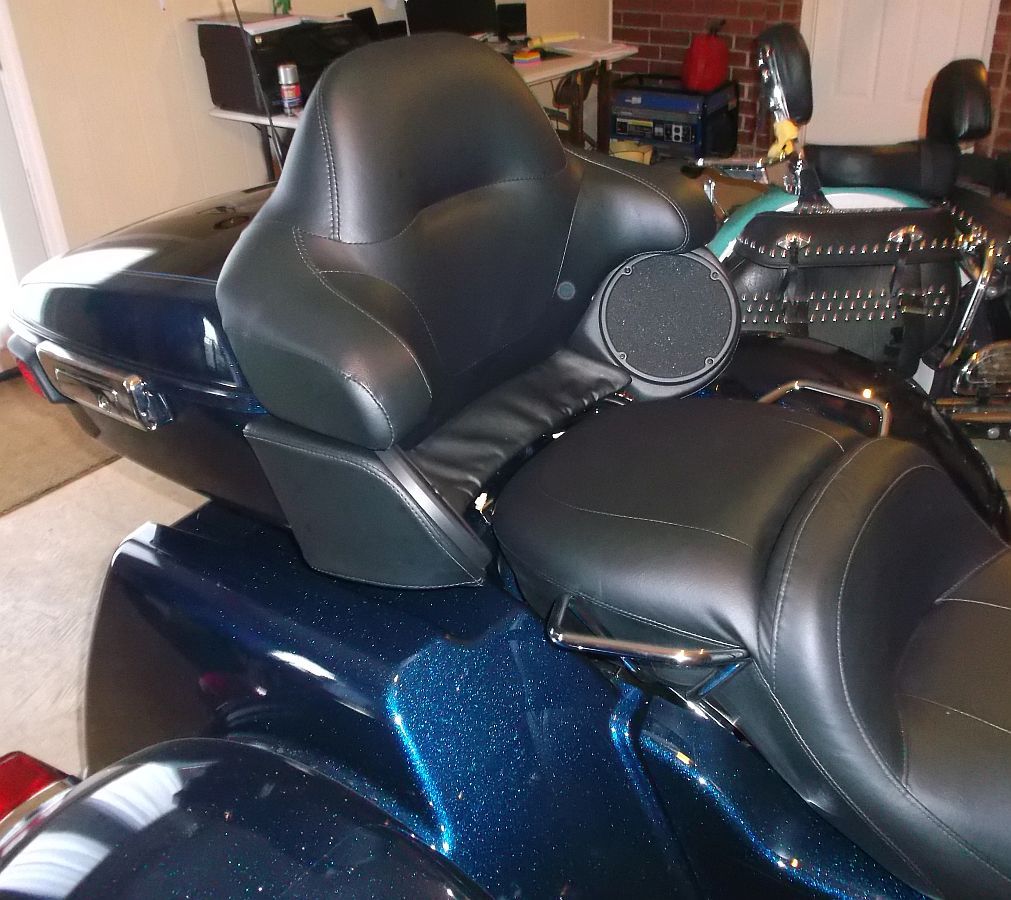
Tour Pak installed back on the TG...now with an extra 2 inches. We're ready for lots of miles for Mary to travel without feeling cramped at all.
btw, in case there's any concern that the rack or mounting is not strong enough with this modification...this is the same thing we did on the 2011 Tri-Glide and we had that TP loaded for 10's of thousands of miles at 2.5x over maximum rated load and never had a single problem, including on those "roads" up in the Yukon.
Why? Just because that's how I figured out to do it, that's all. I saw your post, in fact, and used it as a starting point.
It isn't a kit, it's just some scrap steel I had laying around. It seemed easier not to pull the inner plate and then have to drill new holes through both the plate and the plastic. It supports the whole length of the bottom and uses the existing studs in their original location.
I knew we had a long trip coming up, and we were going to pack the tour pack full and put a fairly heavy bag on top of it on the rack. I was afraid it might rock with the shorter distance between fasteners in your example, this way it won't.
I added fender washers inside the trunk, too, just to spread out the stress. I mean hey, if some's good, more is better, and too much is just enough, right???
I went to move the tpac back and see 2014 is a different width pattern than previous years. I now have an Ultimate relocation plate going for sale and here is my quick solution, 2 strips of alum, couple holes, 2 holes in tpac base. The rear bolt is "pinched" the base is not long enough for another hole. I should have csk those 2 rear holes and added a couple bolts...
tGlideStuff has some rails for both leveling and relocating the tour-pak http://www.tglidestuff.com/index.html. When I bought my 2010 Triglide the wife would start having problems with her back hurting on long trips. Once I put a level on the tour-pak of my 06 Ultra and the 2010 Triglide it become apparent why her back was hurting. The tour-pak on the 09 to present Triglide sits *** end down, I installed a set of rails from tGlideStuff which solved her back problem.
 05-03-2015 | 04:32 PM