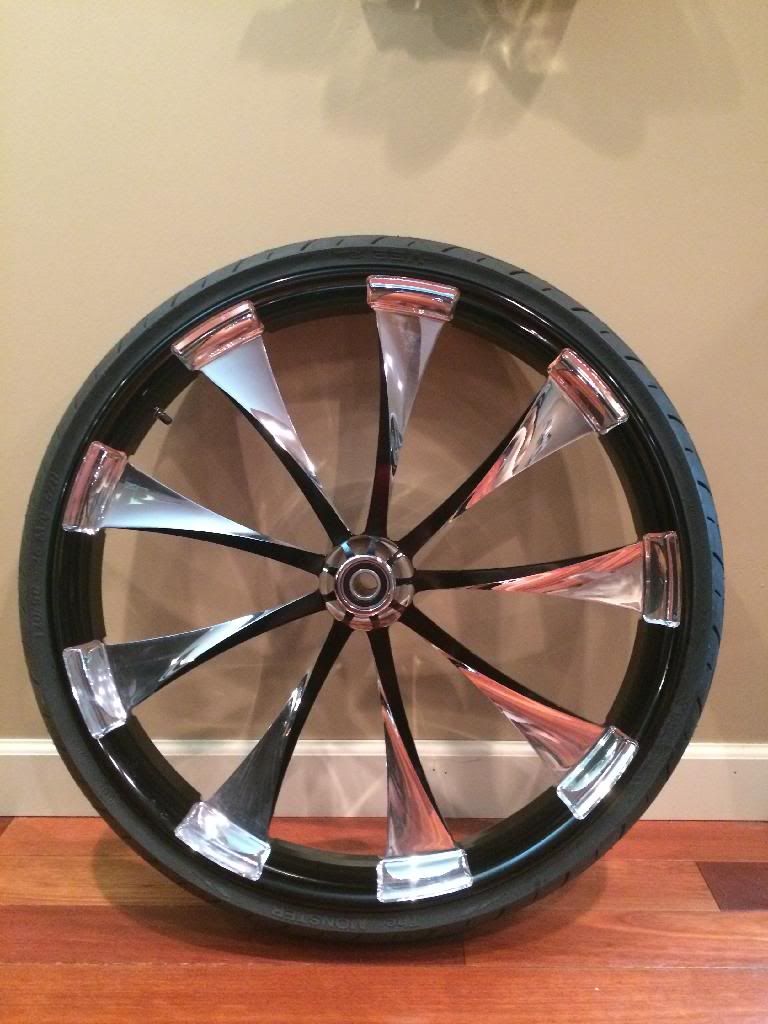
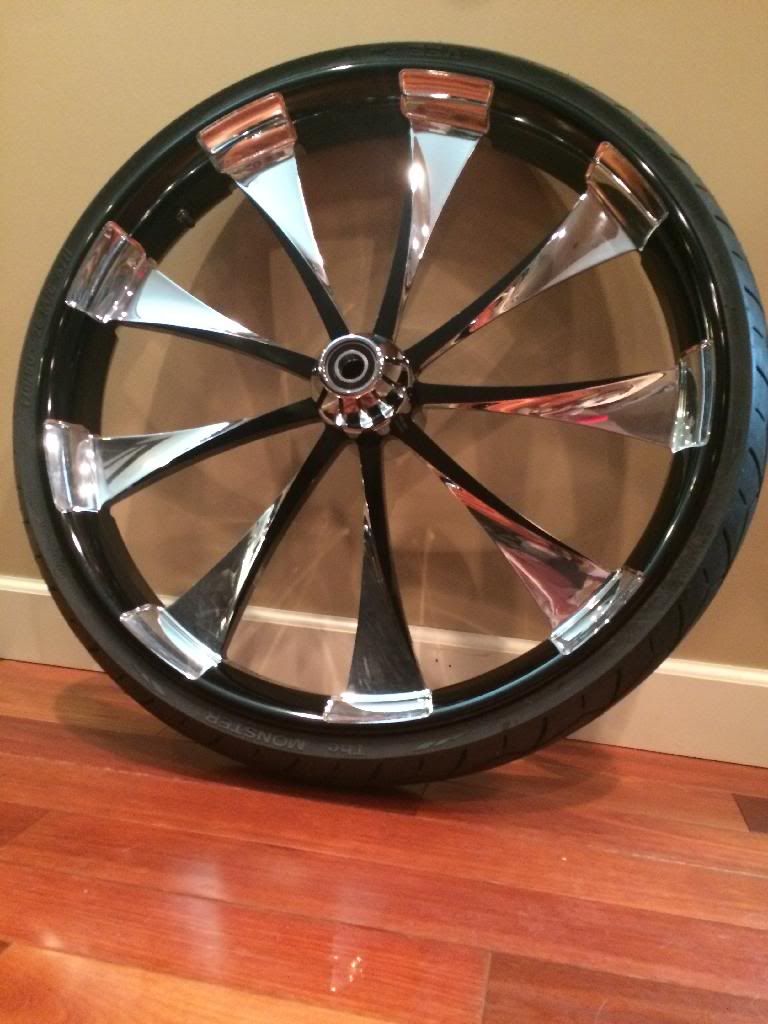
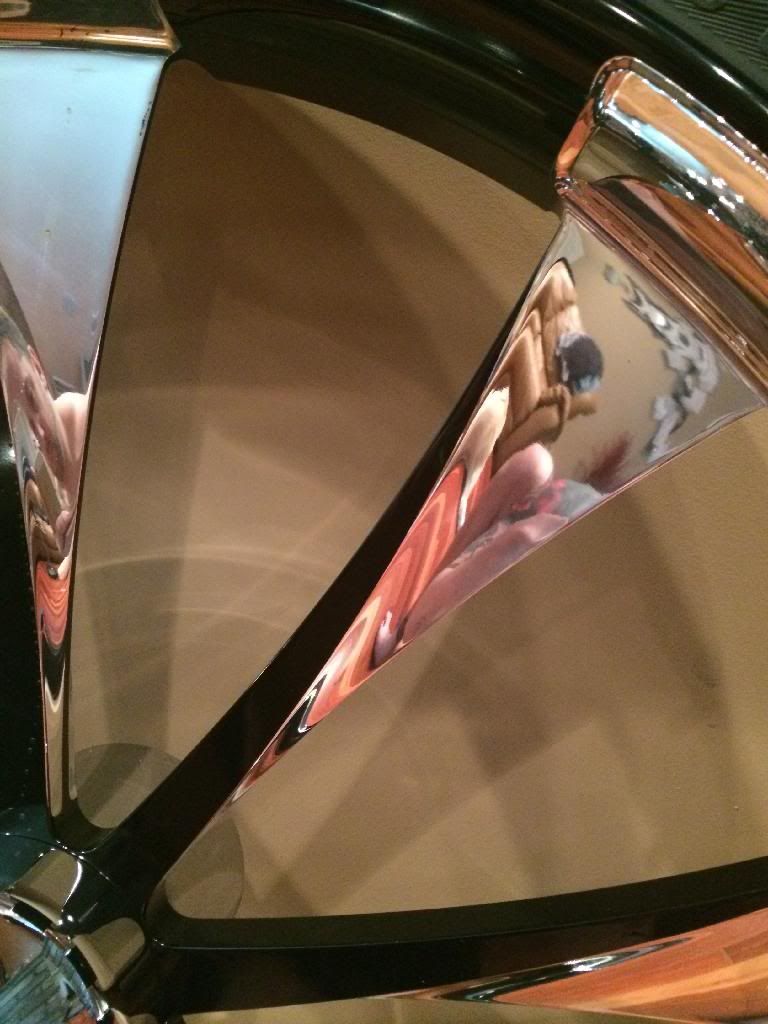
08 SG..redo #3...26" with a turbo 120R
#1
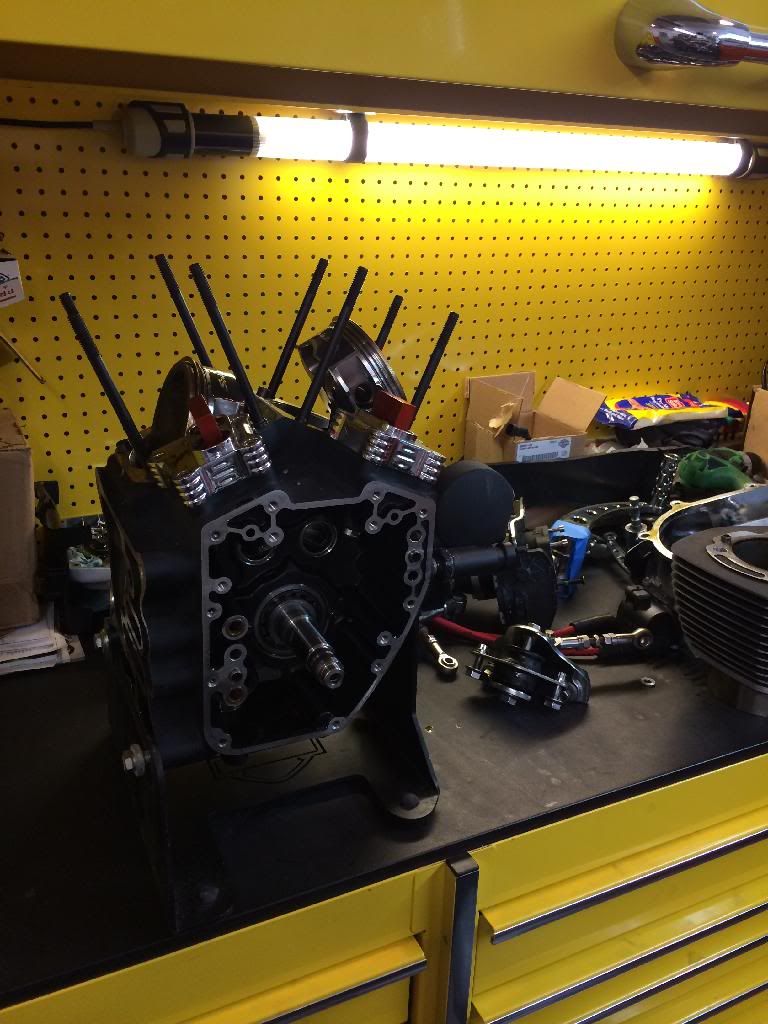
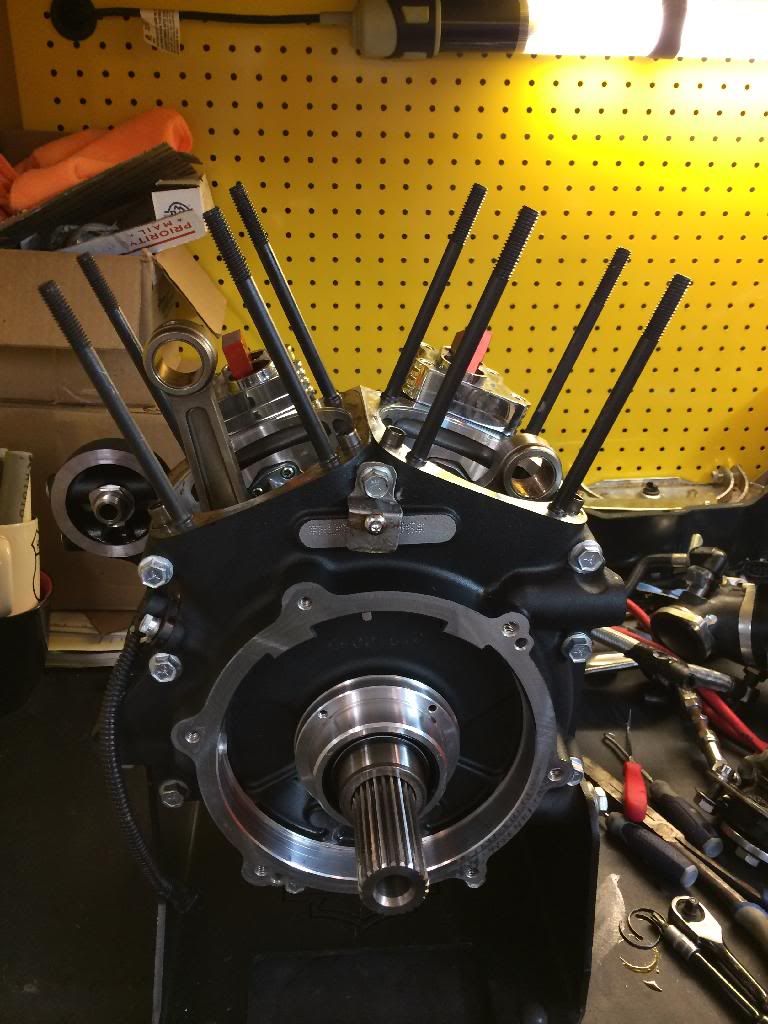
So, my SG makeover is under way...started it back in January, and still rolling along Going with a 26 running HHI 7/9 shortneck kit, Top Shop Black death kit with molded side covers, Bcool fl wrap fender, trued & welded the crank and did a Timken conversion since I am also going to be running a Trask turbo with boost control from 8-17lbs. Here is what the bike looked like previosly....
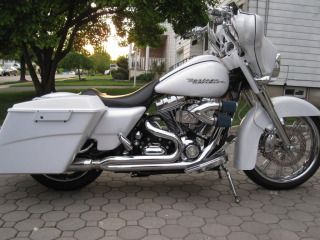
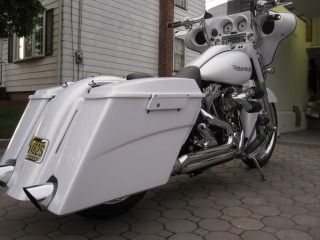
and during teardown process...
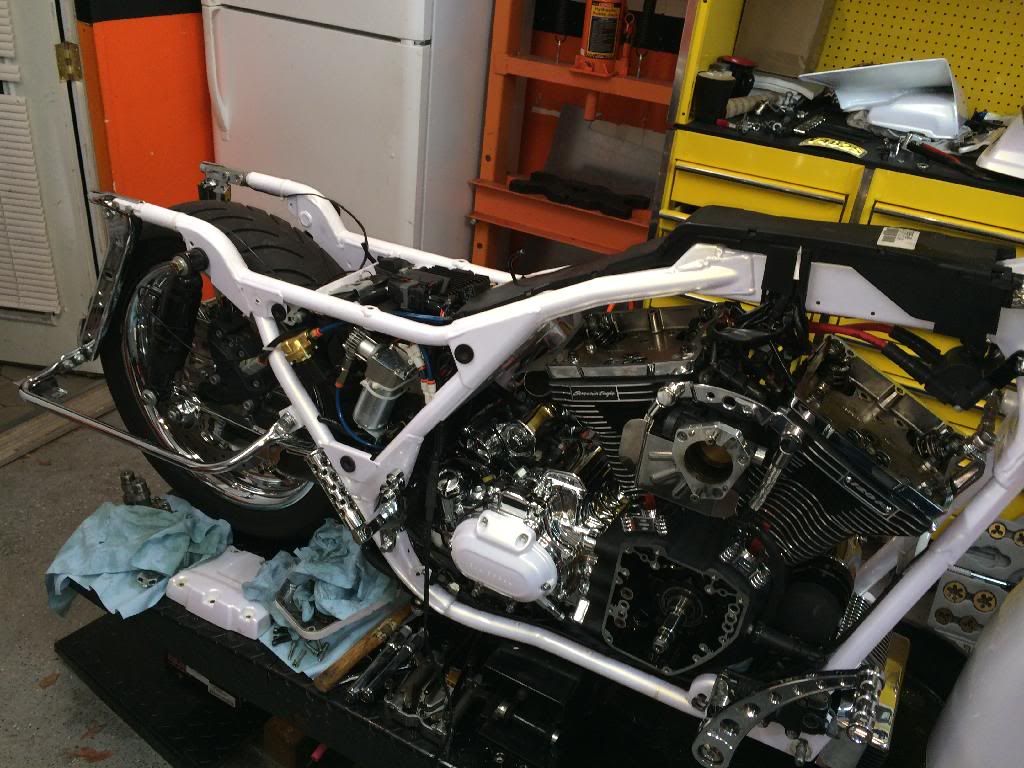
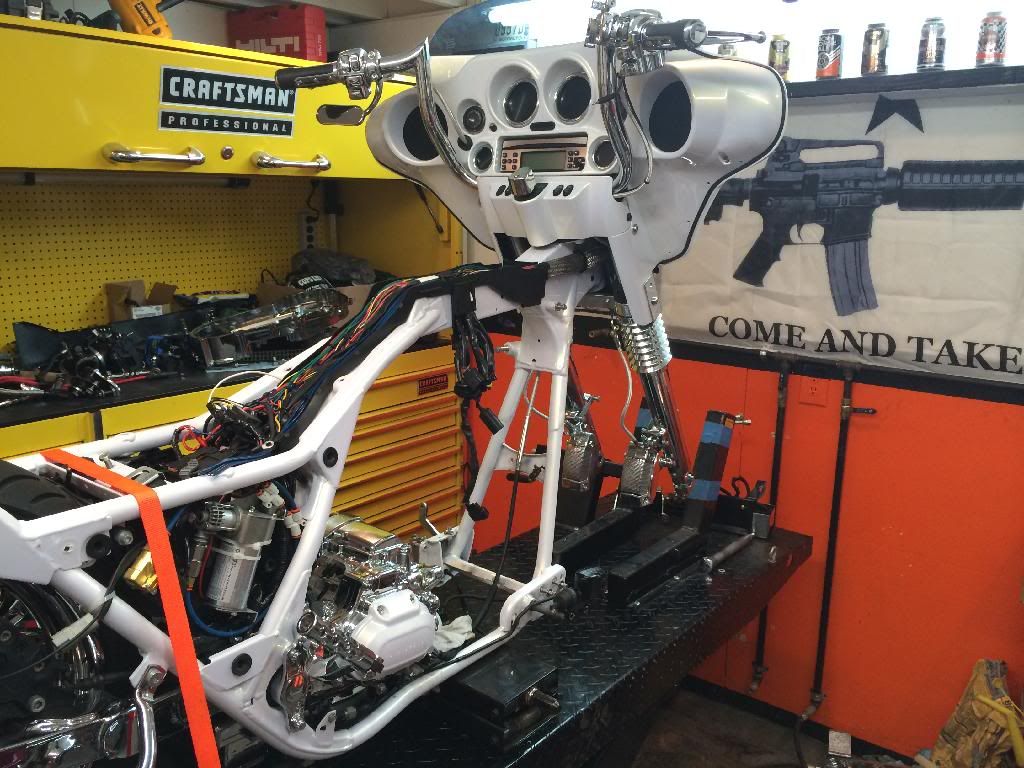
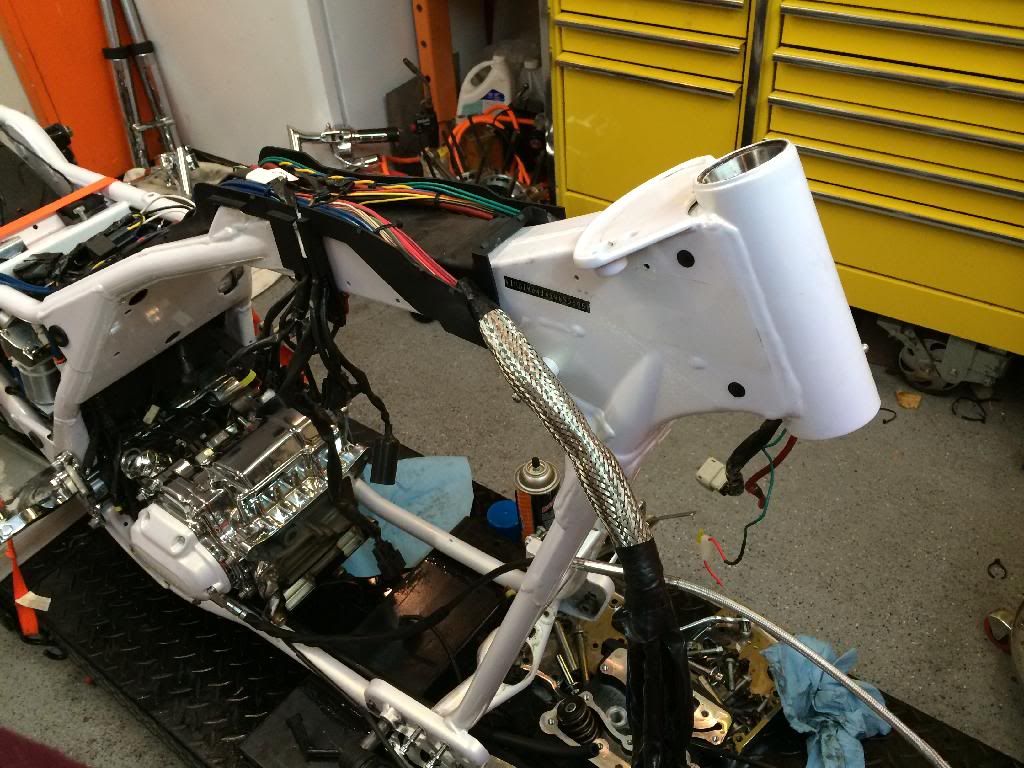
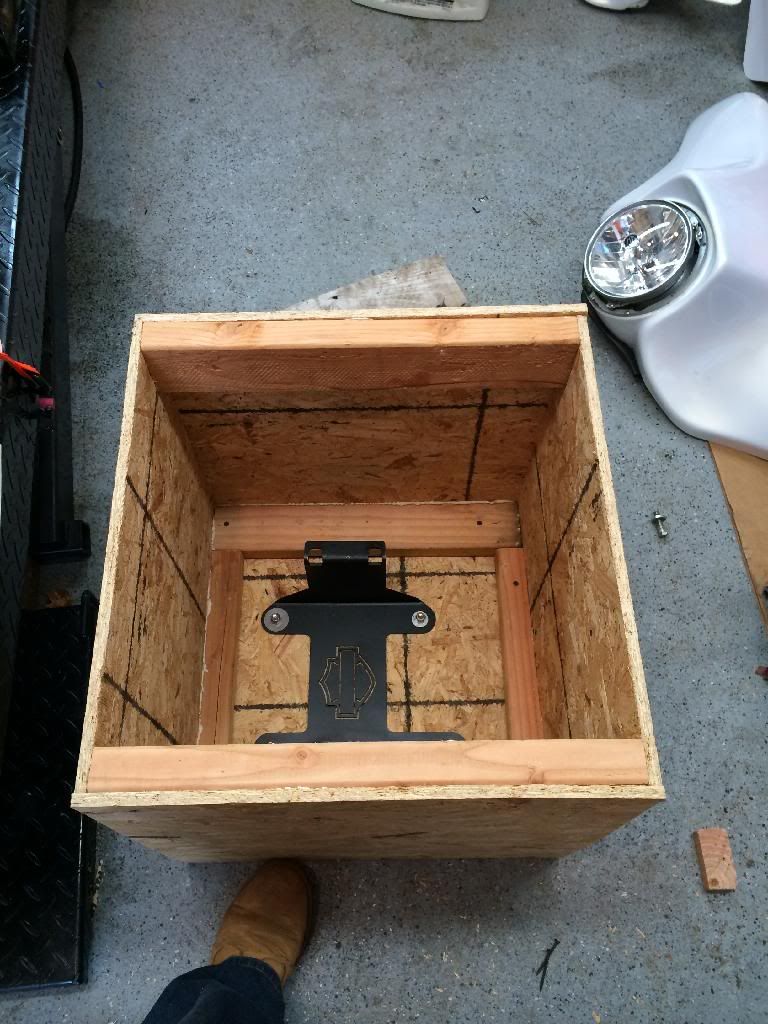
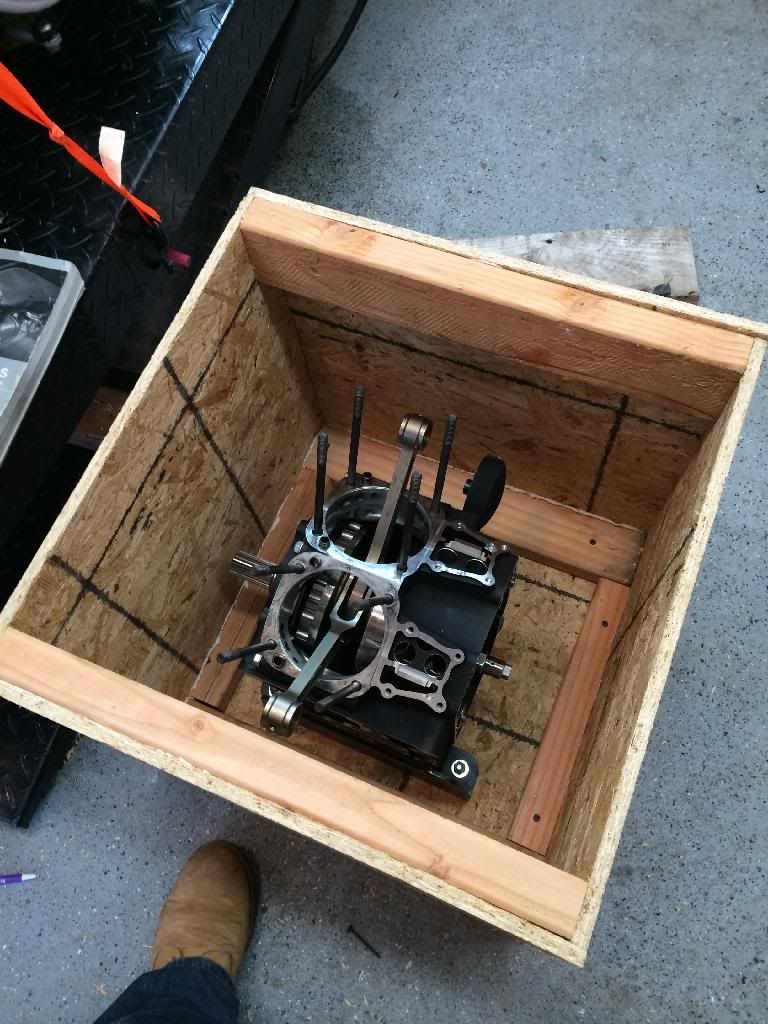
motor when it was being shipped out
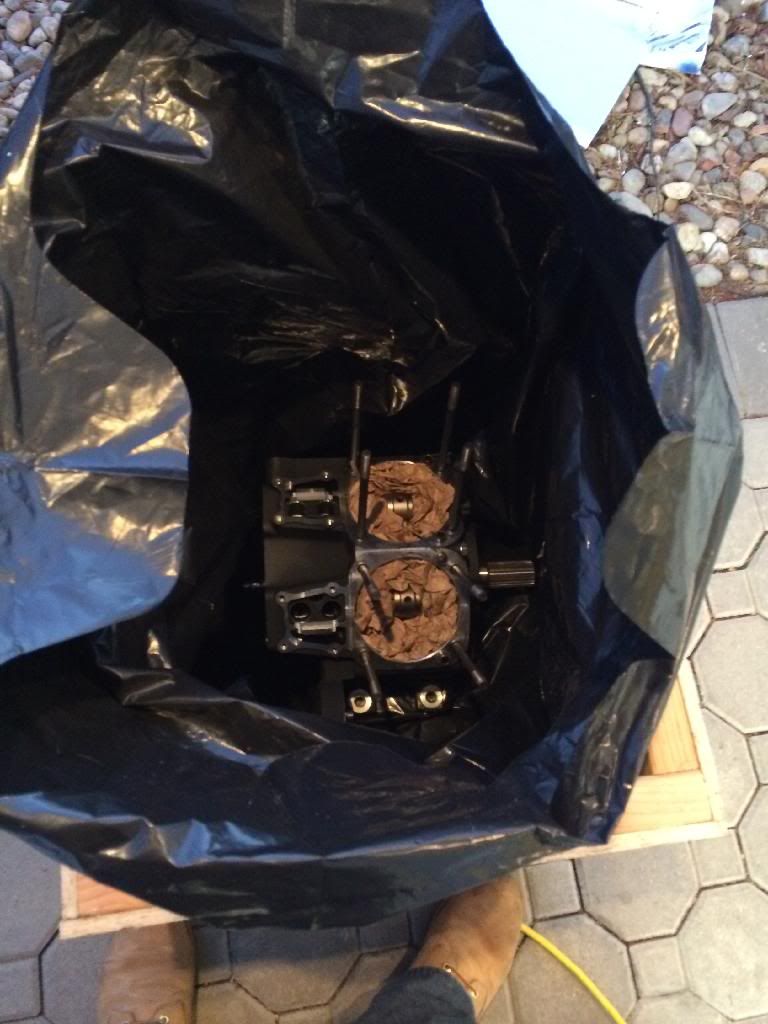


and during teardown process...


motor when it was being shipped out


#3
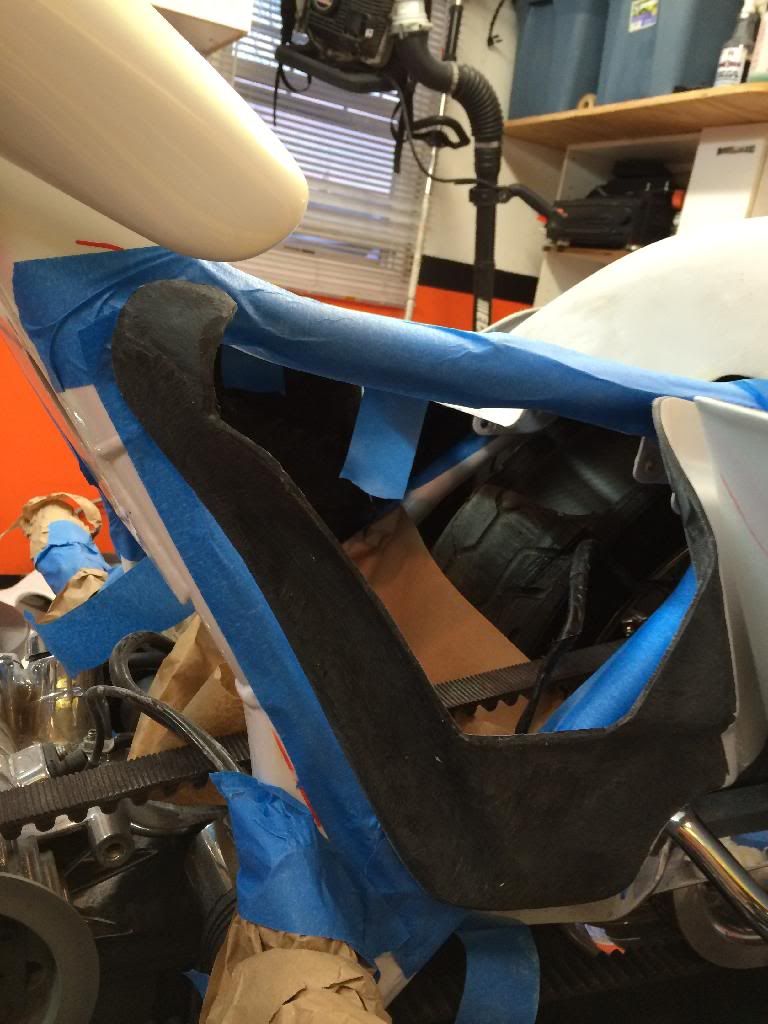
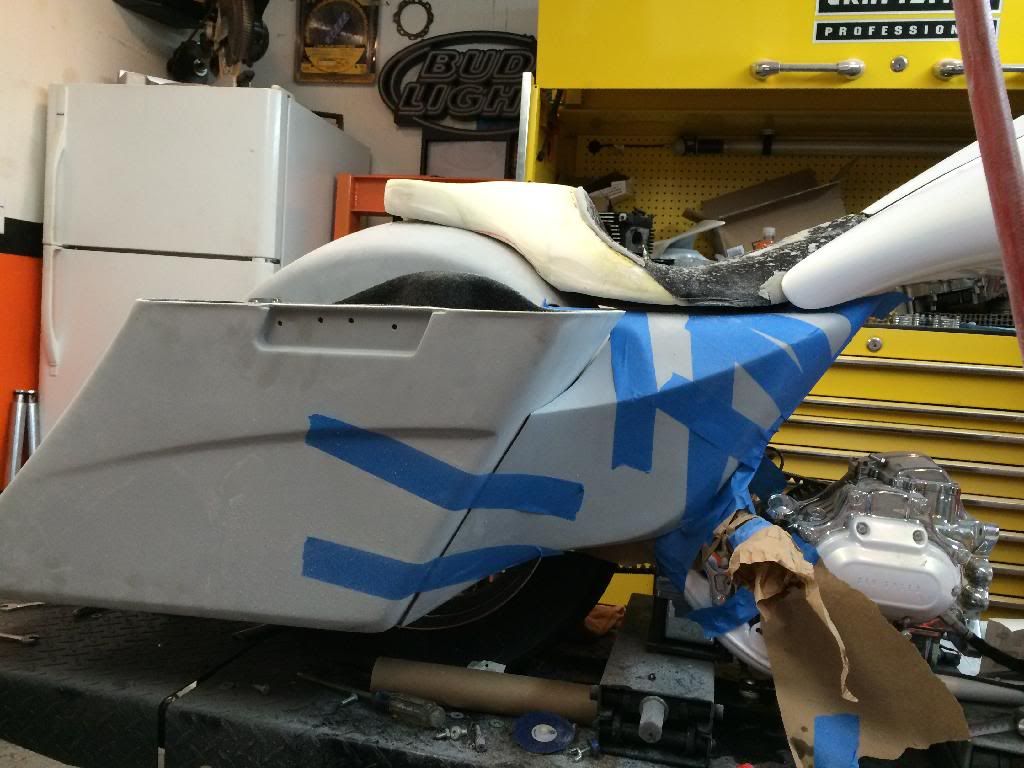
used a set of topshop new style glue on side covers for 09up frames... Modified them to fit on the 08 frame... They didnt even come close to fitting as is. The shape to the frame is way off and they dont come close to fitting over a stock cover... Again, THESE ARE NOT MEANT FOR THIS YEAR BIKE!!
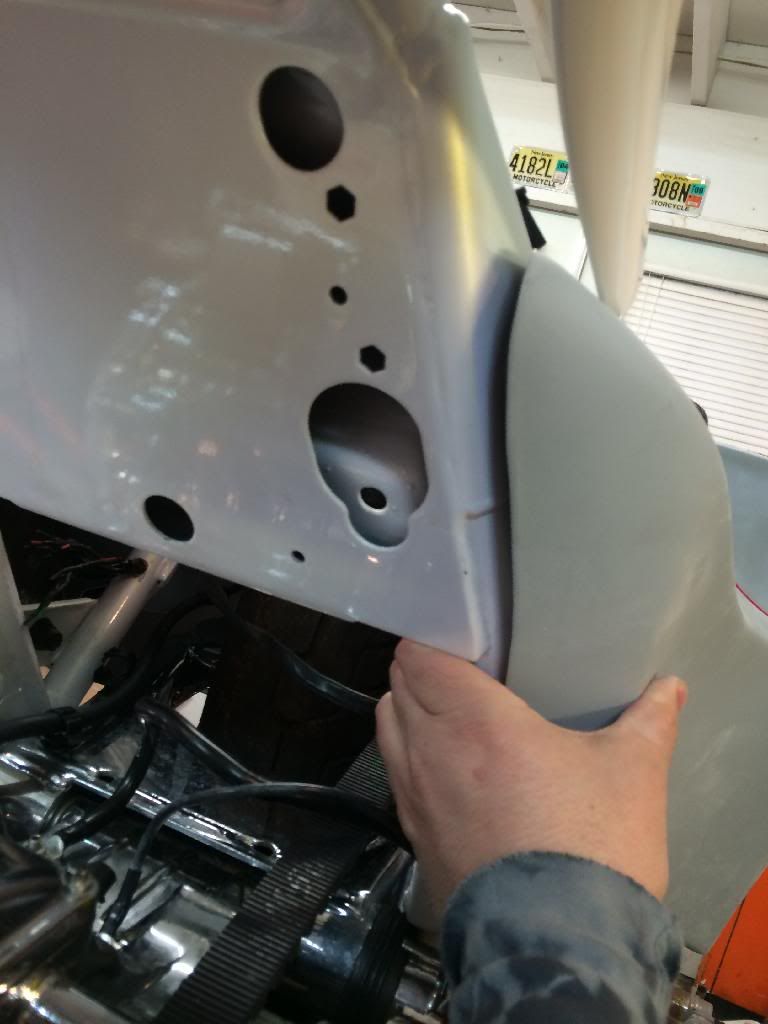
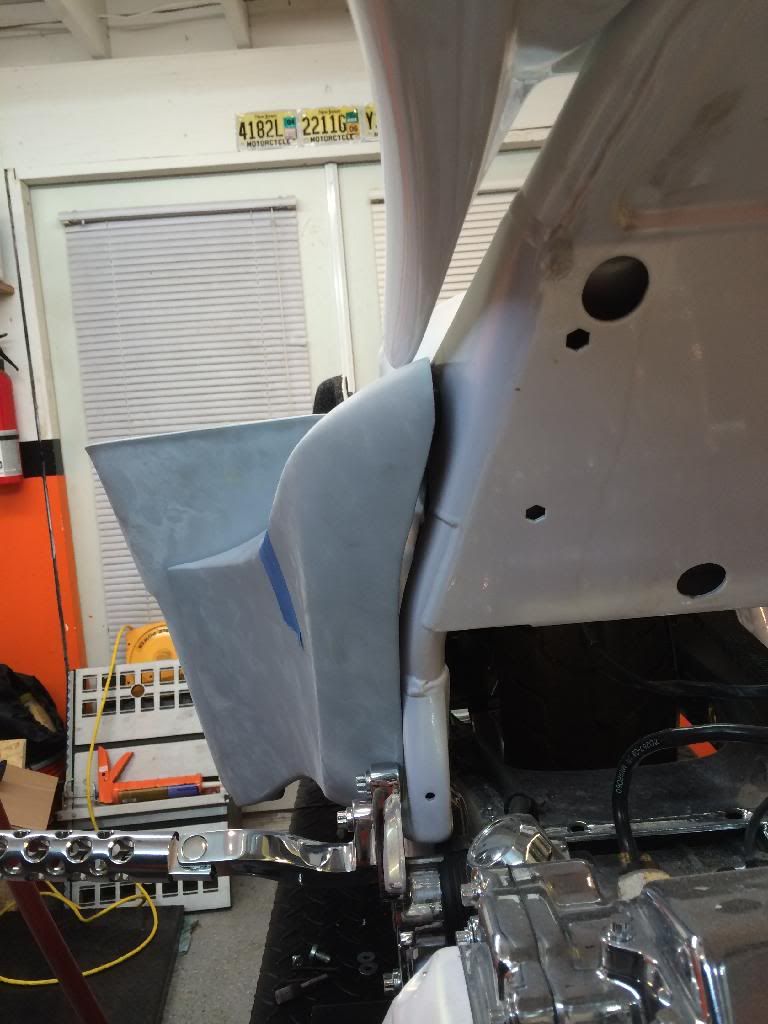
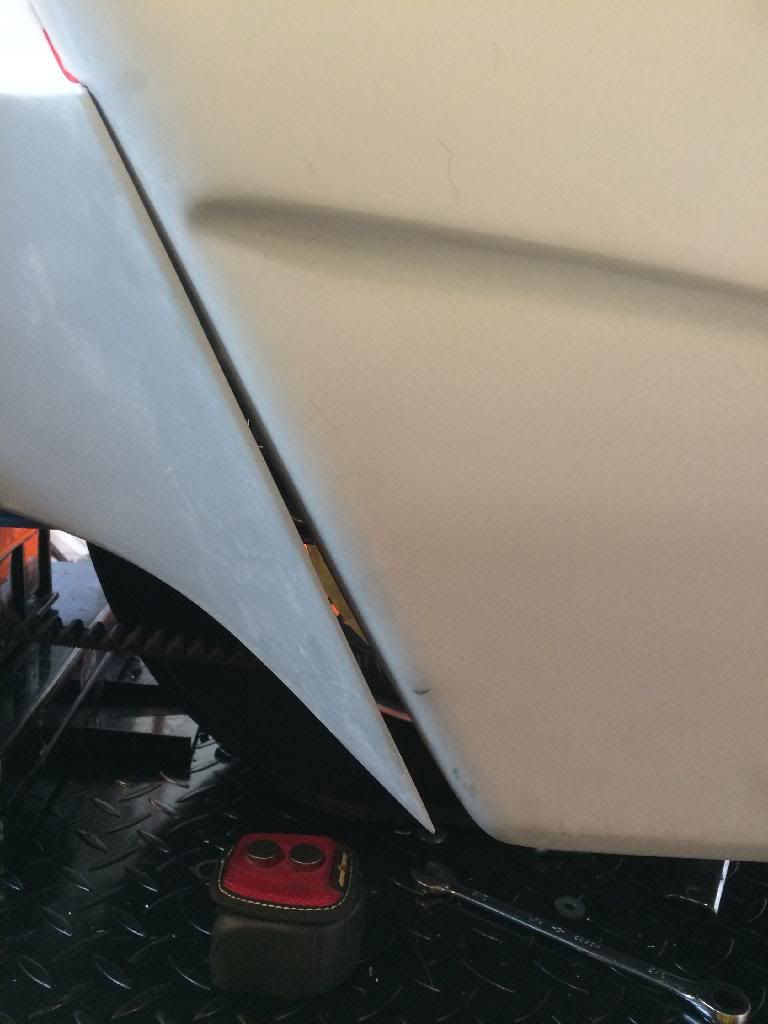
After a few hours of marking and grinding, starting to take shape
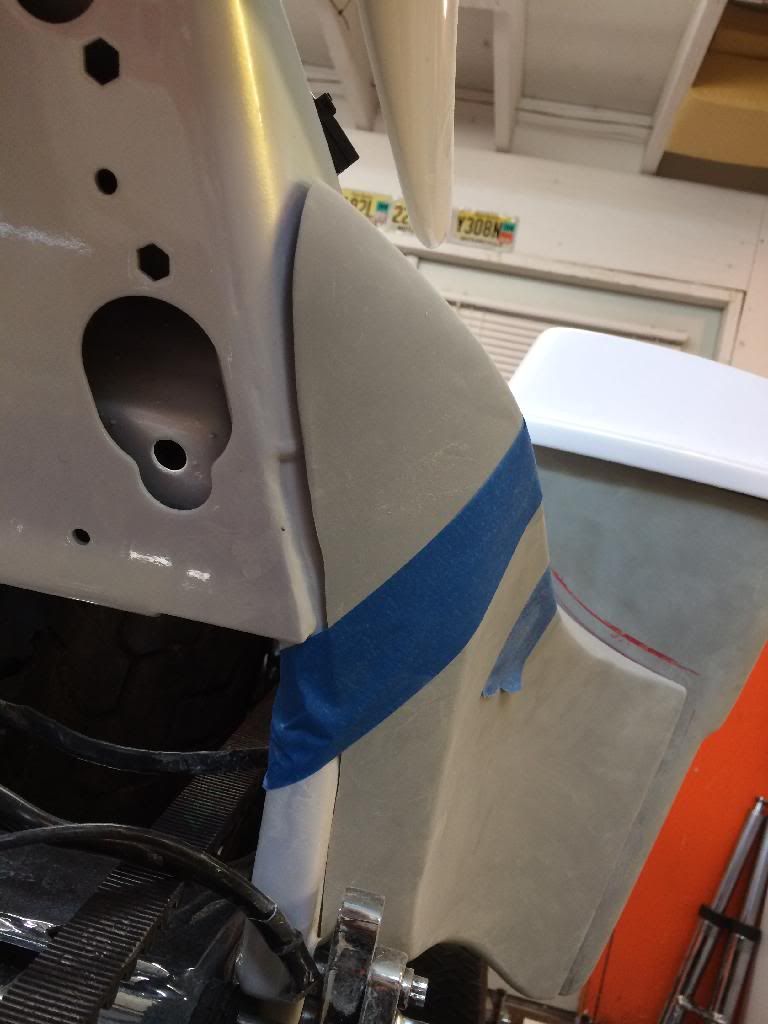


After a few hours of marking and grinding, starting to take shape

#5
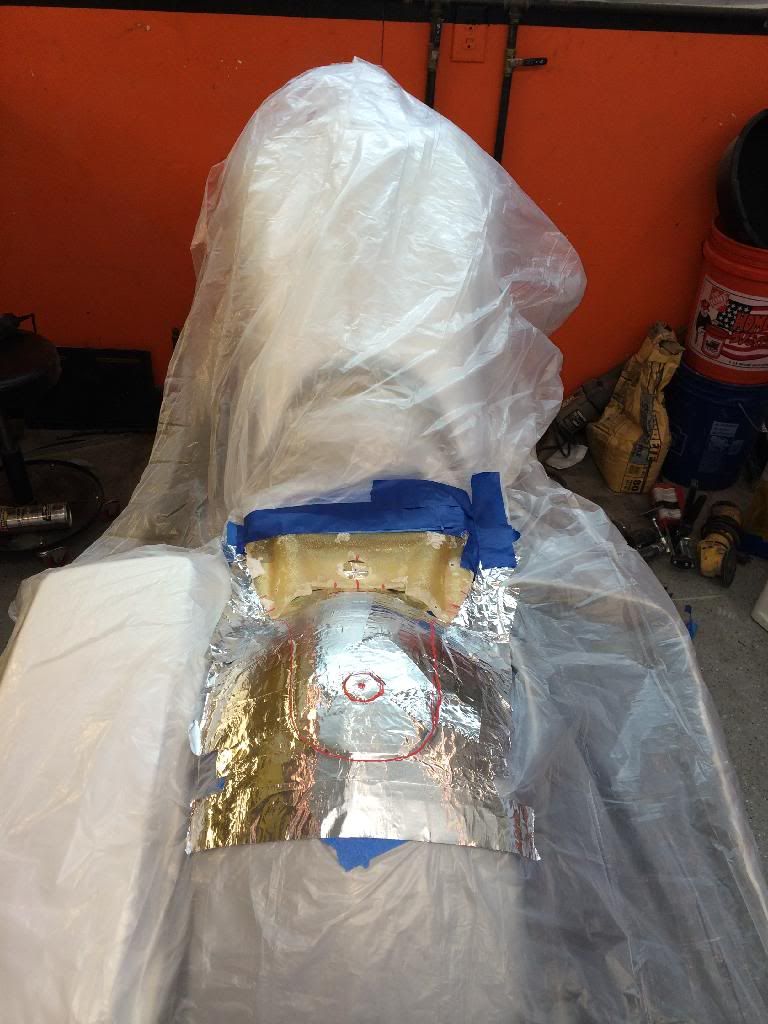
black death kit requires a custom seat so I decided to tear apart my dany grey, cut the rear section off the pan and glass in a new rear section....first time working with glass!!!
got everything covered up real good...layer of tape down, hidden seat pin receiver in place, layer of felt, another layer of blue tape, layer of foil tape, carnuba wax, then glass away.
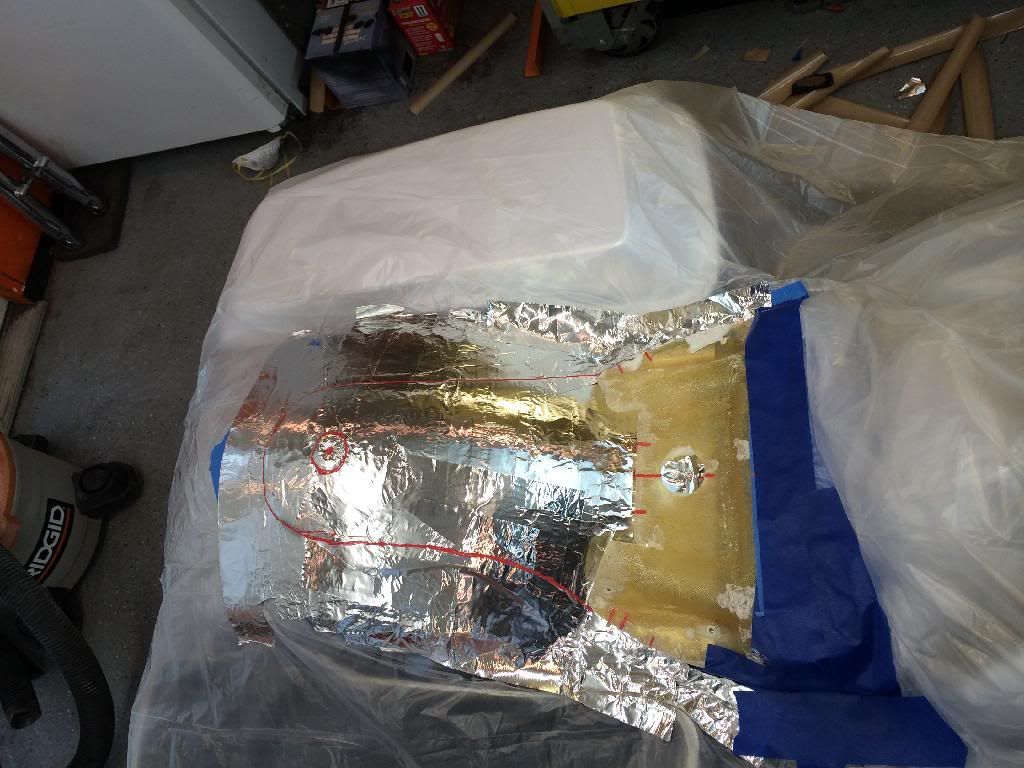
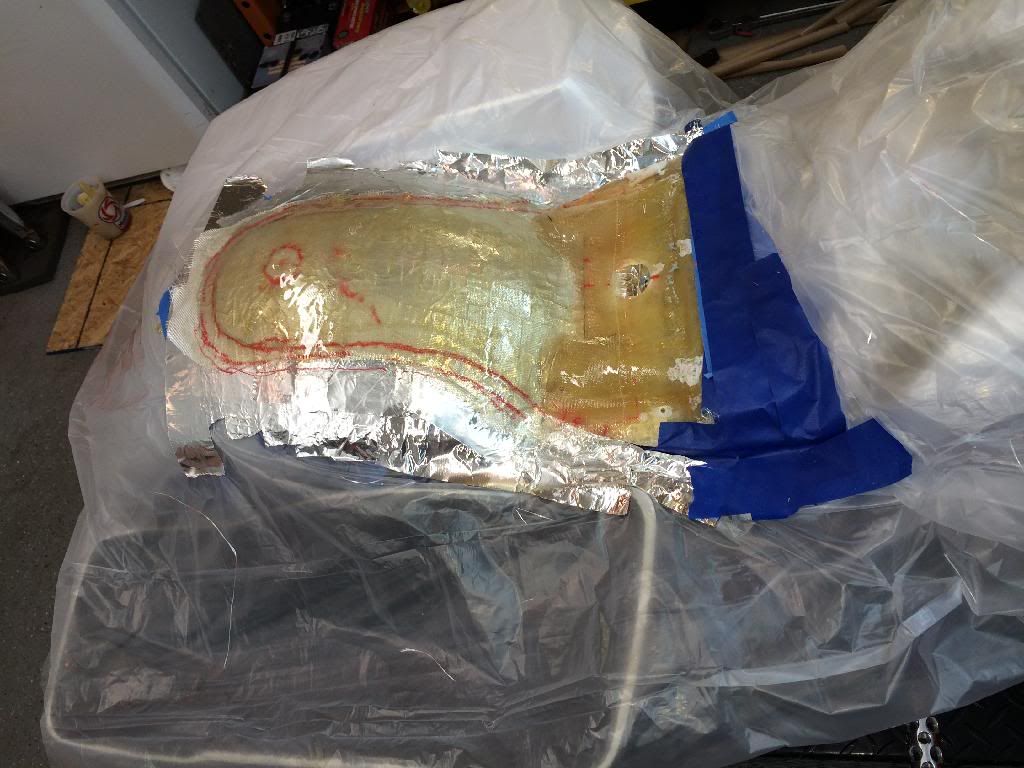
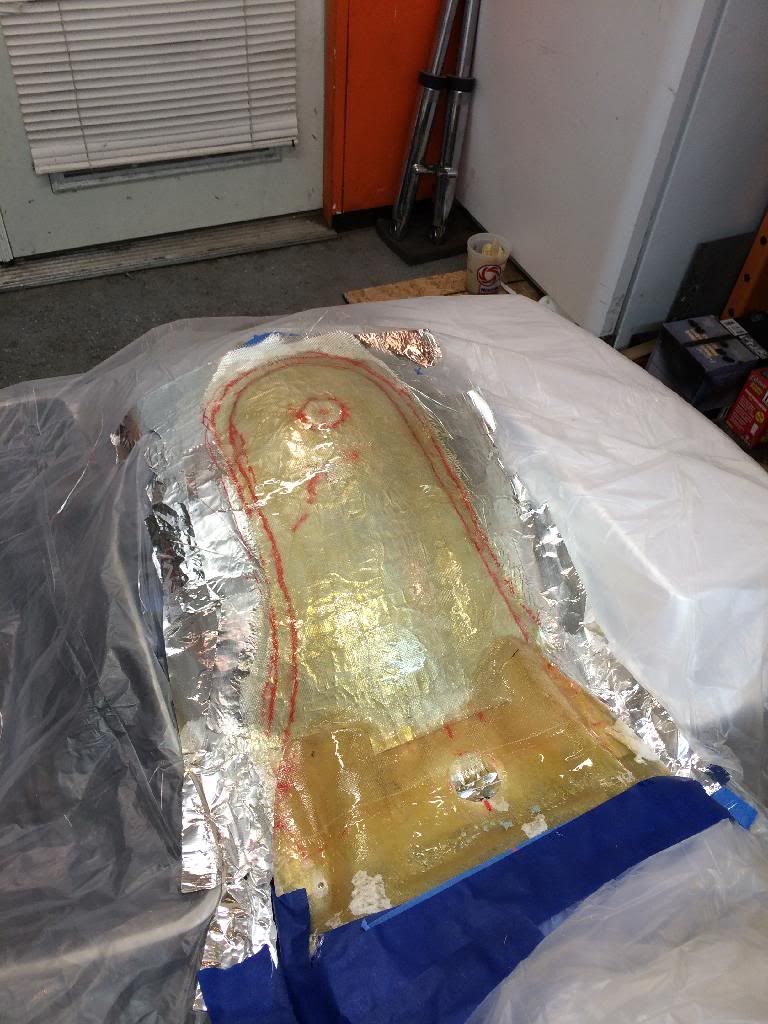
once it is all dry, i will trim and sand edges to shape needed. I plan on reusing the original foam as it is not THAT far off.. I will just reshape the bottom of the foam with an air grinder. then, ill send the seat out to have a custom cover done.

got everything covered up real good...layer of tape down, hidden seat pin receiver in place, layer of felt, another layer of blue tape, layer of foil tape, carnuba wax, then glass away.


once it is all dry, i will trim and sand edges to shape needed. I plan on reusing the original foam as it is not THAT far off.. I will just reshape the bottom of the foam with an air grinder. then, ill send the seat out to have a custom cover done.
#6
#7
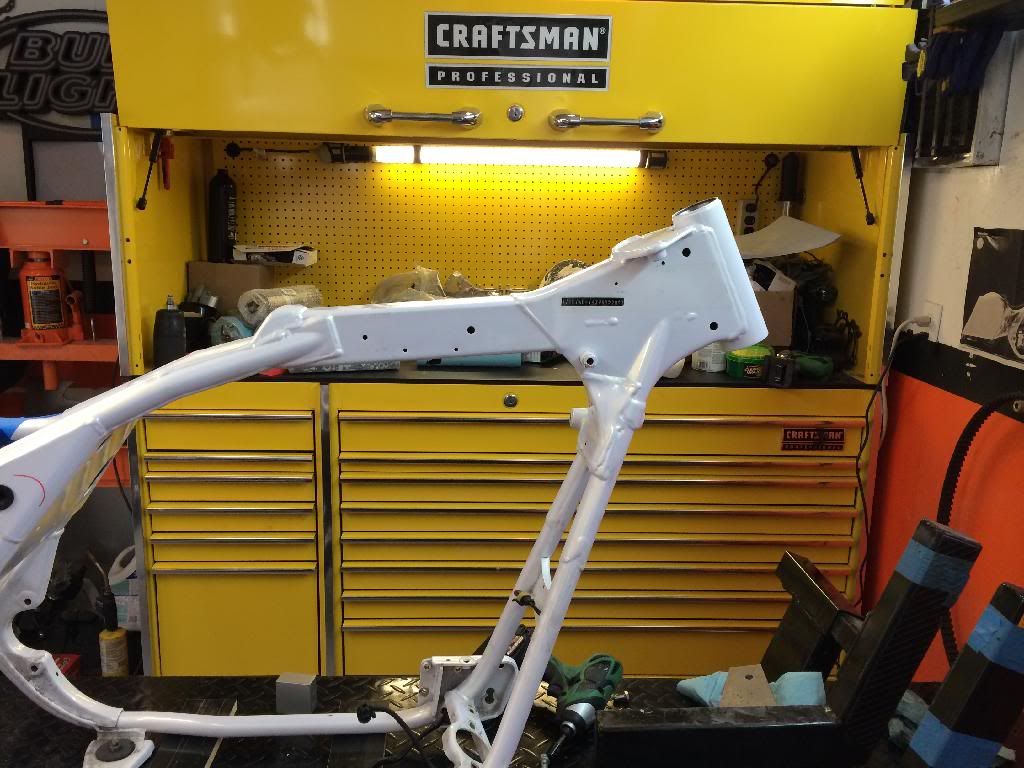
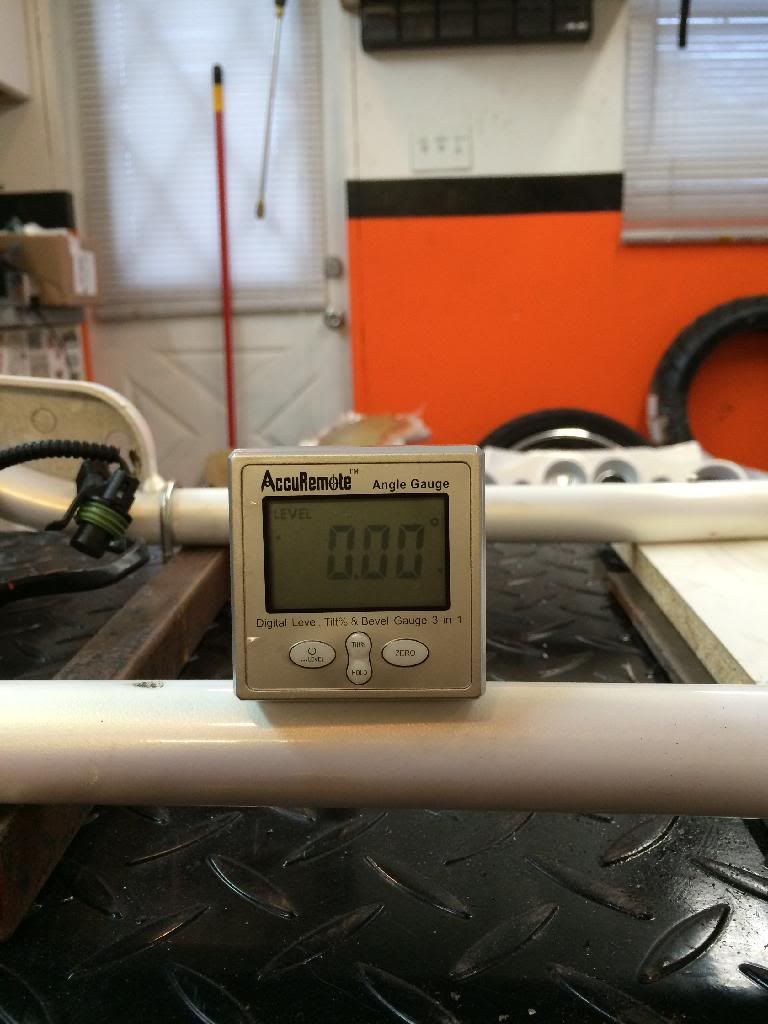
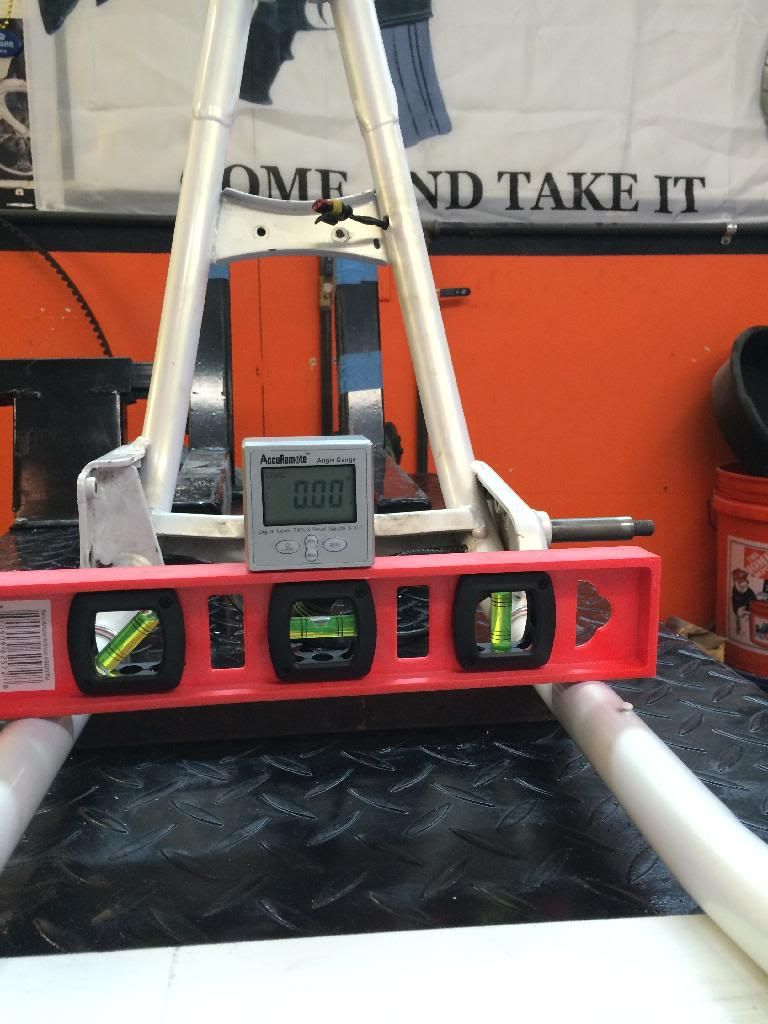
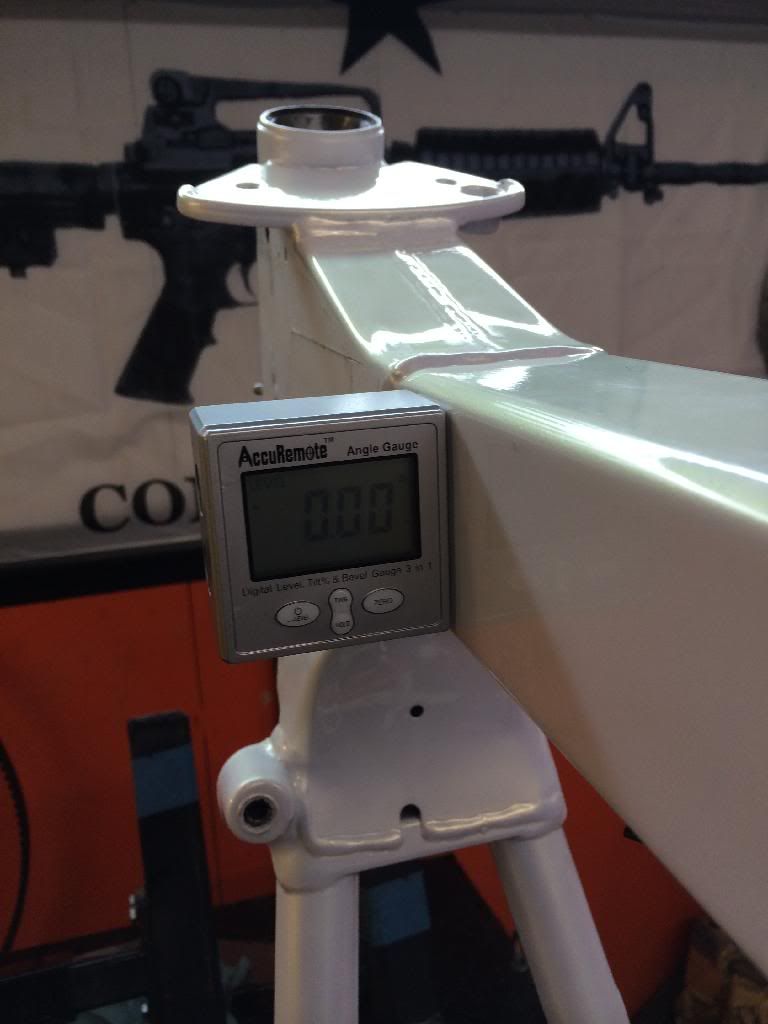
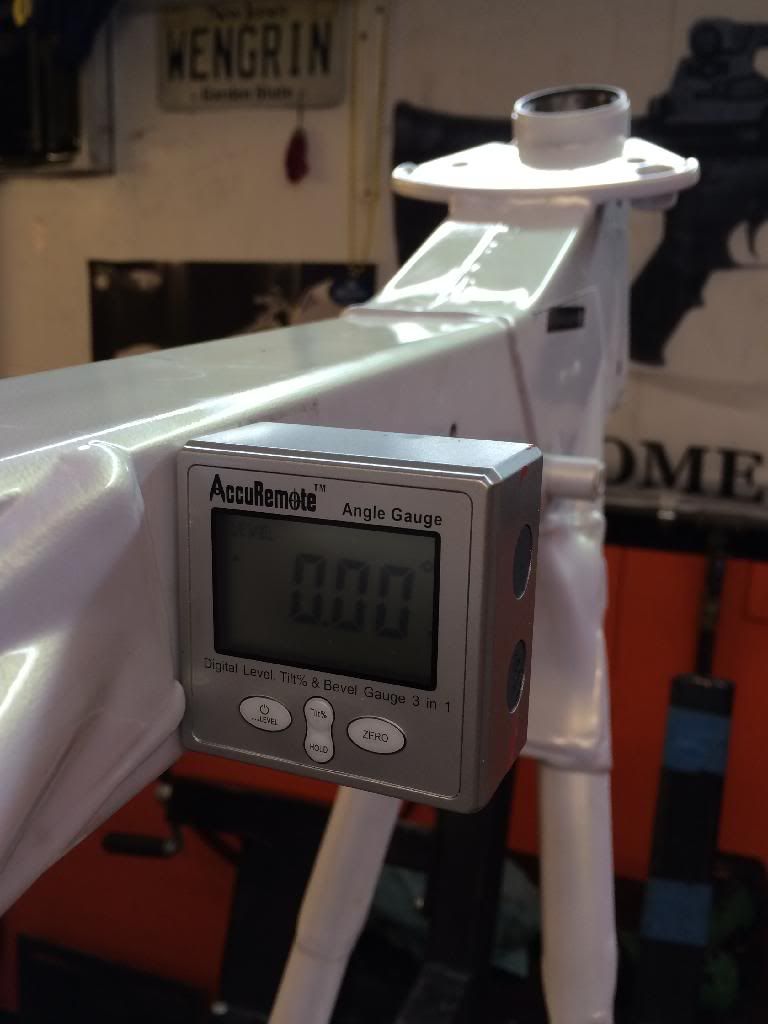
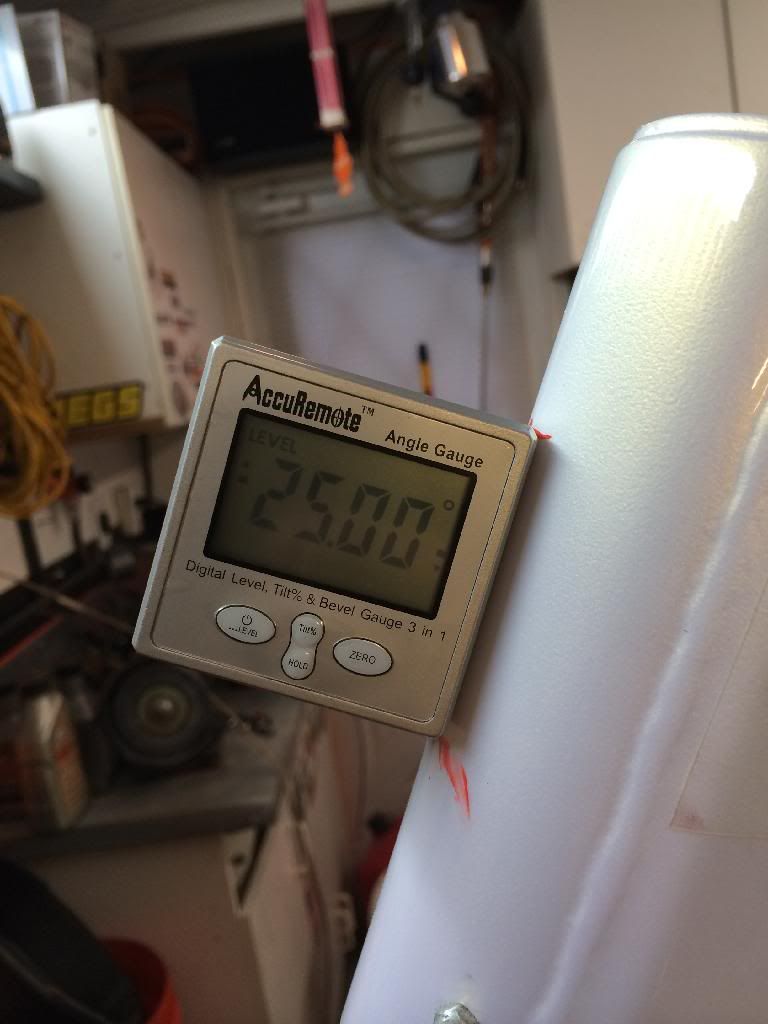
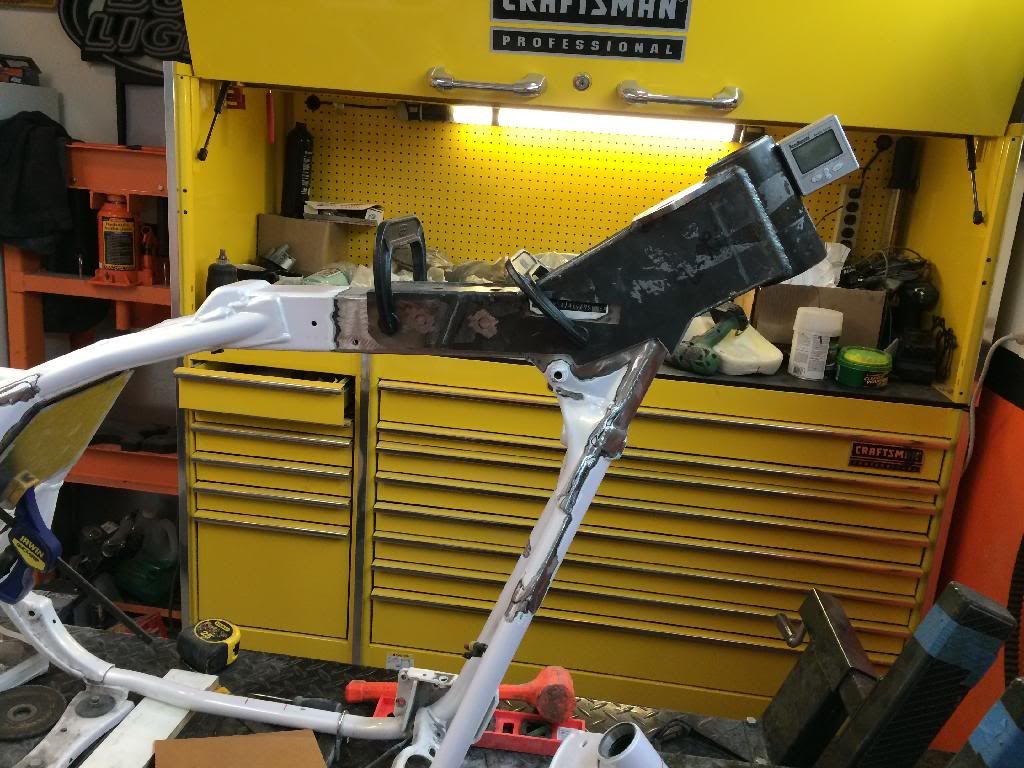
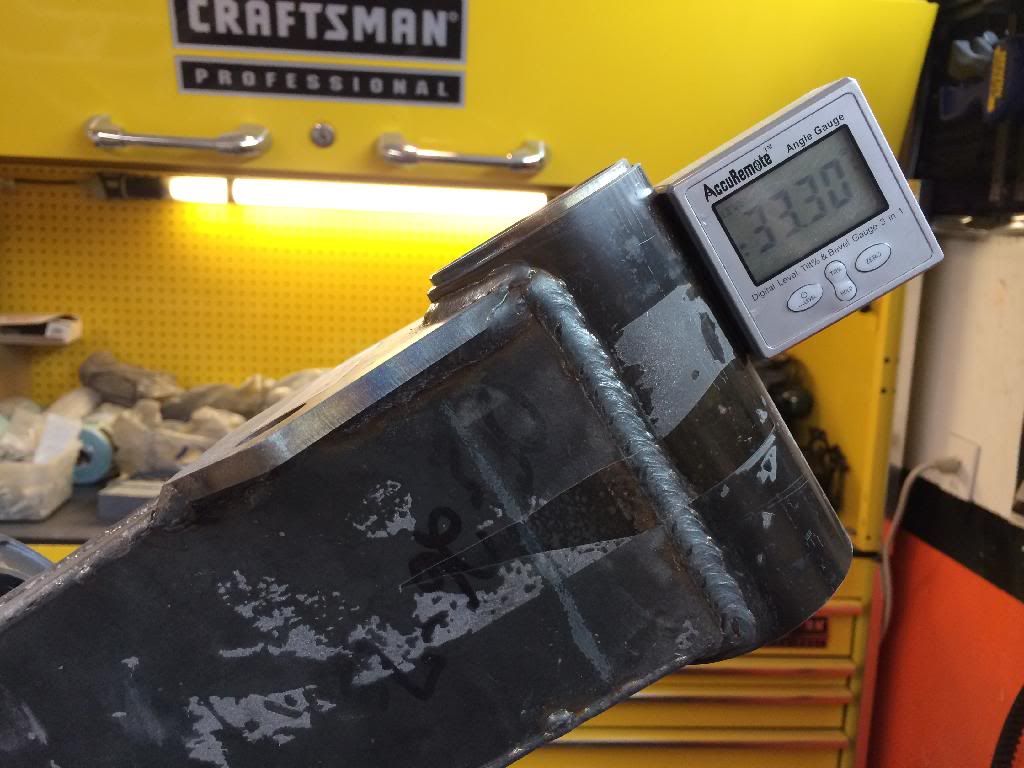
used u bolts to make sure she wouldnt/couldnt move and checked all levels and plumb numerous times throughout the cutting/mocking process
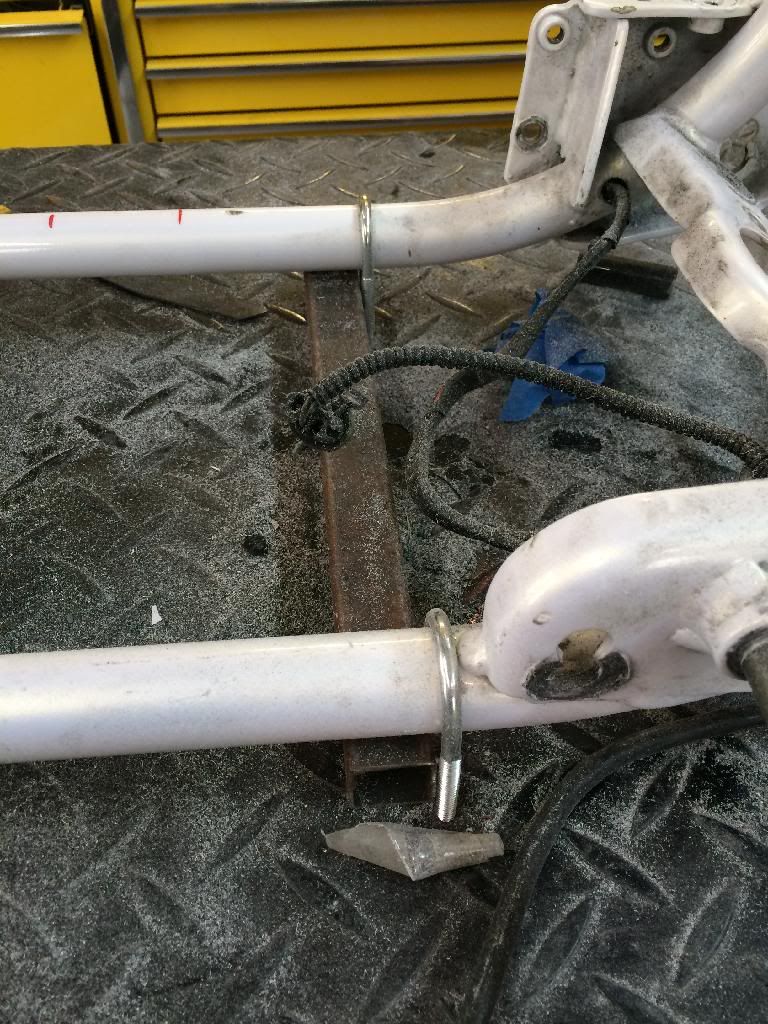
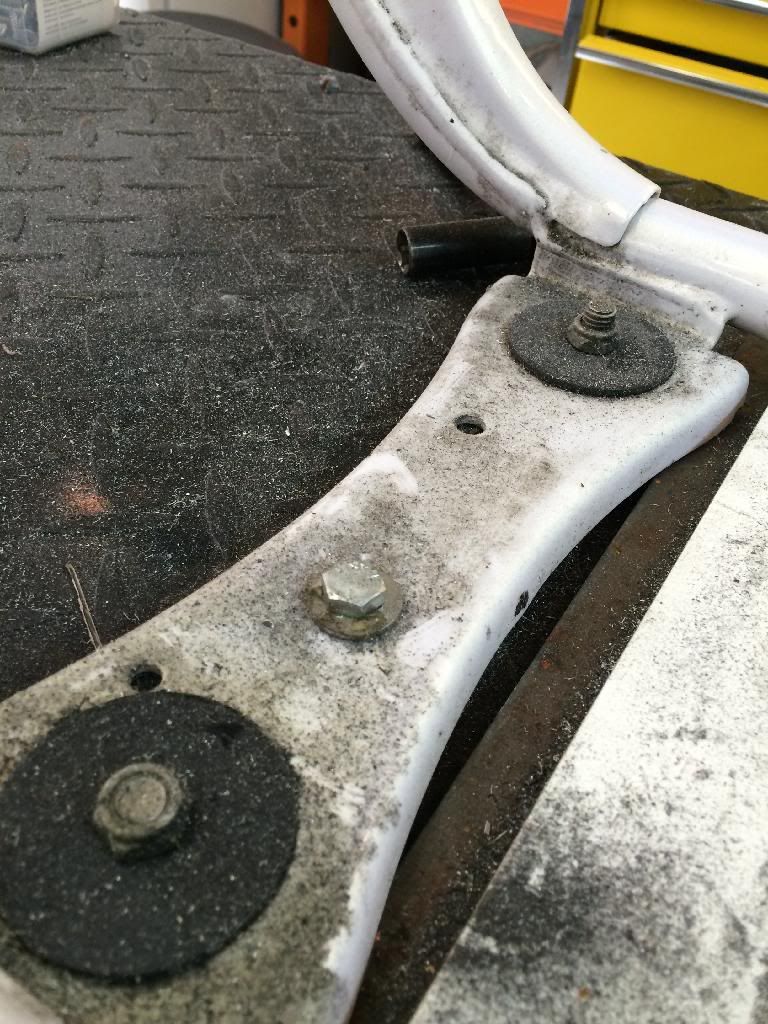
template bolted in place to scribe cut lines
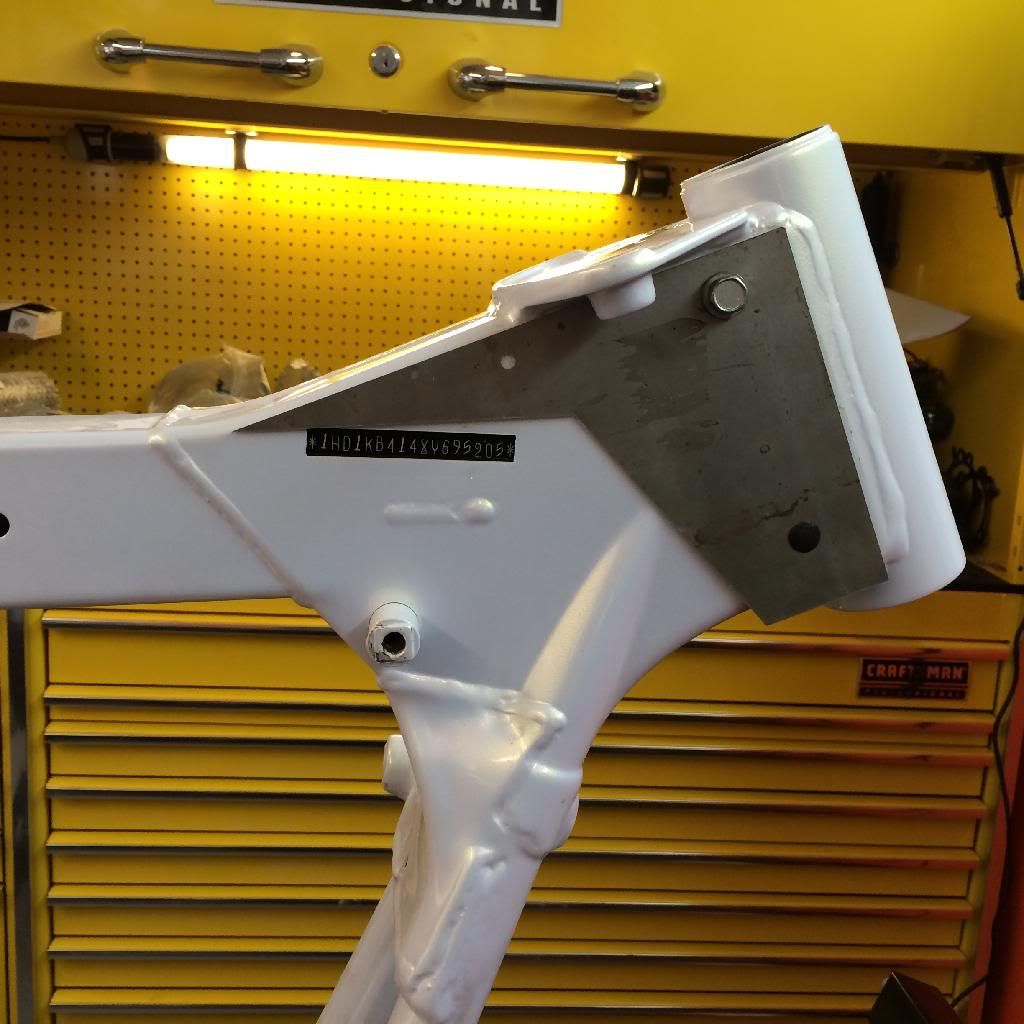
OFF WITH YOUR HEAD!!!!!!
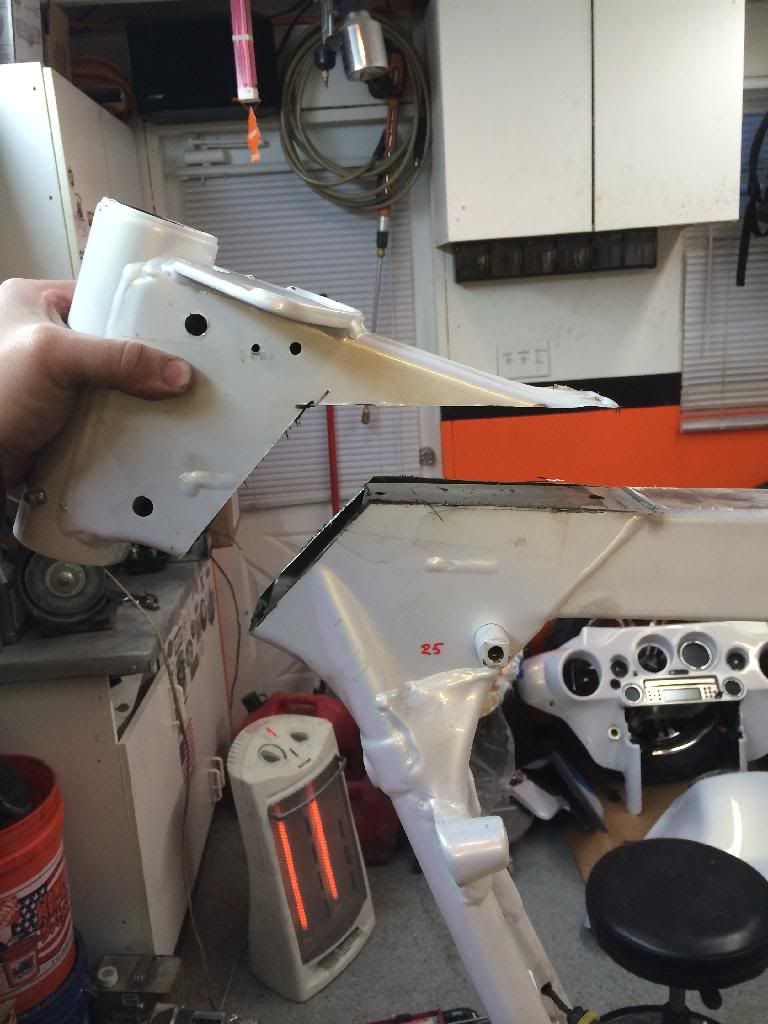
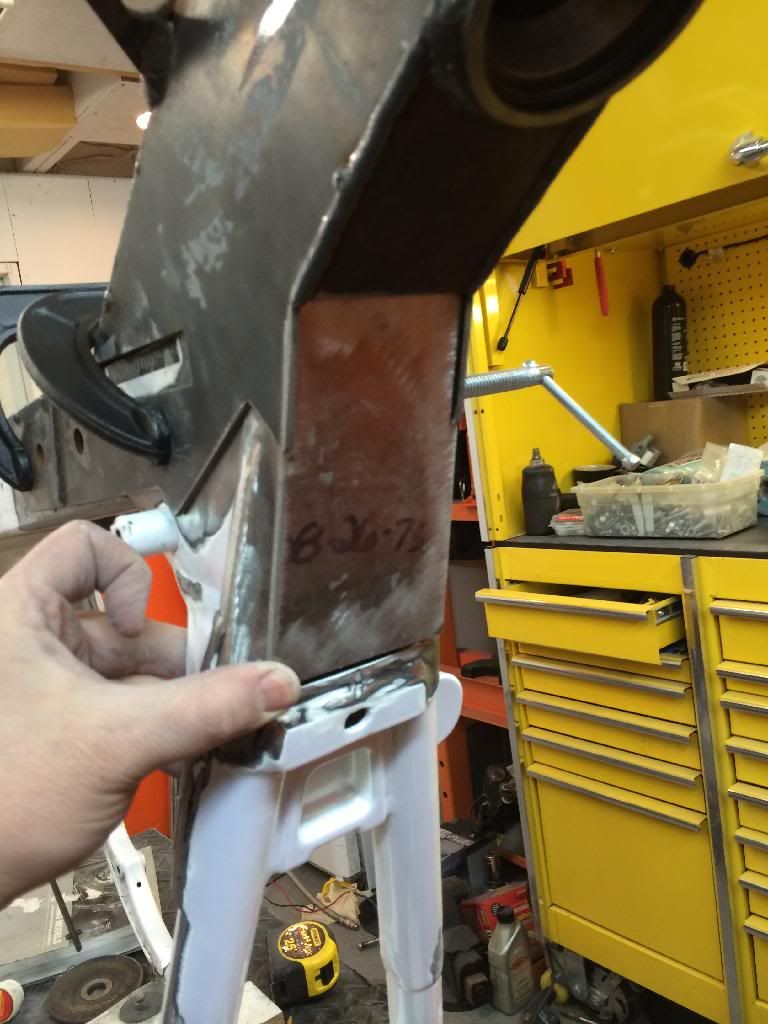
starting to prep frame for new neck fit and welding
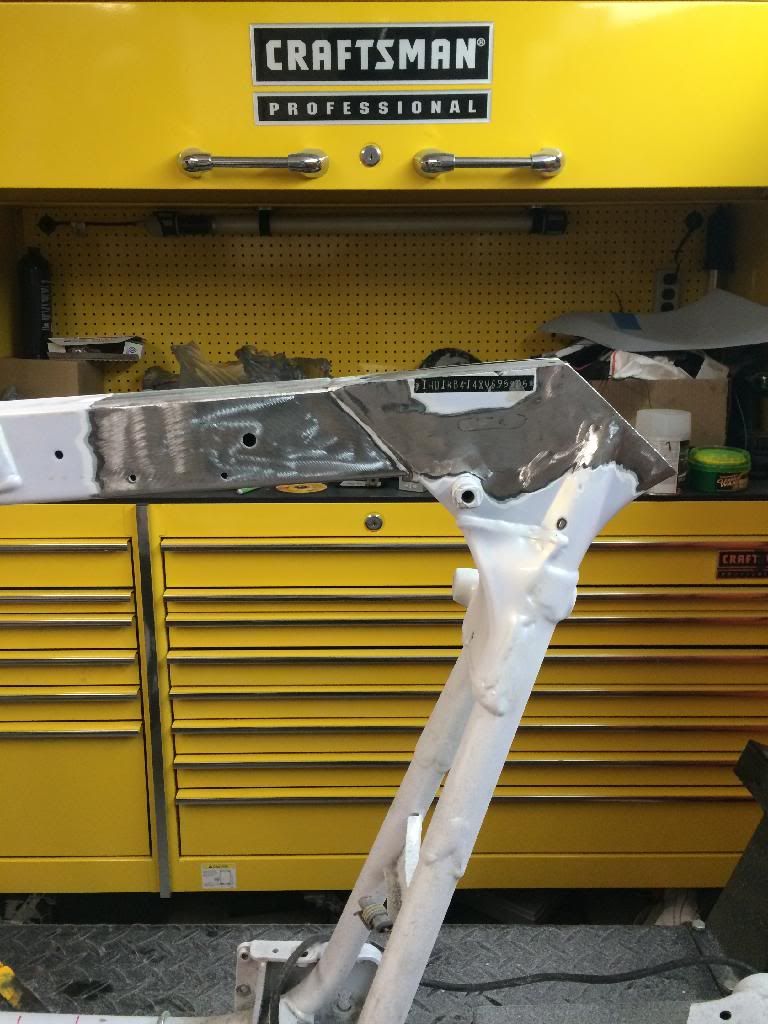
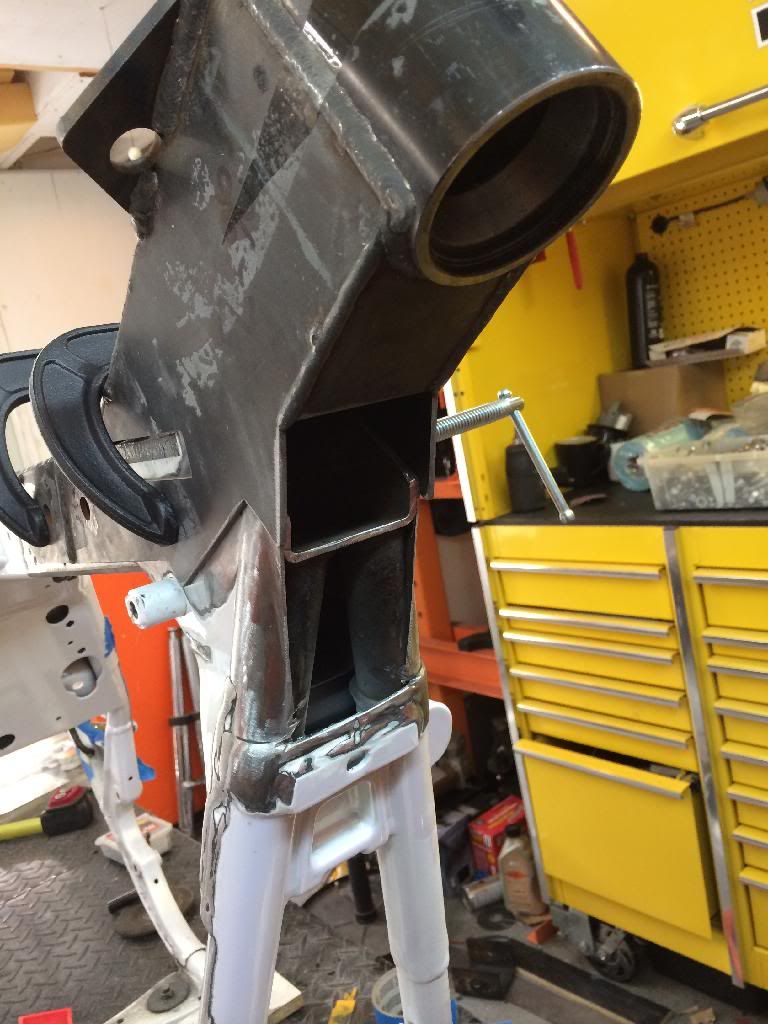
as you can see, there is more of the frame that must be cut to fit the shortneck assembly, but there is no template provided for this...HHI does supply this handy little filler plate that must be cut down too fit as needed...wasnt to hard to figure out where the frame needed to be chopped some more.
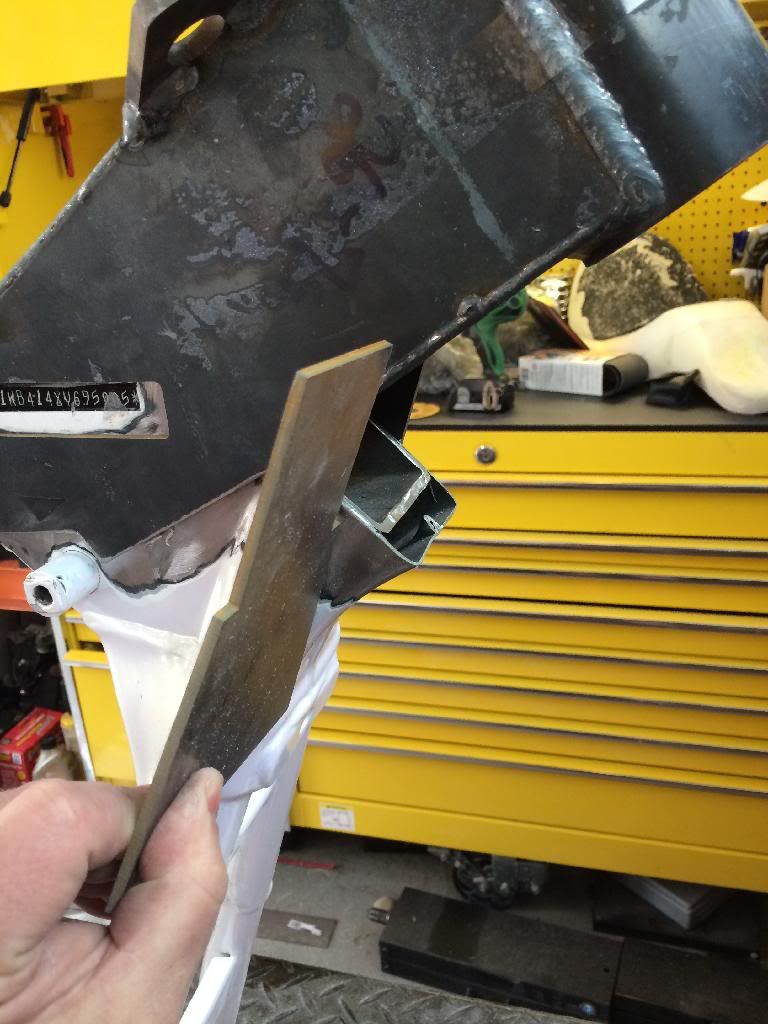


template bolted in place to scribe cut lines

OFF WITH YOUR HEAD!!!!!!

starting to prep frame for new neck fit and welding

as you can see, there is more of the frame that must be cut to fit the shortneck assembly, but there is no template provided for this...HHI does supply this handy little filler plate that must be cut down too fit as needed...wasnt to hard to figure out where the frame needed to be chopped some more.

Trending Topics
#9
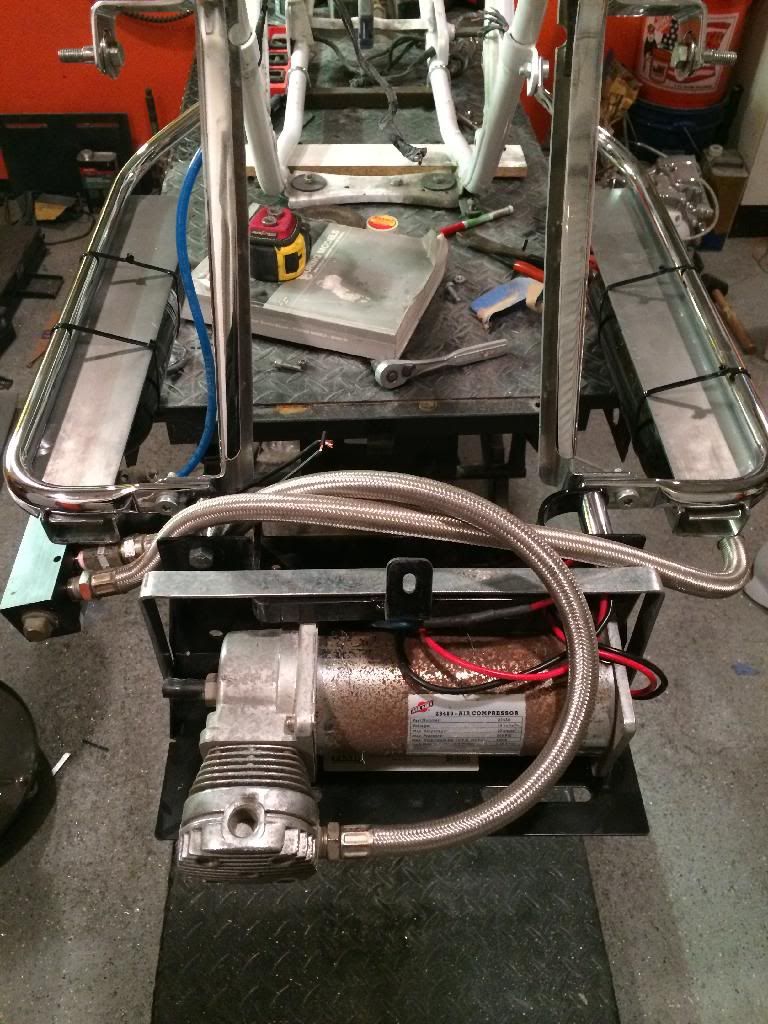
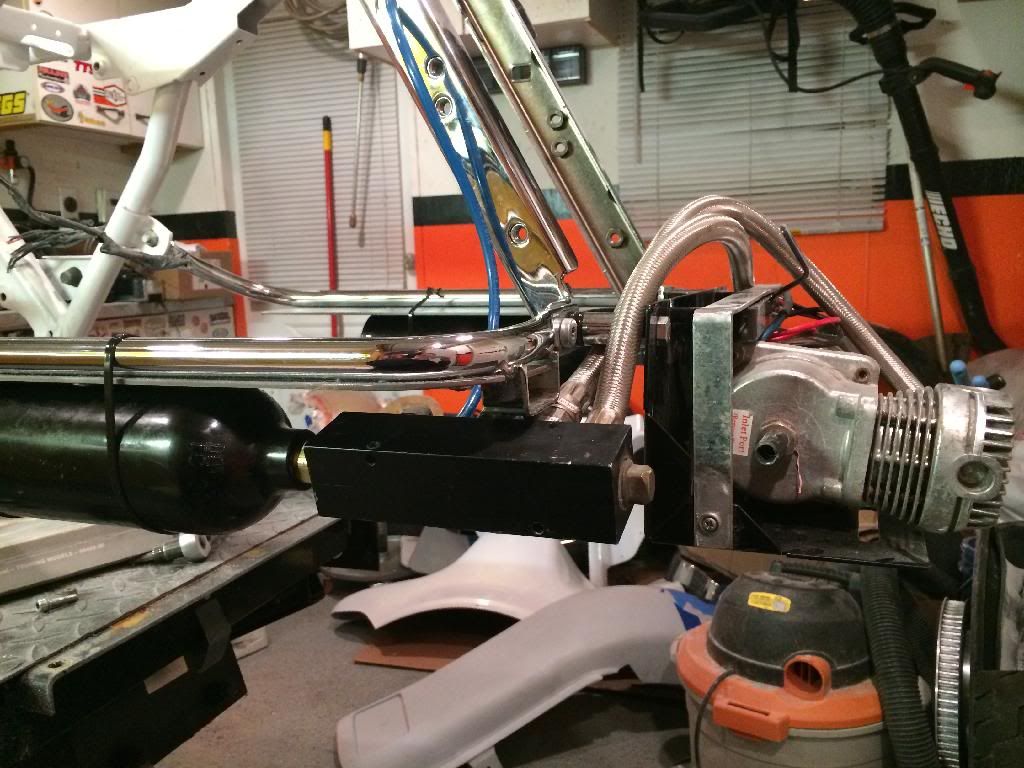
smoothed most of the welds on the knarly looking factory weld job, made a filler plate to smooth the section under the seat, and fab up a compressor mount and bag rail bottle mounts.
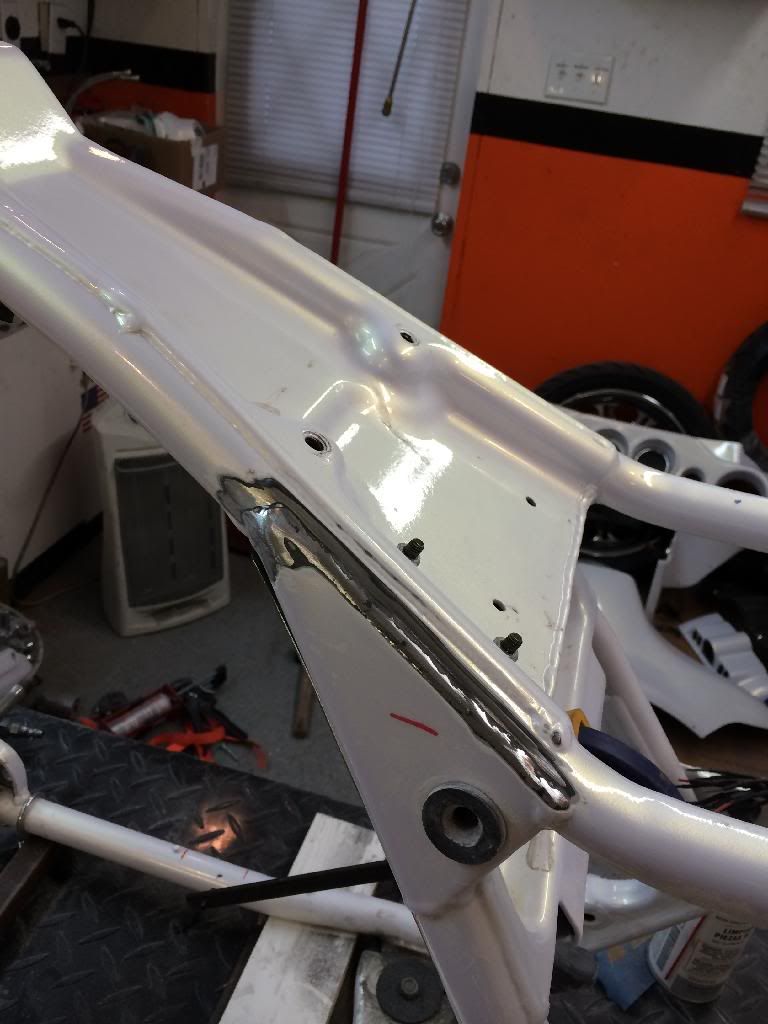
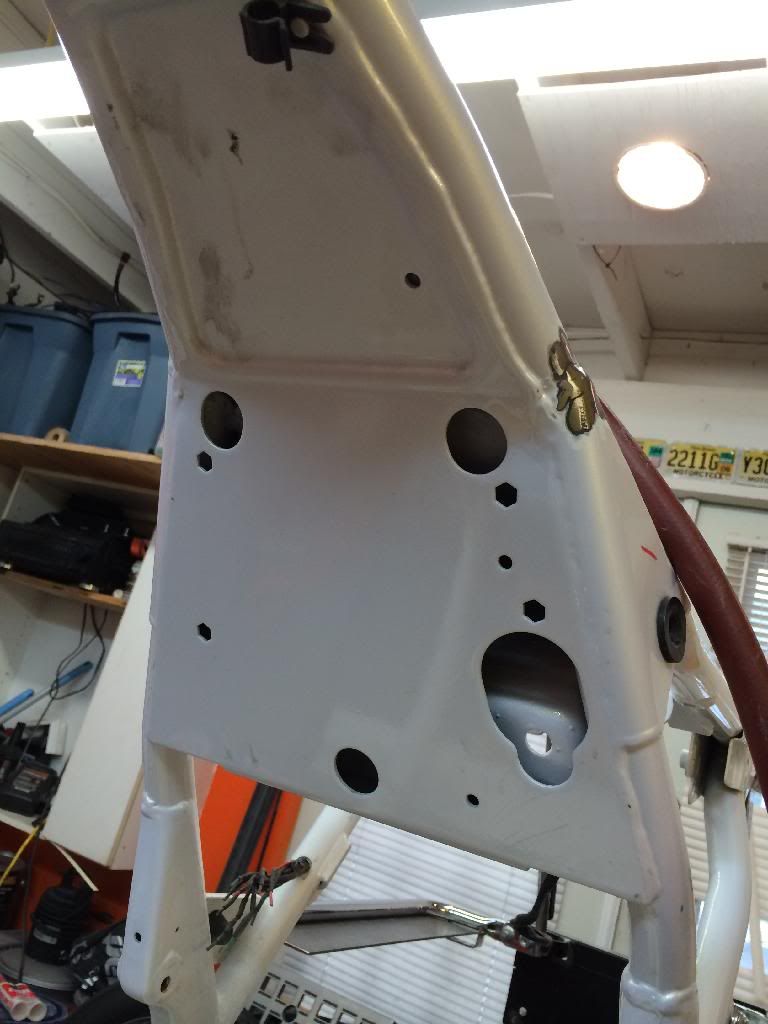
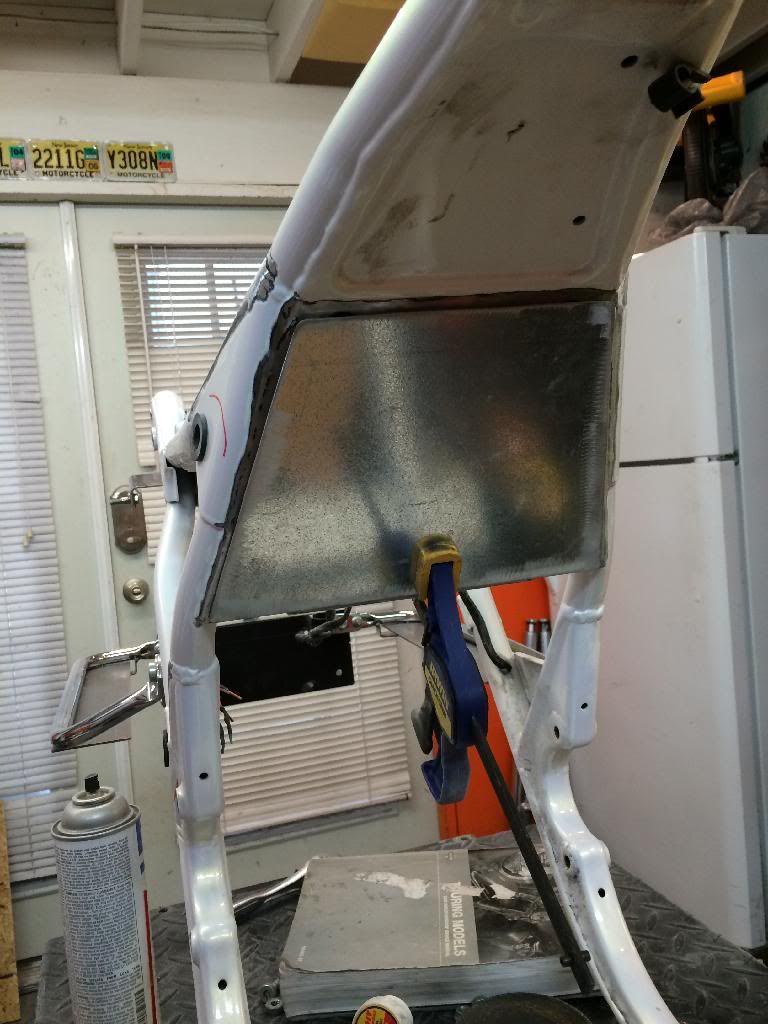
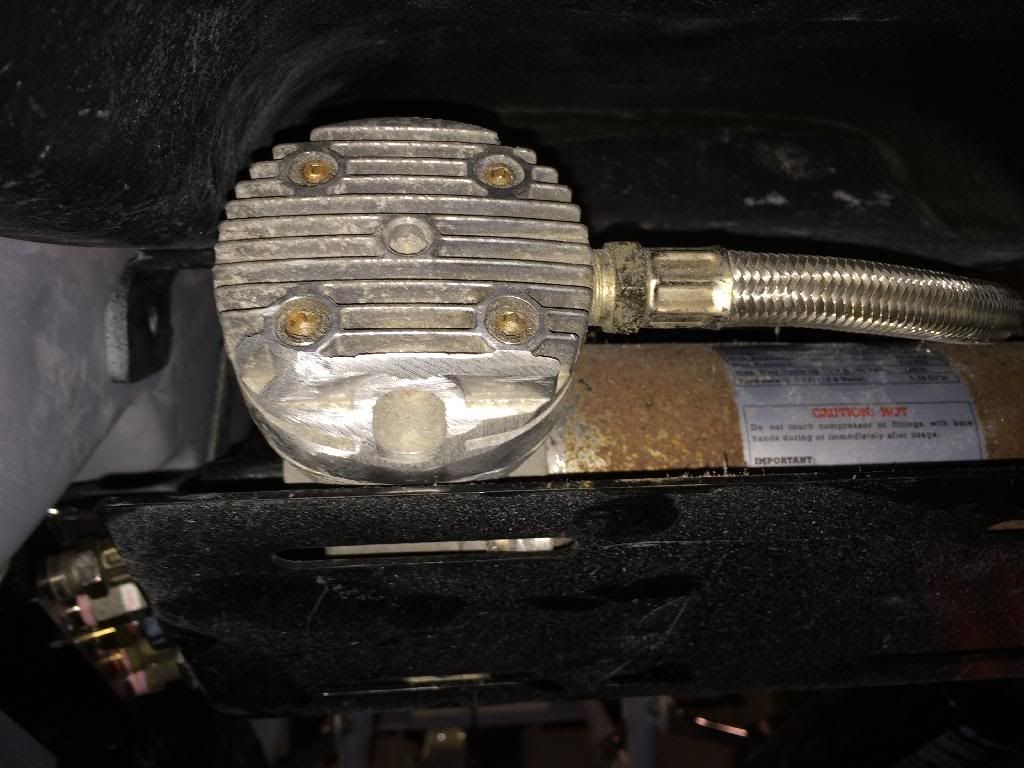
Compressor is a little rusty because it used to be mounted under my truck to fuel a K5 freight train horn!! just gonna paint the body
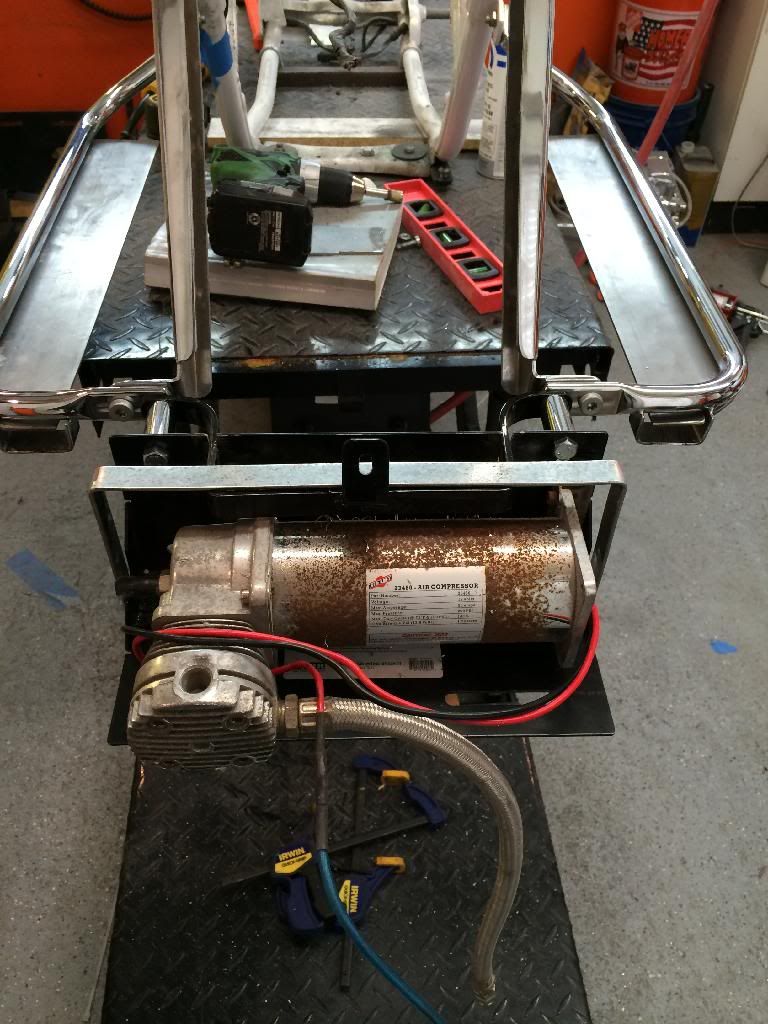
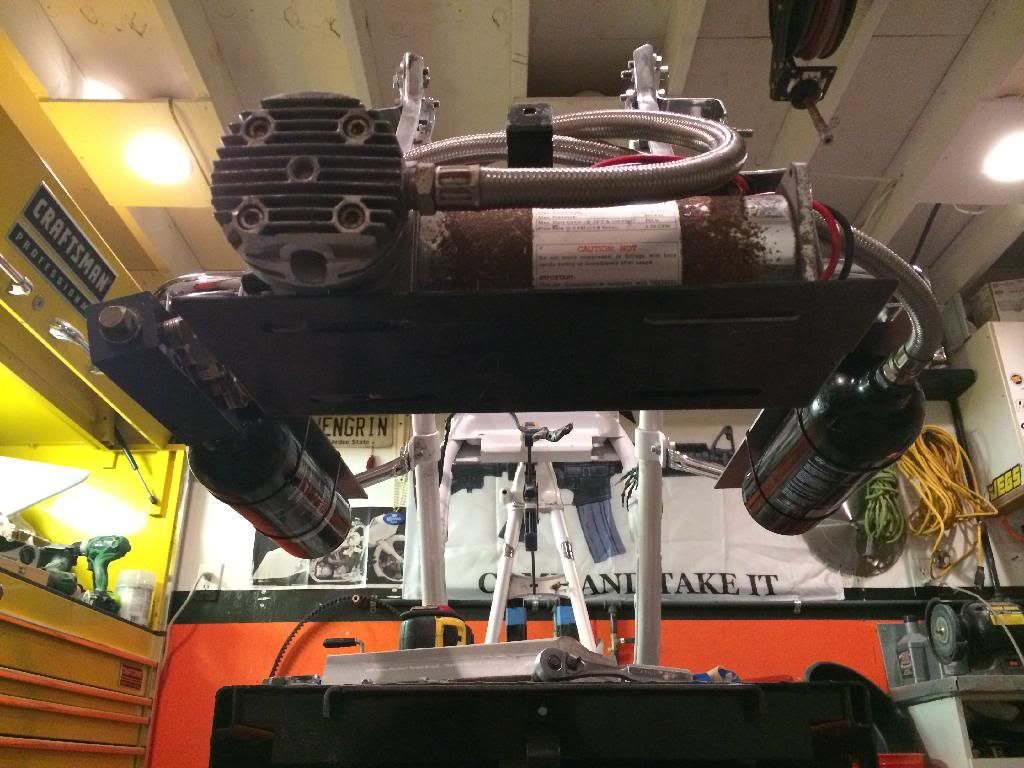
Gonna weld this all together, but bolted and screwed for now to make sure it all fits real nice...which it does!!! BTW, that is a 480C compressor...going to be filling 2 of the empire paintball tanks mounted under bag rails. doing rear monroes and Marcs pistons upfront.
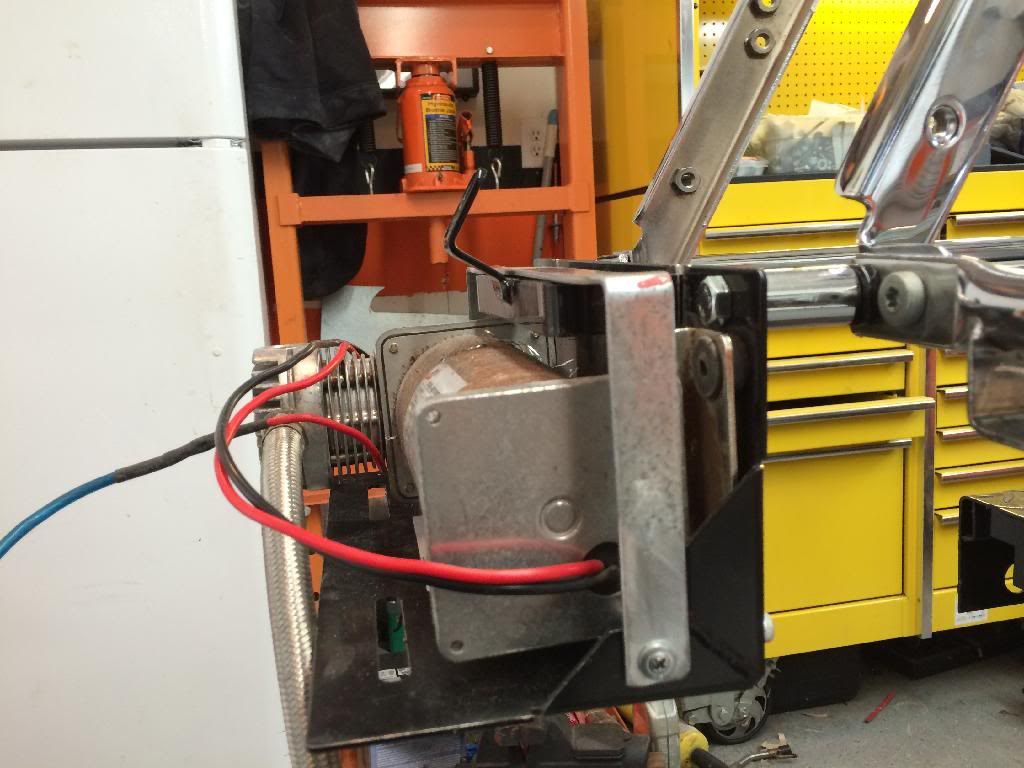


Compressor is a little rusty because it used to be mounted under my truck to fuel a K5 freight train horn!! just gonna paint the body

Gonna weld this all together, but bolted and screwed for now to make sure it all fits real nice...which it does!!! BTW, that is a 480C compressor...going to be filling 2 of the empire paintball tanks mounted under bag rails. doing rear monroes and Marcs pistons upfront.

#10
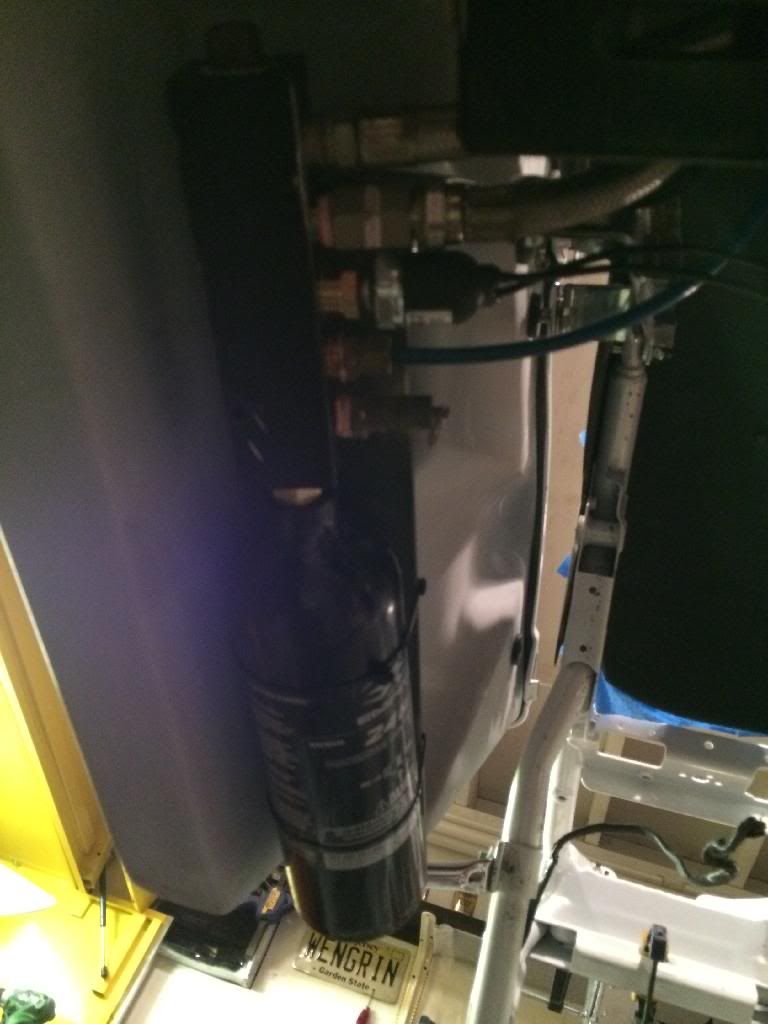
mocked up my air system to make sure it all clears the fender and bags before I weld everything up. I tapped the Empire paintball tanks out to 1/2-14 NPT to accept standard brass fittings and put eveything together to check fitment. The bottles will be mounted using modified fire extinguisher mounts. I am running a Viair 480c compressor and two 24oz paintball tanks, a 165/200 pressure switch, a 235psi safety blow off, air controlled by a AccuAir VU2 manifold with dual CVO switches on the dash. running monroes in the rear and marcs pistons in front
