
Rear light upgrade FLTRX
#1
 02-21-2013, 04:44 PM

I wanted to use the Custom Dynamics "Clusters and Ringz" that I had installed on my 07 RG on my new 2012 RG. The Ringz in the front turn signals were simple plug and play, no problems. When I looked at the rear, not so simple. The rear lights on the FLTRX and FLHX are all in one (run, brake, turn) with the harness running through the fender Tri light. The Tri light has a circuit board that has the lighting harness come in on one side with all separate leads for each light operation, but when it comes out the other side of the circuit board it combines some of the leads to the lights. Brake and turn have the same input lead, constant power when brakes applied, intermittent power when the turn is used. Only three leads go to the rear lights. The Clusters that I wanted to use had four leads (ground, run, brake, turn). I wanted to keep the install as clean and sealed as possible being that all the wiring is right under the rear fender where any water coming off the rear tire would be all over it. This is how I tackled the lighting.
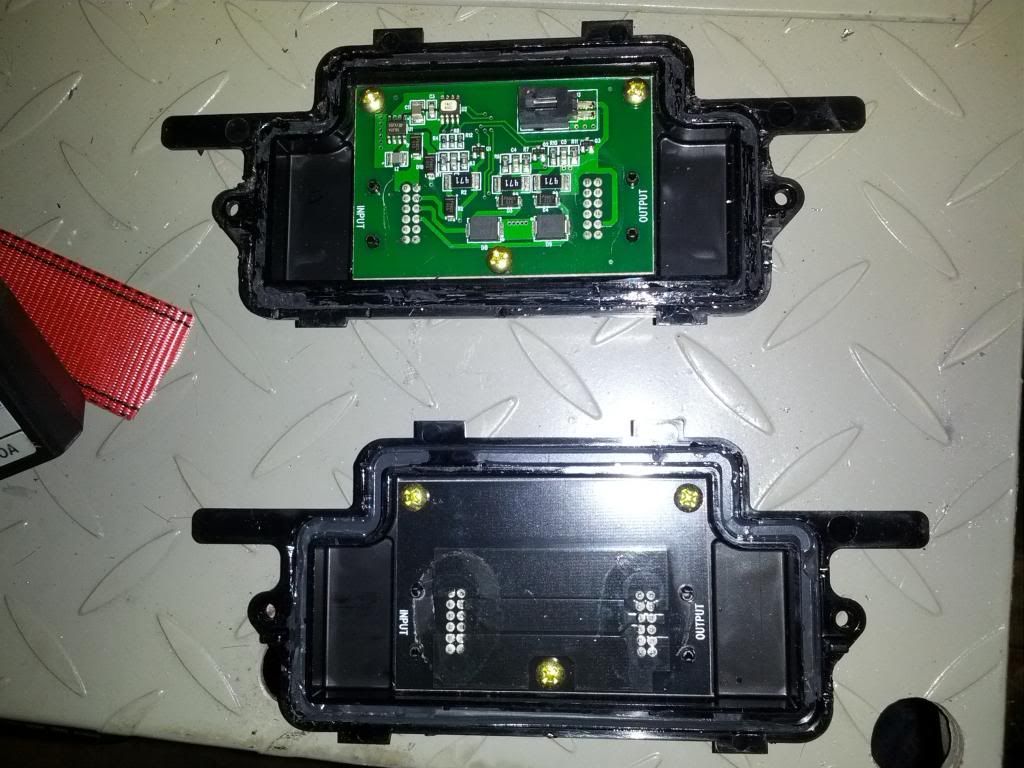
First thing I bought was the Canadian version of the Tri light which does not have the more complex circuit board in it, just a simple one where the same lead going in come out the other side.
This is the stock lighting...
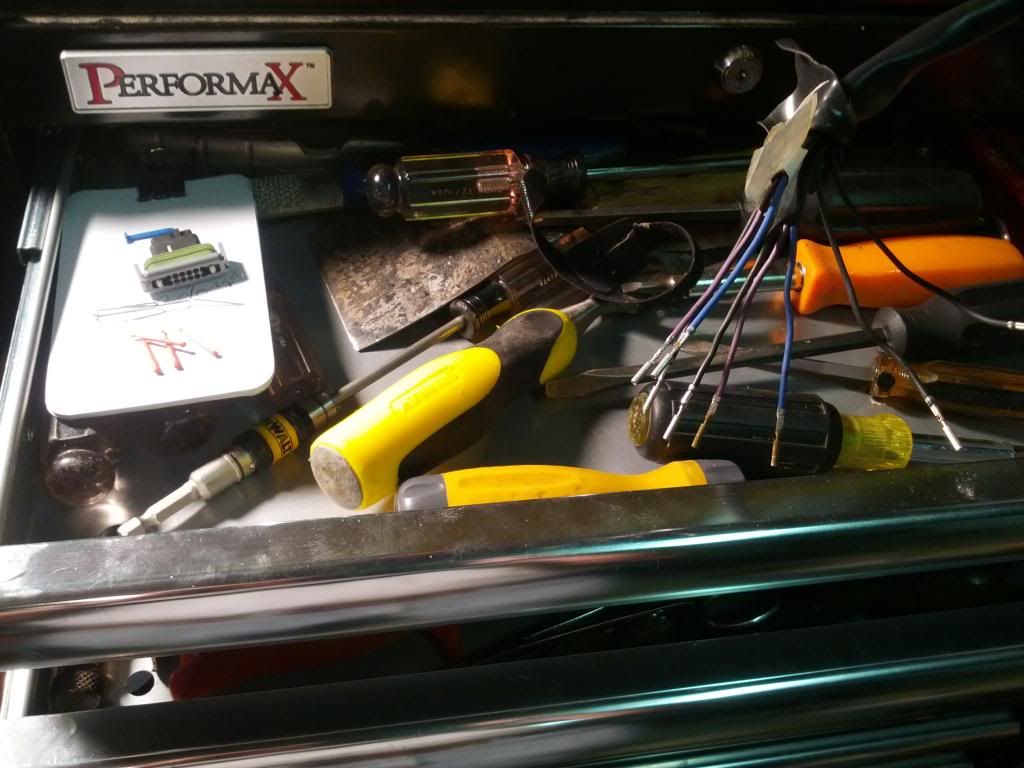
I took the harness from the Tri light to the light bar and pulled the pins from their locations and re installed them to get separate signals for all the light functions I wanted. I then also added two leads for a turn to each side.
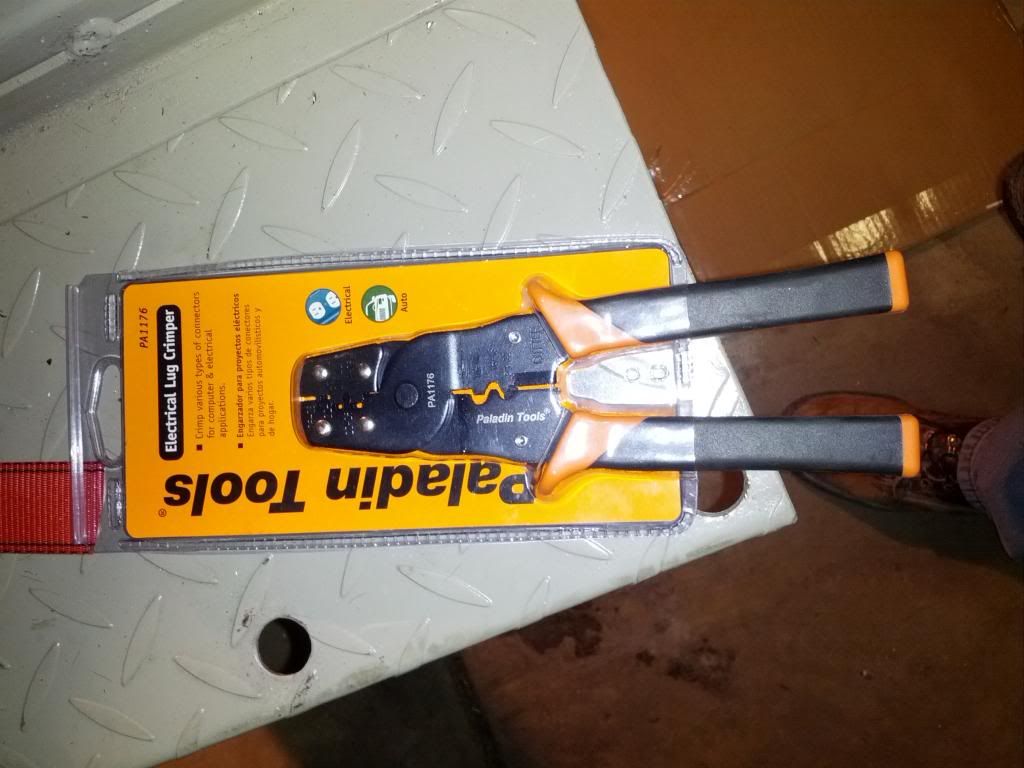
To get the pins crimped on the new leads I found this crimper at a local home improvement store (Menards) for $10. The tool from HD, $275....No thanks.
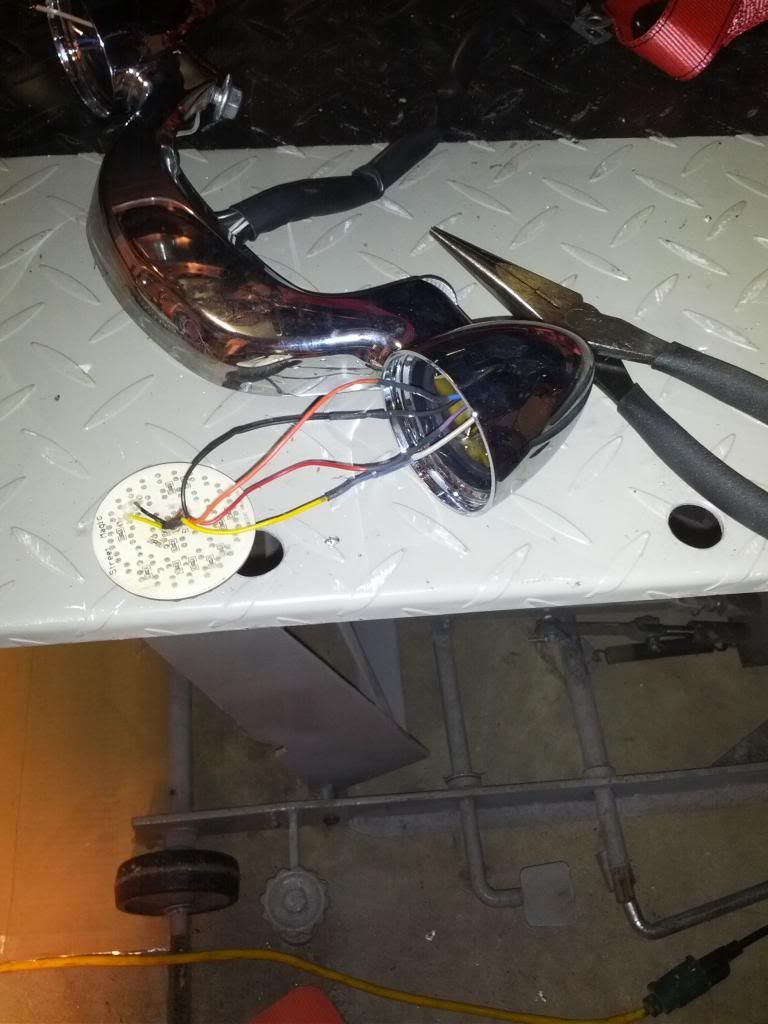
I cut the stock sockets/reflectors out of the light bar, leaving the three original leads (now repositioned in the plug at Tri light). Ran the extra lead for the turns and then soldered all and shrink wrap.
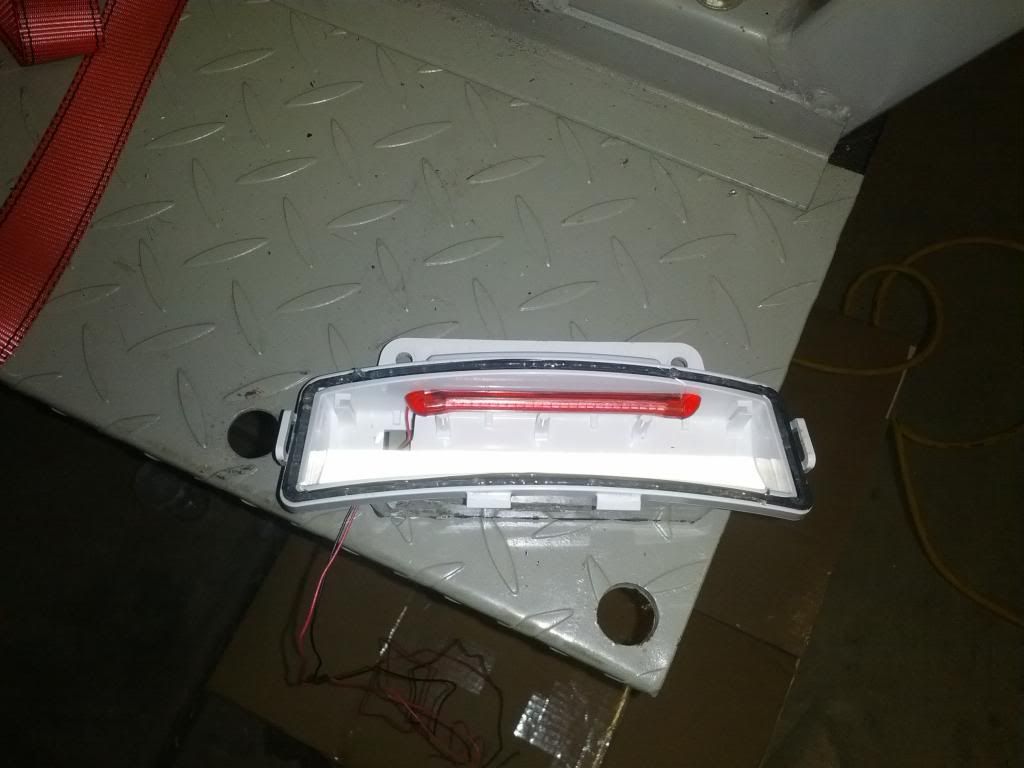
I also ordered a new LED strip from CD and placed it in the Tri light housing. I put reflective tape on the back and bottom of the housing as well.
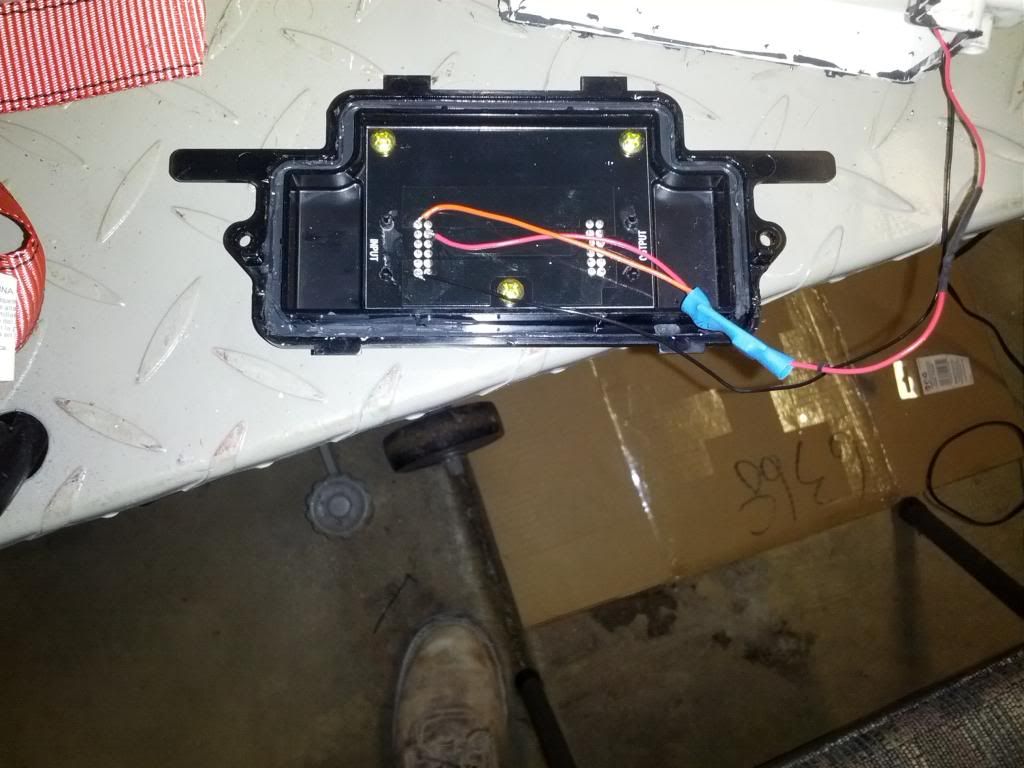
I soldered the leads from the LED strip to the circuit board, making it a run/brake light as opposed run only that it was.
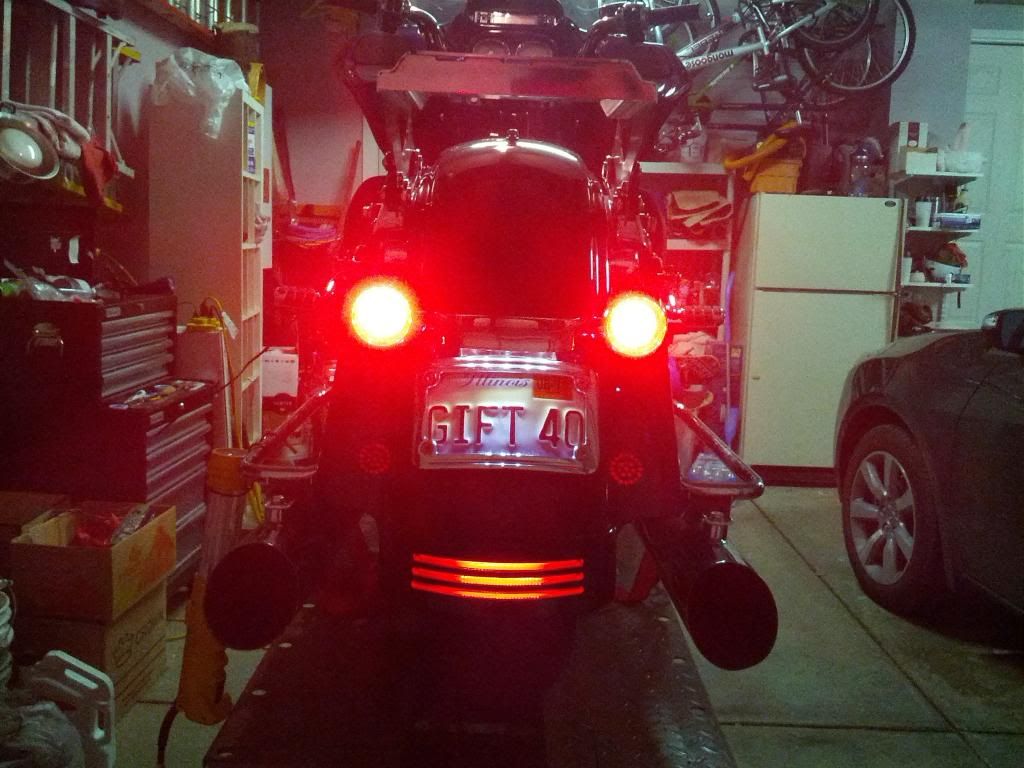
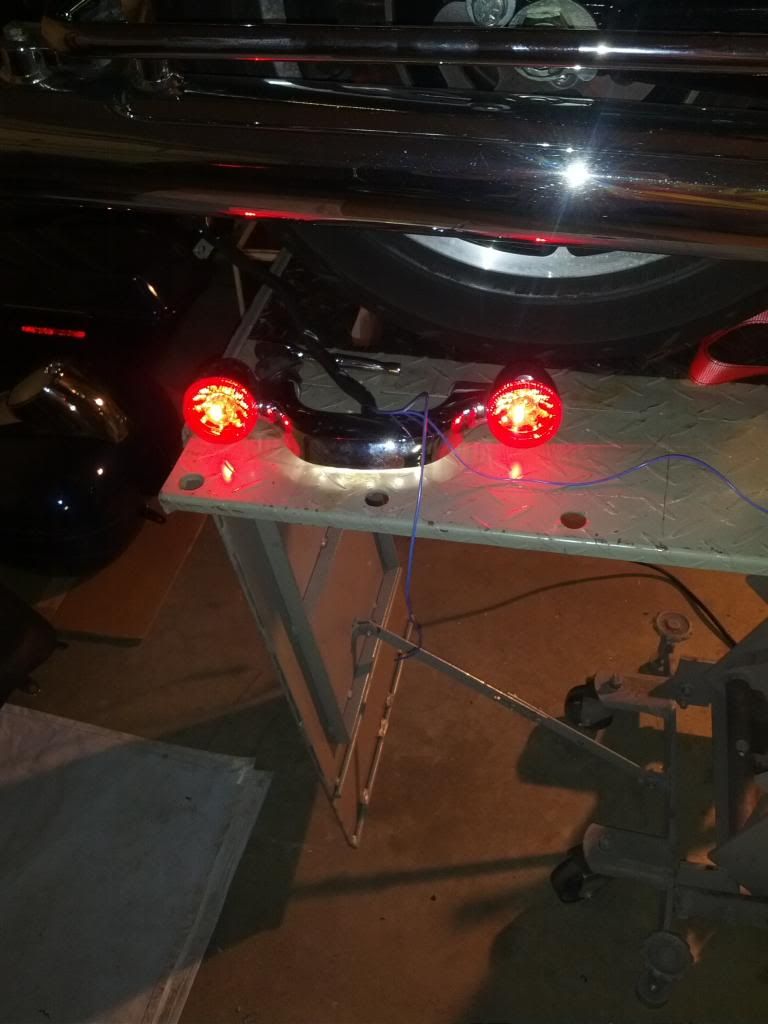
This is the final outcome. Brighter lighting and now I have red for the run and brake, but also have amber for my turn signals. I also plan on using the red/amber plasma rods from CD. Now all lighting on the front and rear will be LED, Daymaker and Ringz up front and Clusters and additional Tru flex on the rear.
First thing I bought was the Canadian version of the Tri light which does not have the more complex circuit board in it, just a simple one where the same lead going in come out the other side.
This is the stock lighting...
I took the harness from the Tri light to the light bar and pulled the pins from their locations and re installed them to get separate signals for all the light functions I wanted. I then also added two leads for a turn to each side.
To get the pins crimped on the new leads I found this crimper at a local home improvement store (Menards) for $10. The tool from HD, $275....No thanks.
I cut the stock sockets/reflectors out of the light bar, leaving the three original leads (now repositioned in the plug at Tri light). Ran the extra lead for the turns and then soldered all and shrink wrap.
I also ordered a new LED strip from CD and placed it in the Tri light housing. I put reflective tape on the back and bottom of the housing as well.
I soldered the leads from the LED strip to the circuit board, making it a run/brake light as opposed run only that it was.
This is the final outcome. Brighter lighting and now I have red for the run and brake, but also have amber for my turn signals. I also plan on using the red/amber plasma rods from CD. Now all lighting on the front and rear will be LED, Daymaker and Ringz up front and Clusters and additional Tru flex on the rear.
#2
04-18-2013, 03:40 AM
I got her all buttoned back up with the exception of the plasma rods, the dual color ones seem to be on backorder. All CD LED's, clusters front and rear and Daymaker headlight...
http://s208.photobucket.com/user/mar...65326.mp4.html
http://s208.photobucket.com/user/mar...65326.mp4.html


Thread
Thread Starter
Forum
Replies
Last Post