
Handlebars, Grips and Chrome Installation (long, many pics, handlebar comparison)
#1
 02-10-2013, 06:14 PM


Join Date: Dec 2012
Location: New Jersey
Posts: 47
Likes: 0
Received 0 Likes
on
0 Posts
Big day in the garage today. When I bought my '02 FLHRCI it already had Wild 1 518 Road King II handlebars. Wrong shape and position for me. Too much wheelbarrow, and too low and wide. I wanted narrower and higher, so I went with 1-1/4" 11-inch apes. While I was at it, I replaced the aftermarket gray grips with H-D billet chrome, and chromed out my controls with Kuryakyn covers and dress-up kit.
Fortunately, due to the WO518's, the wiring had already been extended and longer, braided throttle, idle and clutch cables were already installed. So that simplified the job. Just had to pull the wiring from the old bars and re-thread it through the new ones.
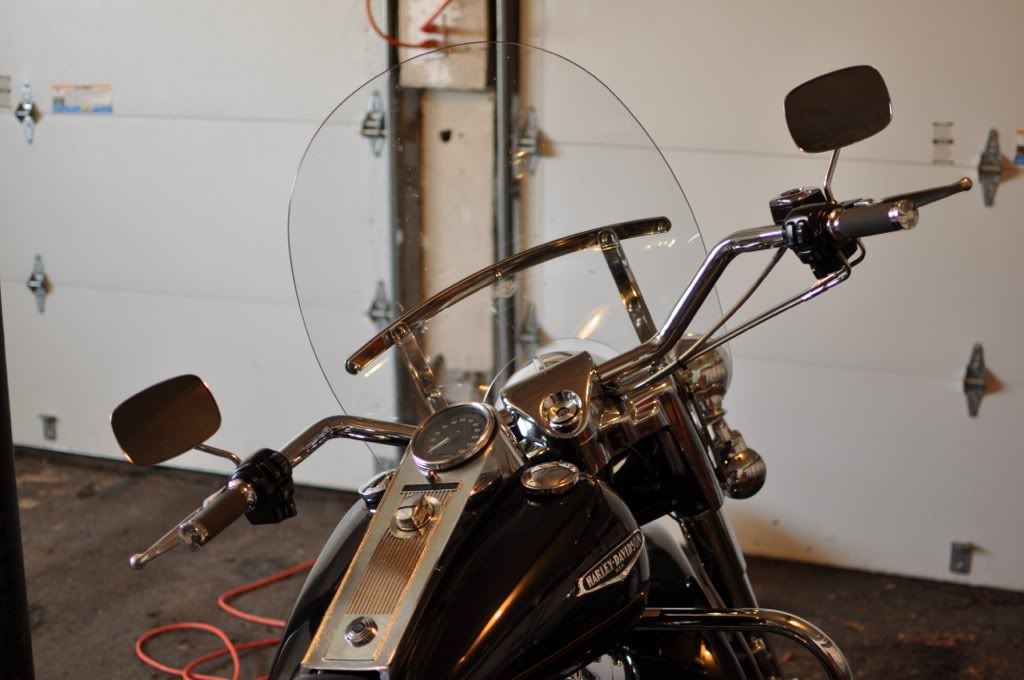
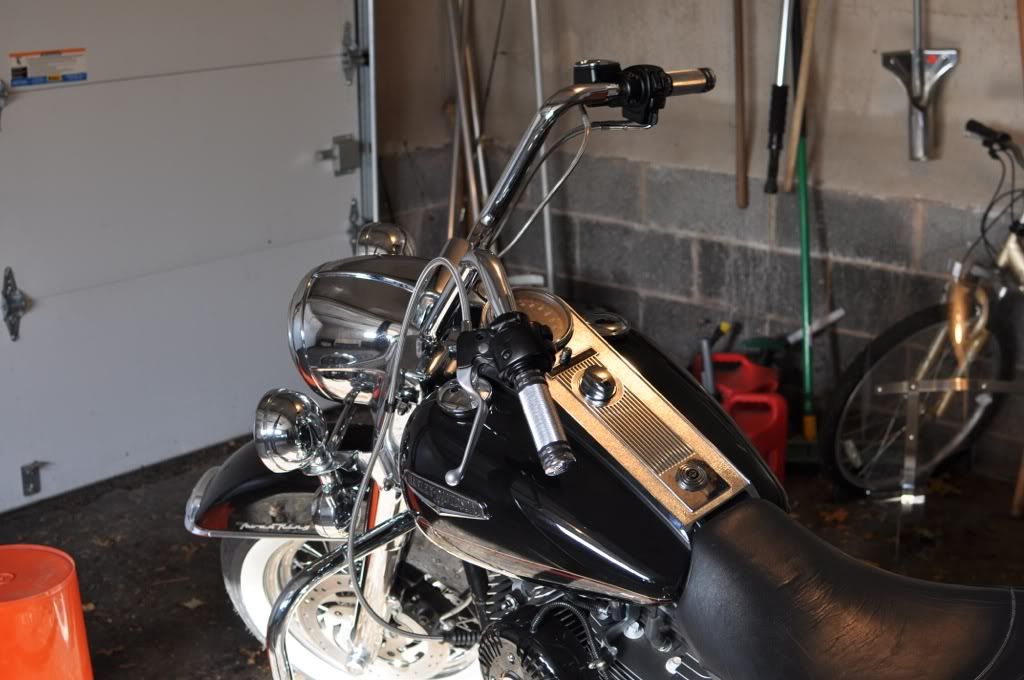
Here is the bike before. Notice the wide, low bars and black controls.
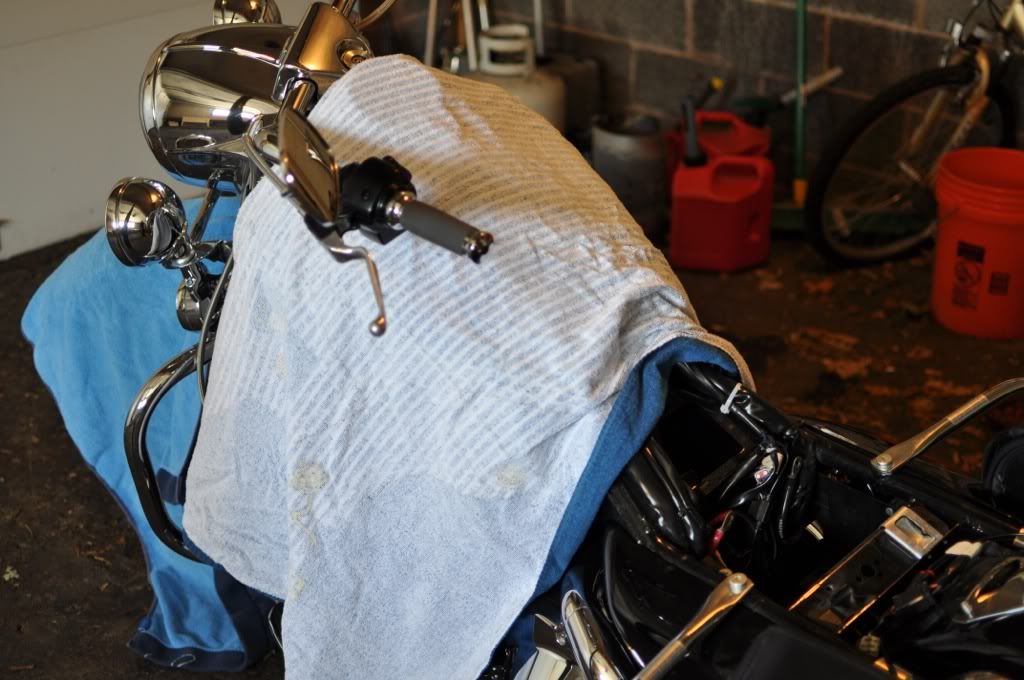
I covered the tank and front fender.
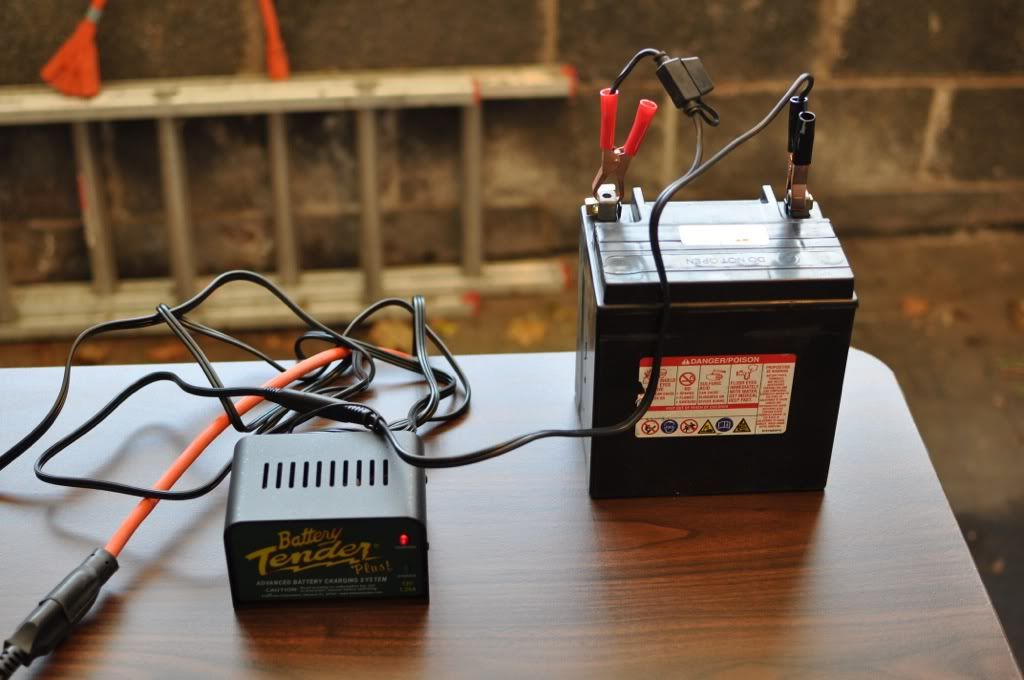
Pulling the battery probably wasn't really necessary, but I wanted to install a Battery Tender pigtail anyway, so I pulled it and charged the battery while I worked.
Here, I've already removed the trim ring and the headlamp. There are 7 of thee black screws to remove. No need to remove the silver screws on the inner tub - just leave them and take both pieces out as a unit.
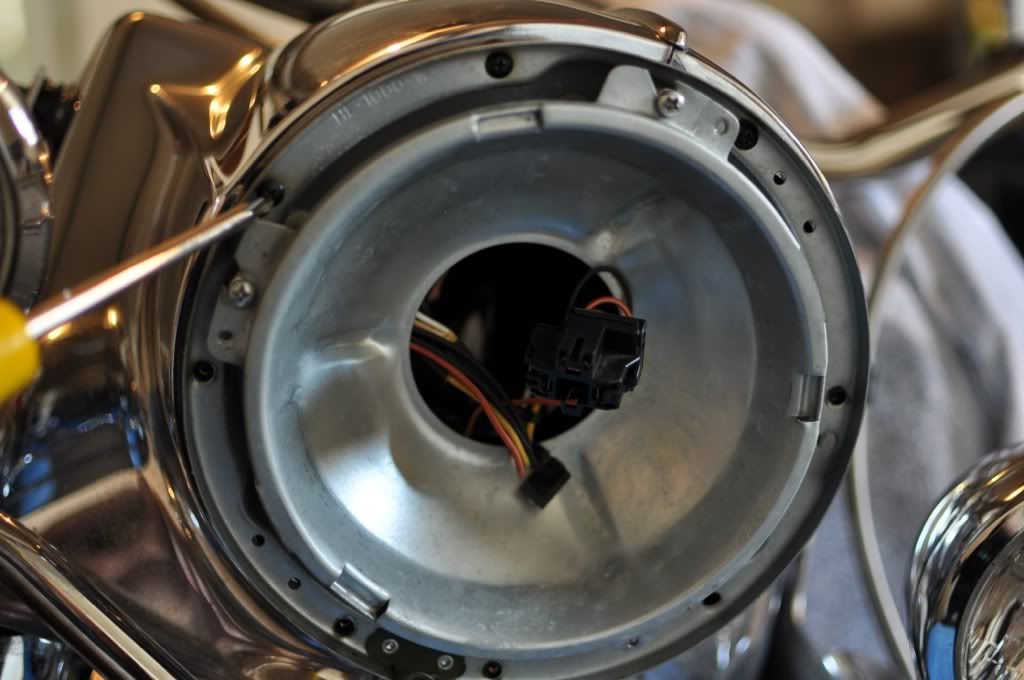
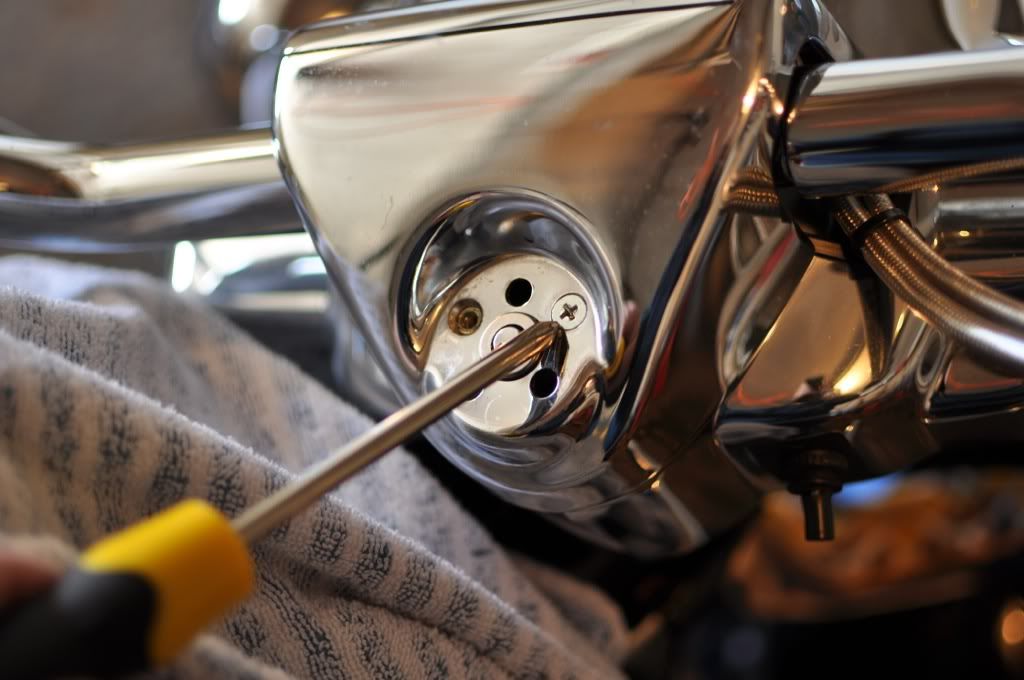
I popped the trim from the fork lock, and there are two screws to remove underneath.
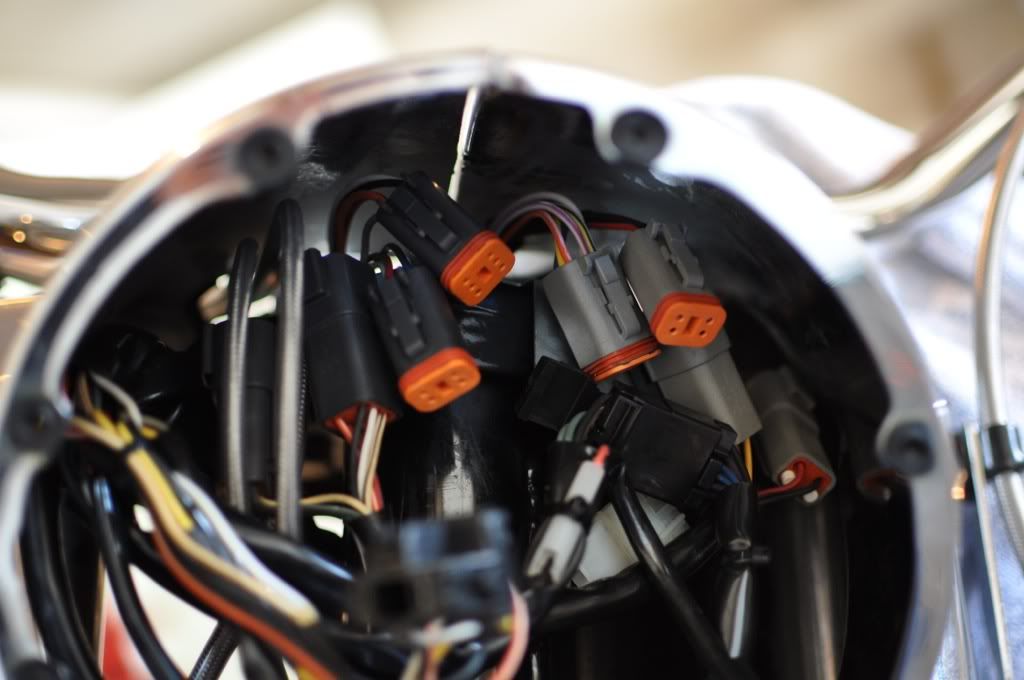
Inside the headlight nacelle, there are 4 plugs to unplug. Two light gray and two dark grey. These connect the handlebar wiring to the bike's electrical system. Here they have already been unplugged. Once the bars are off the bike, I will take apart the orange bits to remove the wires from the plugs.
Loosen the bolts on the fork clamp. Notice my bike already has a 1-piece top clamp - the prior owner put that on when he installed the WO518's.
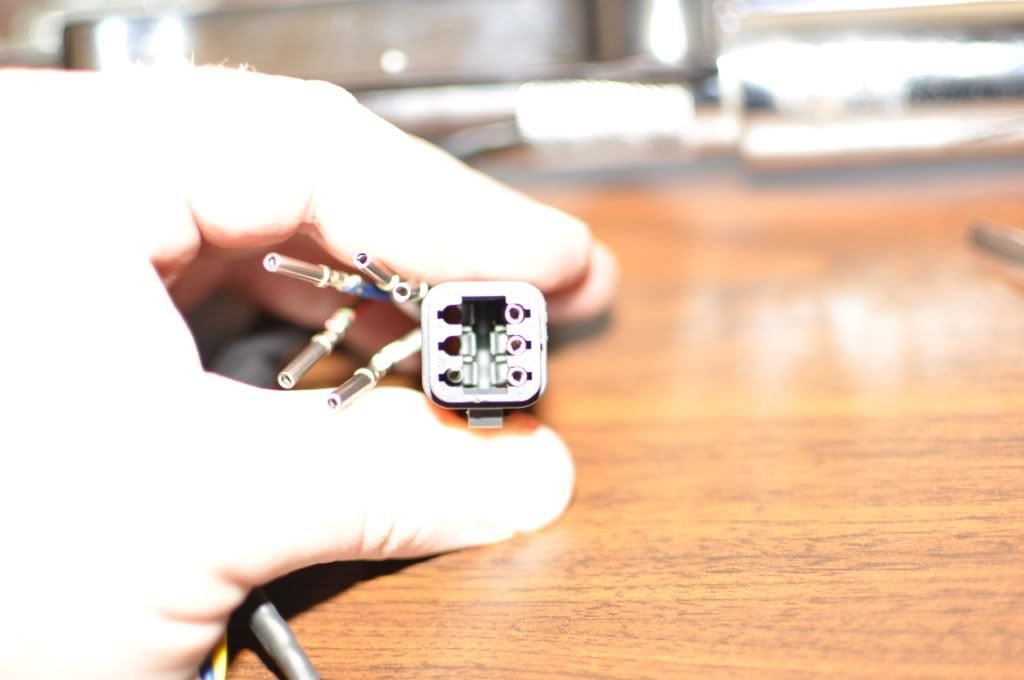
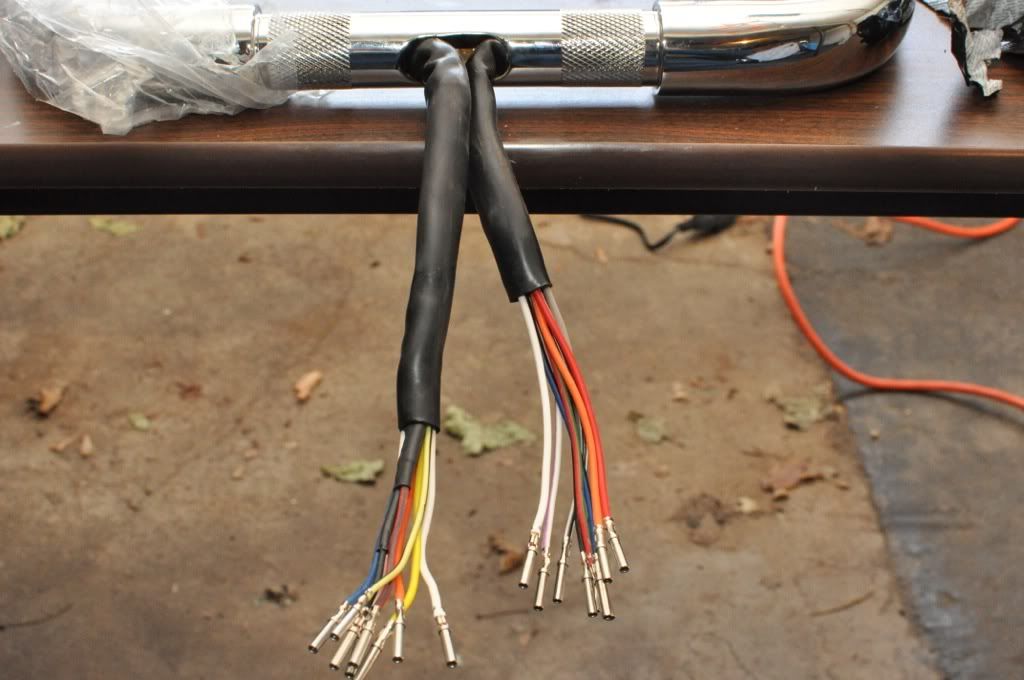
After unfastening all the cables and removing the throttle grip, it was time to disassemble the wiring plugs so I could pull the wiring out of the old bars and thread it into the new bars. I carefully diagrammed each plug, so I would know how to reassemble the plugs later. To disassemble, you remove the orange rubber ring around the edge, and gently pry the orange plastic part off the top.
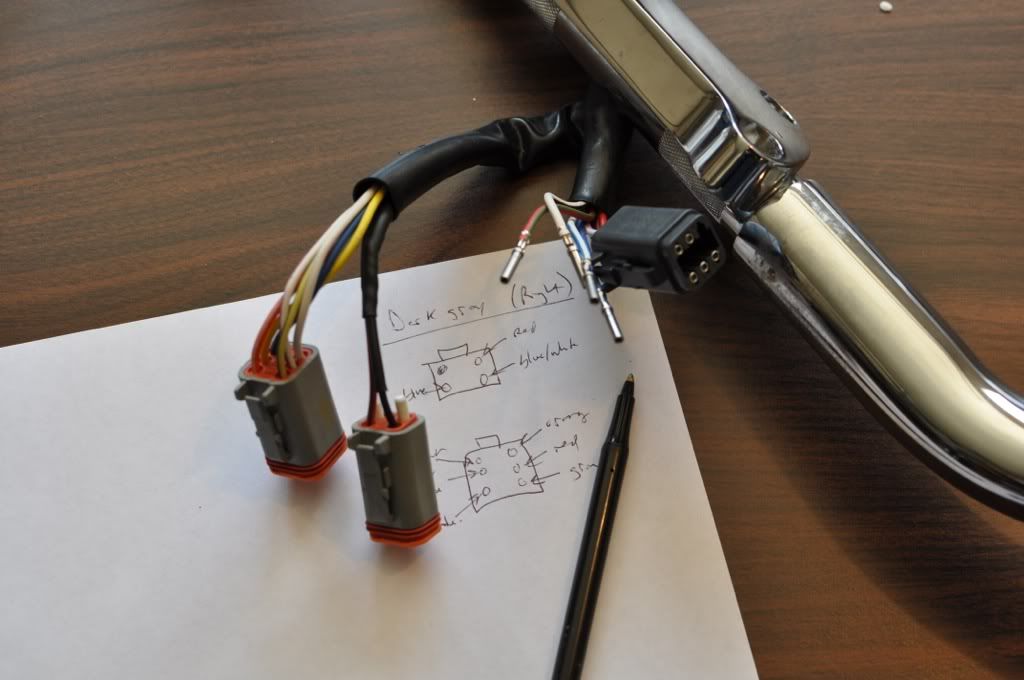
To remove each wire, you use a small screwdriver to gently pry each of those 6 tabs in there. With the tab pried open, the wire pulls out easily. Take your time and move gently, it's very easy to do.
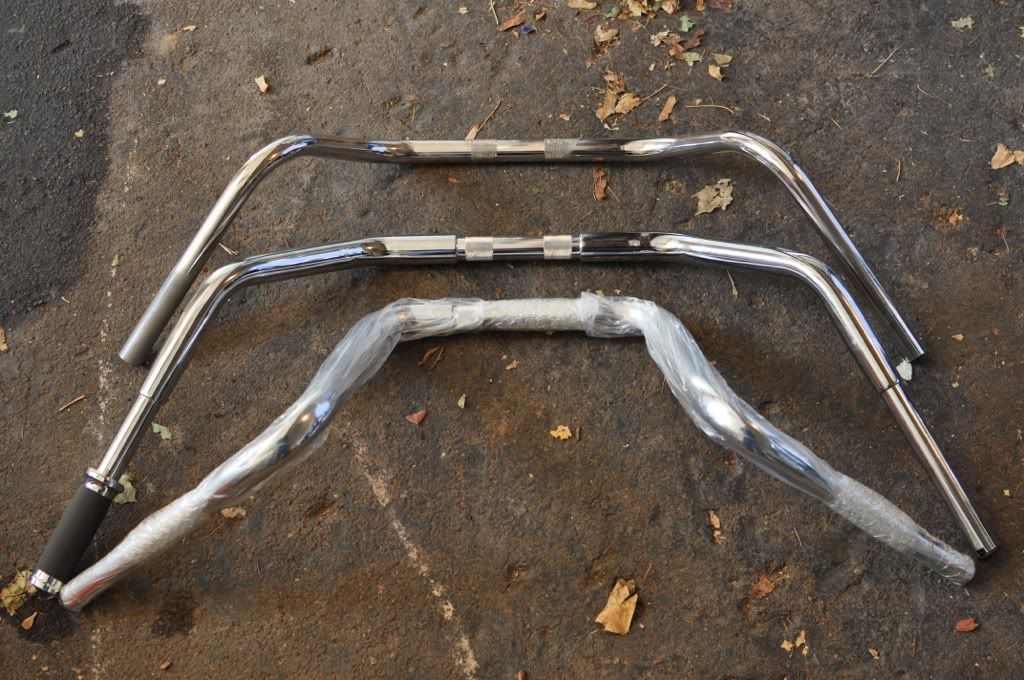
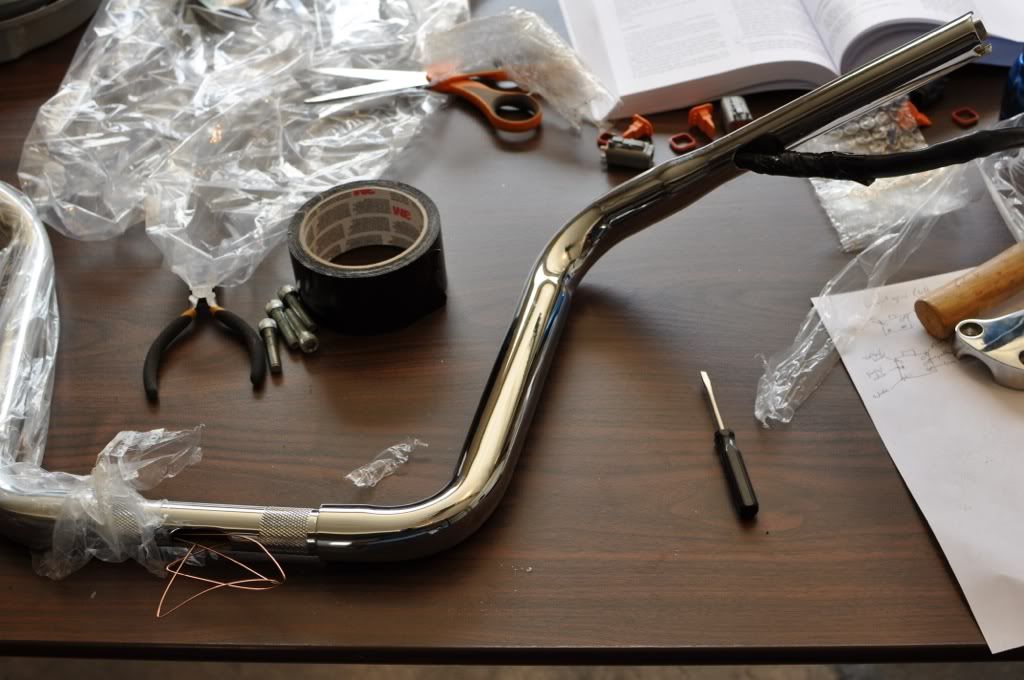
Here is a comparison of 3 bars: new 11 inch apes on the left, WO518s in middle, and OEM on right.
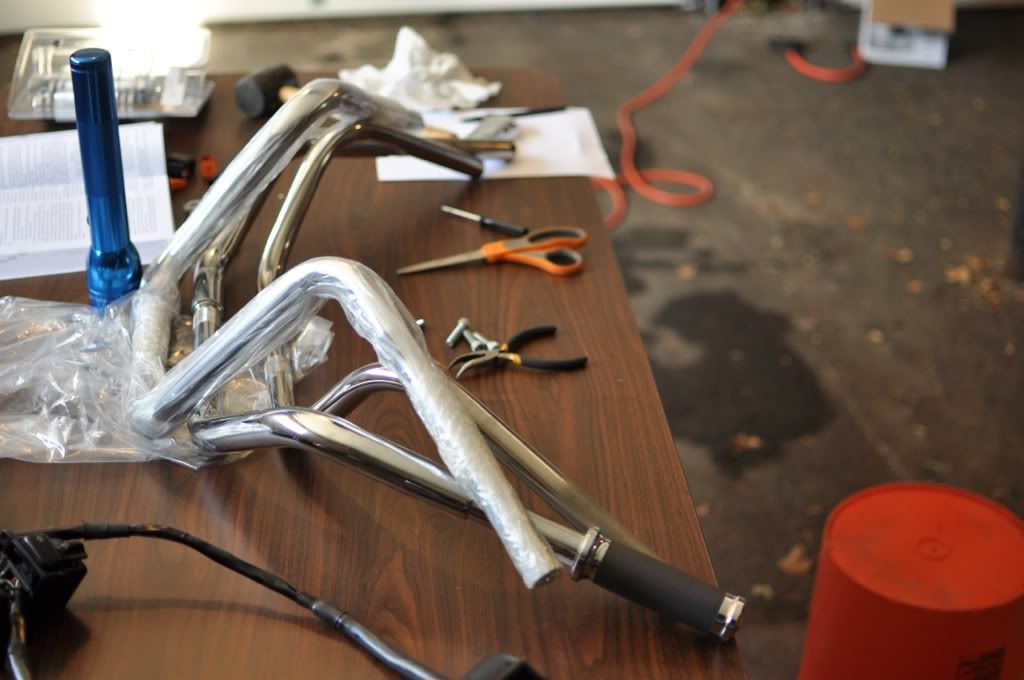
OEM at top, WO518's center, 11 inch apes bottom.
The bars came with heavy copper wire threaded inside to pull the wiring through. Move slowly and patiently and it will go fine.
You see why it's important to diagram those plugs! You'd never remember which wire goes where.
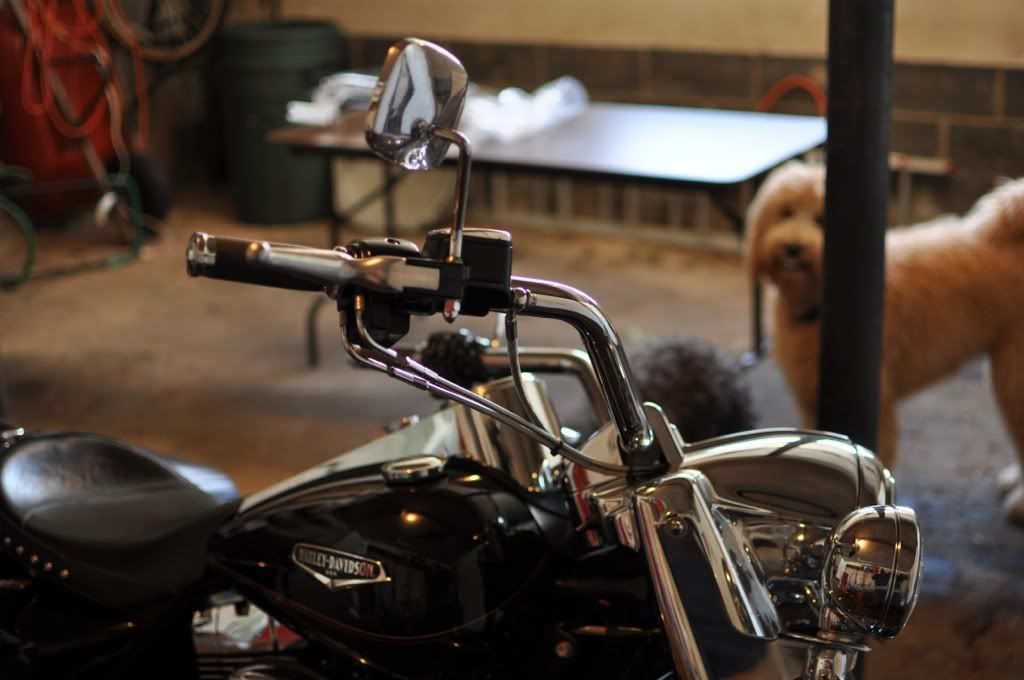
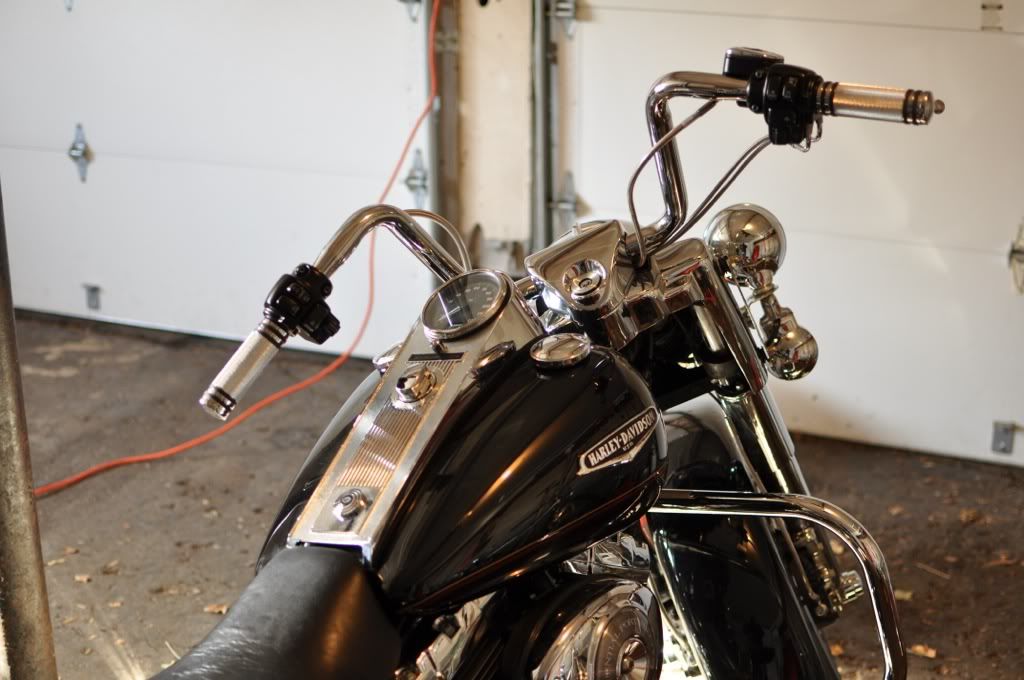
And here they are on the bike, with billet chrome grips. I like them tilted slightly toward me, for less reach.
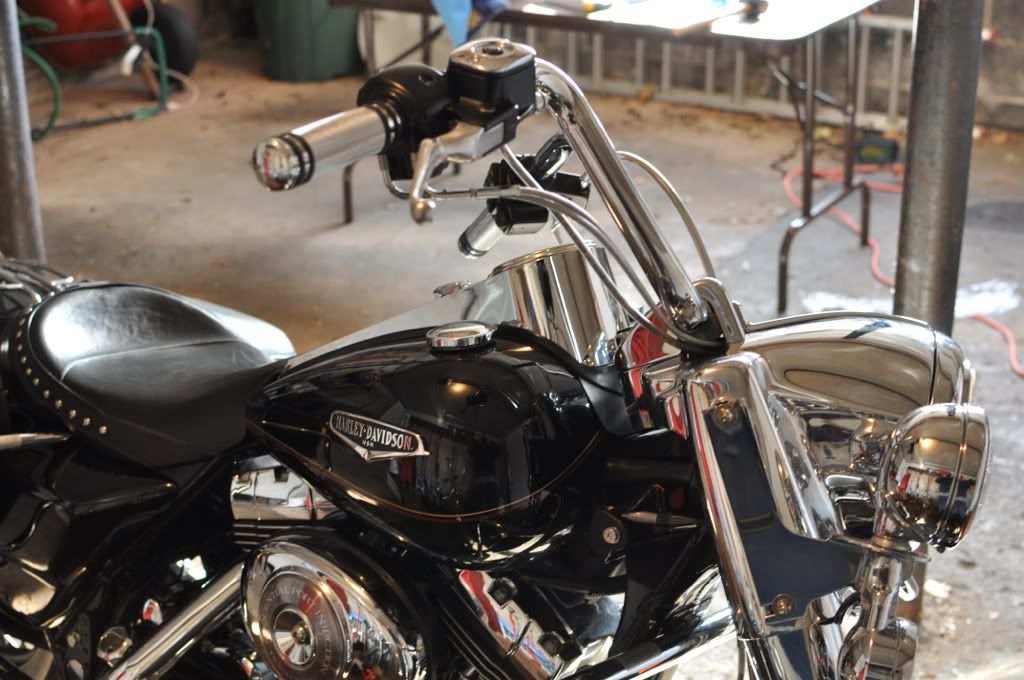
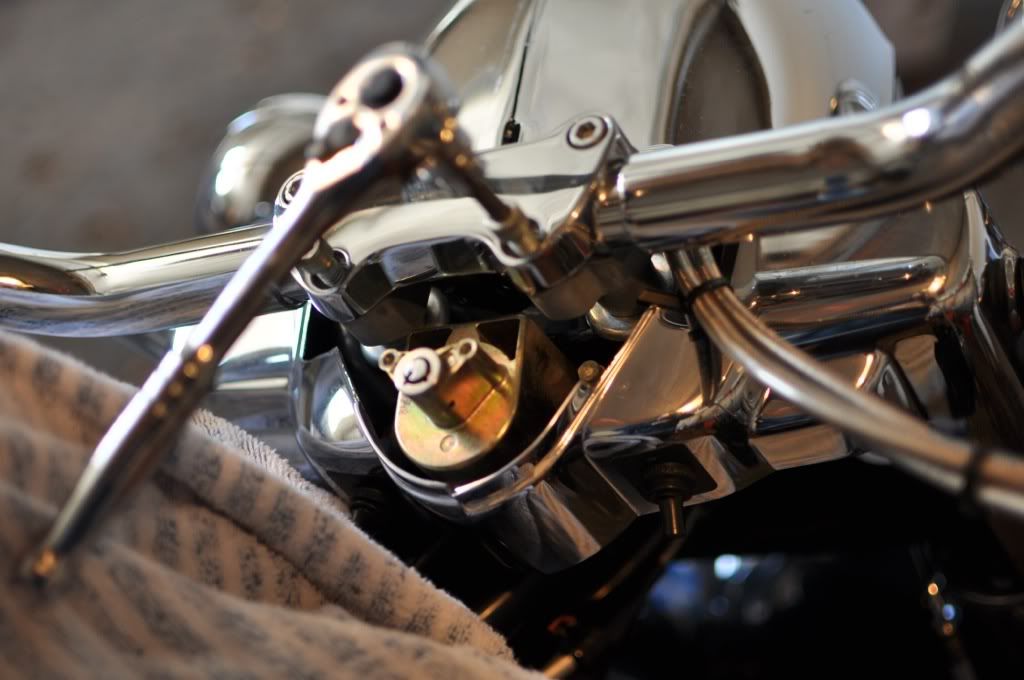
Now for some chrome. Here, I have replaced the clamp on the brake perch with a chrome replacement from Kuryakyn. My bike has a chrome cover on the reservoir, but the new piece will cover the whole thing. You have to replace the stock screws with these "stand-off" bolts to support the new cover.
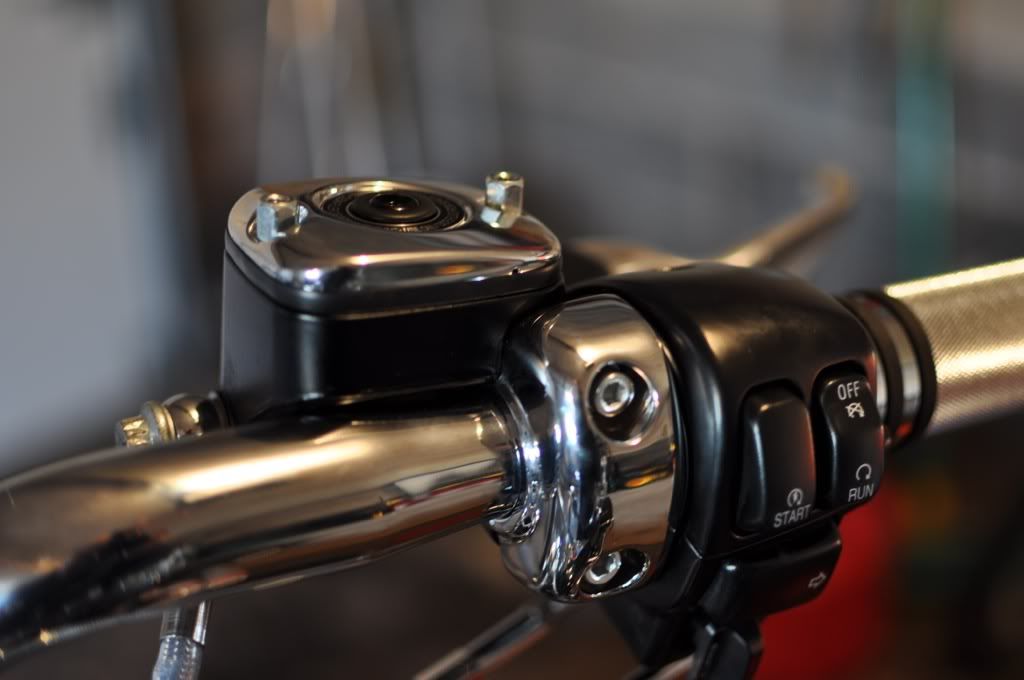
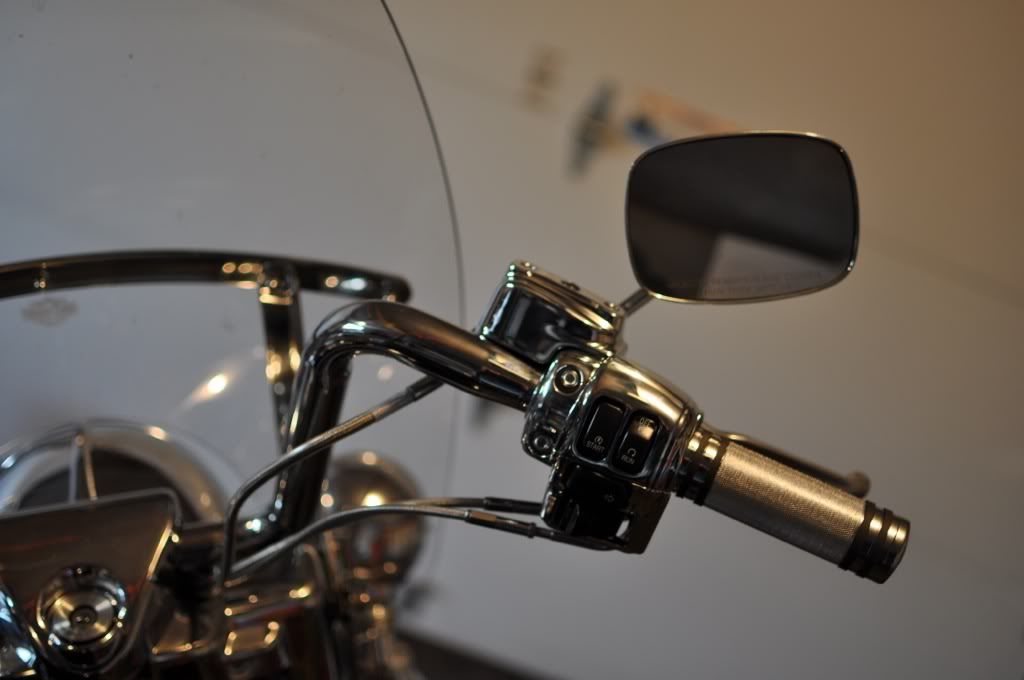
Here is the complete right side controls chromed out with the mirror re-installed (new mirrors are coming soon, these are pretty beat up).
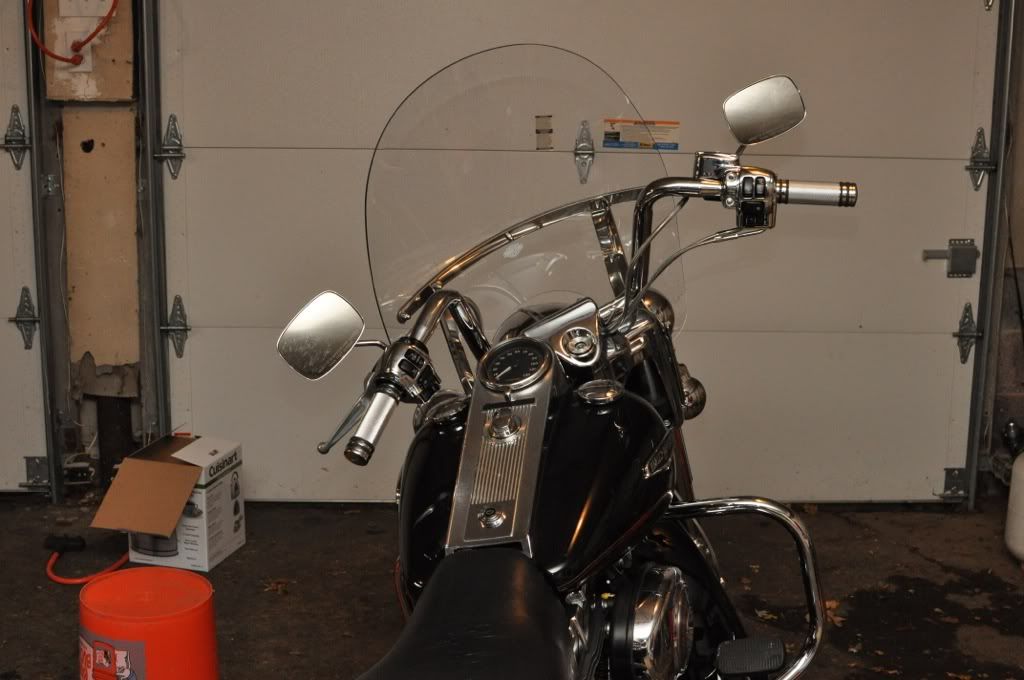
And here is the whole thing (except the left wide clutch perch, because I need to pick up split ring pliers to remove the lever - tomorrow).
I took my time, and everything went fine. Took some time to get the cables adjusted and all. Now we just need the snow to melt.
Fortunately, due to the WO518's, the wiring had already been extended and longer, braided throttle, idle and clutch cables were already installed. So that simplified the job. Just had to pull the wiring from the old bars and re-thread it through the new ones.
Here is the bike before. Notice the wide, low bars and black controls.
I covered the tank and front fender.
Pulling the battery probably wasn't really necessary, but I wanted to install a Battery Tender pigtail anyway, so I pulled it and charged the battery while I worked.
Here, I've already removed the trim ring and the headlamp. There are 7 of thee black screws to remove. No need to remove the silver screws on the inner tub - just leave them and take both pieces out as a unit.
I popped the trim from the fork lock, and there are two screws to remove underneath.
Inside the headlight nacelle, there are 4 plugs to unplug. Two light gray and two dark grey. These connect the handlebar wiring to the bike's electrical system. Here they have already been unplugged. Once the bars are off the bike, I will take apart the orange bits to remove the wires from the plugs.
Loosen the bolts on the fork clamp. Notice my bike already has a 1-piece top clamp - the prior owner put that on when he installed the WO518's.
After unfastening all the cables and removing the throttle grip, it was time to disassemble the wiring plugs so I could pull the wiring out of the old bars and thread it into the new bars. I carefully diagrammed each plug, so I would know how to reassemble the plugs later. To disassemble, you remove the orange rubber ring around the edge, and gently pry the orange plastic part off the top.
To remove each wire, you use a small screwdriver to gently pry each of those 6 tabs in there. With the tab pried open, the wire pulls out easily. Take your time and move gently, it's very easy to do.
Here is a comparison of 3 bars: new 11 inch apes on the left, WO518s in middle, and OEM on right.
OEM at top, WO518's center, 11 inch apes bottom.
The bars came with heavy copper wire threaded inside to pull the wiring through. Move slowly and patiently and it will go fine.
You see why it's important to diagram those plugs! You'd never remember which wire goes where.
And here they are on the bike, with billet chrome grips. I like them tilted slightly toward me, for less reach.
Now for some chrome. Here, I have replaced the clamp on the brake perch with a chrome replacement from Kuryakyn. My bike has a chrome cover on the reservoir, but the new piece will cover the whole thing. You have to replace the stock screws with these "stand-off" bolts to support the new cover.
Here is the complete right side controls chromed out with the mirror re-installed (new mirrors are coming soon, these are pretty beat up).
And here is the whole thing (except the left wide clutch perch, because I need to pick up split ring pliers to remove the lever - tomorrow).
I took my time, and everything went fine. Took some time to get the cables adjusted and all. Now we just need the snow to melt.
Last edited by fuseliernj; 02-10-2013 at 06:19 PM.
#3
02-10-2013, 06:27 PM
Cruiser
Join Date: Jan 2012
Location: Bristow, VA
Posts: 135
Likes: 0
Received 0 Likes
on
0 Posts
#4
02-10-2013, 06:30 PM
Join Date: Dec 2012
Location: New Jersey
Posts: 47
Likes: 0
Received 0 Likes
on
0 Posts

Thread
Thread Starter
Forum
Replies
Last Post
FLshovelhead
Touring Models
4
11-04-2018 10:36 AM
PowerCobra98
Dyna Glide Models
36
12-30-2006 09:14 PM