
polished legs on Streetglide (PICS)
#1
 09-25-2011, 01:01 PM

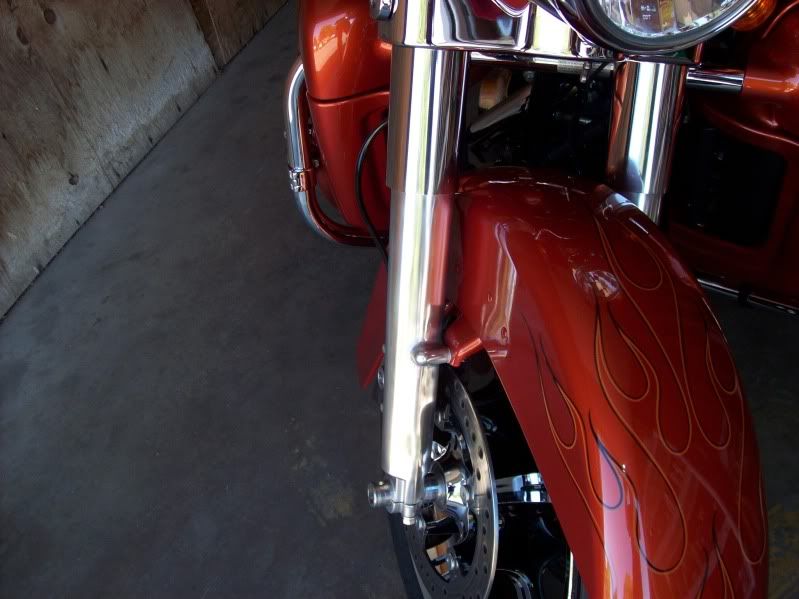
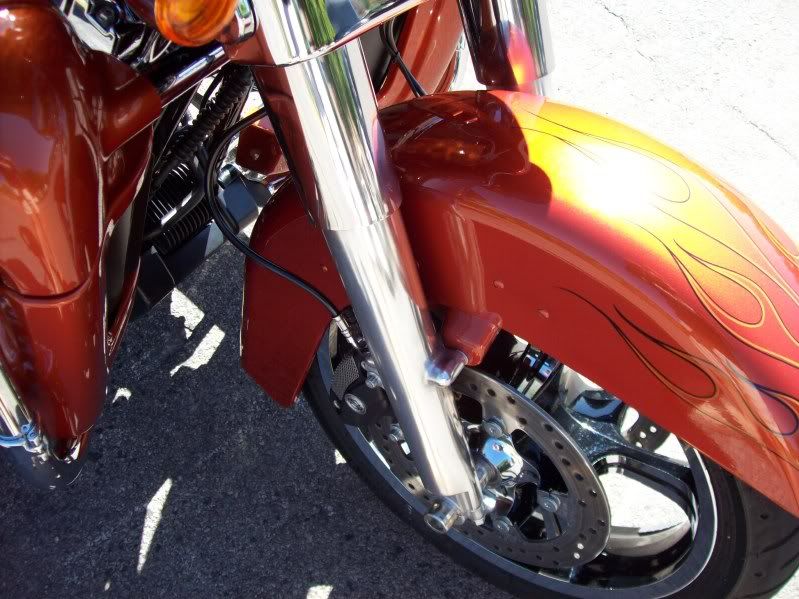
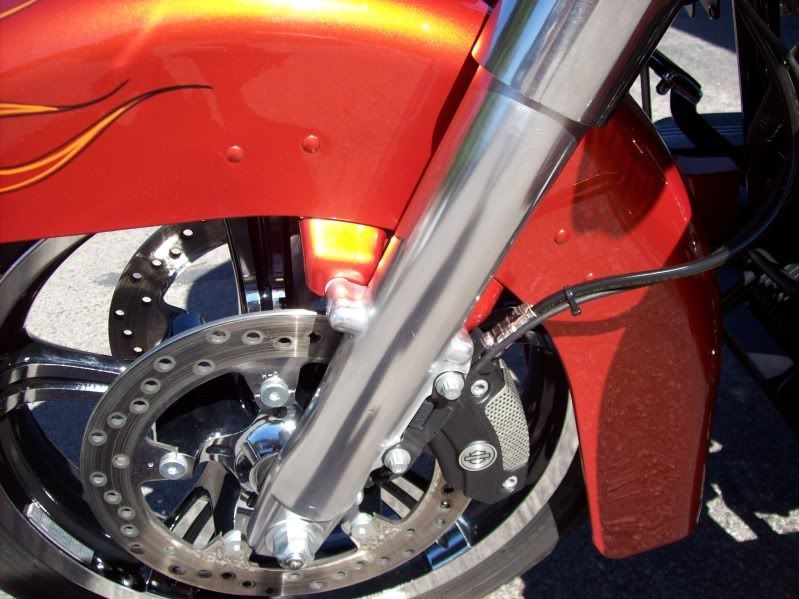
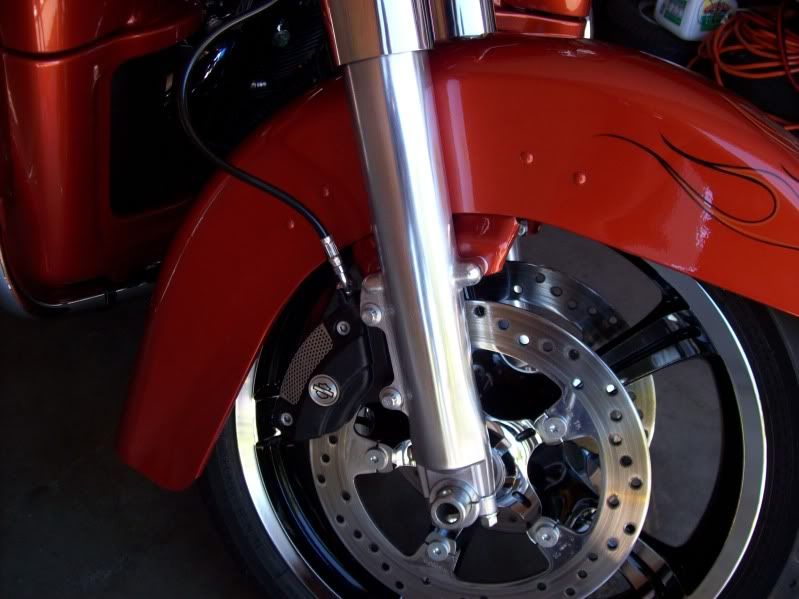
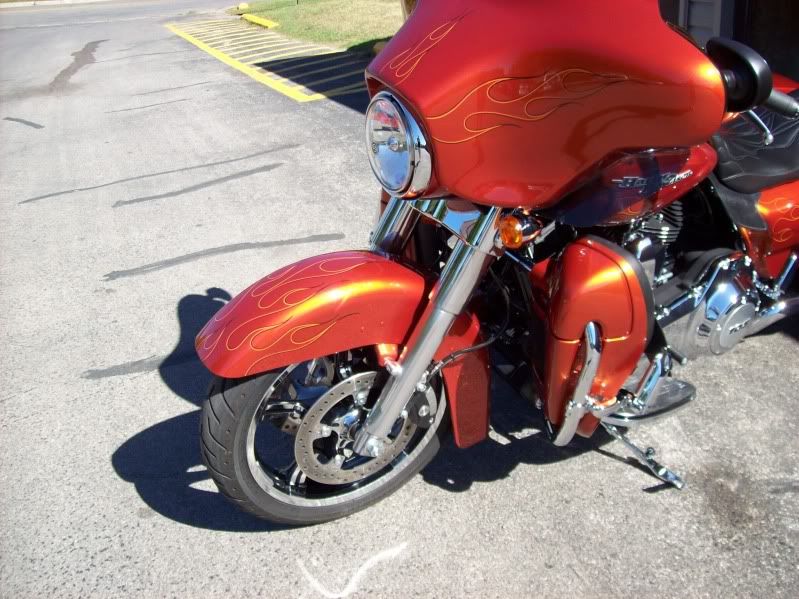
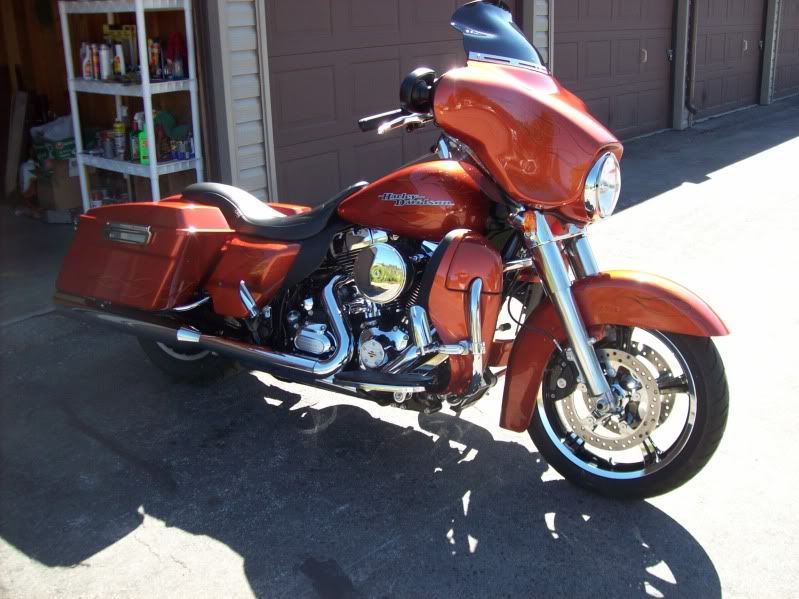
Yesterday I polished the fork tube sliders on my 2011 Streetglide.
What I did, was I jacked up the bike, took the calipers off and hung them over the fairing lowers, took the front wheel off and then the front fender.
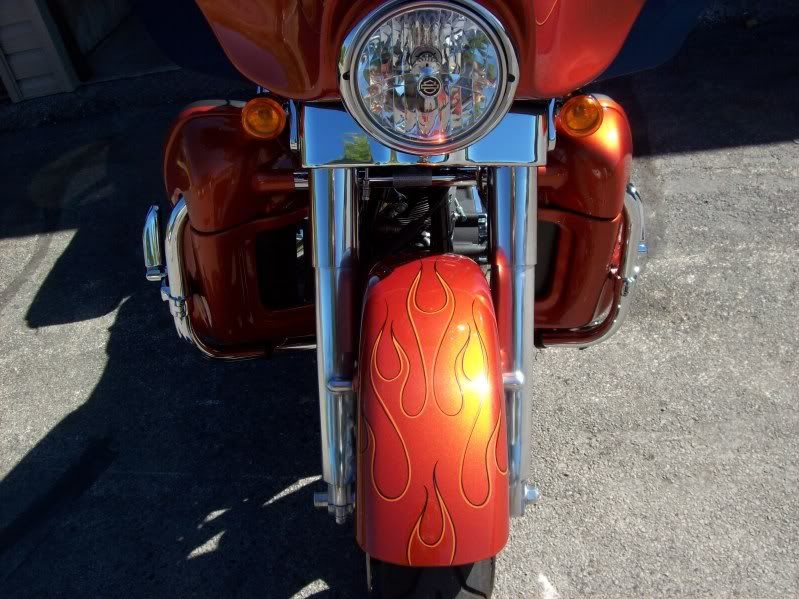
Then, I sanded the ROUGH (pebbly) areas with 60 grit sandpaper, to include the casting marks.
Then I sanded the whole tube down with 150 grit paper, folloowed by 220 grit.
Next, I rubbed them down compeltely with a fine scrubber pad (WHITE) and WD-40.
Next, I sanded them down with 320 grit sandpaper.
Then I polished them out compeltely with Brasso, and buffed them out.
Then re-installed everything.
Lastly, after install, I hand buffed them with Mothers Mag and Aluminum polish.
Note:
1. All was done BY HAND
2. I did this without removing the fork tubes
It took about 6 hours including putting everything away.
When I was done I washed the bike, and the sliders beaded up the water....and after towel drying they just "glowed"
Anyway, here are some pics:
~Joe
What I did, was I jacked up the bike, took the calipers off and hung them over the fairing lowers, took the front wheel off and then the front fender.
Then, I sanded the ROUGH (pebbly) areas with 60 grit sandpaper, to include the casting marks.
Then I sanded the whole tube down with 150 grit paper, folloowed by 220 grit.
Next, I rubbed them down compeltely with a fine scrubber pad (WHITE) and WD-40.
Next, I sanded them down with 320 grit sandpaper.
Then I polished them out compeltely with Brasso, and buffed them out.
Then re-installed everything.
Lastly, after install, I hand buffed them with Mothers Mag and Aluminum polish.
Note:
1. All was done BY HAND
2. I did this without removing the fork tubes
It took about 6 hours including putting everything away.
When I was done I washed the bike, and the sliders beaded up the water....and after towel drying they just "glowed"
Anyway, here are some pics:
~Joe
#2
09-25-2011, 01:04 PM
Road Captain
Join Date: May 2010
Location: Memphis
Posts: 566
Likes: 0
Received 0 Likes
on
0 Posts
#3
09-25-2011, 01:07 PM
Thanks.
Did it myself, versus store bought.
Cost me a day of drinking beer and having fun listening to music and just taking my time.
Cost? Maybe 10-15 bucks in materials.
Brasso
Shop cloths
Mothers polish
Sandpaper (different grits)
Of course, you need jack and tools to take stuff off.
Have a spare set I did up as well, I'd sell for 40 bucks shipped. Keep in mind, when done by hand, they have a different look than machine done. Looks very old skool.
Well, gotta go ride now.
~Joe
Last edited by traveler; 09-25-2011 at 01:09 PM.
#5
09-25-2011, 03:34 PM
Tourer
Join Date: Sep 2011
Location: Long Island
Posts: 250
Likes: 0
Received 0 Likes
on
0 Posts
#6
09-25-2011, 03:44 PM
#7
09-25-2011, 04:30 PM
Elite HDF Member
Nice looking, especially knowing it was done without power tools. Shows lots of patience, attention to detail, and determination. It's funny how the lower legs on HDs are so susceptible to bug guts and other "staining" substances.
I went ahead and "caved" and bought the HD chrome lowers. Like you, I want to have good looking lowers and didn't figure I could keep the stock aluminum lowers looking very good over time.
Thanks for the pics and again, congrats on getting them boys lookin' good!
I went ahead and "caved" and bought the HD chrome lowers. Like you, I want to have good looking lowers and didn't figure I could keep the stock aluminum lowers looking very good over time.
Thanks for the pics and again, congrats on getting them boys lookin' good!
Trending Topics


#10
09-25-2011, 05:28 PM

Road Master
Join Date: Apr 2010
Location: N Dak
Posts: 862
Likes: 0
Received 0 Likes
on
0 Posts