Finally got around to installing the heated grips I had had sitting around, reminding me how much of a procrastinator I am...
Replaced the throttle grip first, which took about ten minutes. All that's needed was to remove the lever bracket, switch housing covers, pull off old grip, put on new, plug in connector, reinstall housings and lever bracket. Then pulled the fairing forward and the button cover back to get access to the bar clamp area.
A lot of what I found online talked about removing the left stock grip, cutting it apart, and cleaning/removing glue residue. But mine wasn't glued on at all and just slid right off, so that's a lot of hassle saved right there.
My first attempt was with a zip tie, thought it might feed through and then hopefully pop out at the clamp end due to the tension.
That didn't work at all, it kept getting caught up on something and I gave up on it.
Next idea was to use solid copper transformer wire. To feed that through and fish it out at the clamp end. It worked, except although I could feel it in there with my pinkie, I couldn't manage to fish it out. In hindsight I could have use a second piece of copper wire to make a little loop, fed the wire through the loop and pulled it out. Or used a zip tie made into a small loop. I'm sure that would have worked, but all I tried was various hook tools and needle nose pliers, and just couldn't get in there due to the confined space.
So I decided to just pop the bar clamp and rotate the bars. Marked the position with a sharpie so I could easily reinstall them with minimal fuss
This made it a breeze, and maybe I should have just done this from the outset. In even more hindsight, given the work I did I could probably just as well have replaced the bars at the same time.
Finding the connections under the fairing was straightforward, but the power connector (not the B+W pair to the right grip) had a cover on it, which I didn't realize I should remove. It wouldn't fit the bike end, yet looked like it was the right kind of connector. I was wondering for a moment if I had screwed up and needed an adapter harness or wire, but alas all I had to do was pop that protective cover. It's not like a rubber cap or anything, just a weird plastic shroud.
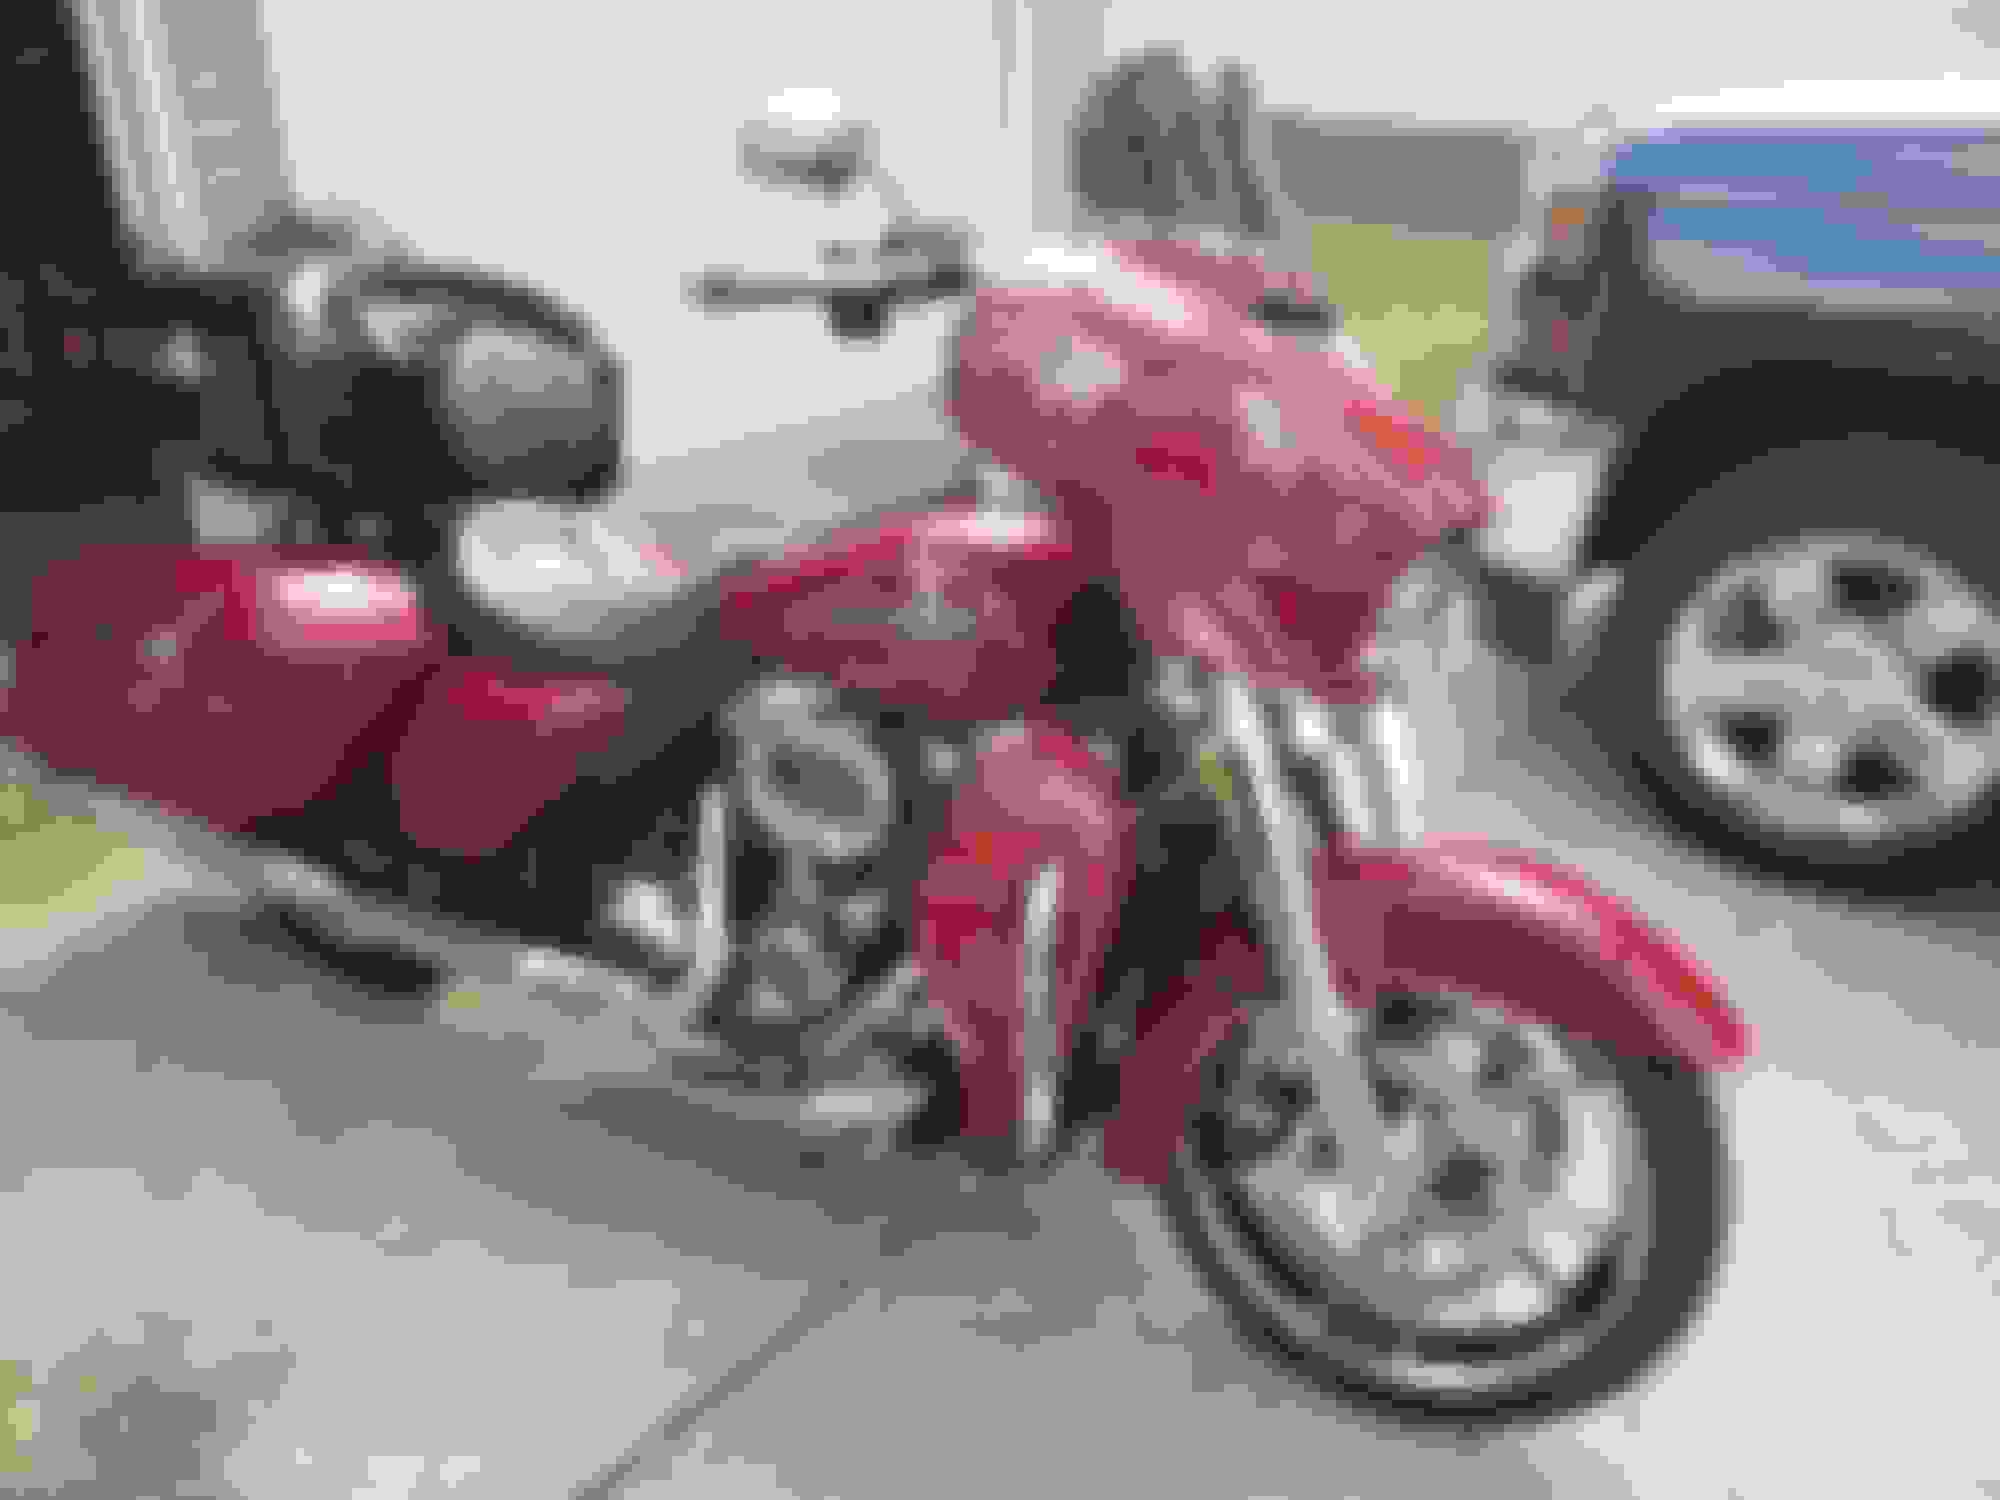
Anyway, I'm please with the result! Well worth the effort.
Put Tour Pack on, gave the Ohlins shocks 3 rounds and got it packed up. Leaving for Sturgis in the AM. Also got on my laptop in the PV software and added a little more fuel yesterday. That woke things up quite a bit. It wasn't really running lean but the cam is big enough with the overlap, it needed a bit more fuel at lower rpm. Its way smoother now.
Probably shoulda checked in with the board first to see if any reviews but just bought this to try out. If I don't like it or it seems iffy, I'll send it back and get thrashin most likely. Bought the regular serrated peg version not the spike version
KST have worked well for me and come highly recommended. Best of luck! I think you'll like them. What size did you go with?
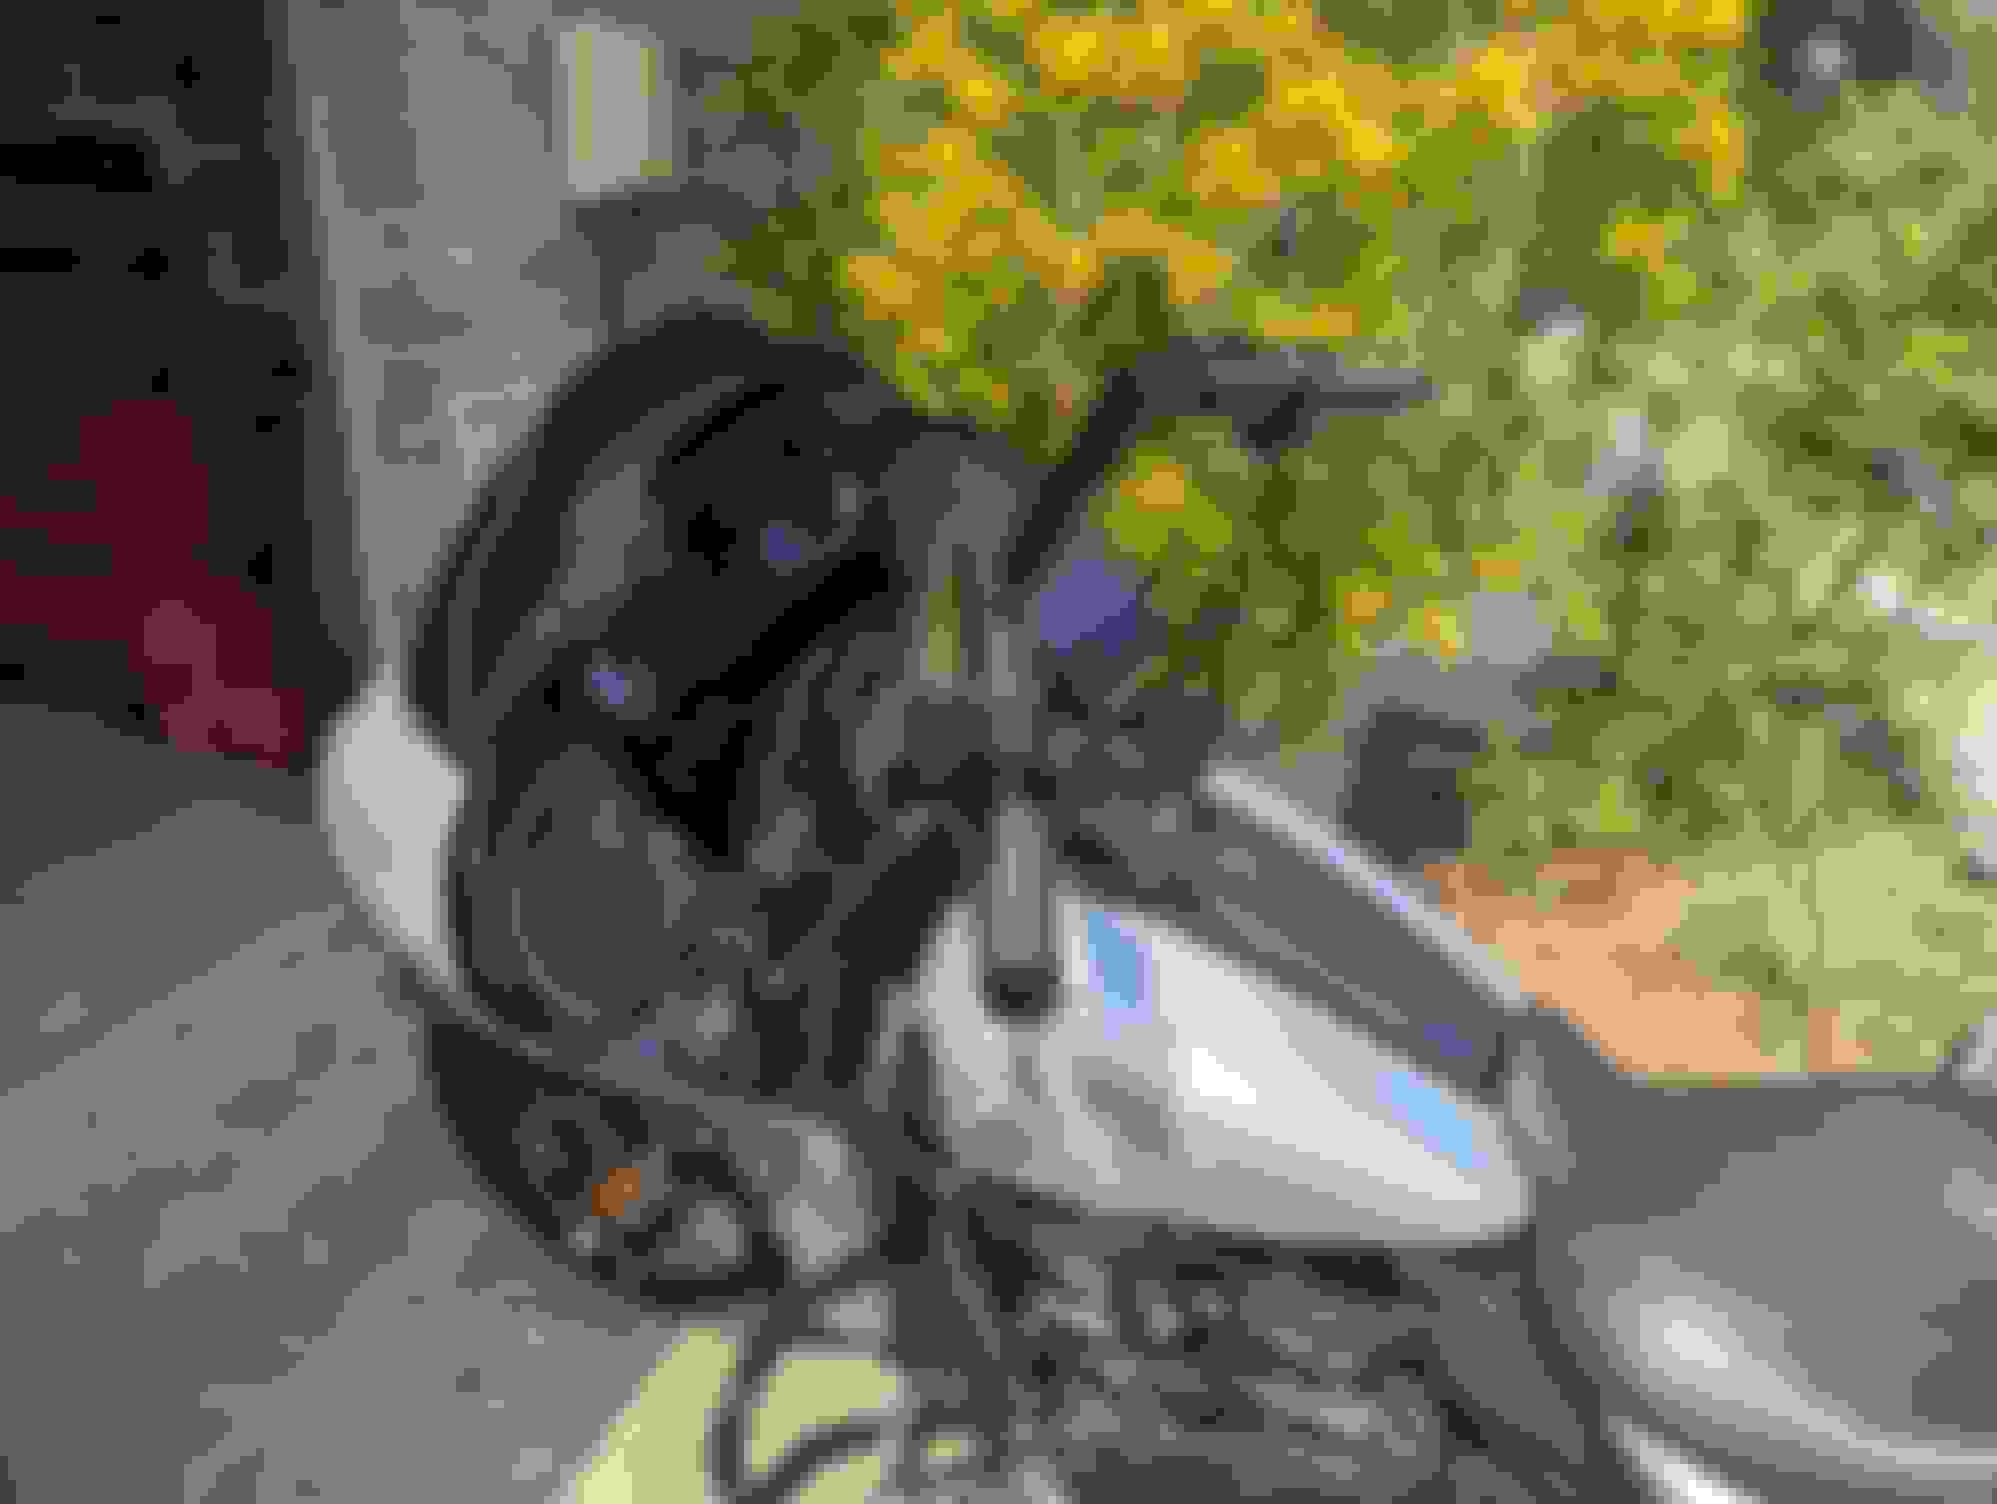
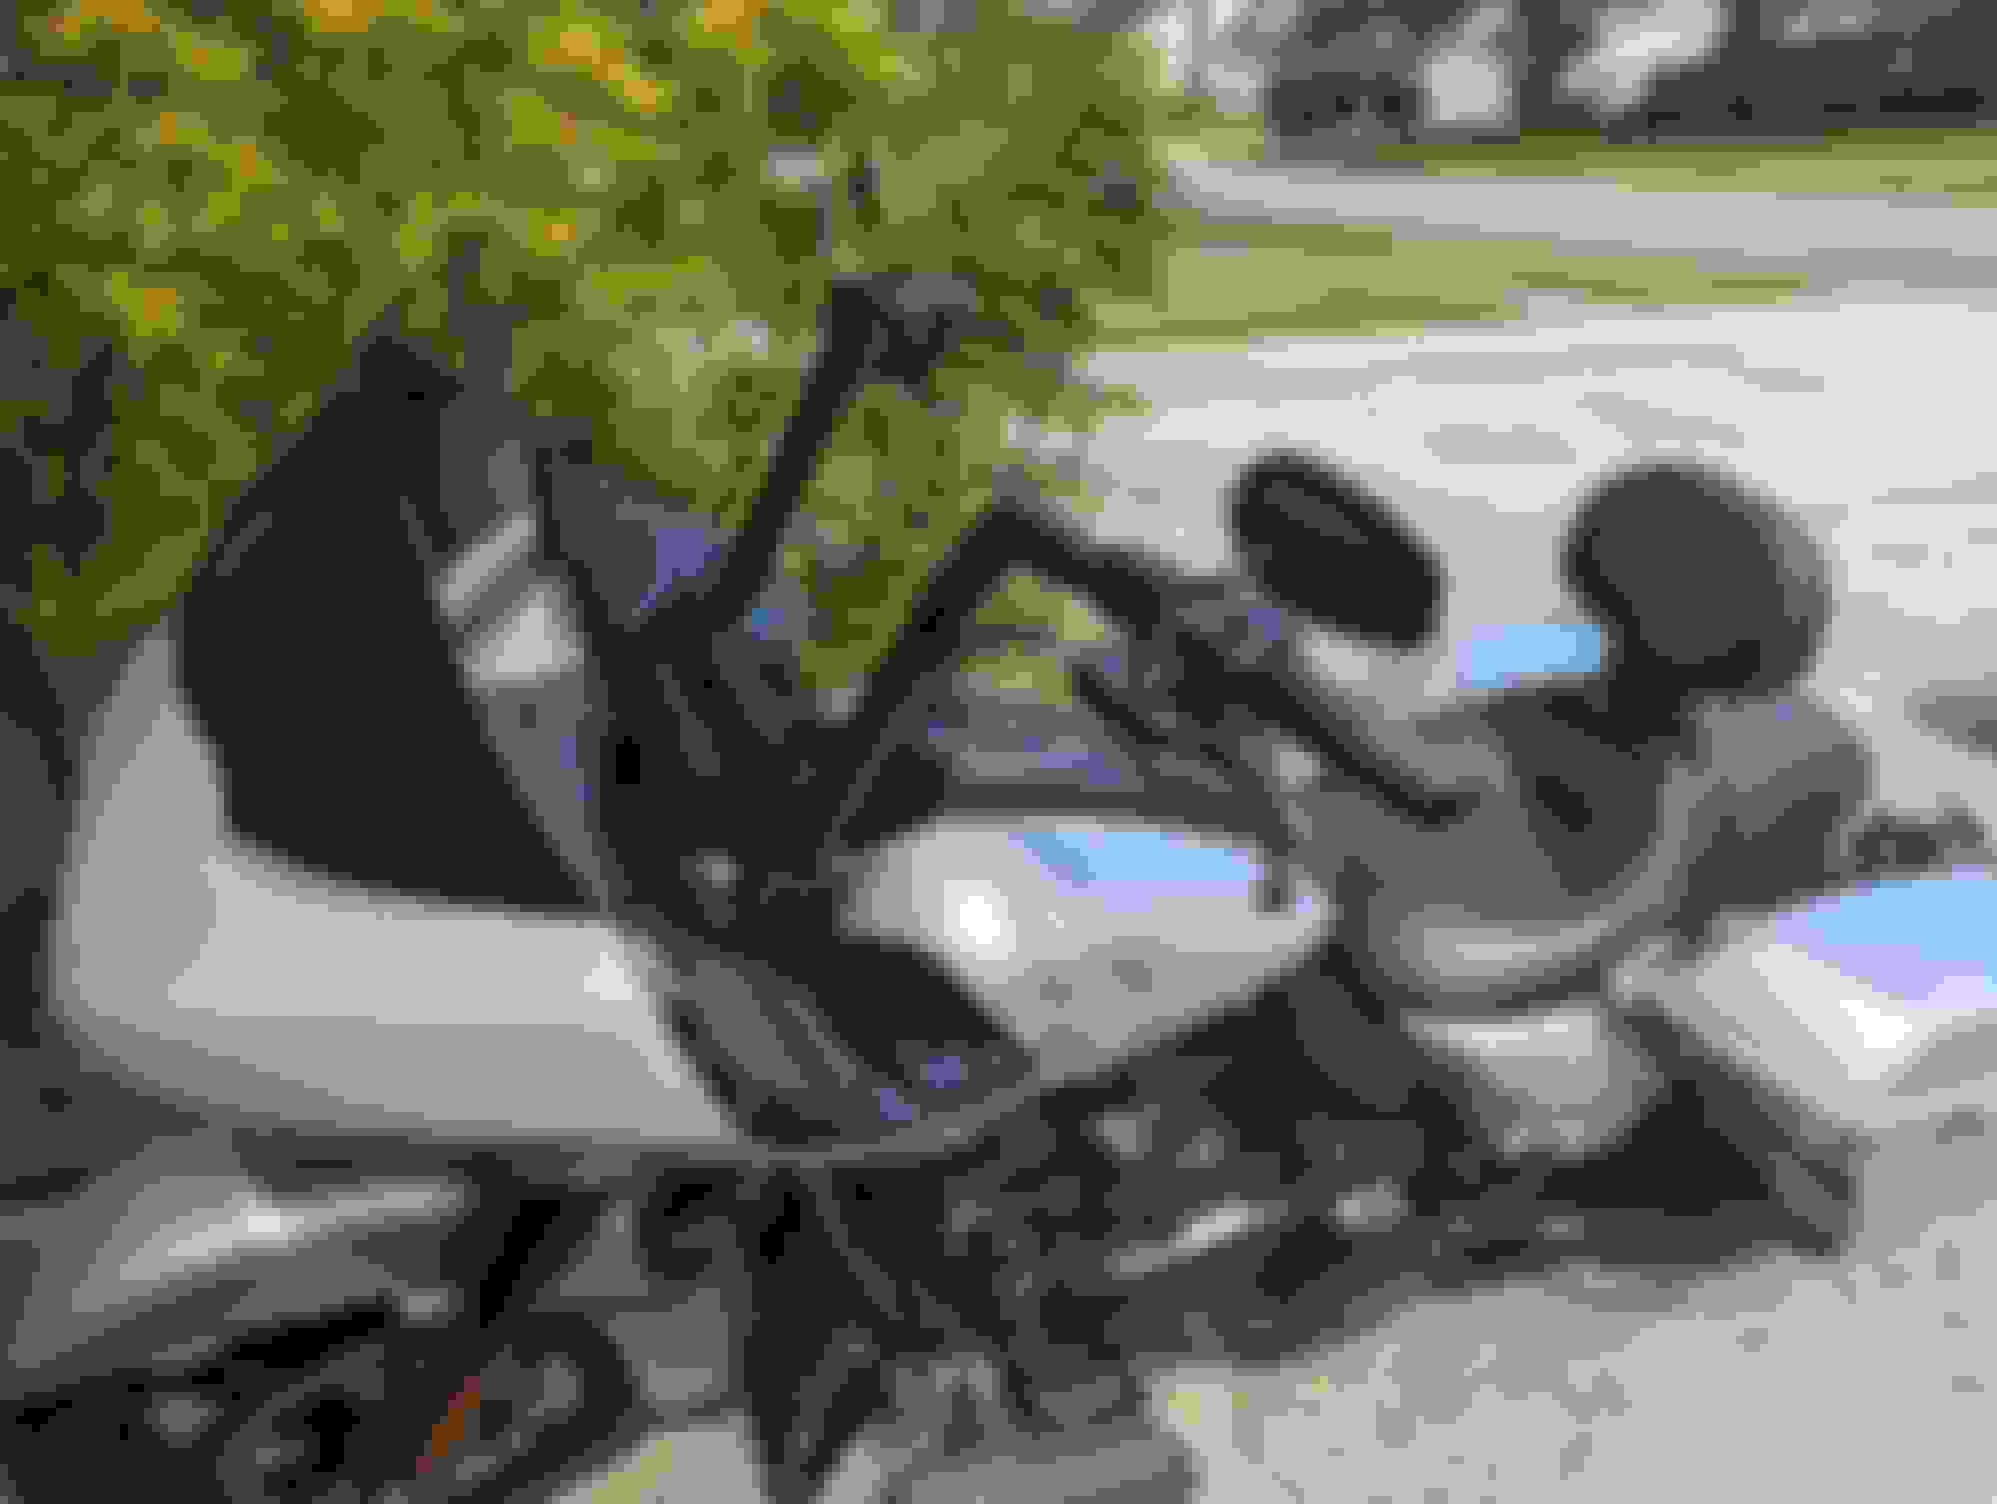
I seriously considered the 10 inch bars, but I decided on the 12 inch. I have had several people that recommended them so I decided to try them. I had thought about getting the Harley chiseled bars but didn�t want to spend almost $500 for bars that I may or may not like.
My grommets arrived today, so I bit the bullet and notched the inner edge of my saddlebag to keep the speaker wiring from being smashed and to help keep the lid square, etc.
I'm not sure I like it yet, so I didn't take any pics.
And I only did one of them so far.
I added the pre-formed liners to my bags as part of this upgrade, but they don't fit very well IMO..
Since I want them to conform better to the bags, I need to get a few longer screws in order to use the hinges and latches as anchor points.

 07-31-2023, 07:33 PM