V&H Monster Oval Install STEP BY STEP
#81
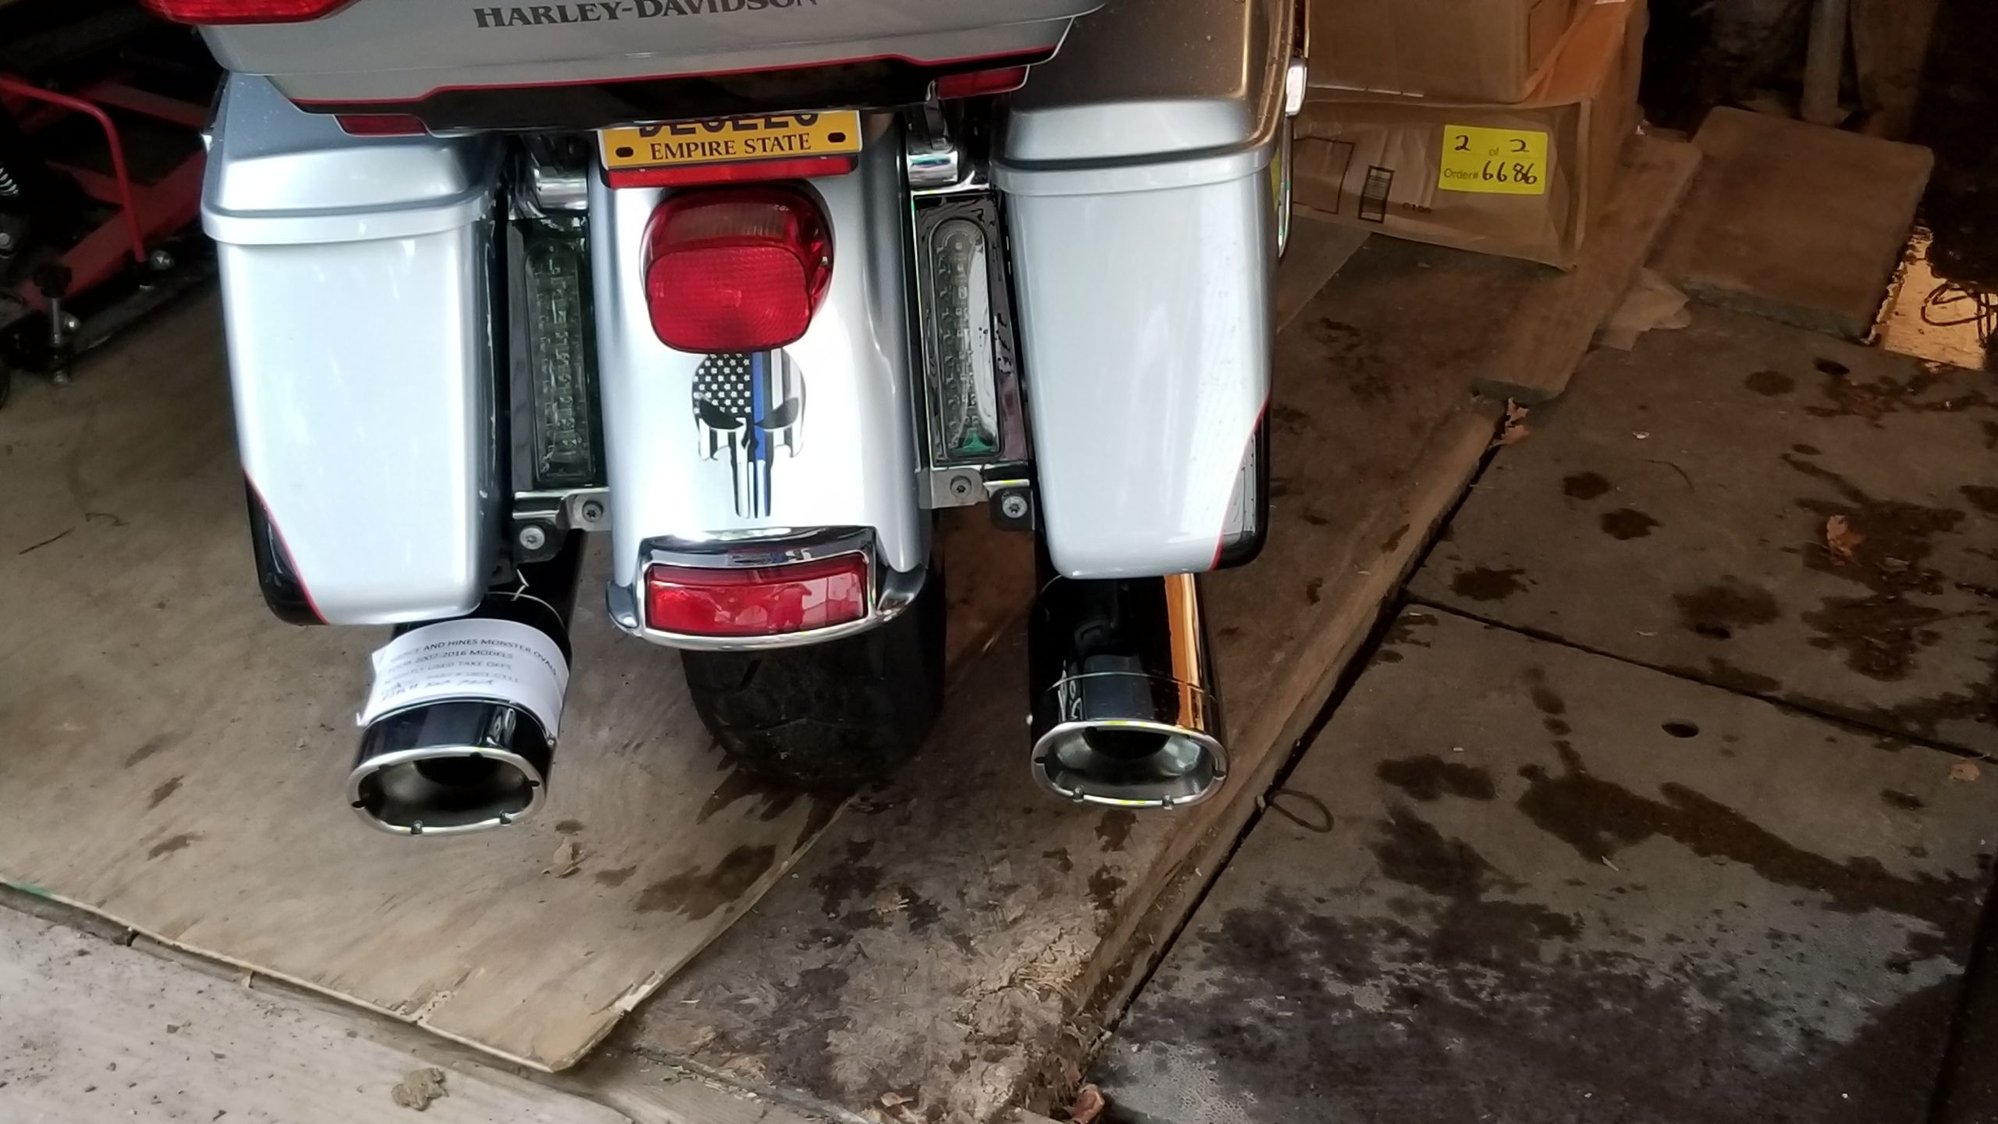
Rainy day project here in New Jersey, I decided to install my new Monster Ovals and share a few photos and tips:
TWO short Videos here:
http://s190.photobucket.com/albums/z...t=MVI_0642.flv
http://s190.photobucket.com/albums/z...t=MVI_0648.flv

These Cans are HUGE and HEAVY too!
-

The first thing I did was pull off the end caps and reverse them, using lock-tite on the two allen head screws. The Caps have holes on both sides so you can use the same cap on the same pipe but the pipe itself only has two holes. Just turn the cap over (if desired) and reinstall it.
-

The Mufflers come with complete hardware and V&H even supplies new muffler "clamps" which was a nice surprise. I hear you should never reuse muffler clamps.
-

The stock factory mufflers have an indented part to clear the axle nut and movement.
-

V&H changed the 2009 Monsters by either relocating the rear bracket and / or cutting the heat shield so it doesn't interfere.
-

The rear bracket is replaced with the V&H supplied one, only the rubber is retained. You can see the heat shield located to clear the axle nut.
-

The hardest part of the installation is getting these pipes straight. They said to tighten the rear nuts first then do the muffler clamps. I myself first tightened the muffler clamps half way to help hold alignment then I used two extra people to assist me. One I had sit on the bike and hold it upright straight and the other person about 12 feet behind the bike to look at the alignment while I adjusted the mufflers and did the final tightening. At this point I lock-tited the rear bolts and tightened them completely and then moved to the muffler clamps and tightened them completely.
-

Before replacing your saddlebags or starting your bike, first be sure to wipe the pipes, heat shields and head pipes down with rubbing alcohol to remove any finger prints or oils which could permanently stain the chrome.
-

They sound AWESOME!
-

-

TWO short Videos here:
http://s190.photobucket.com/albums/z...t=MVI_0642.flv
http://s190.photobucket.com/albums/z...t=MVI_0648.flv

These Cans are HUGE and HEAVY too!
-

The first thing I did was pull off the end caps and reverse them, using lock-tite on the two allen head screws. The Caps have holes on both sides so you can use the same cap on the same pipe but the pipe itself only has two holes. Just turn the cap over (if desired) and reinstall it.
-

The Mufflers come with complete hardware and V&H even supplies new muffler "clamps" which was a nice surprise. I hear you should never reuse muffler clamps.
-

The stock factory mufflers have an indented part to clear the axle nut and movement.
-

V&H changed the 2009 Monsters by either relocating the rear bracket and / or cutting the heat shield so it doesn't interfere.
-

The rear bracket is replaced with the V&H supplied one, only the rubber is retained. You can see the heat shield located to clear the axle nut.
-

The hardest part of the installation is getting these pipes straight. They said to tighten the rear nuts first then do the muffler clamps. I myself first tightened the muffler clamps half way to help hold alignment then I used two extra people to assist me. One I had sit on the bike and hold it upright straight and the other person about 12 feet behind the bike to look at the alignment while I adjusted the mufflers and did the final tightening. At this point I lock-tited the rear bolts and tightened them completely and then moved to the muffler clamps and tightened them completely.
-

Before replacing your saddlebags or starting your bike, first be sure to wipe the pipes, heat shields and head pipes down with rubbing alcohol to remove any finger prints or oils which could permanently stain the chrome.
-

They sound AWESOME!
-

-


Thread
Thread Starter
Forum
Replies
Last Post
Cali48
Sportster Models
10
10-28-2016 10:43 PM
skully1200
Touring Parts
11
07-23-2013 08:38 PM


