
Inner fairing removal
#1
 04-12-2008, 04:20 PM


#4
04-12-2008, 05:17 PM
Extreme HDF Member
Creep, my '04 HD SM explains how to remove the ignition switch:
To remove the ignition switch ****, insert the ignition Switch key and turn to the UNLOCK position. Leaving the key installed, rotate the **** to ACCESS. Depressing the release button at bottom (inside left side of ****) with a small screwdriver, push key down and turn an additional 60 degrees in a counter-clockwise direction. Lift and remove ****.
Other than removing the ignition switch, the rest of the job of removing the inner fairing is very straightforward, but tedious, requiring no special tools.
I did mine using the Service Manual and encourage youto do likewise. Rollentiger did his w/o the SM; perhaps you can PM him for tips.
Alternatively, stop by your HD store's Service Department and ask to photocopy the pages from the appropriate SM--my dealer is very good about doing this.
However, buying the SM for a project like this is the better option.
#6
04-12-2008, 07:27 PM

#7
04-13-2008, 01:06 AM

Tourer
Join Date: Jul 2007
Location: Williamston, SC
Posts: 398
Likes: 0
Received 0 Likes
on
0 Posts
Hey Creep,
Did you get the instructions yet, just got home from a few days visiting our son at the Citadel in Charleston, SC, he had duty starting at 8:00 PM tonightand all day tomorrow so we left as he was going to his duty. 4 to 5 hour drive home from there.
If you still need them PM me and I'll type them upfor you. Sorry I wasn't in earlier today or I'd have gotten it for you.
Check out Color-Rite paint, they gave me a good deal on my paint and accessories for painting my fairing, call Steve in the West Coast office, great guy. he will ship from there or the East coast office which ever is cheapest.
Mines GLACIER WHITE PEARL and the color was perfect. You can get it all from them too, that way same product so it guaranteed to bond. The guy told me I could use the flex paint but really not needed on a fairing, not as much movement as in a car fender or something like that. Main thing is once you start paint with the primer, you don't stop till you have everything including clear coats on. They gave me detailed instruction of what first, how long between coats and how long between different steps in the painting, mine was primer two coats, base (white) two coats, second step paint (clear but it turned the gold pearl as it went on) two and a half coatsand then clear coat two to three coats. You can also get the cleaner from them to go with their paint for removing grease or fingerprints. You need to do a sample panel before starting the fairing, need to figure out how many coats of each step paint to put on so it turns the right tint, one to many and it will be to much gold or one to less and it will be mainly white, also to know how long it takes to dry hard. Number of clear coats is important also to get the correct finish so it matches your bikes finish. It's about 10 to 15 minutes between coats and 30 to 45 minutes between steps. Wait 3 to 5 days before Assembly or buffing and 5 days more for waxing.
If you want me to I can send you the instructions sheets, I purchased 2 rattle-cans of each which cam to between $ 200 to $ 225 for it all, rattle-cans works great for the fairing and still have 3/4 to 1/2 can left of each item. I already had the 400 grit w/d sand paper.
It's not to bad, just time consuming taking all the stuff loose and back on, I changed out my handle bars to the pull back ones along with cables, I went with the black cables to help give more contrast with all the white and it ended up looking pretty good if I have to say so myself. I'll post some pictures once I get it all back on and ready to ride.
Let me know if you still need the instructions, I could copy them and fax them to you if that would help. You about to get finished up with your winter mods yet? Didn't you post that you are removing the flames on "the beast"? Man, it looks super.
Sorry for the long post but trying to fill you in on everything I could remember about it, I started taking pictures but you know how that is sometimes, work get in the way of pictures and wanting to ride. Be safe.
Trending Topics
#8
04-13-2008, 01:23 AM
Thanks mllkn6, mostly just needed to know how to remove the switch. I have had the outer fairing off a hundred times, installed a radio and gauges so I have looked around to see what it takes to get it off. I have some paint left over from painting my fender tip and it turned out so well I thought about attempting this project myself. Have a buddy who paints so I could get some help if needed. I just don't know if it is worth the effort being such a dark color it won't "pop" like a white bike.. plus it going to be warm next week and wanna ride! I also need to watch my cash cause I need a new tire soonso I just can't decide.
Winter projects are about done. Recently added solo seat, removed the flames, andadded SG passenger pegs. I am still waiting on my licience plate frame, pillion pad, and misc bolts/nuts.
Bought the bike 9-04-07 used like this
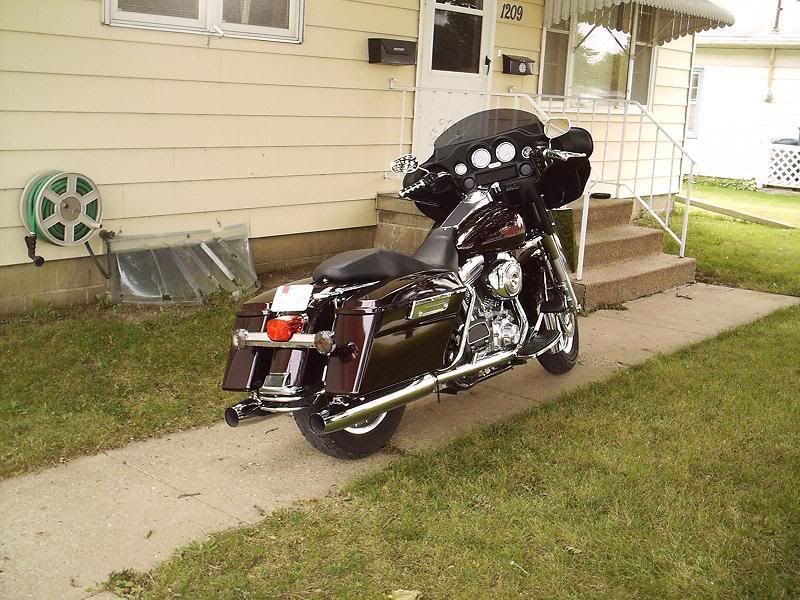

Now looks like the photos in my sig. Been a long winter
Winter projects are about done. Recently added solo seat, removed the flames, andadded SG passenger pegs. I am still waiting on my licience plate frame, pillion pad, and misc bolts/nuts.
Bought the bike 9-04-07 used like this
Now looks like the photos in my sig. Been a long winter
#9
04-13-2008, 01:28 AM
Outstanding HDF Member
ORIGINAL: Harleypingman
Creep, my '04 HD SM explains how to remove the ignition switch:
To remove the ignition switch ****, insert the ignition Switch key and turn to the UNLOCK position. Leaving the key installed, rotate the **** to ACCESS. Depressing the release button at bottom (inside left side of ****) with a small screwdriver, push key down and turn an additional 60 degrees in a counter-clockwise direction. Lift and remove ****.
Other than removing the ignition switch, the rest of the job of removing the inner fairing is very straightforward, but tedious, requiring no special tools.
I did mine using the Service Manual and encourage youto do likewise. Rollentiger did his w/o the SM; perhaps you can PM him for tips.
Alternatively, stop by your HD store's Service Department and ask to photocopy the pages from the appropriate SM--my dealer is very good about doing this.
However, buying the SM for a project like this is the better option.
#10
04-13-2008, 03:13 AM
Tourer
Join Date: Jul 2007
Location: Williamston, SC
Posts: 398
Likes: 0
Received 0 Likes
on
0 Posts
Right out of the book:
1. Big Hammer and lots of JB Weld. Just joking, couldn't help myself.
OK
1. Remove MAXI-FUSE. (Like you need this)
2. Remove the ignition switch **** as follows:
a. Insert the key and turn to the UNLOCK position. Leave key in ignition.
b. Turn forks to the left stop and rotate the know to FORK LOCK.
c. Depressing the release button at bottom (left side) with a small screwdriver, push key down and turn 60 degrees in a counterclockwise direction.
d. Lift and remove ****. Be aware that spring will drop out of bore at underside of **** when removed.
3. Turn the forks to the right stop, using 7/8" wrench on the flats, remove nut from threaded post of ignition switch housing.
4. Pull collar and spacer from threated post. Pay close attention as to how the collar, spacer, and nut looks before removal as they need to be installed in the same way when reinstalling.
5. Remove the switch position plate by pulling tabs from slots in fairing cap. Be careful as tabs are small and may break easily when reinstalling.
6. Fairing cap can now be removed, remove one screw on each side of forks.
7. Pulling fairing cap up to unhook electrical connection behind cap.
8. Rotate top of cap back and lift off.
Reinstalling switch:
9. Install cap, switch plate, collar, spacer and nut exactly as removed.
10. Install spacer first over threaded post, Orient spacer so that the widest side is forward and the inside tabs fit in slots of post.
11. Slide collar over threaded post so that the outside tabs is forward and the inside tabs fits in the post.
12. Install threaded nut onto post with the lipped side down and the smaller OD topside. Tighten nut to 125-150 in-lbs.
13. Install spring into bore at underside of ****.
14. With **** pointing toward FORK LOCK position, insert shaft into threaded Post. Holding the **** down turn key clockwise to UNLOCK. An audible "click" should be heard when **** and switch are properly engaged. Release **** and then rotate through all 4 switch positions to verify proper operation.
If not working properly:
a. Verify that button at bottom of **** is depressed and key is turned 60 degrees beyond the UNLOCK position.
Repeat step 14.
b. If **** does not install properly see below.
15. **** was removed in access or switch may have been moved out of the FORK LOCK position. Proceed as follows:
a. Insert alignment tool until bottom of handle contacts top of threaded post, and holding front fork at the left stop, rotate handle of tool in a counterclockwise direction until fork lock.
b. Remove tool and repeat step 14.
c. If **** does not install properly, move to step 16.
16. Detect and switch position lugs are misaligned. This can occur when the alignment tool is rotated before it is properly bottomed in the ignition switch housing. See below:
a. Reinstall **** inserting shaft into threated post and gently rotate **** until it drops into the partially installed position. Take note of the position of the ****, that is whether it is pointing toward the rear, or to ACCESS, IGNITION or OFF.
b. Remove **** and insert alignment tool so that the bottom of the handle is approximately 1/2 - 3/4" from the top of the threaded post, and then hold.
c. Rotate alignment tool in a counterclockwise direction the number of positioned needed to get to FORK LOCK. For example, if the **** dropped into the partially installed position at IGNITION in step 16(a), rotate the alignment tool two position in a counterclockwise direction or oneposition in a clockwise direction.
Repeat step 14.
That's it, hope you understand all this especially the last parts, I typed it but I didn't.
Good Luck, man, your bike looks great. Hope it work out for you, I don't think you can go wrong with painting the fairing n