
"DIY MODS" and TRICKS to SAVE $$$$$$
#1931
 12-21-2016, 02:33 PM


One more stupid GDO post.
In the past I had used relays and a highbeam flash to trigger my GDO- I have changed up my headlight and spot wiring where I wanted to change this scheme.
Rather than add more wiring, relays and crap under the fairing-I looked for a different approach.
I wired in a mini momentary pushbutton switch and 8" wire to my transmitter.
and mounted it in my left fairing lower glove box.
I drilled a mounting hole for the switch just inboard of the drain hole
I push the button with the top of my left boot
the transmitter ( still on battery) is in the glove box.
easy enough, cost maybe $1...i already had the switch.
I chose the mounting position by putting talc on the top of my left boot, as i approached my drive way I tapped the top of my boot at the underside of the glove box- the talc marked my mounting location for the switch
Mike
The following 2 users liked this post by mkguitar:
ABQ-Jammer (05-07-2018),
YukonSLT (08-27-2018)
#1932
12-22-2016, 08:42 AM
#1933
12-29-2016, 07:31 PM
Thanks, all tig welded, polished and clear coated. Thought about sending it out to be chromed, but liked the natural look better. Haven't seen another like it lol
Yours looks great too. Think I would have bent the fingers to look like it was grabbing the lever, but still pretty good looking.
Yours looks great too. Think I would have bent the fingers to look like it was grabbing the lever, but still pretty good looking.
#1934
01-09-2017, 08:35 PM


https://www.hdforums.com/forum/exhau...l#post15824852
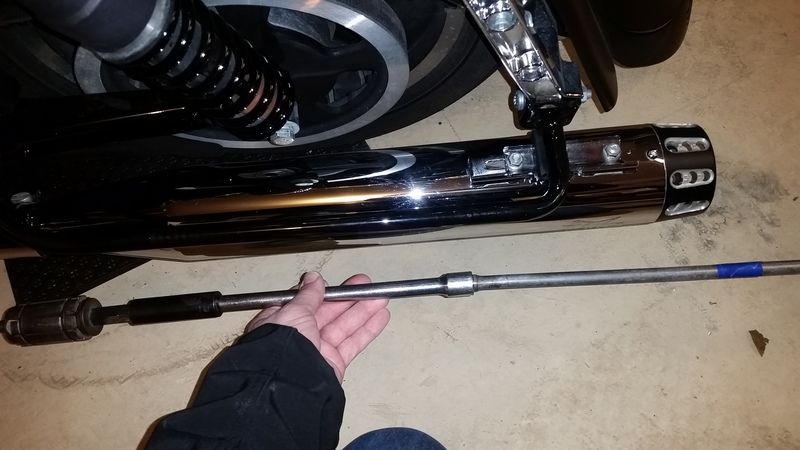
bought a set of used pipes on the forum, and the previous owner had stripped out all the bolts.
get an "exhaust expander", and enough extensions to reach all the way up the pipe.

put some blue masking tape to mark how deep you have it inserted:
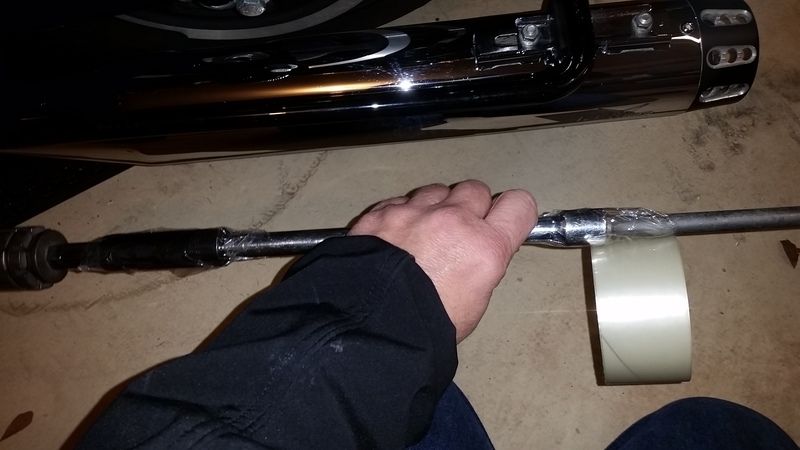
tape the whole assembly together, then give it another wrap of packing tape, to make SURE you can pull it back out. (the vanes in the baffles will hang it up)
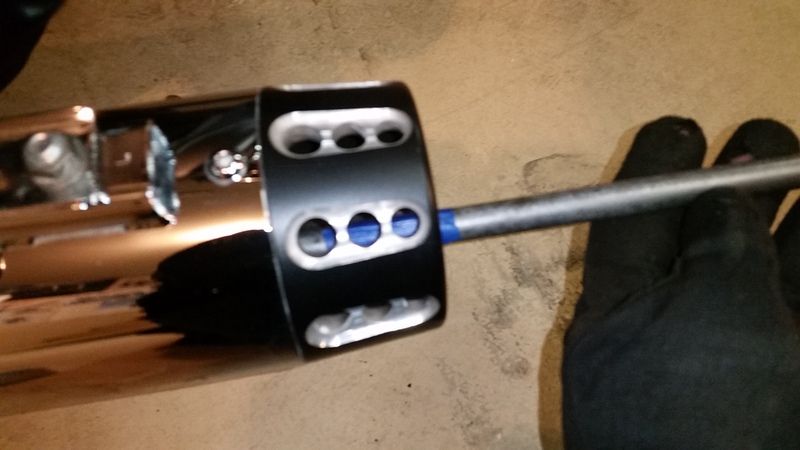
take NOTICE of the snap dot that holds the extension on the impact: this lets you know how much you are TIGHTENING the expander.
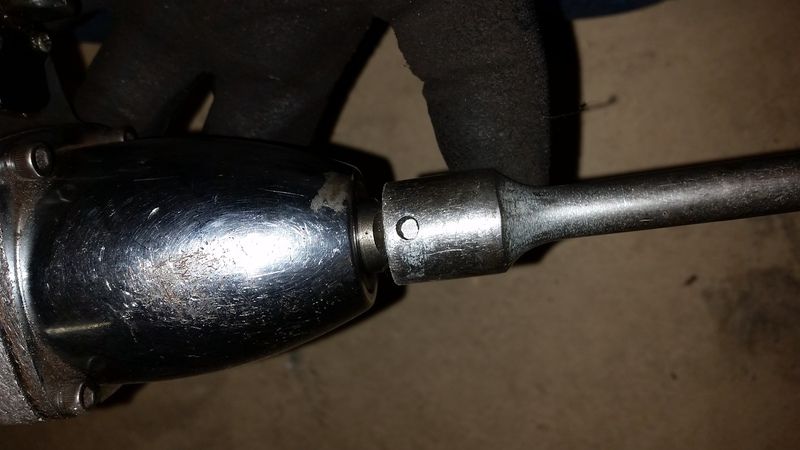
ok, so what's the deal with watching the snap dot? the trick is...you watch that when you LOOSEN it...because if you loosen it too much..it SPINS apart INSIDE the pipe. that's if you have the CHEAP expander. the good expander has a Snap ring on the end, that keeps it from spinning apart:
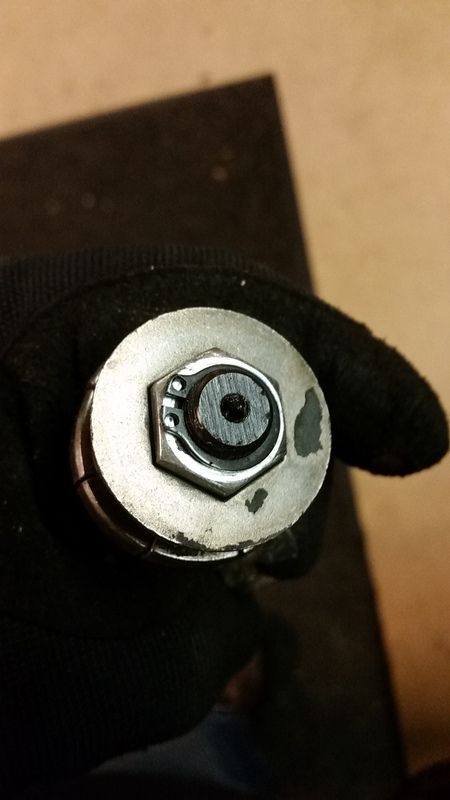
assembled, after use:
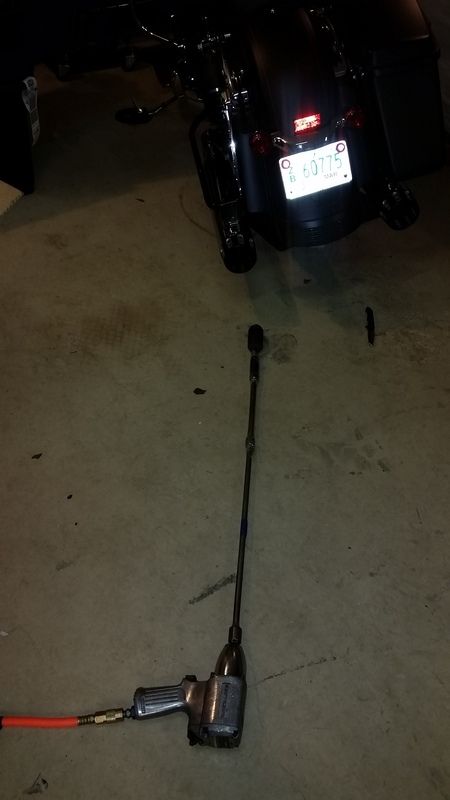
blue "locating" tape showing how deep I had to go in:
I had to do it twice, and go tighter than I thought, but I got the pipes to quit rattling.
get an "exhaust expander", and enough extensions to reach all the way up the pipe.

put some blue masking tape to mark how deep you have it inserted:

tape the whole assembly together, then give it another wrap of packing tape, to make SURE you can pull it back out. (the vanes in the baffles will hang it up)

take NOTICE of the snap dot that holds the extension on the impact: this lets you know how much you are TIGHTENING the expander.

ok, so what's the deal with watching the snap dot? the trick is...you watch that when you LOOSEN it...because if you loosen it too much..it SPINS apart INSIDE the pipe. that's if you have the CHEAP expander. the good expander has a Snap ring on the end, that keeps it from spinning apart:

assembled, after use:

blue "locating" tape showing how deep I had to go in:

I had to do it twice, and go tighter than I thought, but I got the pipes to quit rattling.


#1937
02-15-2017, 03:30 PM
#1938
02-16-2017, 06:04 PM
Road Captain
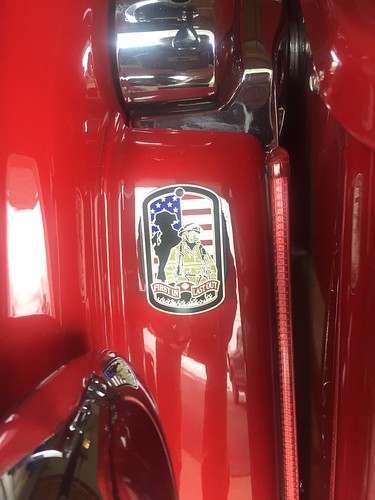
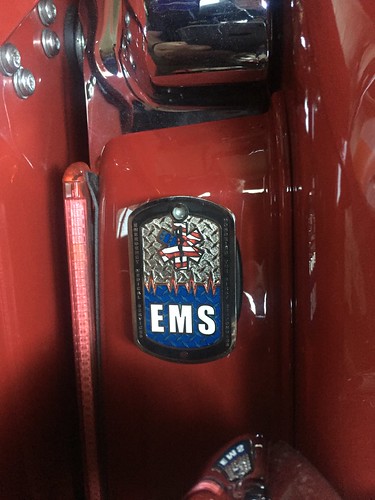
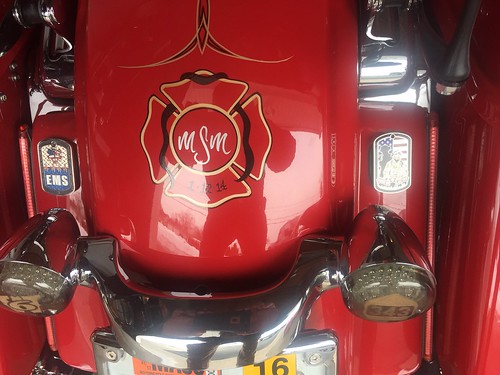
Wanted to cover the black grommets on the rear of my FLHX. So I found the HD dog tags for Firefighters and EMS and mounted them on the grommets and now I have nice covers for the grommets that goes with the theme of my bike
by https://www.flickr.com/photos/26863251@N02/, on Flickr
by https://www.flickr.com/photos/26863251@N02/, on Flickr
by https://www.flickr.com/photos/26863251@N02/, on Flickr
The following 3 users liked this post by harleyfiremedic:
#1939
02-17-2017, 07:19 AM

Road Captain
The following users liked this post:
harleyfiremedic (02-19-2017)
#1940
02-18-2017, 08:00 PM
So I upgraded my head pipe to a Fuel Moto and bought the Harley ceramic heat shields but couldn't find a set of slip-ons I liked so, here's my DYI cheap idea. I don't mind the sound with the new head pipe and the factory mufflers so I cleaned them well with alcohol and went to the parts store. Found Duplicolor makes a high temp black in multiple levels of flat that contains ceramic in it. I found the right flat to match the heat shields, taped off the ends to leave a little chrome and sprayed them. I thounk they match well and look good, only question is how long it lasts but for 6.99 worth of paint we will see!
The following users liked this post:
04ctd (02-19-2017)