
"DIY MODS" and TRICKS to SAVE $$$$$$
#1421
 12-19-2013, 07:22 PM

Intermediate
Join Date: Oct 2013
Location: Maine
Posts: 38
Likes: 0
Received 0 Likes
on
0 Posts
I used a handlebar clamp mount and then picked up the arm and Garmin Nuvi cradle for my particular unit.
More info at
http://www.rammount.com/Products/Mot...Default.aspx#/
More info at
http://www.rammount.com/Products/Mot...Default.aspx#/
#1422
12-19-2013, 07:40 PM
Tourer
The following users liked this post:
Peanuthead (07-13-2016)
#1423
12-23-2013, 11:45 AM

6th Gear
Join Date: Aug 2013
Location: Arizona
Posts: 10
Likes: 0
Received 0 Likes
on
0 Posts
The answer is yes, you can put tweeters there. But , you'll have to put a 1" hole where the fairing mirrors were.
I did it.
As far as being reversable, yep, you can do putthe fairing mirros back ontoo. I did that too, as I decided that i didn't like the mirrors on the controls either. So I used a stick of the moldable JB weld ( yeah, that's right I saidi t, JB WELD,) ;-) to fill in the hole's and re-drilled and mounted the fairing mirros back on. Left the the tweeters flush mount bezels there too.
Here's before and afrter pics of the tweets mounted where the fairing mirrors were and then re-located to the upper fairing using the surface mounts.
( The Memphis Tweeters include 3 different mounting options. :-)
[IMG]local://upfiles/14102/47E0ADC8D97D4786A82A489D7B80E4C0.jpg[/IMG]
[IMG]local://upfiles/14102/514CBB4CE28E42AE9DD780CE9BDF14B2.jpg[/IMG]
[IMG]local://upfiles/14102/75C7E6EBBB5741BE892AF445DB2D97CF.jpg[/IMG]
#1424
12-23-2013, 10:27 PM
Cruiser
#1426
12-28-2013, 08:03 PM
first, here's a little secret that could help you save some cash: Searsoutlet dot com. The outlet sight allows you to check stores all over your area for some pretty serious potential savings. My most recent deal was the Craftsman 1500lb aluminum (yellow) motorcycle jack talked about all over this forum. Current retail is $200.00. I picked mine up for $139.00. Don't let the default "reconditioned" tag on many of the item pages fool you. Many are "reconditioned(new)" meaning they are probably returns and have never been used. In my case it was a return for an online purchase to a store that does not normally carry that item and cannot display it or resell as new. The box had never been opened. There were others - one as low as $59.00 but the 300 mile trip to Chicago didn't quite seem justified.
Next
OK late reply, but any link that includes "...local://upfiles..." was added to the site back when most any images could be hosted right here on the forums server. That changed (to reduce bandwidth usage I assume) and most images of any useful size need to be hosted by another service like Flickr, Photobucket, etc. Those old photos no longer exist here so the forum simply displays the old link information instead.
Last edited by basselope; 12-28-2013 at 08:40 PM.
#1427
12-29-2013, 02:37 AM
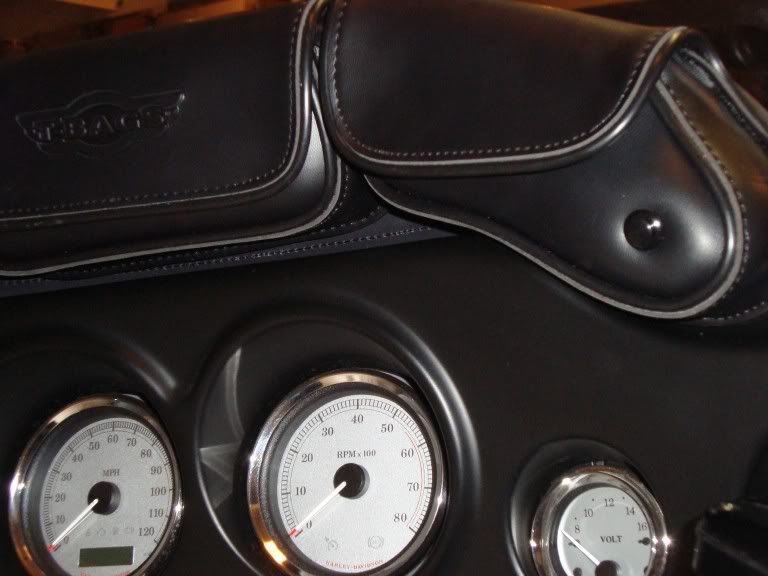
I didn't want my opener to be a permanent fixture on the bike because I like to use it in my car during the winter. This is a quick mod on a windshield bag, as the fellas that have them know the corners of the outside pockets are almost worthless. This is a good way to use that space. I will skip the parts on how to wire up the remote.
1 - Figure out what size your momentary switch will be
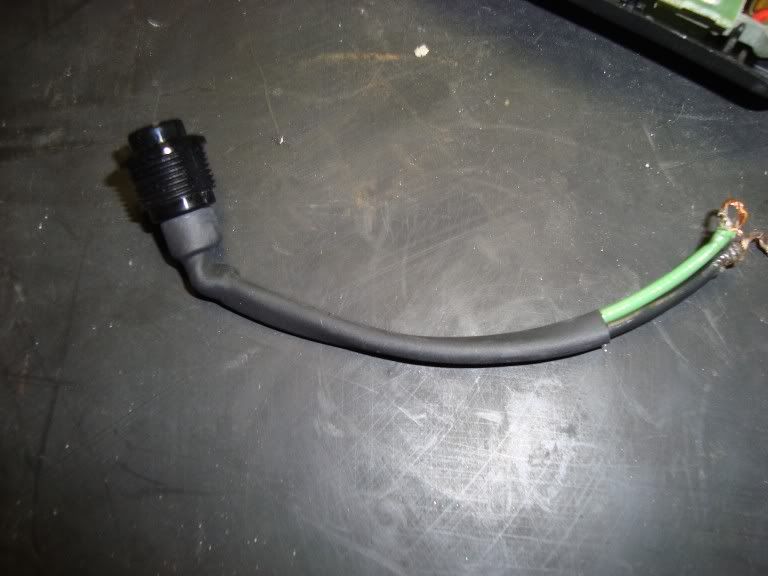
2 - Find a ferrel about the same size
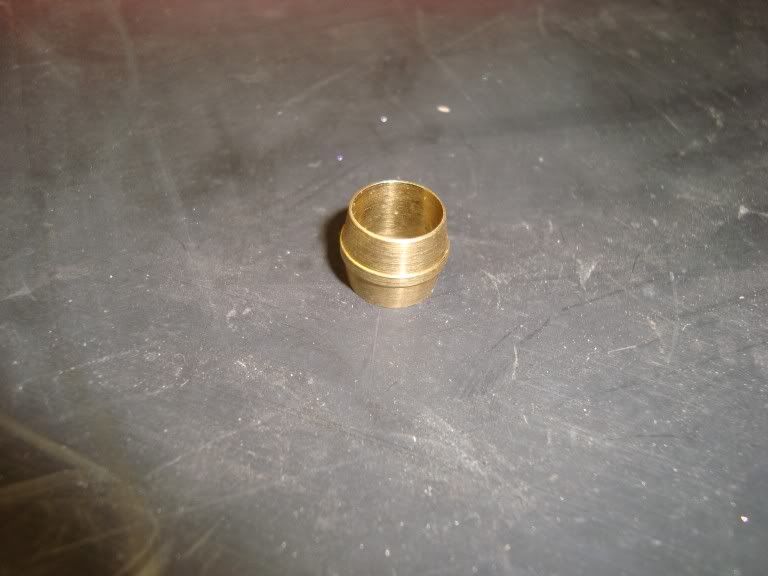
3 - Use a 6in C-clamp and the correct size ferrel to make a hole in the windshield bag
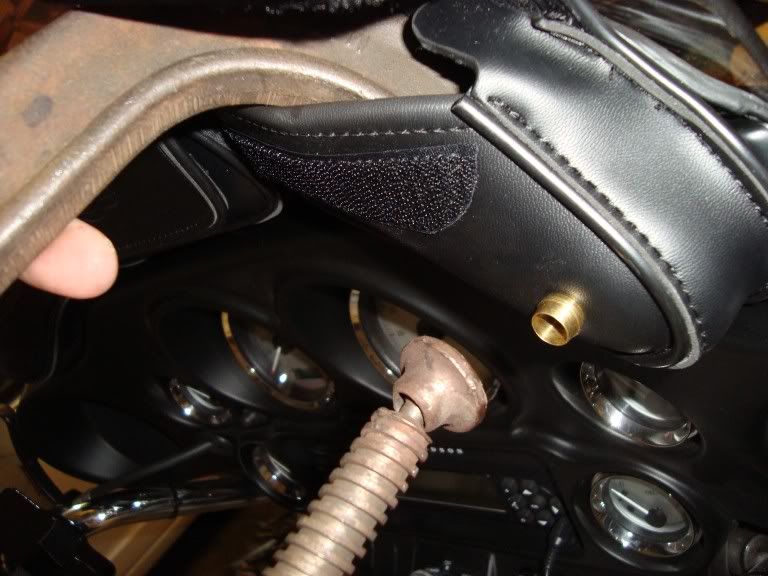
4 - Shove the momentary switch and wires in the hole. Attach retaining nut on the backside (ask the ole lady for help if she has smaller hands).
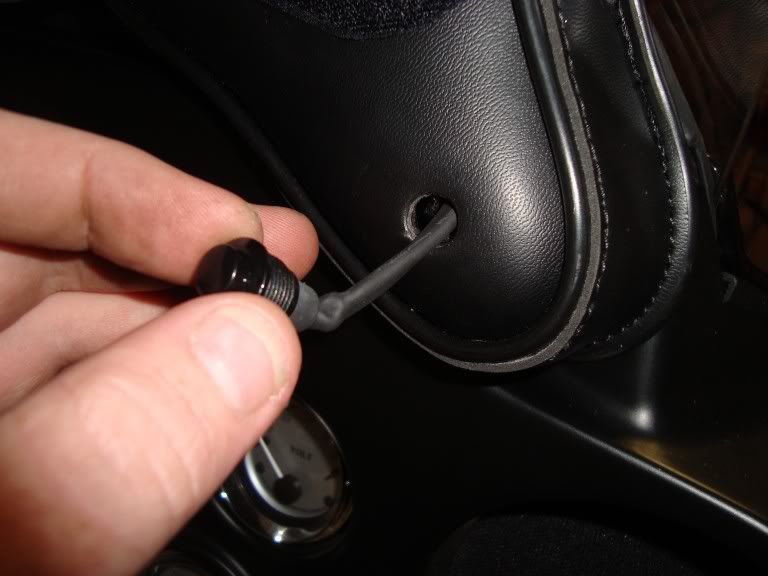
5 - Attach the male end of the connector to the wires from the momentary switch.
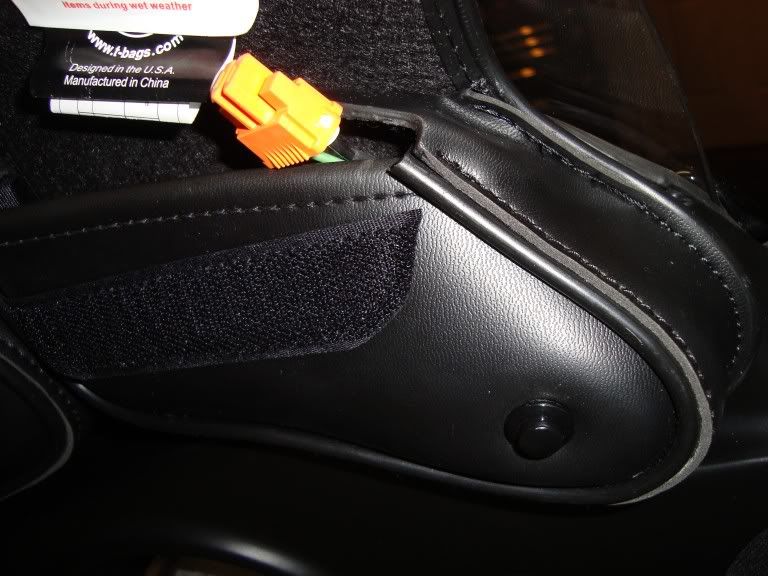
6 - Plug the two connectors together
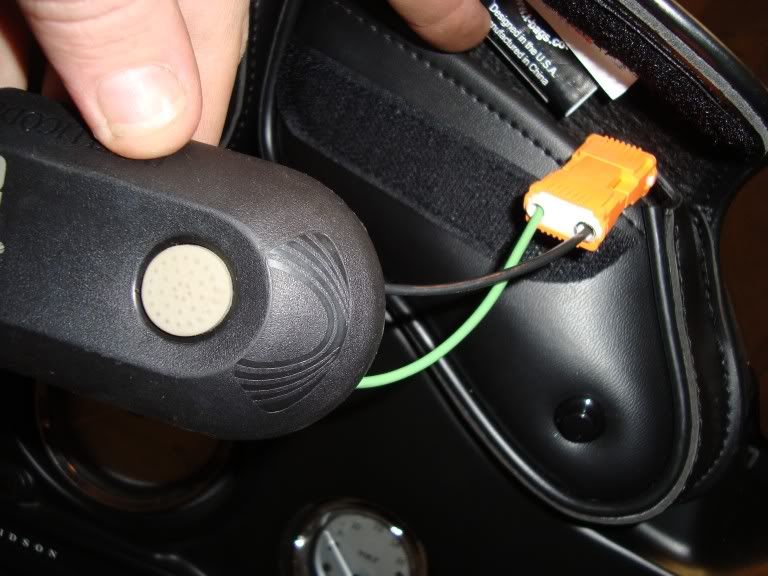
7 - Tuck the whole set up into the pocket. The remote is easily removable for use in the car, change batteries or for security reasons.
Sorry to take part in the beating of the GDO. I have spent the last week reading all 93 pages of this thread and hadn't noticed anyone go this route. Great forum and I hope that I can contribute to the info.
1 - Figure out what size your momentary switch will be
2 - Find a ferrel about the same size
3 - Use a 6in C-clamp and the correct size ferrel to make a hole in the windshield bag
4 - Shove the momentary switch and wires in the hole. Attach retaining nut on the backside (ask the ole lady for help if she has smaller hands).
5 - Attach the male end of the connector to the wires from the momentary switch.
6 - Plug the two connectors together
7 - Tuck the whole set up into the pocket. The remote is easily removable for use in the car, change batteries or for security reasons.
Sorry to take part in the beating of the GDO. I have spent the last week reading all 93 pages of this thread and hadn't noticed anyone go this route. Great forum and I hope that I can contribute to the info.
#1429
12-30-2013, 04:08 PM

Advanced
Join Date: Dec 2013
Location: New Hampshire
Posts: 79
Likes: 0
Received 0 Likes
on
0 Posts

Scotch locks can promote corrosion. Ensure you use dielectric grease or silicone to seal the cut in the wire. A preceded method would be to cut, solder and heat shrink.
#1430
12-30-2013, 04:22 PM
Advanced
Join Date: Dec 2013
Location: New Hampshire
Posts: 79
Likes: 0
Received 0 Likes
on
0 Posts
Yes a shorter life span. If you hook 12volts to a 3volts item. You will most likely let the smoke out of the remote.