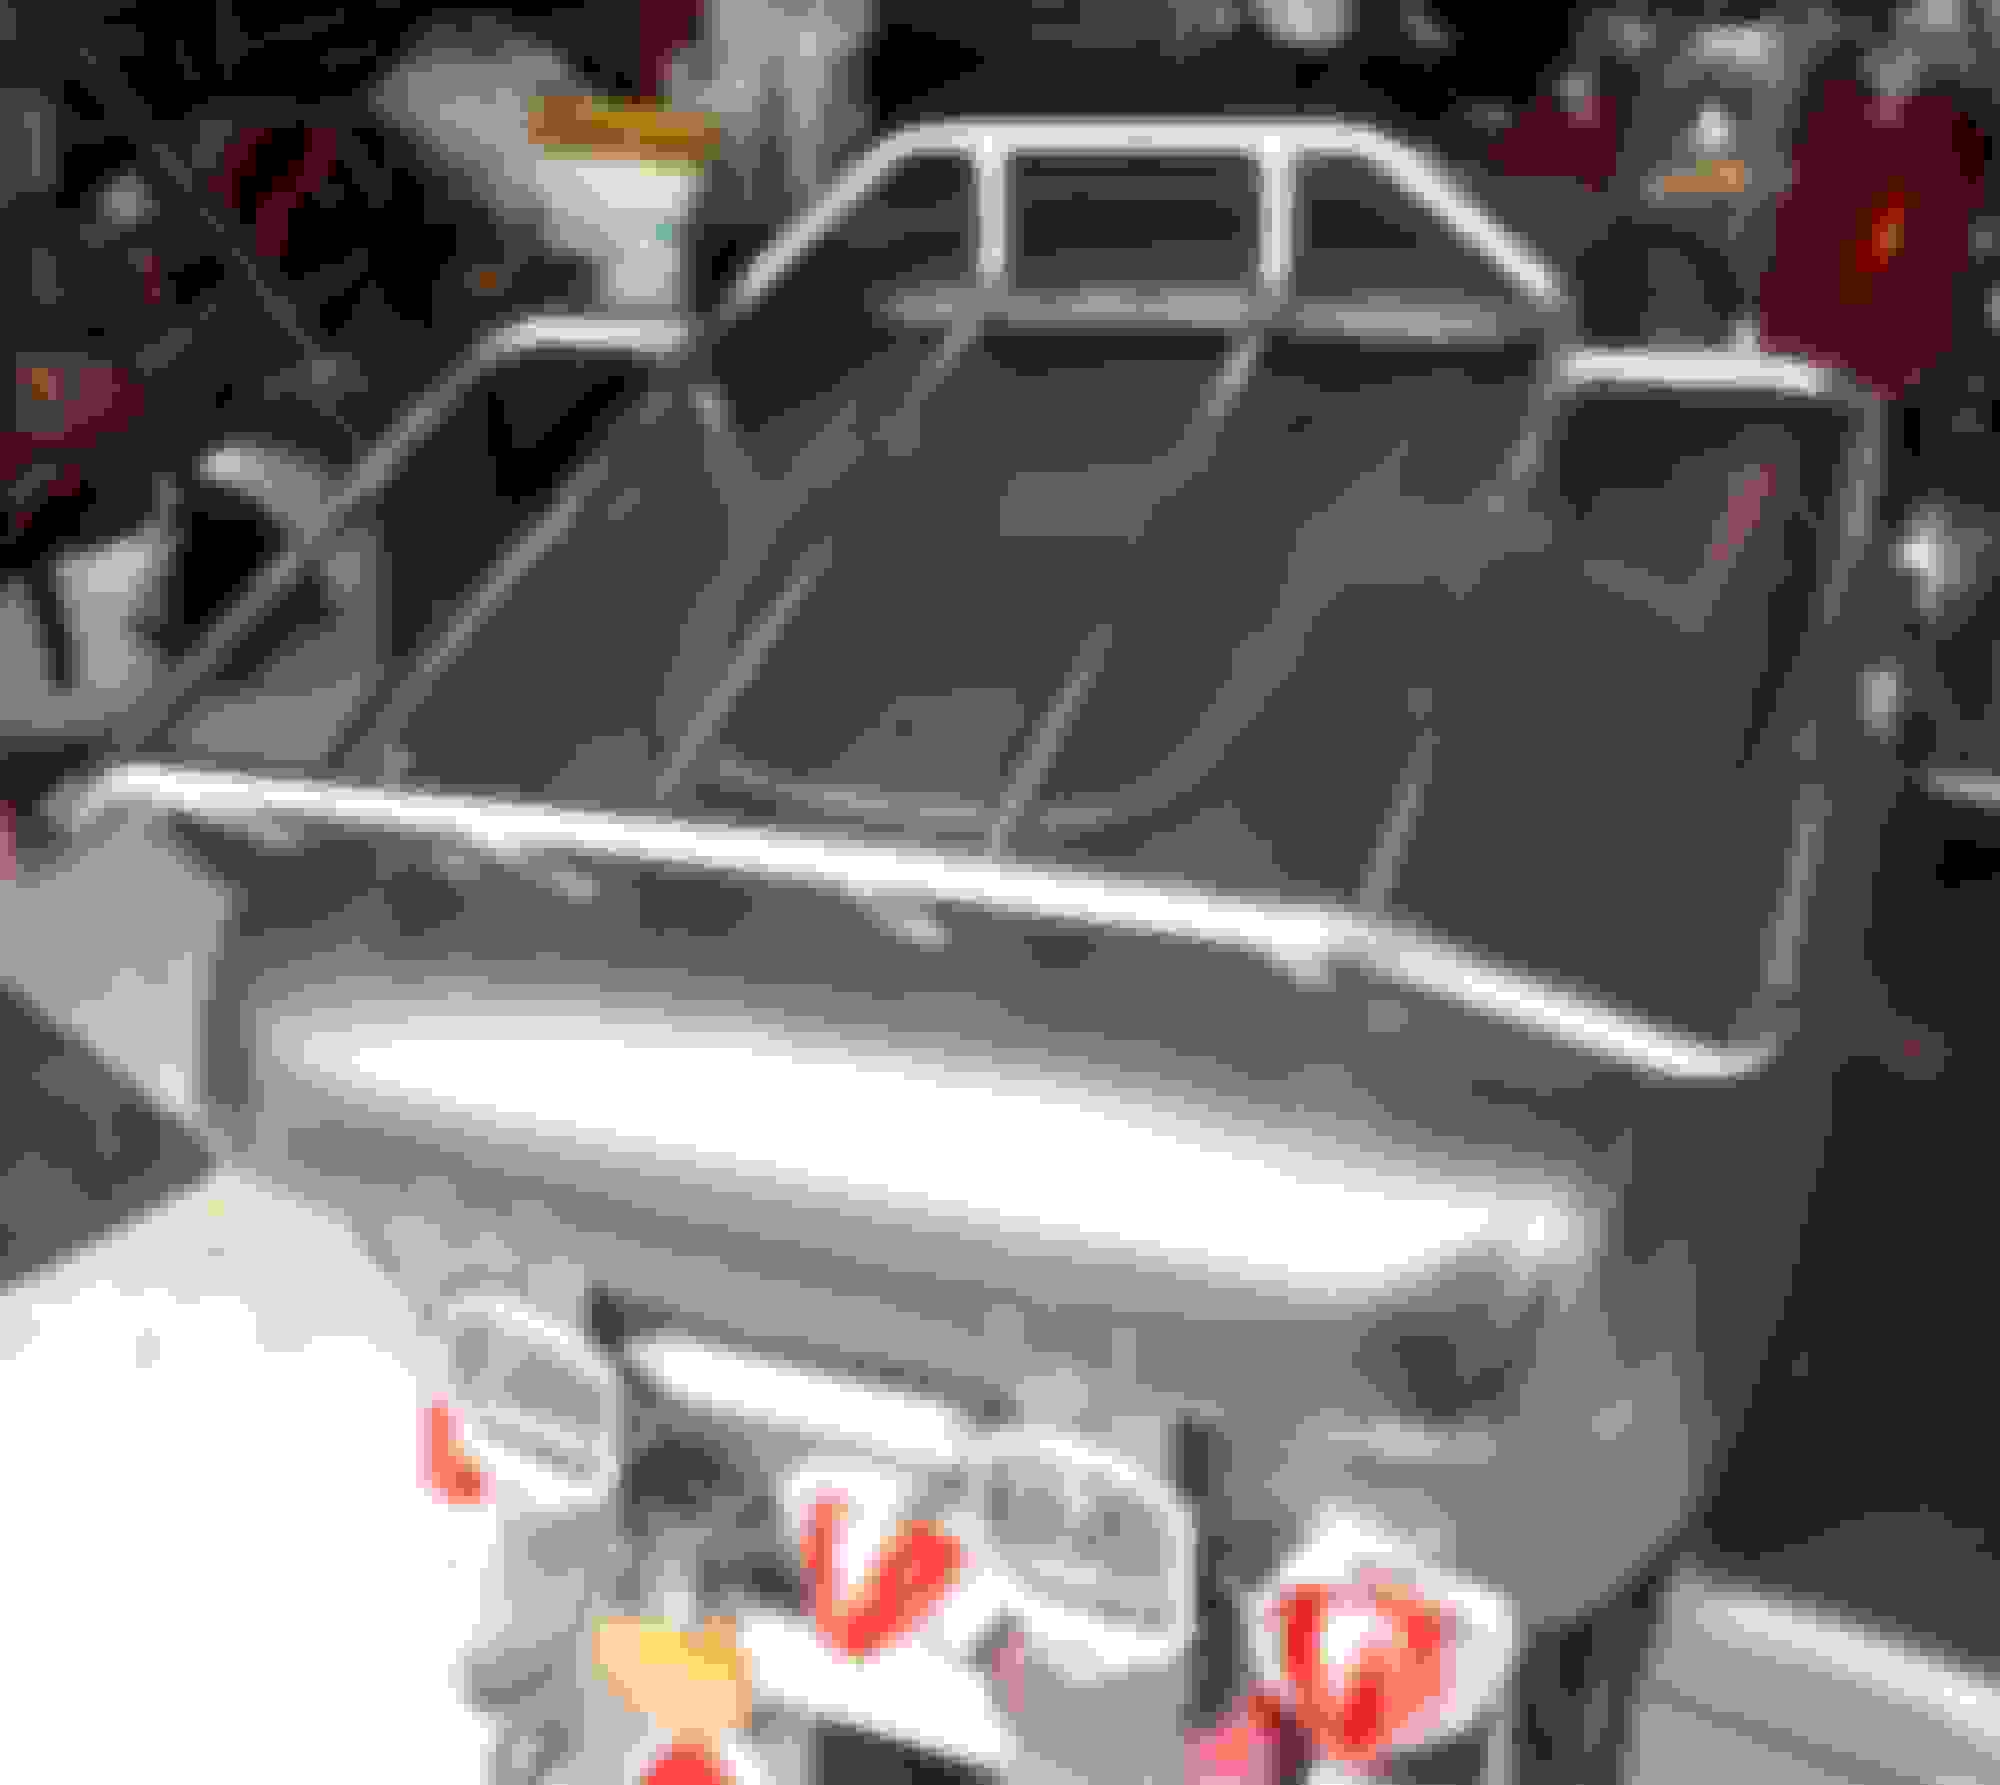
Was off work today and got all my jobs I wanted to get done, done early, so decided to mount this rack to my 2004 RKC Tour Pack. (I bought it probably 2 months ago from FortNine in Canada)
Drag Specialties Tour-Pak Luggage Rack - 1510-0163
I don't s see too many mounted to the Classic's, but thought I'd roll the dice and see how I made out. I don't really tour (not yet anyways) but there are times I'll want to pick up something larger than the inside of my TP on the way home. I live 35-45mins from work, so I just want to make the 1 trip at the end of the day, not go home and get the car. I digress.
Job was about an hour, hour-15 from start to finish as I really took my time.
Placed rack by eye, more or less center of lid. Measured. Measured again. Tweaked. Measured (you get the idea)
Then I put 4 tape X's under the 4 legs and marked 4 dots with a black marker.
I marked lines by joining the dots.
I used a teeny tiny drill bit for my initial 4 holes, then progressively larger bits in 4 stages as I was worried about ripping the leather.
I also changed out the original 4 tape "x"'s after drilling twice. I drilled full speed but with a very very light touch so the drill bit barely chewed very small
bits/pcs of leather, then plastic ,away from the hole.
I was going to use a <black> urethane blob of sealant under the washers (still may), but the rubber washers included were pretty good and thick/supple(sp?) so for now, just the rubber washers and the 4 plastic or metal(?) washer cups that the feet sit into were used.
I was also going to blue loctite the 4 bolts (10mm heads) (still may) but next job is to rig up a ham radio antenna attached to the rack with a NB or Canadian flag on it, so it's going to have to come apart again before the summer is out here. Inside the TP, I'll need to run a beefy (RF) ground wire from the rack, down to the frame of the bike.
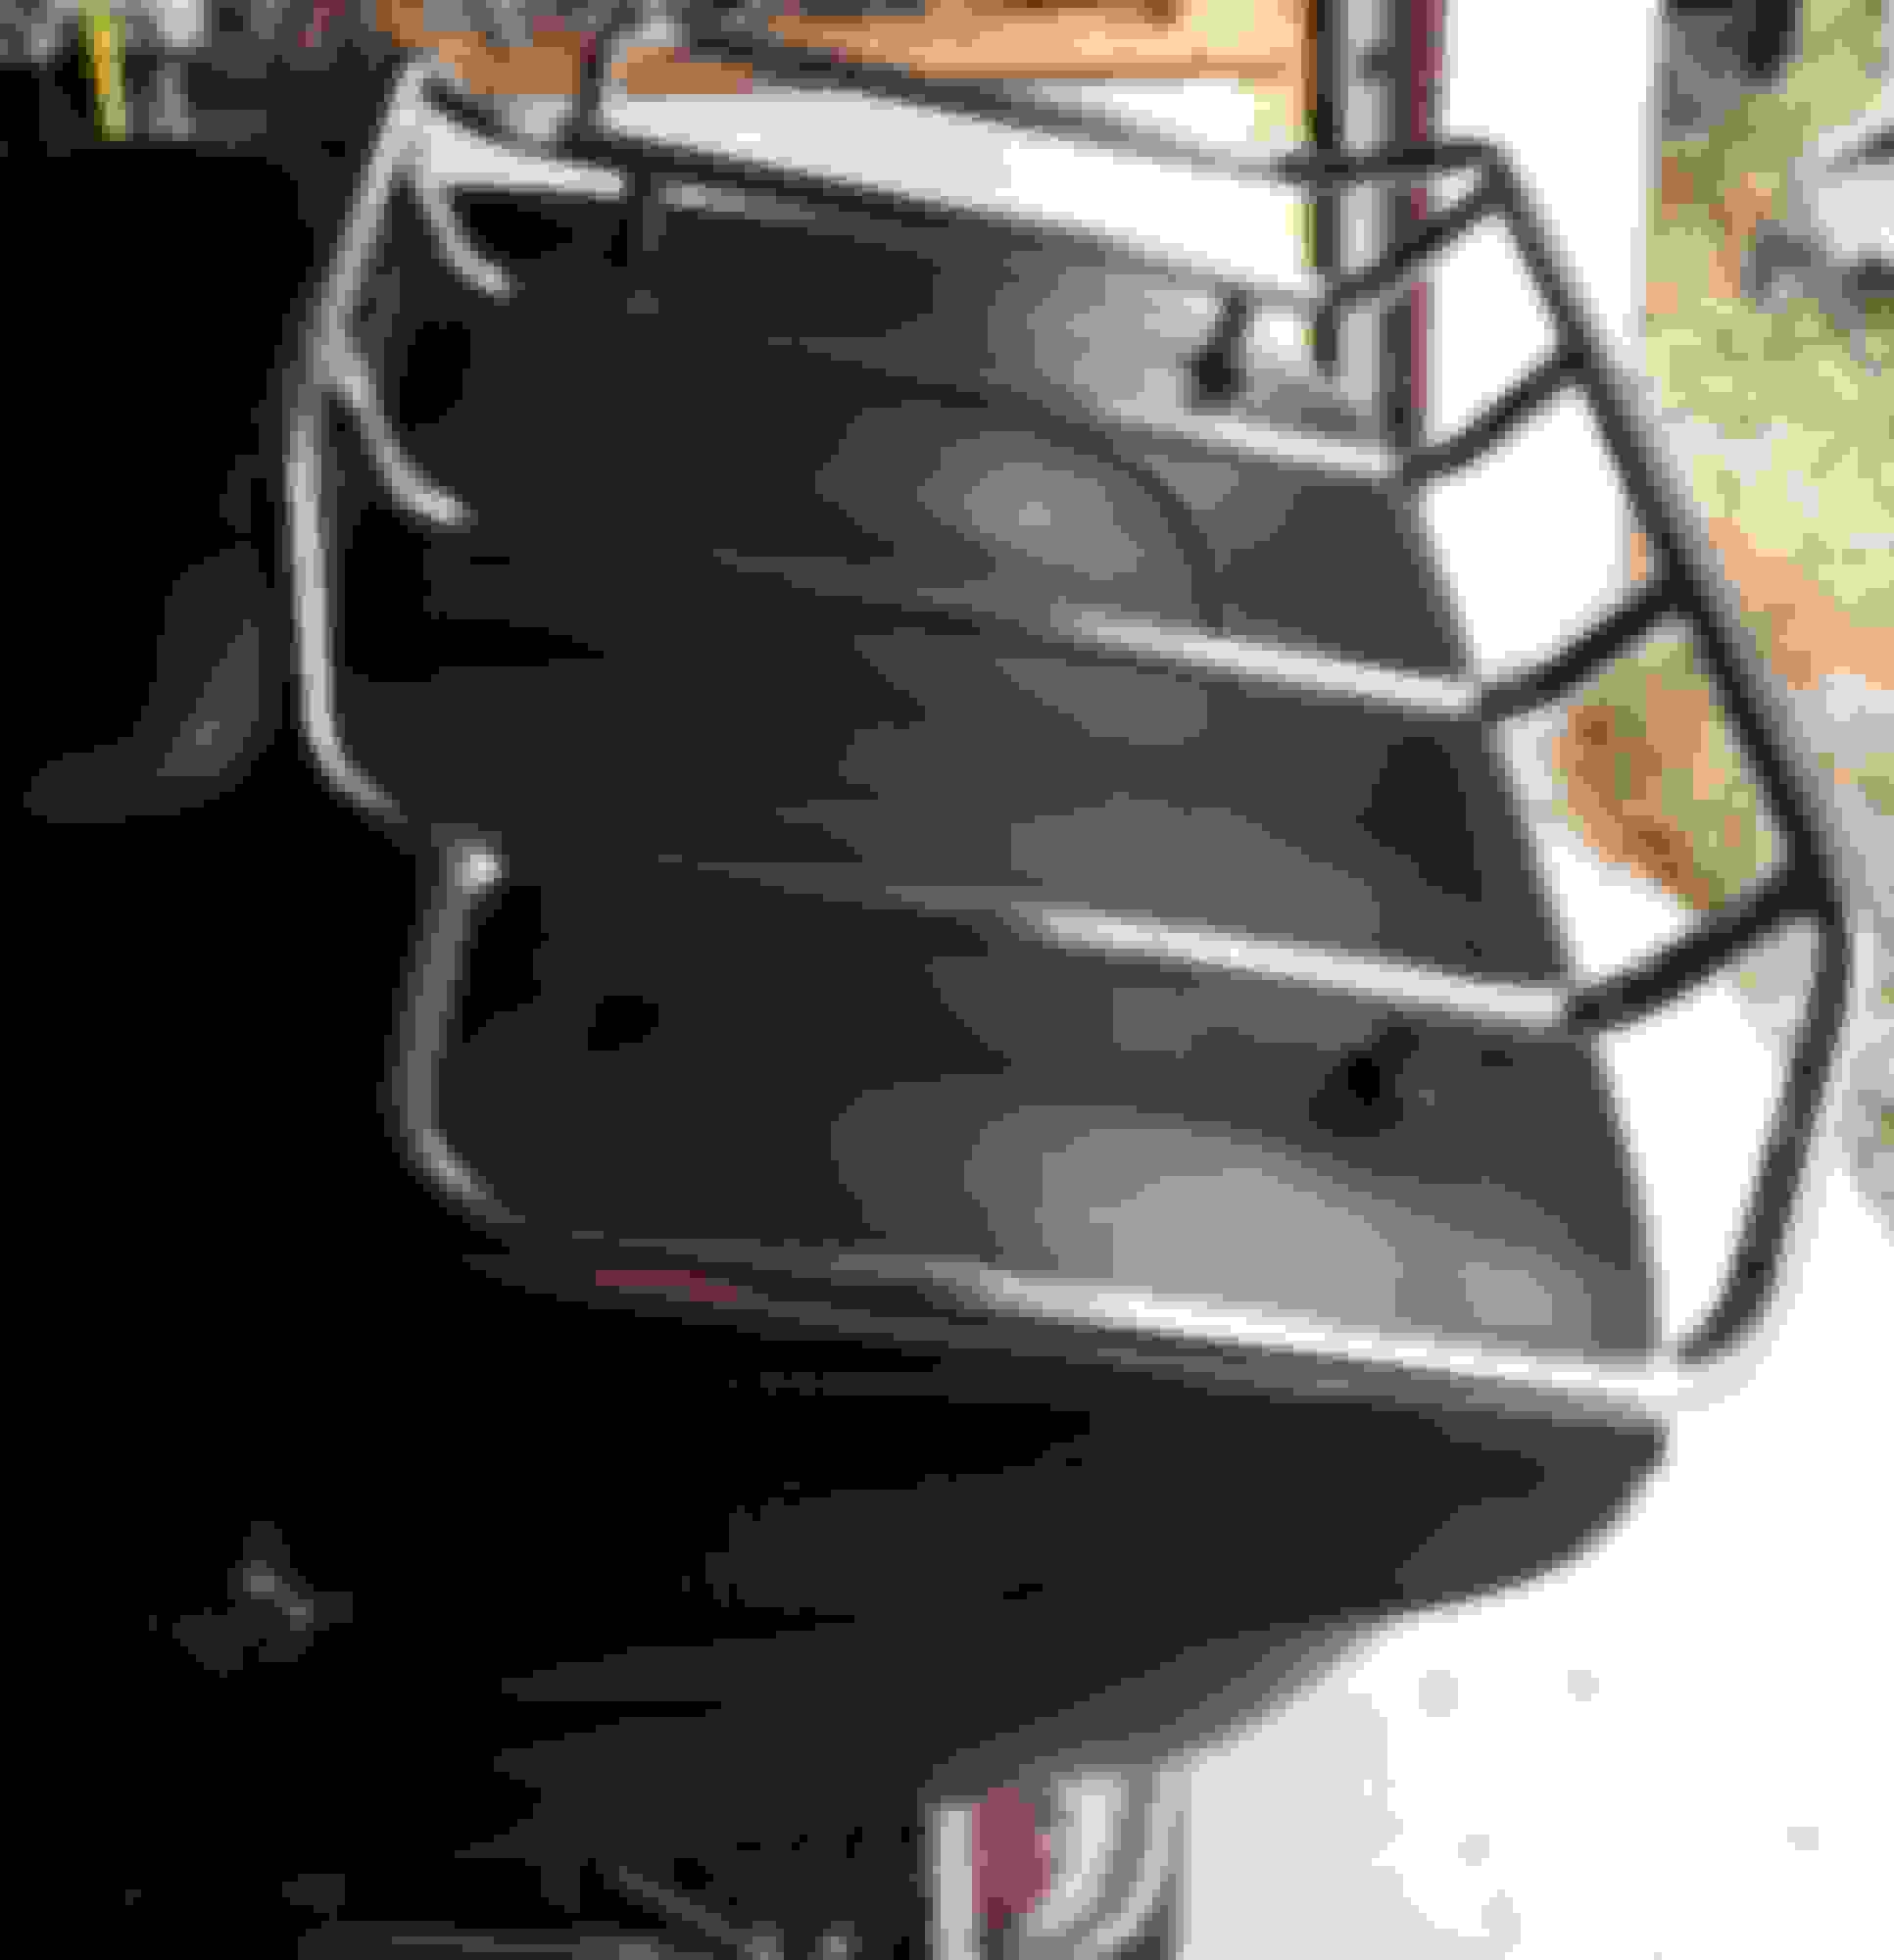
I don't know how much this lid will hold, as the plastic is pretty thin, but I am thinking I might be good for 10-15lbs?.
Now to decide if I really need Rok Straps or just the bungies that have served me well pretty much my entire life.
I did notice a wee bit of rust up inside the 4 threaded holes when I removed the 4 rubber shipping caps which worried me a little. I don't really want rust streaks on my Tour Pack lid otherwise I'll have to take it all apart and see if I can somehow seal the threaded holes from the weather, which sounds like it might just be impossible.. I guess we'll see.
OK, that's all that I got.
Excuse the mess. My garage is REALLY small and holds everything under the sun ;-)
Last edited by ve9aa; 09-19-2018 at 01:15 PM.
Reason: typos
I just embarked on the exact same project on by RKC, looks like I got the same rack but slightly smaller (it doesn't hang over the edge of the tour pak). I haven't done the drilling and was thinking about the best way to make sure the holes are in the right spot, I don't want them to be off and increase the chance for water getting by. Can you explain more how you did yours? I don't quite get what you were describing with the tape.
I got some rubber washers for the top and some larger flat washers for underneath. I'm a little worried about the plastic cracking under weight so I figured the flat washers will spread the load a bit more. The problem with really wide washers is that none of the surfaces are flat.
I'm looking forward to having this extra luggage capacity. Those RKC bags carry surprisingly small, I'm always shocked how little in can get in those things.
Yeah, the TP itself just BARELY holds my FF helmet, 3 prs gloves and 2 prs of glasses and not much else, lol!
Well, I lined up the rack (by eye) on the TP lid to where I liked it and put some small pencil marks right on the leather surrounding each leg.
THEN, I put 4 "X's" of painters masking tape over each pencil park. 2 pcs of tape crossing at 90* to each other at each leg.
T's or X's. This gave me a little wiggle room for final placement.
When I finally had it where I liked it, I now have a total of 8pcs of tape (2 X's or t's or crosses under each leg...like an X marks the spot kinda deal, but 4 crosses in all......I marked dots on the tape with a black marker around each leg and then lifted the rack away. Now I am looking at 4 T's (or X's or crosses if you prefer) and 16 dots. I used a ruler and made a black marker cross, +, T or X (depends on your POV) on each chunk of tape. No(permanent) marks on the TP lid.
This way, the only marks on the TP were a light bit of pencil for initial placement, which I later erased with a pencil eraser when I was all done,
...then I started drilling.
Clear as mud?
Last edited by ve9aa; 09-19-2018 at 03:34 PM.
Reason: typo
Yep I get it now, thanks. Good way to get the holes centered correctly as long as the drill bit doesn't drift which I assume is easy since you're drilling into soft material.
Yup , no drift, it's quite soft and not like drilling metal and so the first drill bit was probably the smallest one I own, (like a needle)....just to get the show on the road, then a larger, larger again, and the final size (a little bit bigger than the bolt)
This was probably overkill, so if you're careful you could get away with using 3 or maybe only 2 drill bits, but I was cautious (maybe overly so). I just had visions of a foot of leather all yanked off the (expensive ) TP and all wrapped up around my big drill bit like cotton candy on a stick at the Fair ! ;-)

 09-19-2018, 01:06 PM