hi guys. So I tackled the bars this weekend. Good news is when it was all done everything fired right up - was worried that I didn�t make mistakes plugging everything back in!
Tips:
1) it was much harder for me getting the wires out of the old bars than threading the wires through the new ones. I would advise greasing up the wire sheaths before taking them out.
2) that darn nut and washer that keeps the front of the riser cover in place is really tough to get back on. I tied a knot in string and threaded it through blthe nut and washer and pulled it through the hole where the screw goes in. Once it was in place I pulled the string out - keeping nut and washer in place with two fingers squished up in there and then dropped the screw down and threaded it. Took a few tries to get it.
3) the bar mounted electronic hubs in both sides of the bars are not meant to be square with the bars! I spent way too long trying to figure out why they were angled before saying aw hell with it and mounting the casing and noticing the casing is cut to go on angled. All good.
4) take pictures of EVERYTHING!! I can�t tell you how important it was that I had pictures and written descriptions of where all the wiring plugged in for the install. Can�t overstate that.
5) in order to remove the riser cover you need to remove the key cover which is done by popping it off with a screwdriver or similar. There are two screws under that that need to be removed.
6) watch a few vids on replacing bars
7) be patient with yourself.
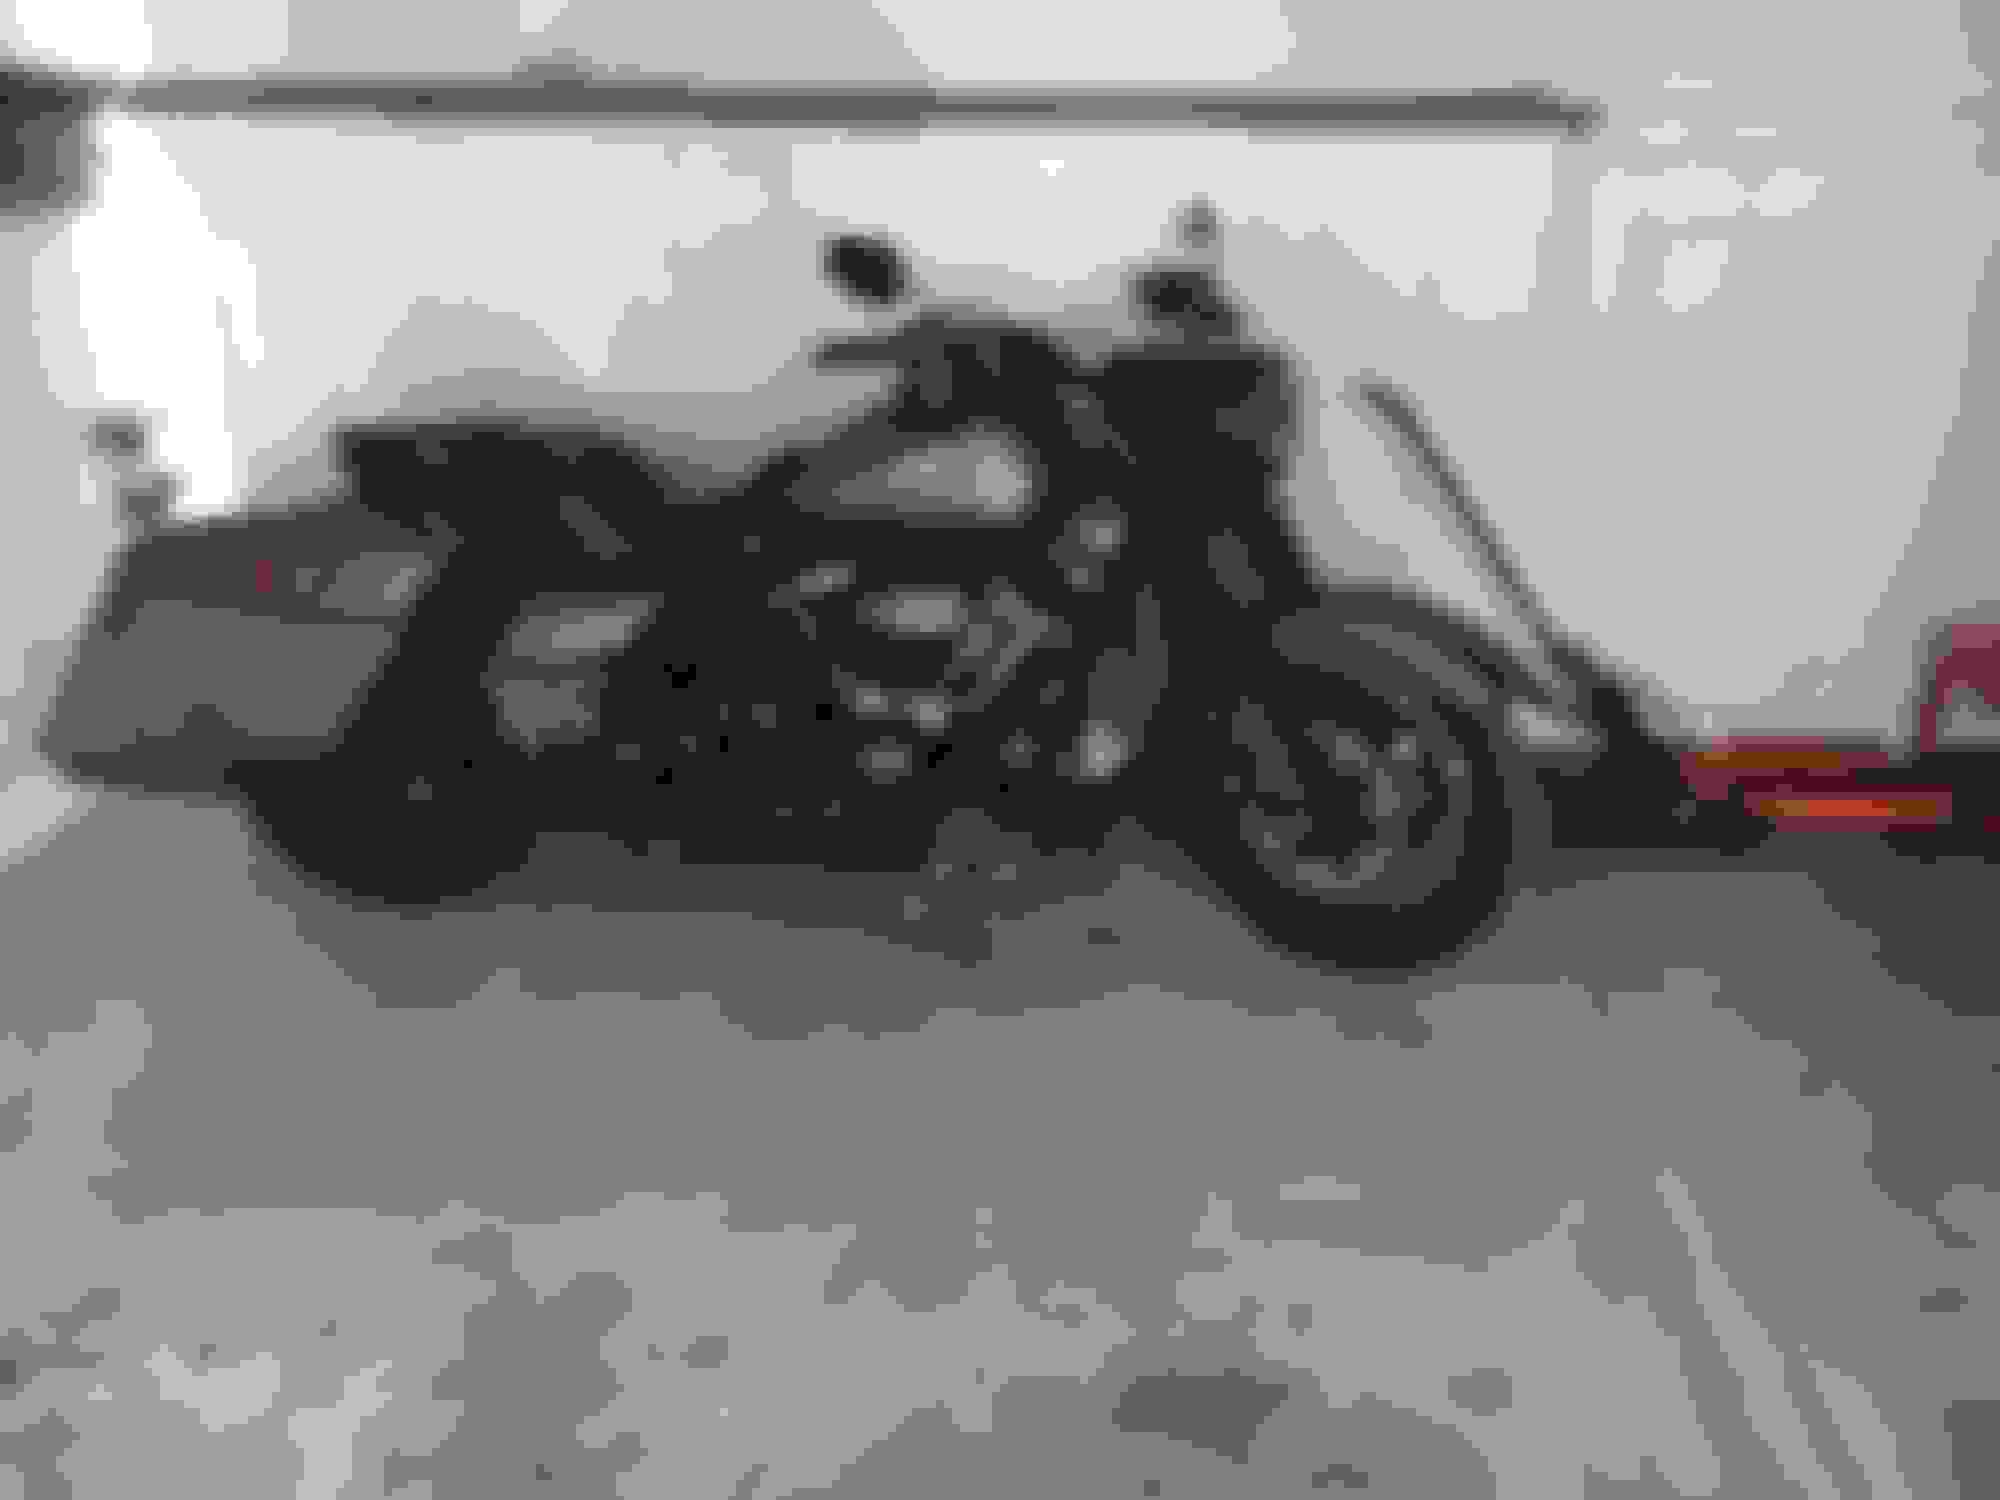
Really wnjoyed doing this job and although Dresser bars aren�t the crowd favorite I think they turned out good. Pictures to follow.
Last edited by Hagg22; 04-08-2018 at 10:48 PM.
Reason: Grammar
....also. I could not get the left hand grip off the old bars. It came glued on. Any suggestions? If not I�ll need to get a new one from my dealer.
So total mods now include:
Wild1 Chubby Dresser bars
Flush mount gas cap and fuel gage
Eagle Lites Daymaker LED headlight
Custom Dynamics lighted turn signals
Kerker Stout 4� Mufflers
Quick release mounting for windshield, backrest and tour pack
Sundowner two up seat
Harley quick release sissy bar, tour pack and luggage rack
windsplitter windshield
passenger floor boards
passenfer safety grips
Super Shox shock absorbers
Pics to follow when it gets above freezing here in Wisconsin.
Last edited by Hagg22; 04-08-2018 at 11:00 PM.
Reason: Mistake
King Kam, I did similar bars and had same problem of bars hitting windshield. I added a small spacer in between windshield and bracket to lift shield off bars.
Bike is looking good, love those bars on the bike
The install was a BEAST! The sharp angles made feeding the wires through the bars a nightmare. Did not use an extension kit, but if I could do it all again I would. I had to reroute the cables and some of the wires. Had a check engine light come on after the install that went away today all by itself. I would like to have pushed them forward a lot more, but because I ride with a windshield on road trips, this is as far forward that they can go without making contact with the windshield.

 04-08-2018, 09:40 AM