D and D Bobcat, D&D Bobcat Install Sportster Forty Eight
#1
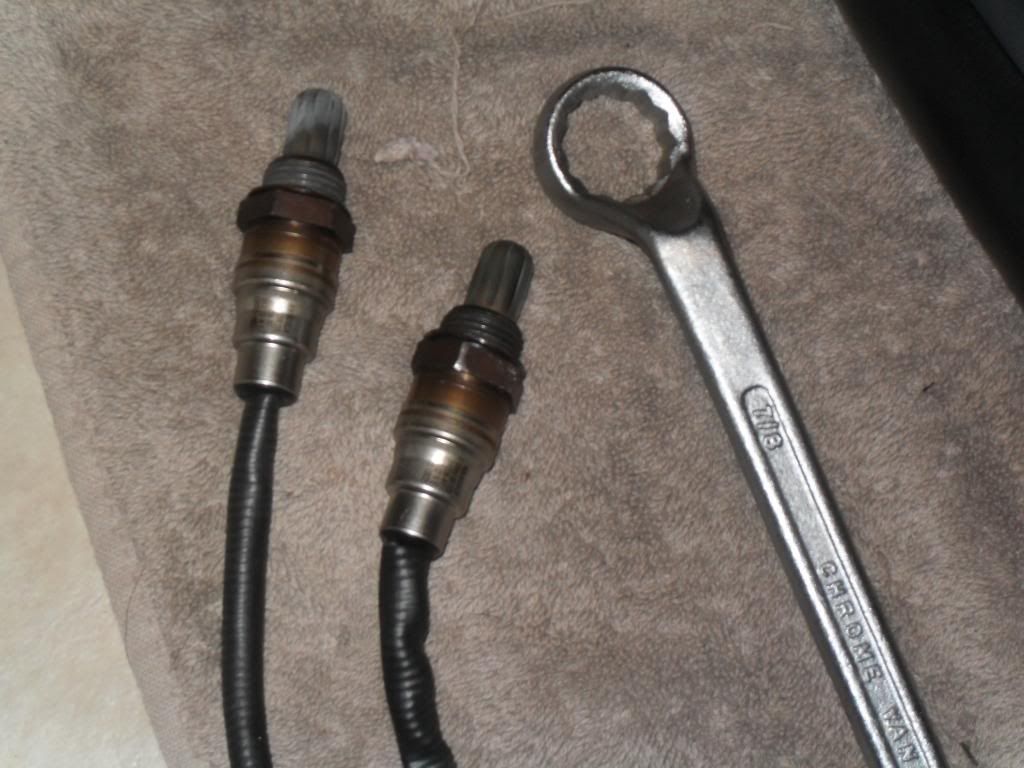
First step was to remove the O2 sensors from my stock exhaust. A 7/8 hand wrench does the trick. Just give it a good whack and she should come loose. Add anti-seize if you prefer when you install them on the D&D Bobcat if you prefer
Second I installed the Screaming Eagle Exhaust gaskets. They were easy to put. Stock gaskets are a lot more difficult to put in but just be patient with it.
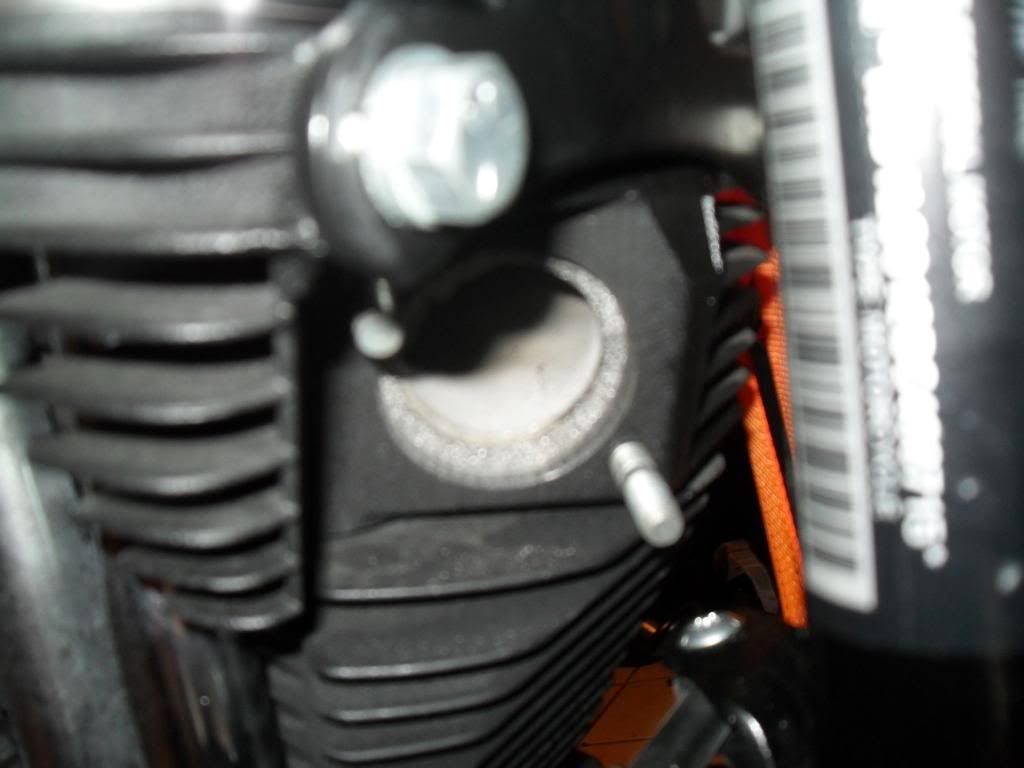
***I suggest taking off the heat shields as it will be SO MUCH easier to tighten down exhaust clamps. I didnít take the heat shields but I wish I had.***
Third install the mounting brackets. There should be two. The bracket that connects to the muffler and the 90 degree bracket that will be placed on the bottom of the sprocket. Youíre going to have to remove the rear brake linkage if you have forward controls to be able to tighten the bolt for the 90 degree bracket. Loosen from pedal side of the linkage.
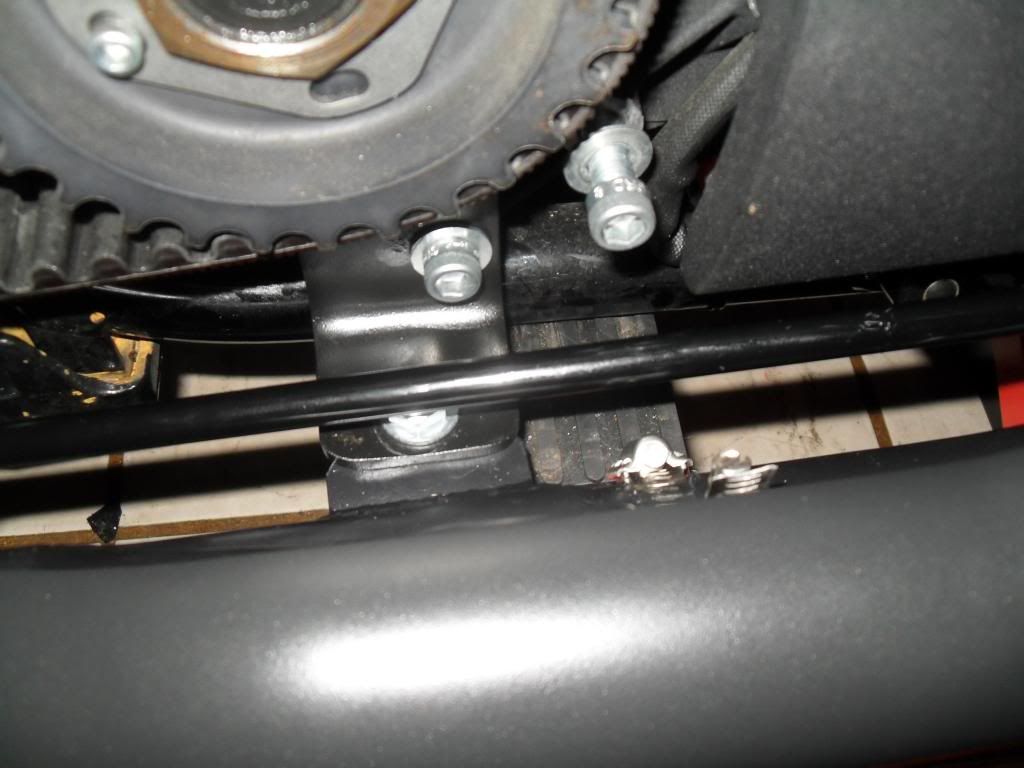
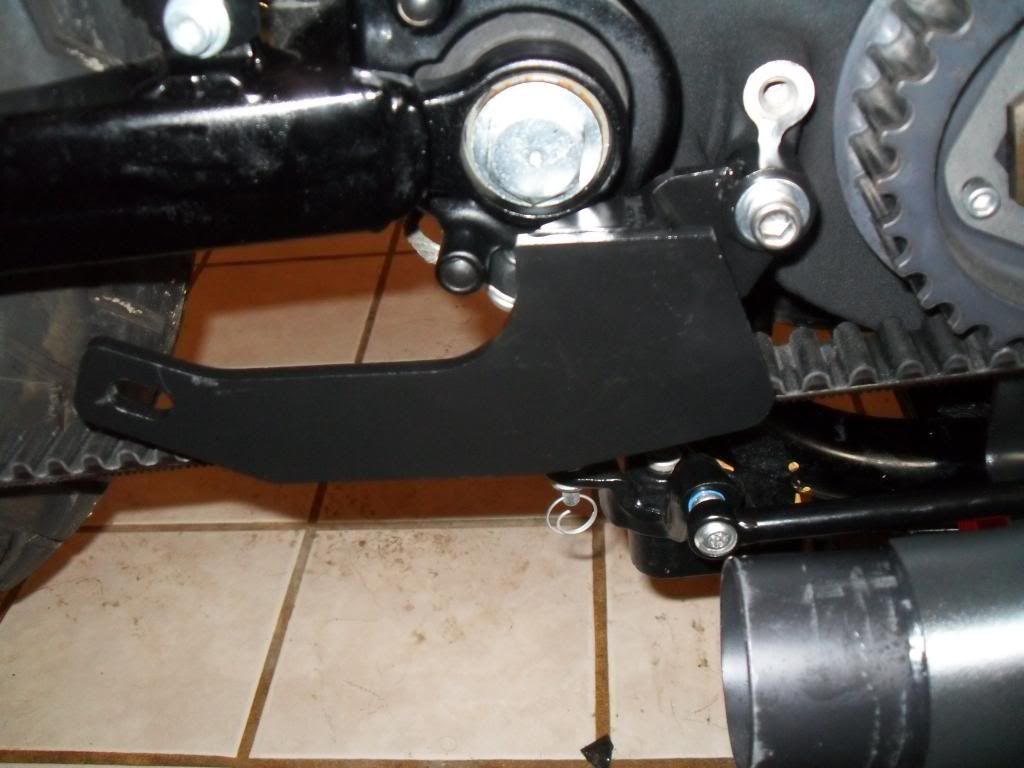
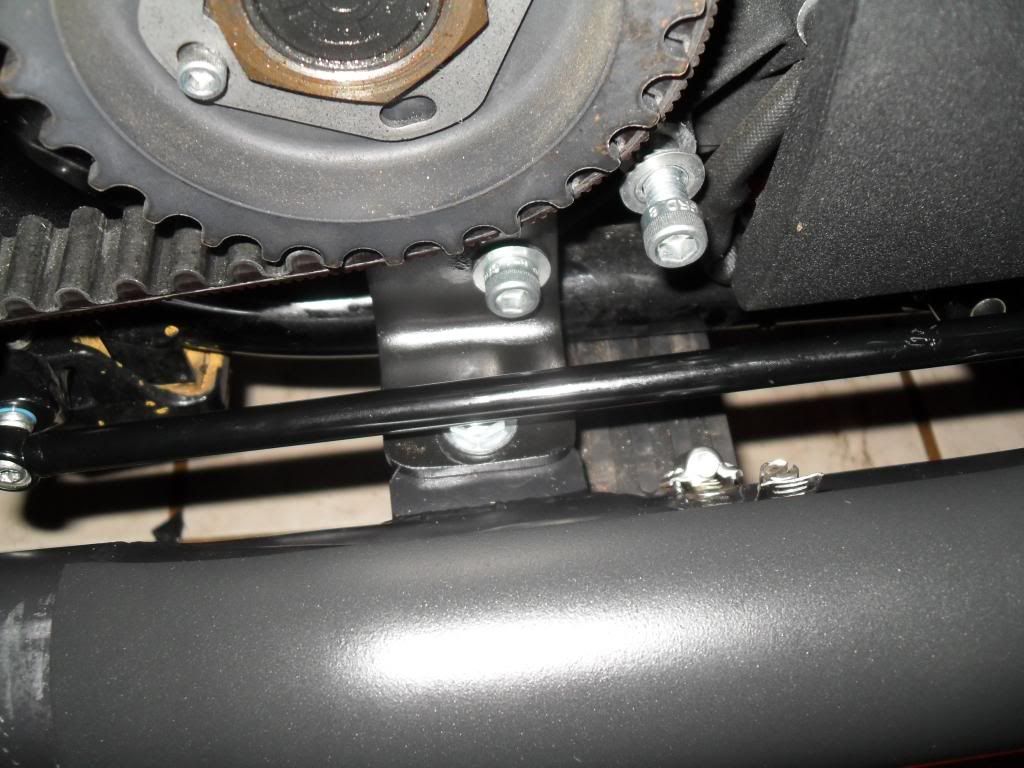
The linkage gets real close to the bolt that secures the 90 degree bracket.
Fourth I proceeded to mount the pipes and check fitment. They were hard to place by yourself so I asked my dad to help me. Once I got them in place I secured the pipes to the 90 degree bracket loosely so that they donít fall off. Make sure the 02 sensor wires are routed correctly
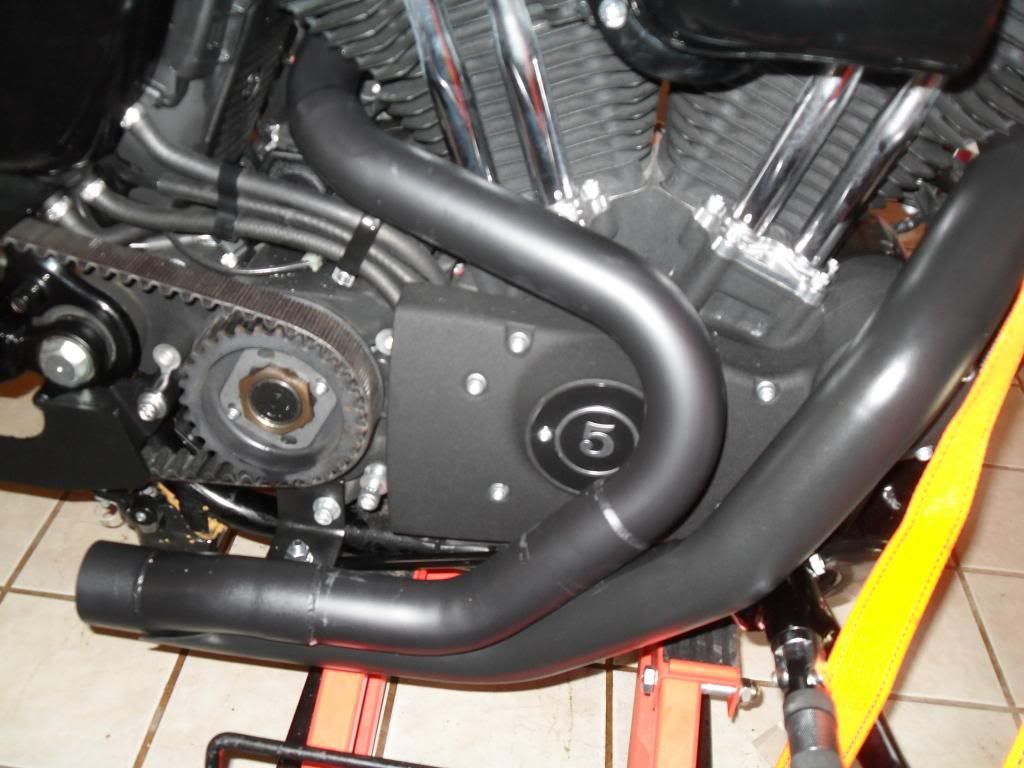
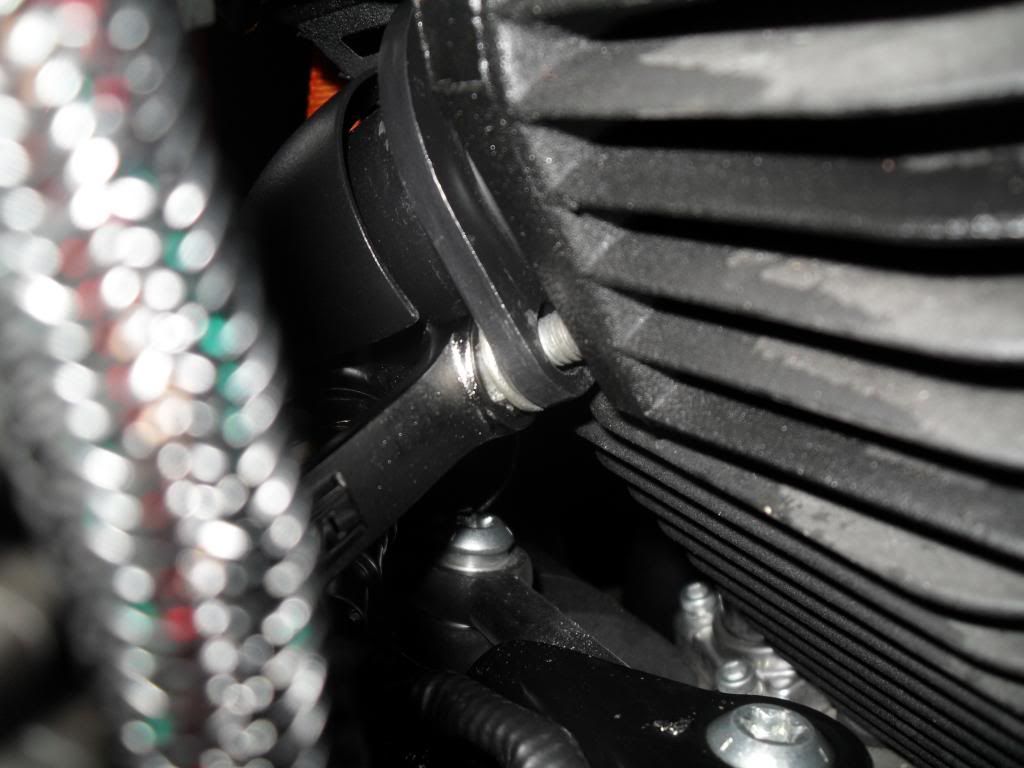
Fifth begin to place the nuts that secure the pipe to the engine. With the heat shields on, this was extremely difficult as it did not give me enough angle to get a wrench in to secure the bolt. Tighten evenly and torque to specs. The forward exhaust clamp is a bit difficult to install as you will need a hand wrench to tighten one of the bolts. I just made sure it was snug. I could not get my torque wrench in there. I did not use loctite on these nuts as it is harder to determine when they are tight.
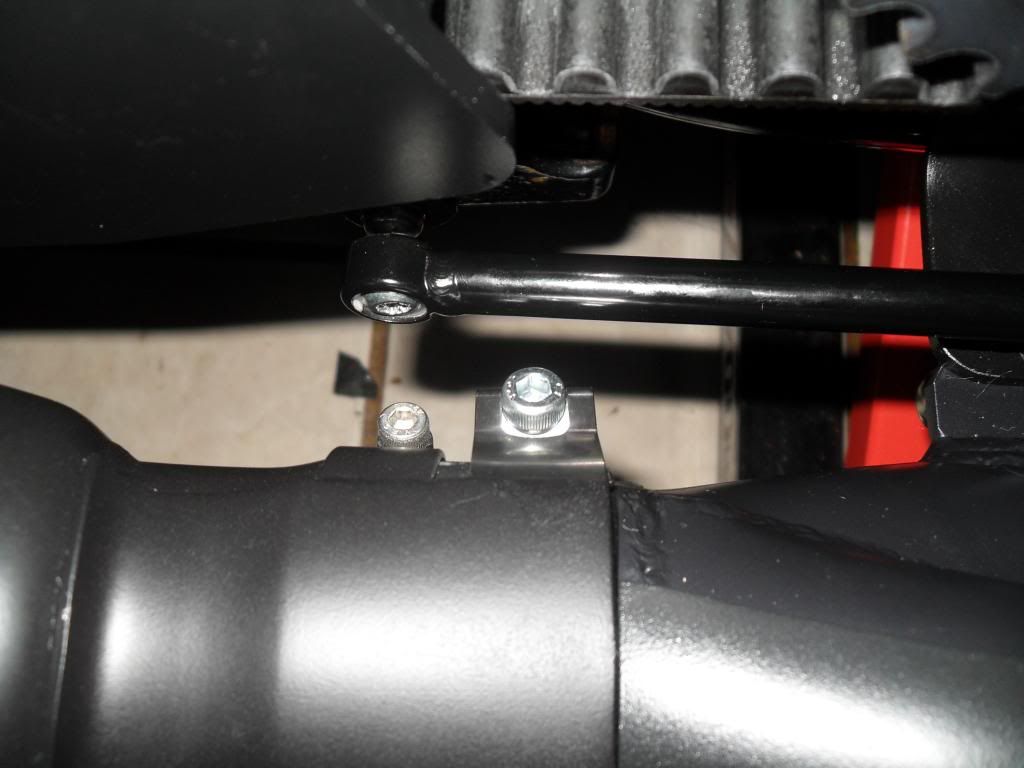
Sixth step intall the exhaust end to the pipes and check fitment with the bracket. I had to loosen the clamps on the exhaust end that secure to the pipes to rotate the screws so that they are more accessible.
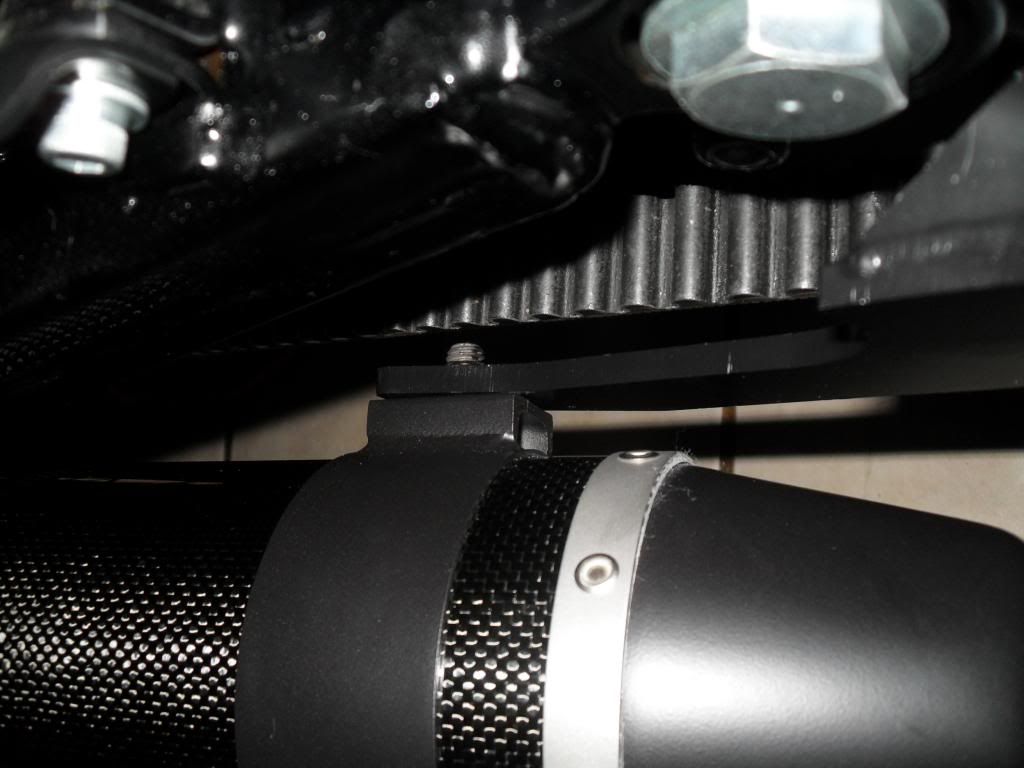
The clamp screws I mentioned that had to be rotated.
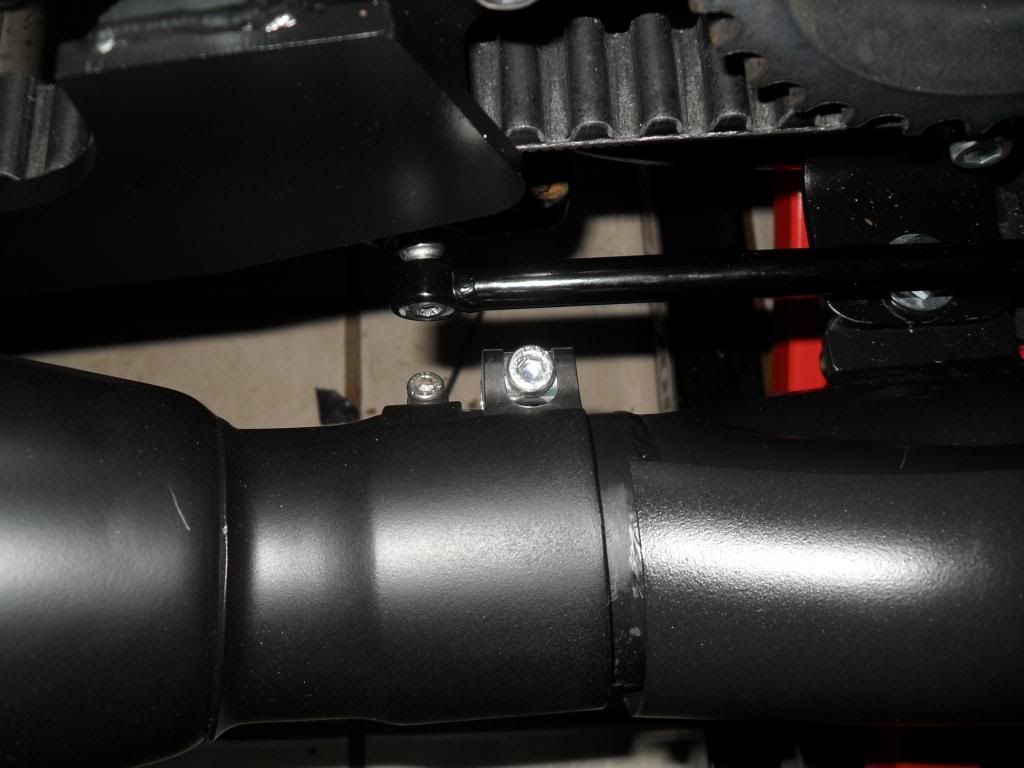
I had also a gap that I fixed my gently hammering the shield to cover the gap between the exhaust end and the pipes.
This was a difficult install but I hope my mistakes help your install be flawless. The D&D exhaust is a wonderful experience. No video does it justice. BOOMY would be the best way to describe. I ordered mine from M&M Cycles (http://www.mandmcycles.com/?gclid=CM...FUpnOgodWUoA6A) they are great. $704.00 with free shipping. If you guys have any suggestions or notice something I did wrong donít hesitate to let me know. I am not mechanically inclined and not perfect. I hope this helps!

Second I installed the Screaming Eagle Exhaust gaskets. They were easy to put. Stock gaskets are a lot more difficult to put in but just be patient with it.

***I suggest taking off the heat shields as it will be SO MUCH easier to tighten down exhaust clamps. I didnít take the heat shields but I wish I had.***
Third install the mounting brackets. There should be two. The bracket that connects to the muffler and the 90 degree bracket that will be placed on the bottom of the sprocket. Youíre going to have to remove the rear brake linkage if you have forward controls to be able to tighten the bolt for the 90 degree bracket. Loosen from pedal side of the linkage.


The linkage gets real close to the bolt that secures the 90 degree bracket.
Fourth I proceeded to mount the pipes and check fitment. They were hard to place by yourself so I asked my dad to help me. Once I got them in place I secured the pipes to the 90 degree bracket loosely so that they donít fall off. Make sure the 02 sensor wires are routed correctly

Fifth begin to place the nuts that secure the pipe to the engine. With the heat shields on, this was extremely difficult as it did not give me enough angle to get a wrench in to secure the bolt. Tighten evenly and torque to specs. The forward exhaust clamp is a bit difficult to install as you will need a hand wrench to tighten one of the bolts. I just made sure it was snug. I could not get my torque wrench in there. I did not use loctite on these nuts as it is harder to determine when they are tight.

Sixth step intall the exhaust end to the pipes and check fitment with the bracket. I had to loosen the clamps on the exhaust end that secure to the pipes to rotate the screws so that they are more accessible.

The clamp screws I mentioned that had to be rotated.

I had also a gap that I fixed my gently hammering the shield to cover the gap between the exhaust end and the pipes.

This was a difficult install but I hope my mistakes help your install be flawless. The D&D exhaust is a wonderful experience. No video does it justice. BOOMY would be the best way to describe. I ordered mine from M&M Cycles (http://www.mandmcycles.com/?gclid=CM...FUpnOgodWUoA6A) they are great. $704.00 with free shipping. If you guys have any suggestions or notice something I did wrong donít hesitate to let me know. I am not mechanically inclined and not perfect. I hope this helps!
#4
#5
I guess I got lucky, I completed the purchase on Christmas eve. I am so happy with them. They sound great and compliment the bike really well.
Thread
Thread Starter
Forum
Replies
Last Post
Cali48
Sportster Models
10
10-28-2016 09:43 PM
code3smith
Sportster Models
9
09-03-2013 07:56 AM
patsfan05488
Dyna Glide Models
9
06-05-2013 07:11 PM


