Tuned my forty eight using an FP3. Bike runs much better! Really improved throttle response and eliminated any decel pop. Can�t wait to add a high flow air cleaner.
Installed a longer jiffy stand, and new bushings. Did this because I had previously added 13" RK shocks. Today I also installed the 1200R dampers, which raised the front end back to normal geometry.
Added about 1 1/8" more travel. Was tired of having to wrestle the very low floor jack into position because the bike was too low to get it under. Also got tired of scraping parts in curves and over speed bumps.
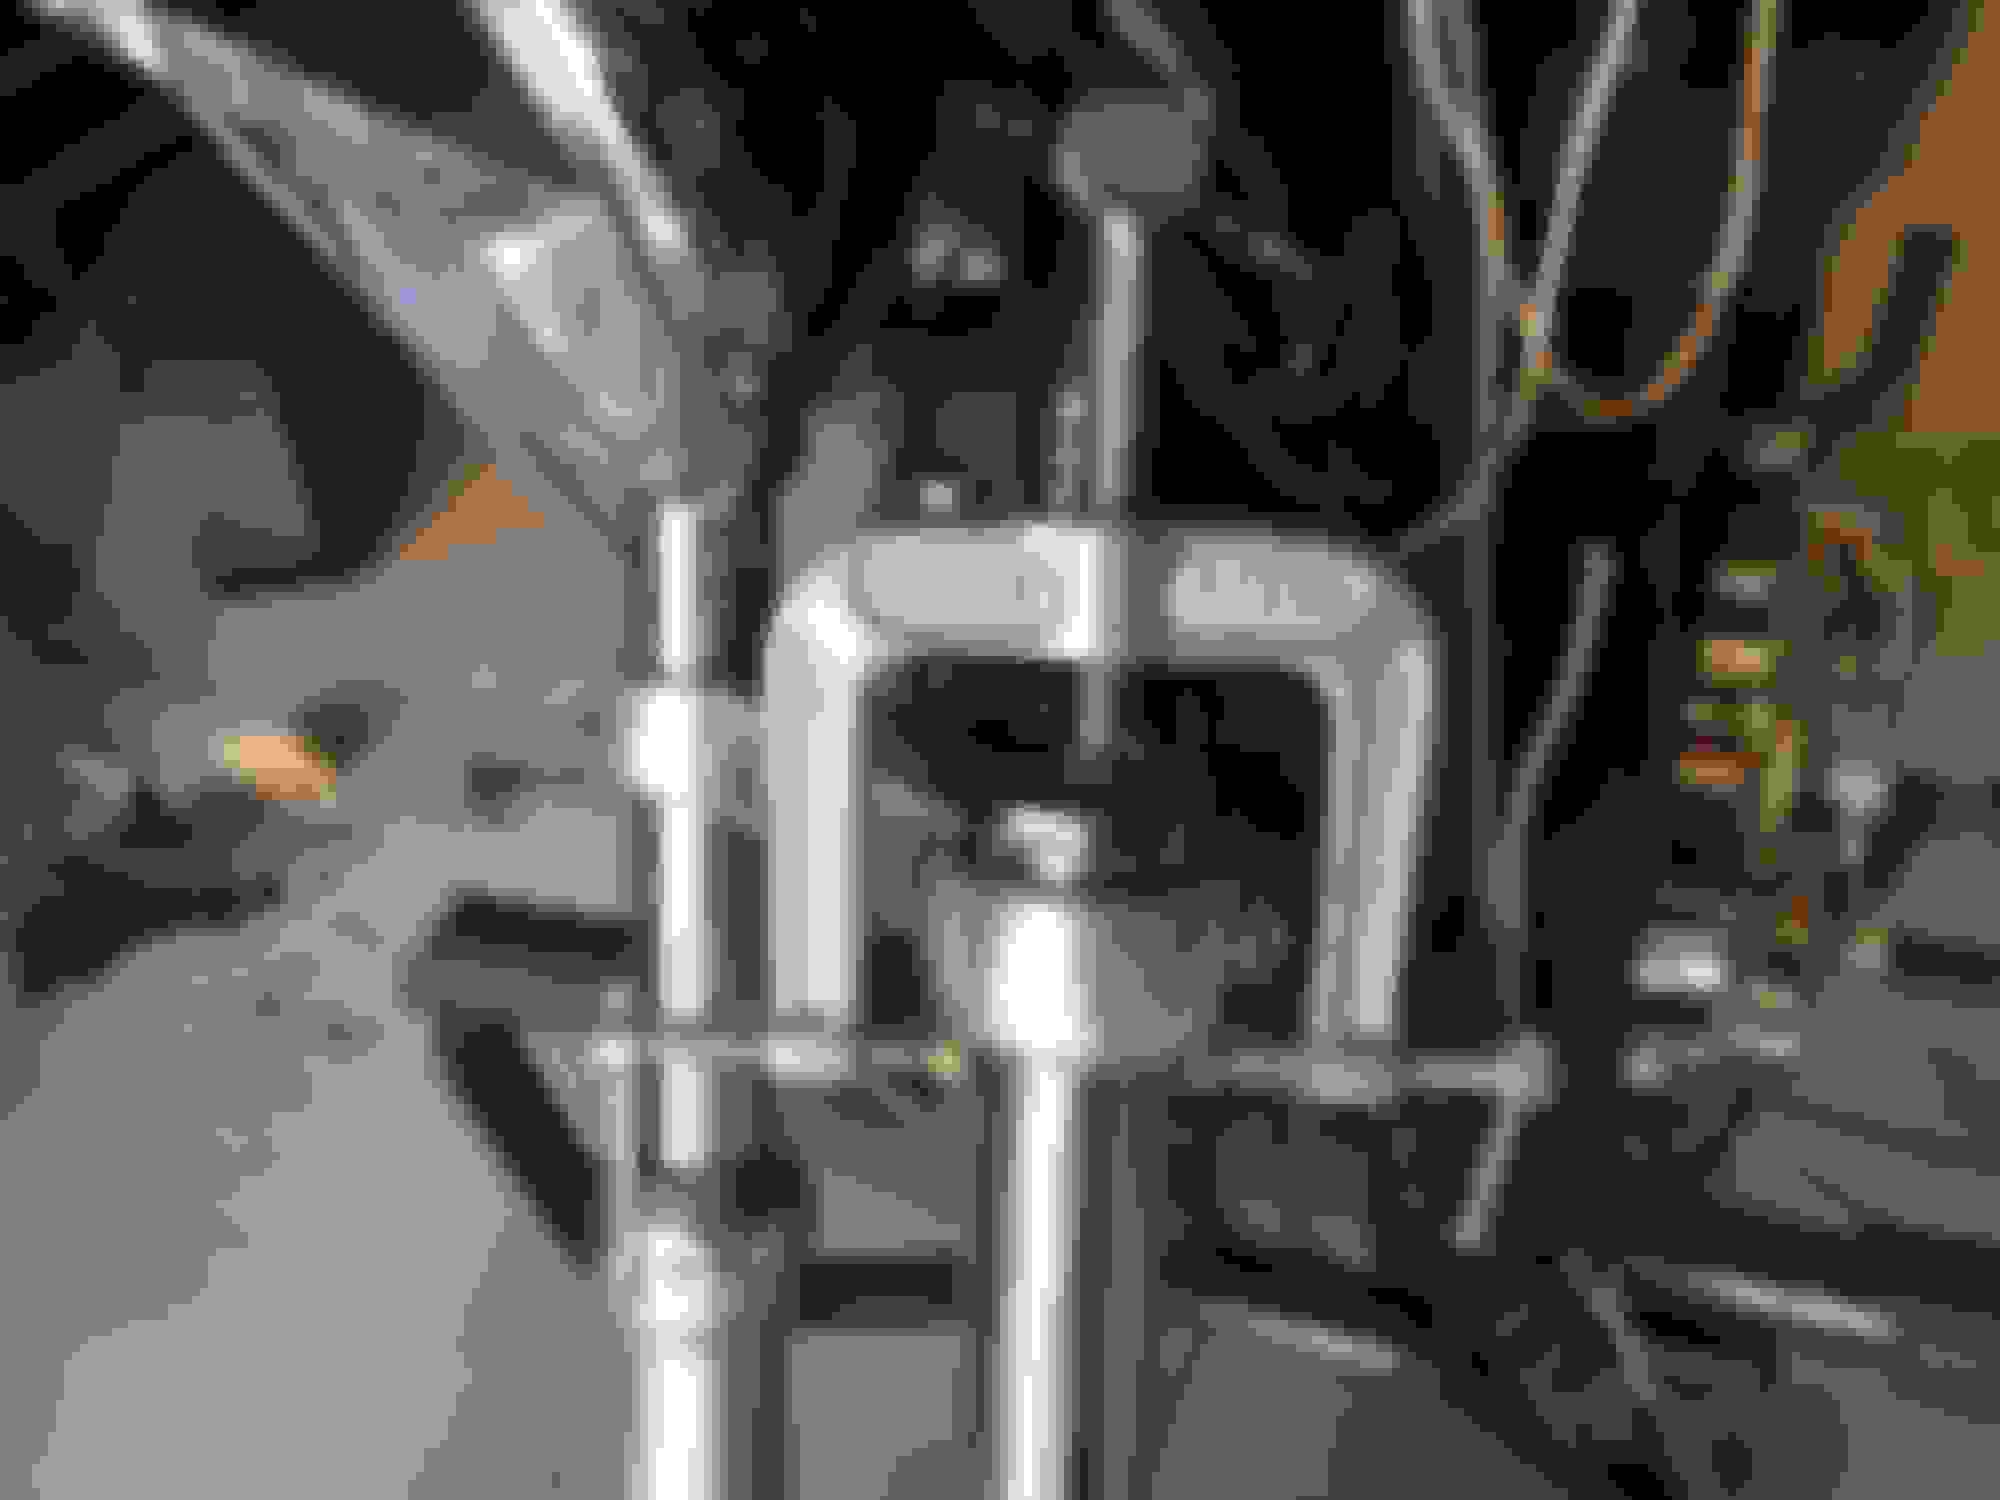
Learned a few things along the way. First, when working solo, as I usually am, the caps on the fork tubes can be near impossible to get back on by yourself. So I came up with a method that worked. I dropped the tube to just above the lower tree, and pressed the cap and spring down with a 3 way clamp. I adjusted the side legs of the clamp, to just slide over the fork tube. It is NOT clamping. These legs use the bottom of the fork tree to keep from lifting up. The third leg of the clamp, is used to gradually screw down to get the cap to engage the threads, where I turned it, gently, with channel locks, until I saw it had caught the threads.
Here is how it looked. This is after the fact actually, since I had already done this one, but you get the idea. Where there is a will there is a way.
Also as was mentioned in another thread, the R dampers had smaller holes in it. In fact it had only 2 holes compared to the stock dampers 4. So I set the new ones in my drill press and enlarged the existing holes and added 2 more the same size.
Here is what they looked like before drilling.
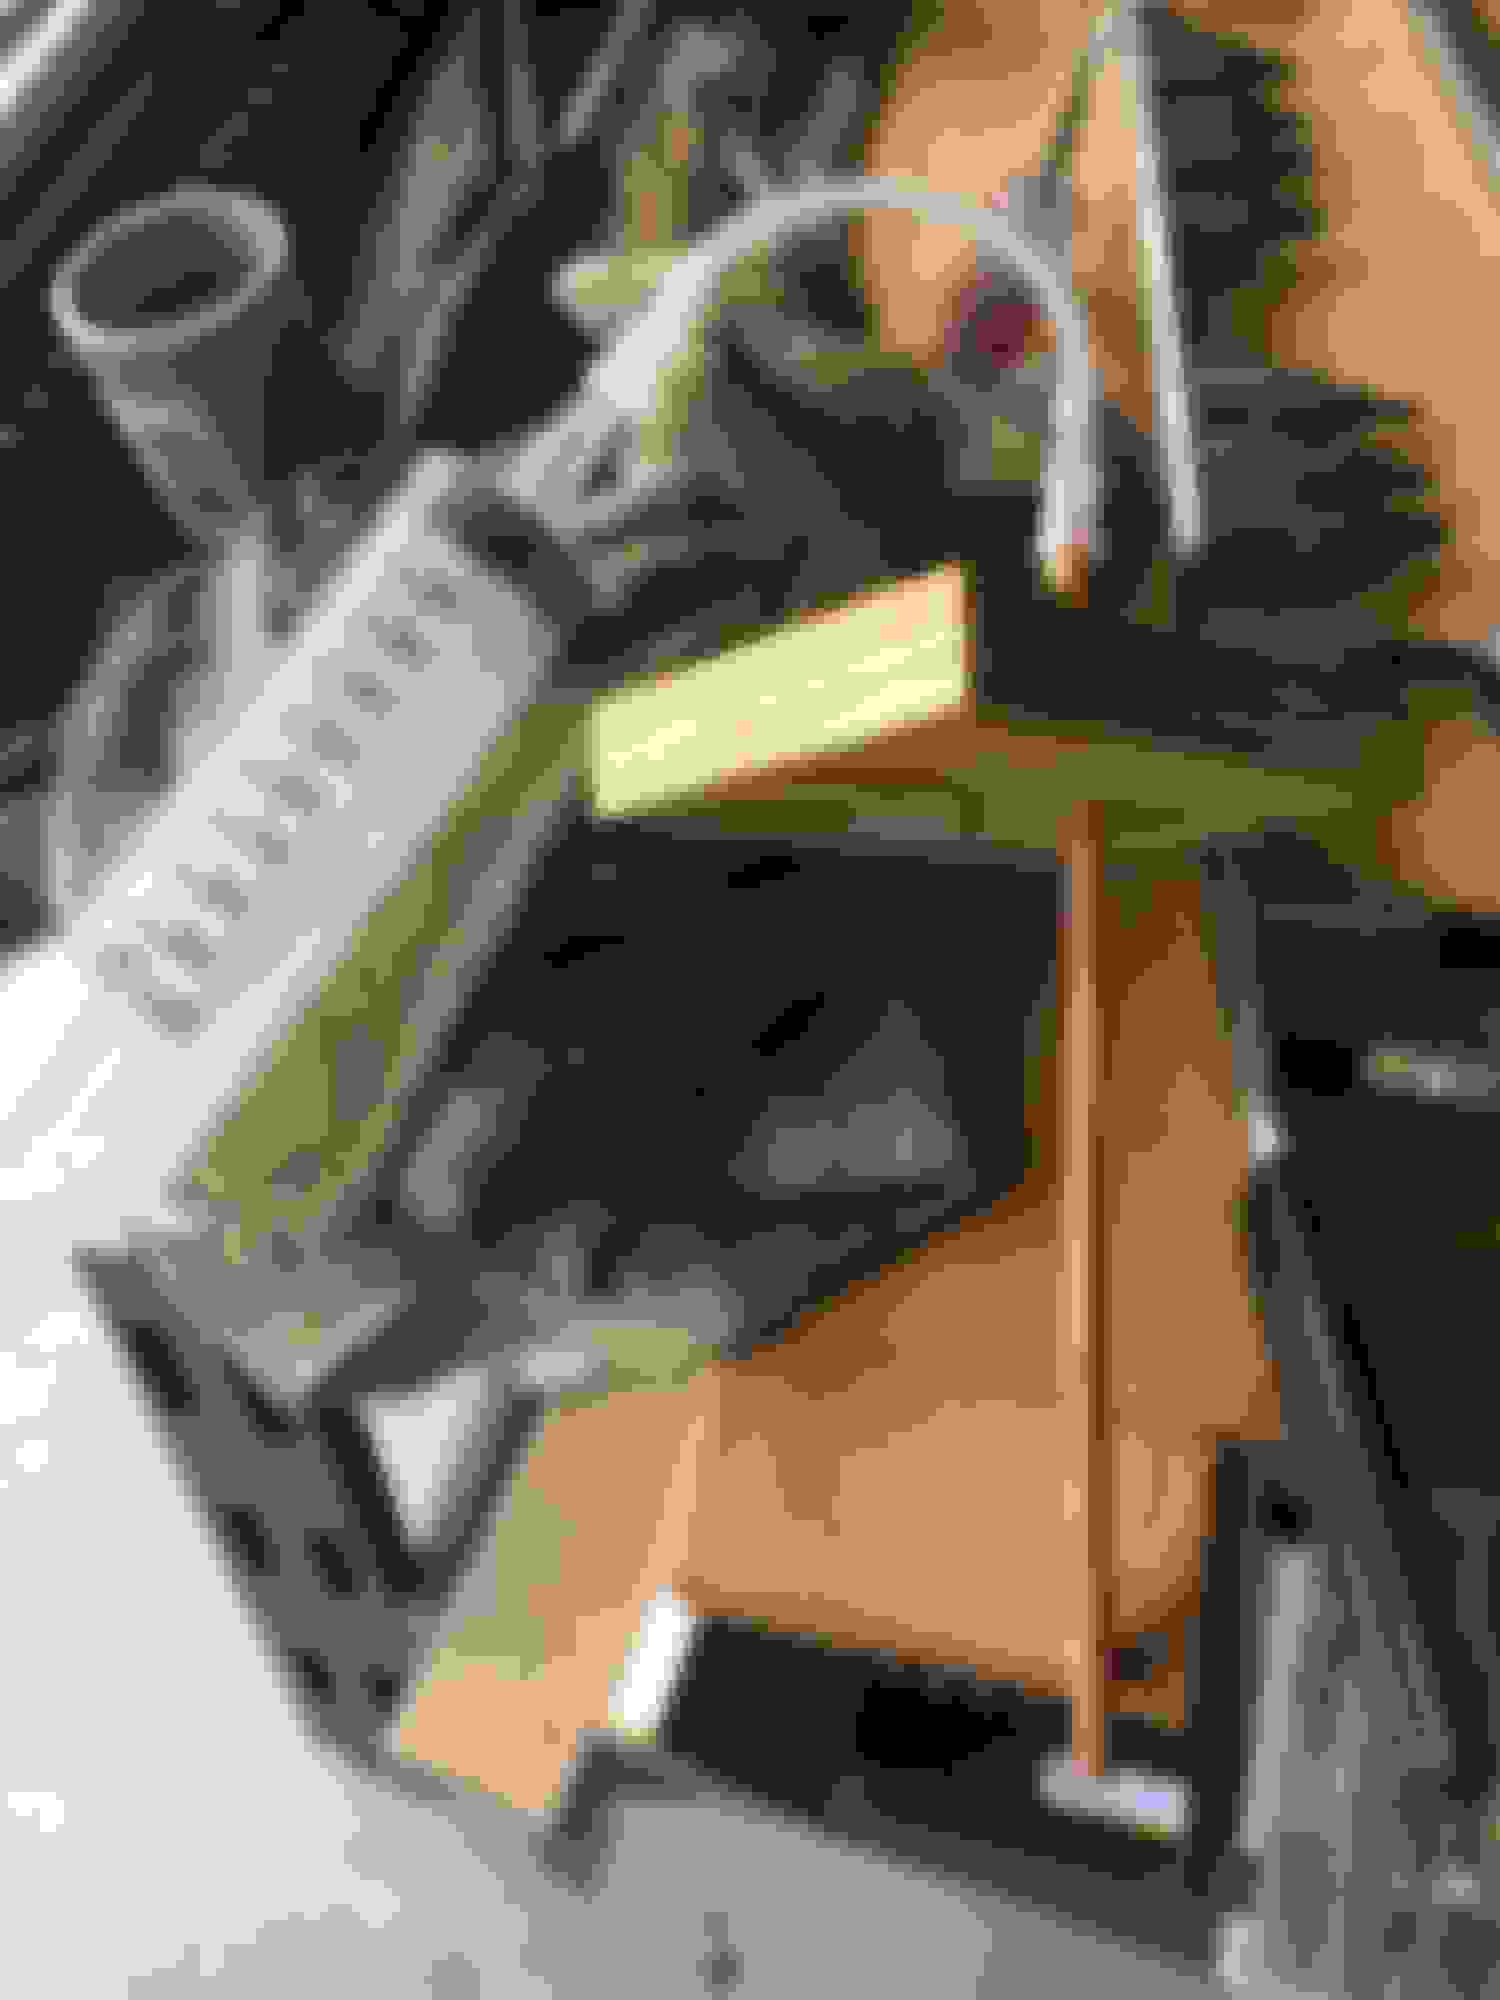
I also rigged up my own version of HD's fork oil measuring tool.
The syringe is 100ml and I used copper tubing tapped into a hole in the wood block, just slightly smaller than the tubing. I measured the tubing sticking out to 5.75", as the book calls for the R forks. Set the block on top of the fork tube and pull the syringe until it sucks air, voila! You have hit the target depth. Worked like a charm, but, you do need to make sure you keep an eye on HOW FAR you pull on the syringe. Pulled the darn thing all the way out and dumped 100ml of fork oil on my lap.
Noted some oddities when doing this work. Biggest, is the top right tree clamp bolt was loose!!! Wow, let the bottom one come loose and could have been an exciting ride.
Also, the left fork looked like it had ATF in it. Still nice and red. Right fork was brown and gunky. What?
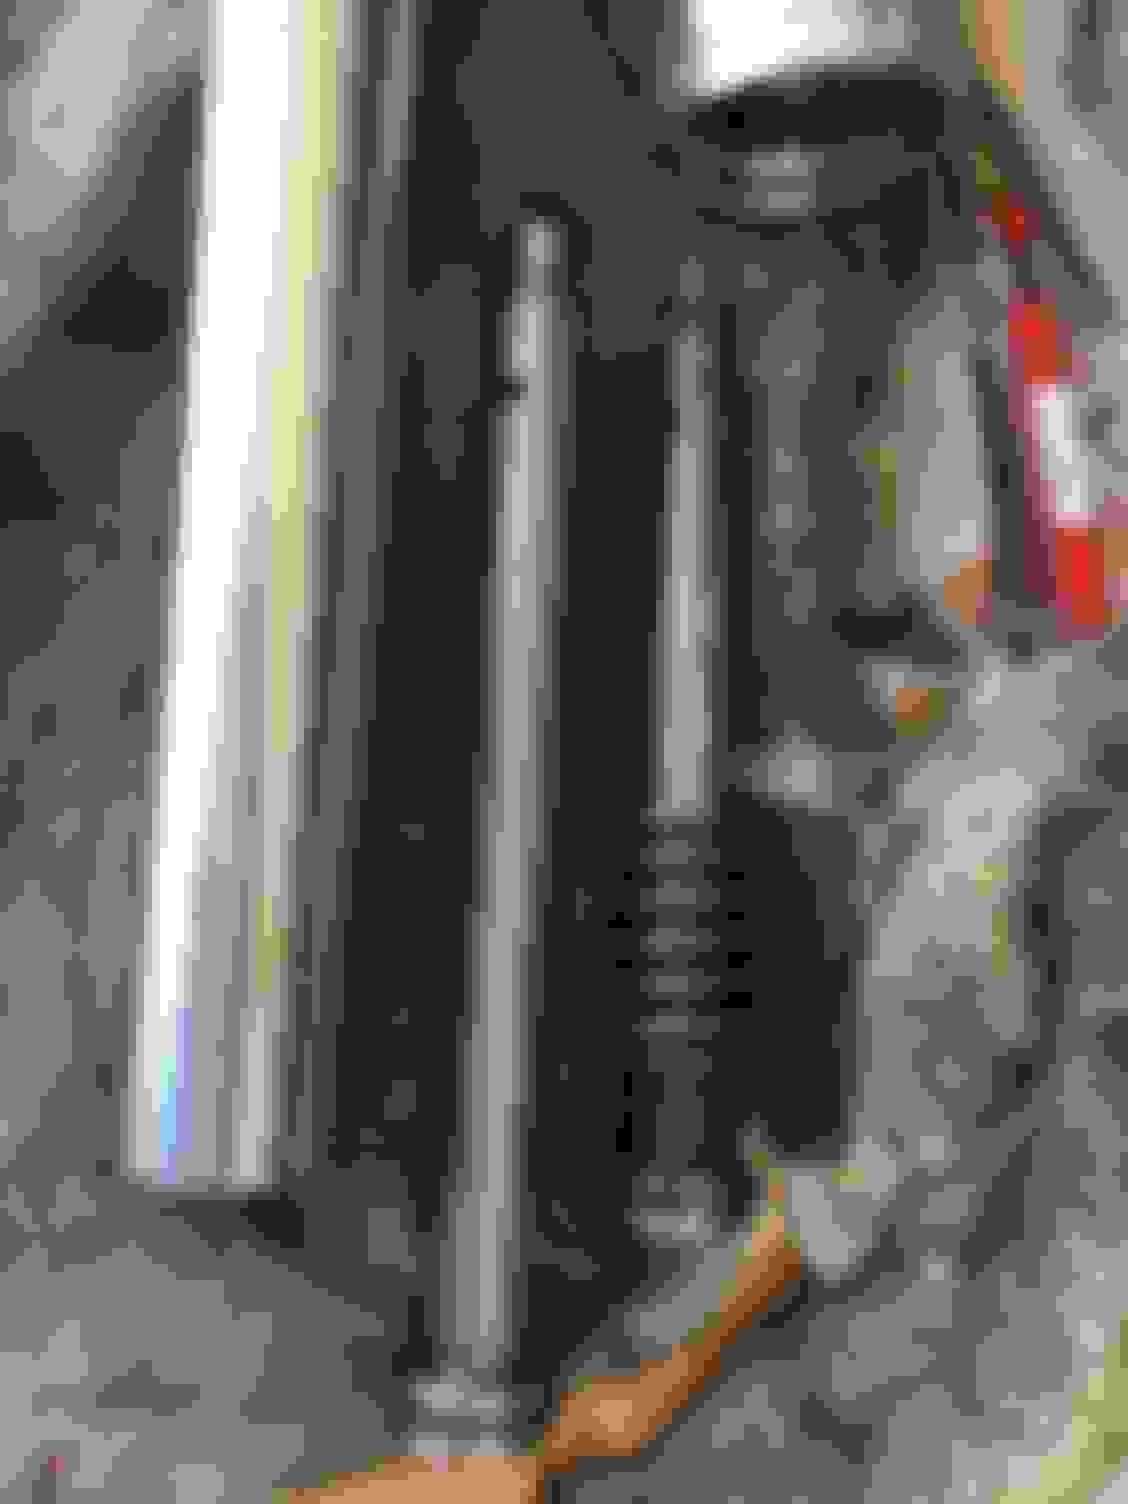
No idea how that came about, unless someone changed the oil in only one side. Odd. I also changed the oil seals just to be safe. I used a piece of PVC coupling that I cut the center divider out of on my lathe, as a tool to drive the seals and cap back on.
If you do this get a piece long enough to extend past the fork tube, it will be easier.
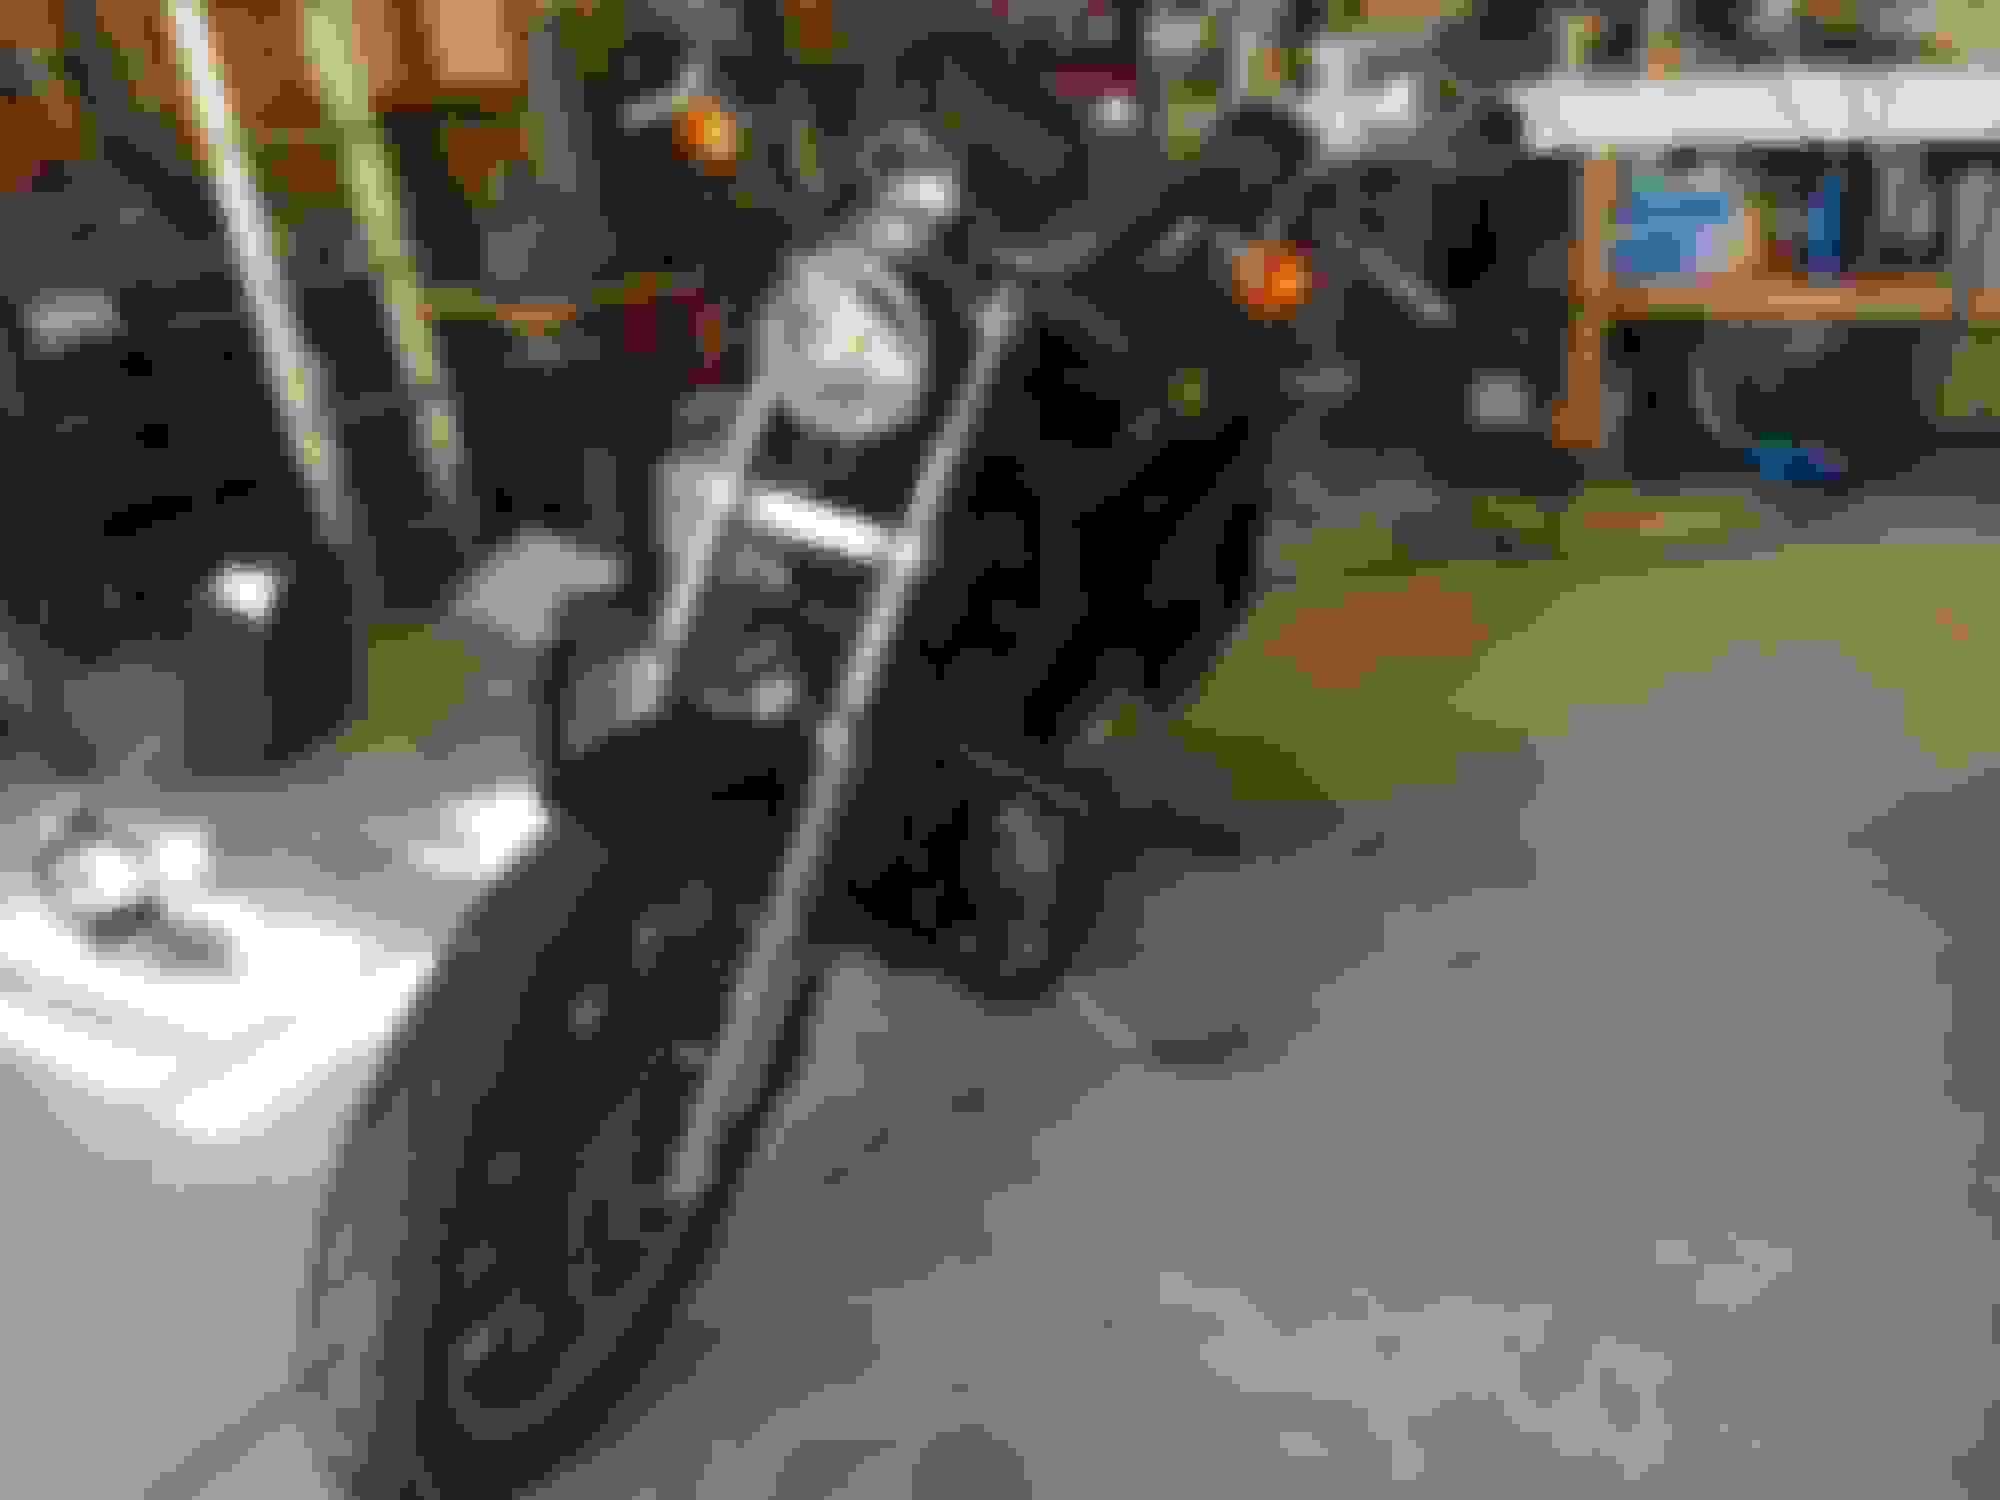
So this is it, all done. Sits a bit higher over all, but I cant JUST flat foot it still. Good enough for me. Would have liked to keep it a little lower, but the negatives outweighed the positives. Took it for a test run with 5 psi in the shocks, and felt too harsh for my solo, so will reserve that to 2 up rides.
Also noted that the oil reservoir and battery cover interfere with getting the new air pump on the valves. The tank valves have too long of stem, so I will have to source some shorter ones or add an elbow in it.
Last edited by handirifle; 05-24-2019 at 10:22 PM.
After watching the champ on Jeopardy break the $2 million mark, I jumped on the bike for an evening ride. Beautiful evening here in central Indiana, temps in the low 80's. Rain moving back in tomorrow afternoon, and forecast for Sunday which is race day here that I couldn't give two ***** about...
... I also changed the oil seals just to be safe. I used a piece of PVC coupling that I cut the center divider out of on my lathe, as a tool to drive the seals and cap back on...
Got a pic of that? I might do the same sometime soon. Thanx.
After a 2.5 hour round trip to pick up a pair of used stock mufflers for $35, I tried going to the tags place to FINALLY register the bike (they closed a day early for the holiday, bastards), swung by the local dealer to return the air filter that didn't fit and price out tire replacement, then set to swapping the baffle-less mufflers on my Sporty for the used OEM ones. Getting off the rear one was easy. Getting off the front one was a BITCH. Not only did I not have the proper wrench to remove the locking nut (a 3/4" standard angled wrench did the trick, but required a quick trip to Lowes after aborting an attempt to remove the rear brake assembly), but I had to loosen the header pipe slightly, do my best to totally disassemble the mangled clamp, spray a little WD-40 on the muffler connection (I wiped it off afterward), and fight with the f***** for almost an hour before it finally came loose. The muffler connection had been crimped somehow, so it wouldn't actually rotate or shift much at all relative to the header pipe. By the time I was done with all of this, especially after the early and active morning I'd already had, I'm too damn tired to ride. I'll try getting out tomorrow. Pity, though: today's weather is perfect, and the rest of the holiday is going to be hot as hell. :/
I did do a brief DB Meter measurement near the back pipe with full choke before and after the swap: about 116db before, about 111db after. Definitely louder and more bassy without the baffles. Hopefully after warm-up it will be less-loud ('cause it still ain't quiet) enough that my neighbor won't continue to bitch.


 05-24-2019, 10:18 PM