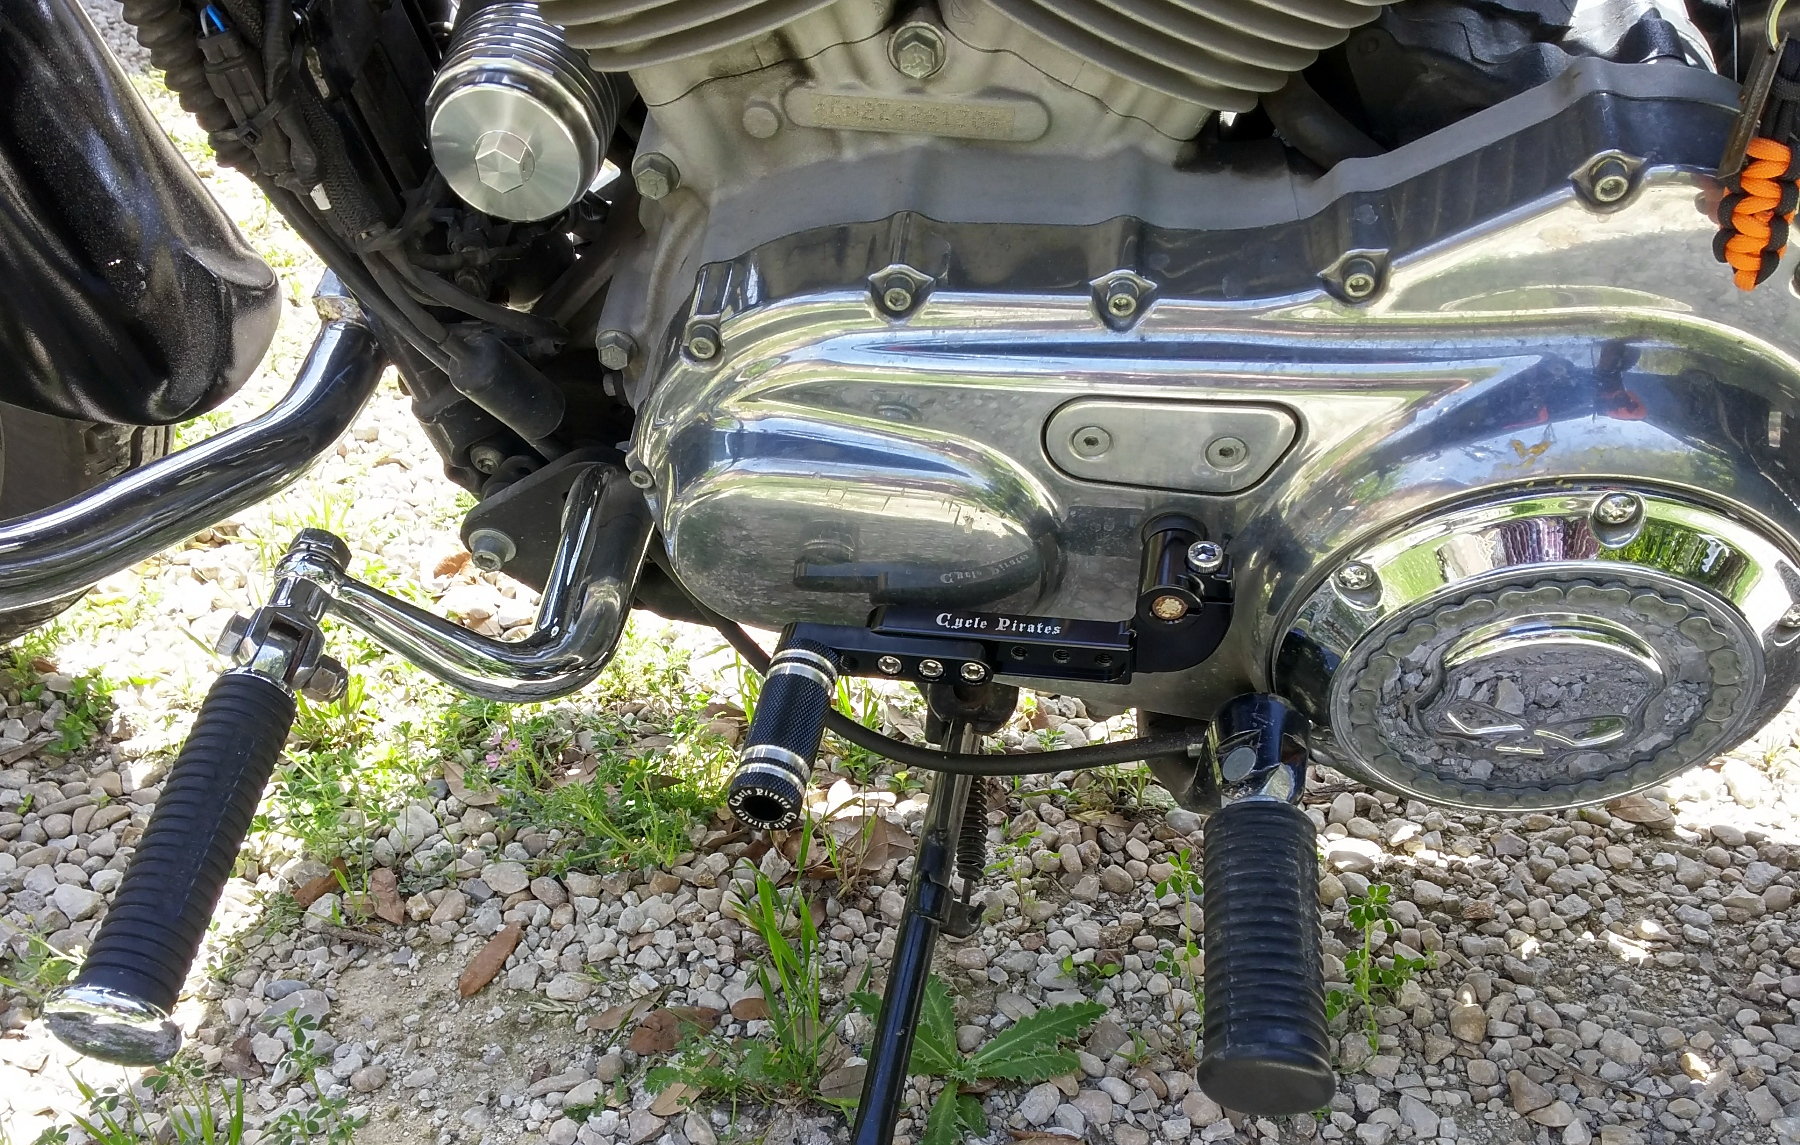
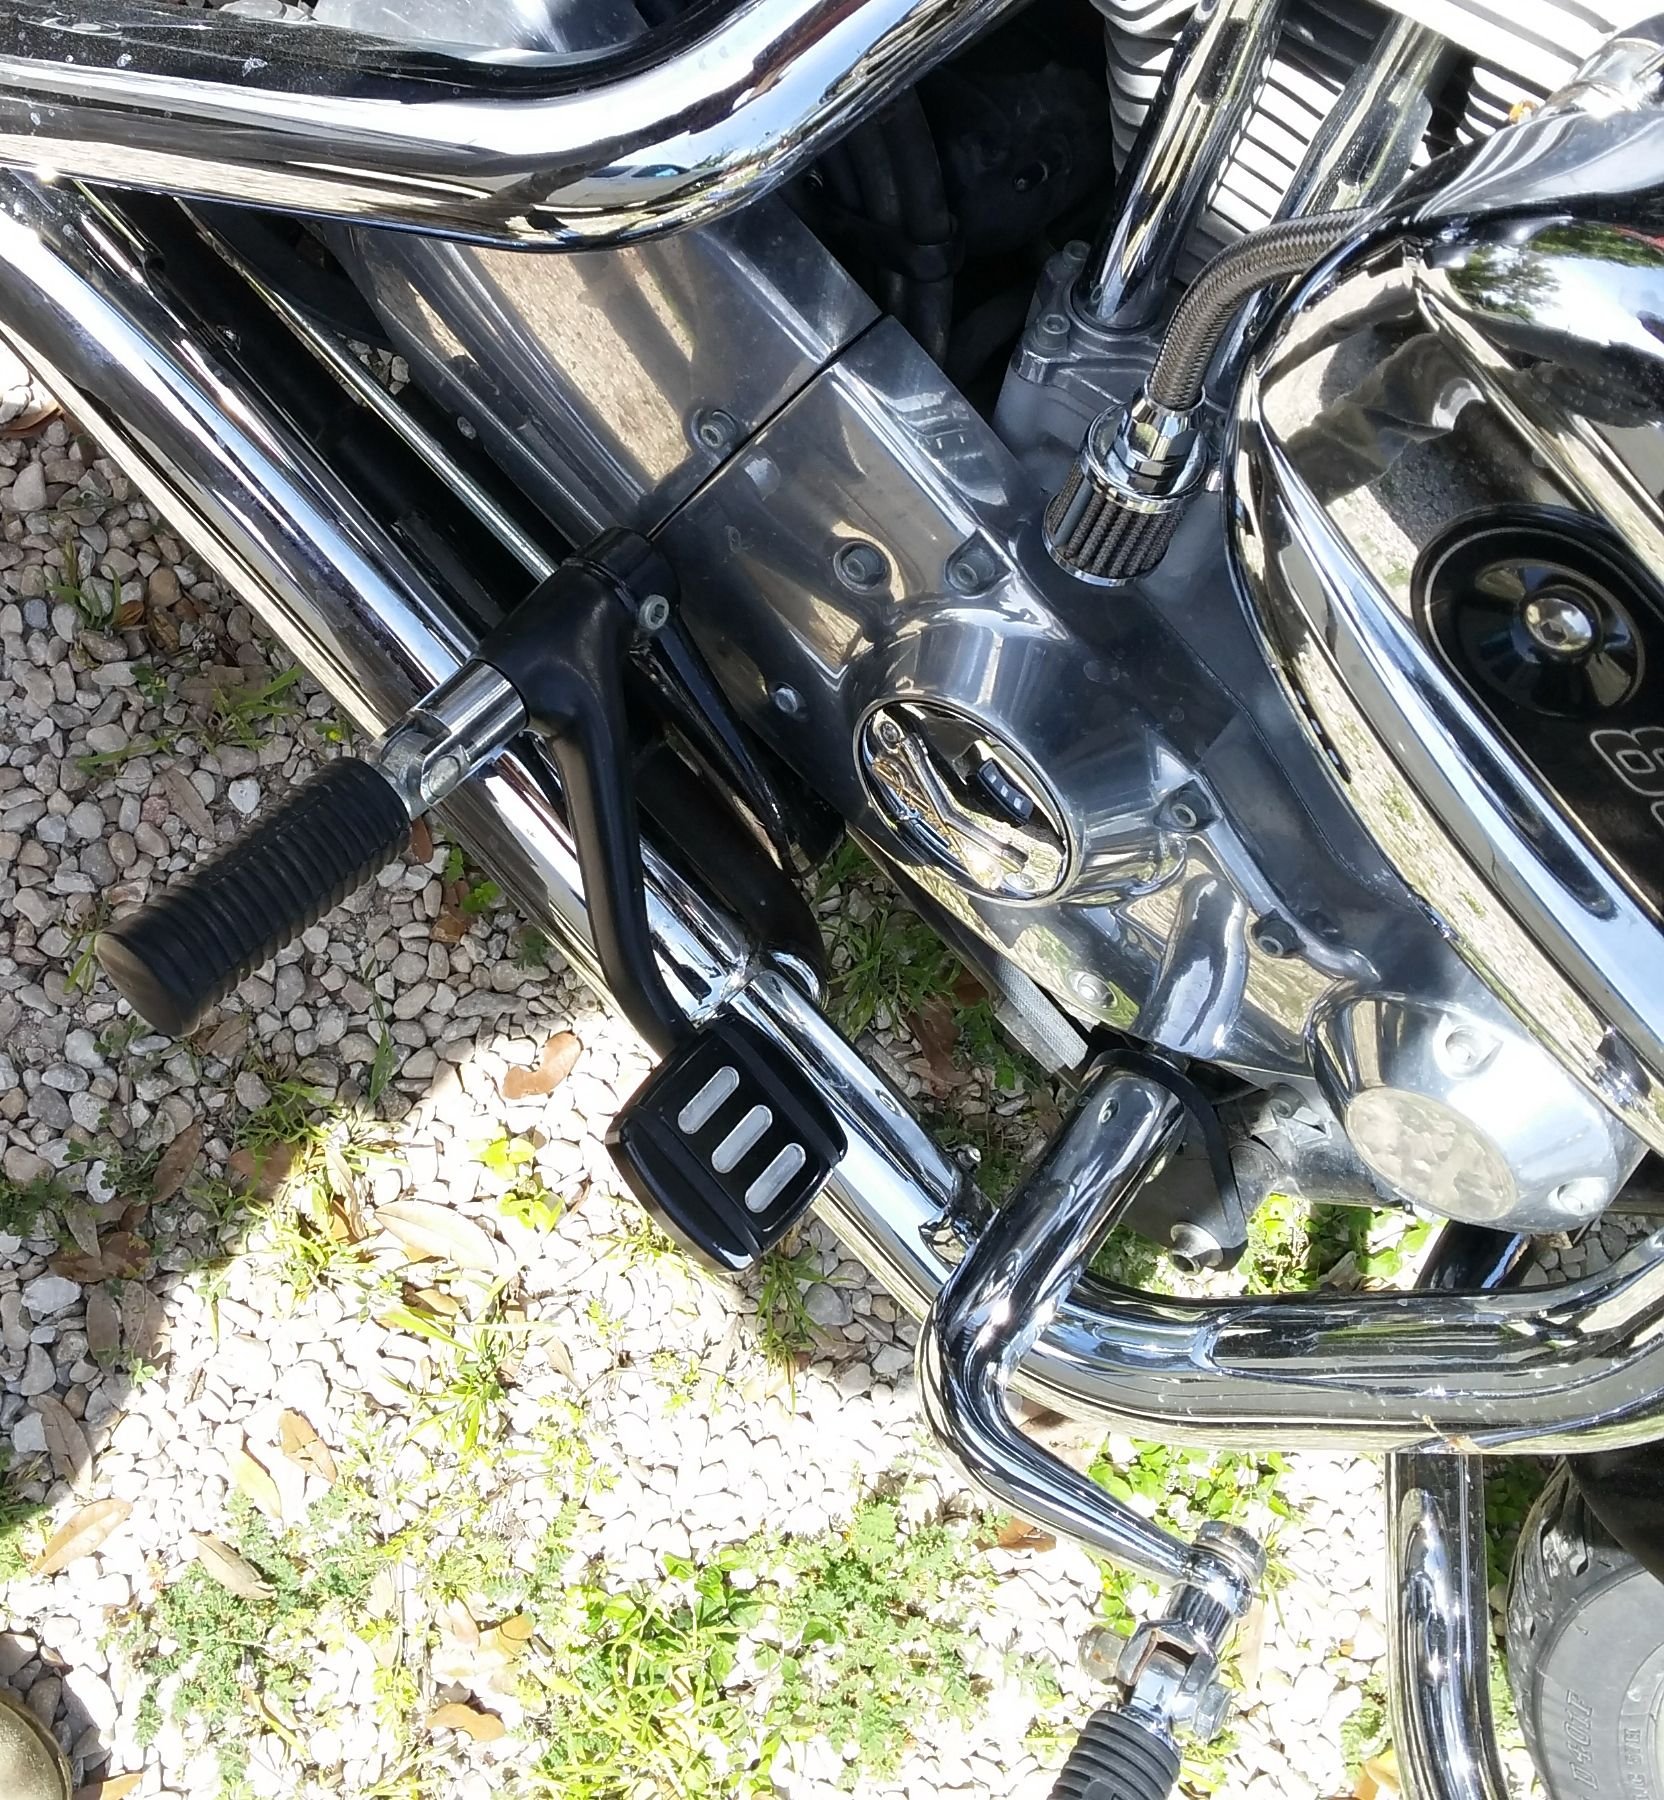
What did you do to Your Sportster Today?
#2871
I started a thread about this weird wiring issue. Any help would be appreciated.
https://www.hdforums.com/forum/sport...y-to-coil.html
#2872
Join Date: Aug 2013
Location: Somewhere on the Bourbon trail
Posts: 5,623
Received 1,623 Likes
on
1,158 Posts
Lots of pollen here this time of year. That yellow stuff gets on everything.
I put the 2-up seat on Custom and took the wife to a place by the lake for a Chicago dog and deep dish for lunch. She's from the Windy City and misses the food. Rode around the lake and came back to finish work.
I'll have to wash all that pollen off now.
I put the 2-up seat on Custom and took the wife to a place by the lake for a Chicago dog and deep dish for lunch. She's from the Windy City and misses the food. Rode around the lake and came back to finish work.
I'll have to wash all that pollen off now.
#2873
#2874
Finally got it running again, after a few hiccups. Late last season the exhaust system balance pipe (2011 model) broke to the rear of the rear muffler. It was easy enough to find a near new secondhand one, although replacement was a bit of a chore.
On top of that I found that the rear flasher light bar had also broken. This is part of the H-D relocation kit for installing saddlebags. It is held on by two integral studs, one of which had broken. That task was also a chore! The original installation involves splicing the stock wires and using heat-shrink connectors, which are great. However they can only be removed by cutting the whole connector out - which left the wires too short to reconnect them! A fresh pack along with extra wire was necessary, meaning not one but two connectors per wire, not my proudest piece of electrical handiwork!
Finally I bought a pair of the factory extended flasher buttons. After an inordinate fight I finally got them installed and working. I feel like I've been through three successive wrestling matches.....
#2875
#2876
#2878
I really hate torx headed screws.
All I am trying to do is install an engine guard before I take my bike to my next safety course on May 7th. I figured it would be a good precaution. I'm not mechanical but this looked easy enough. First screw was tight but gave. The second one started slipping almost immediately. Did my homework. Heated it up (it's cold up here) and tried it with a piece of silicone glove for grip. No better. Tried it with an allen wrench, no better, probably made it worse. Tried vice grips to get a hold of it but that was a futile effort too. The next thing I've heard to try is to get a Dremel Tool and cut two lines in the top of the screw so I can use a screw driver to get it loosened. Does this make sense? How hard is this to do? Will I end up making it worse and even more expensive to fix? This is not a good month for extra expenses but more than that, I want to do my own work and I want to be able to say be able to report what I did to my Sporty today and not have it be a stripped screw head.
All I am trying to do is install an engine guard before I take my bike to my next safety course on May 7th. I figured it would be a good precaution. I'm not mechanical but this looked easy enough. First screw was tight but gave. The second one started slipping almost immediately. Did my homework. Heated it up (it's cold up here) and tried it with a piece of silicone glove for grip. No better. Tried it with an allen wrench, no better, probably made it worse. Tried vice grips to get a hold of it but that was a futile effort too. The next thing I've heard to try is to get a Dremel Tool and cut two lines in the top of the screw so I can use a screw driver to get it loosened. Does this make sense? How hard is this to do? Will I end up making it worse and even more expensive to fix? This is not a good month for extra expenses but more than that, I want to do my own work and I want to be able to say be able to report what I did to my Sporty today and not have it be a stripped screw head.
#2879
#2880
I really hate torx headed screws.
All I am trying to do is install an engine guard before I take my bike to my next safety course on May 7th. I figured it would be a good precaution. I'm not mechanical but this looked easy enough. First screw was tight but gave. The second one started slipping almost immediately. Did my homework. Heated it up (it's cold up here) and tried it with a piece of silicone glove for grip. No better. Tried it with an allen wrench, no better, probably made it worse. Tried vice grips to get a hold of it but that was a futile effort too. The next thing I've heard to try is to get a Dremel Tool and cut two lines in the top of the screw so I can use a screw driver to get it loosened. Does this make sense? How hard is this to do? Will I end up making it worse and even more expensive to fix? This is not a good month for extra expenses but more than that, I want to do my own work and I want to be able to say be able to report what I did to my Sporty today and not have it be a stripped screw head.
All I am trying to do is install an engine guard before I take my bike to my next safety course on May 7th. I figured it would be a good precaution. I'm not mechanical but this looked easy enough. First screw was tight but gave. The second one started slipping almost immediately. Did my homework. Heated it up (it's cold up here) and tried it with a piece of silicone glove for grip. No better. Tried it with an allen wrench, no better, probably made it worse. Tried vice grips to get a hold of it but that was a futile effort too. The next thing I've heard to try is to get a Dremel Tool and cut two lines in the top of the screw so I can use a screw driver to get it loosened. Does this make sense? How hard is this to do? Will I end up making it worse and even more expensive to fix? This is not a good month for extra expenses but more than that, I want to do my own work and I want to be able to say be able to report what I did to my Sporty today and not have it be a stripped screw head.
Second, if you need an engine guard for a "Safety Course", try signing up for the remedial course, first.

There are extractors that are made for your situation. I bought mine at Sear's, years ago. Basically, a toothed bit, intended to be used in a reverse direction. There are various varieties of said toothed bits. Pics, below, are called "easy outs". First, you use a drill bit to prep the fastener's head, then you use the "easy out" bit, in reverse (lefty loosy), to remove the offending bolt/screw.
I'm busting your chops. We all learn, one way or another. I've used this set, or similar, many times.
Another option is to drill and/or grind the Torx head off, remove the part it's attempting to fasten (engine guard), then use a pair of Vise Grips to spin the remaining bolt out of its threaded bore.


