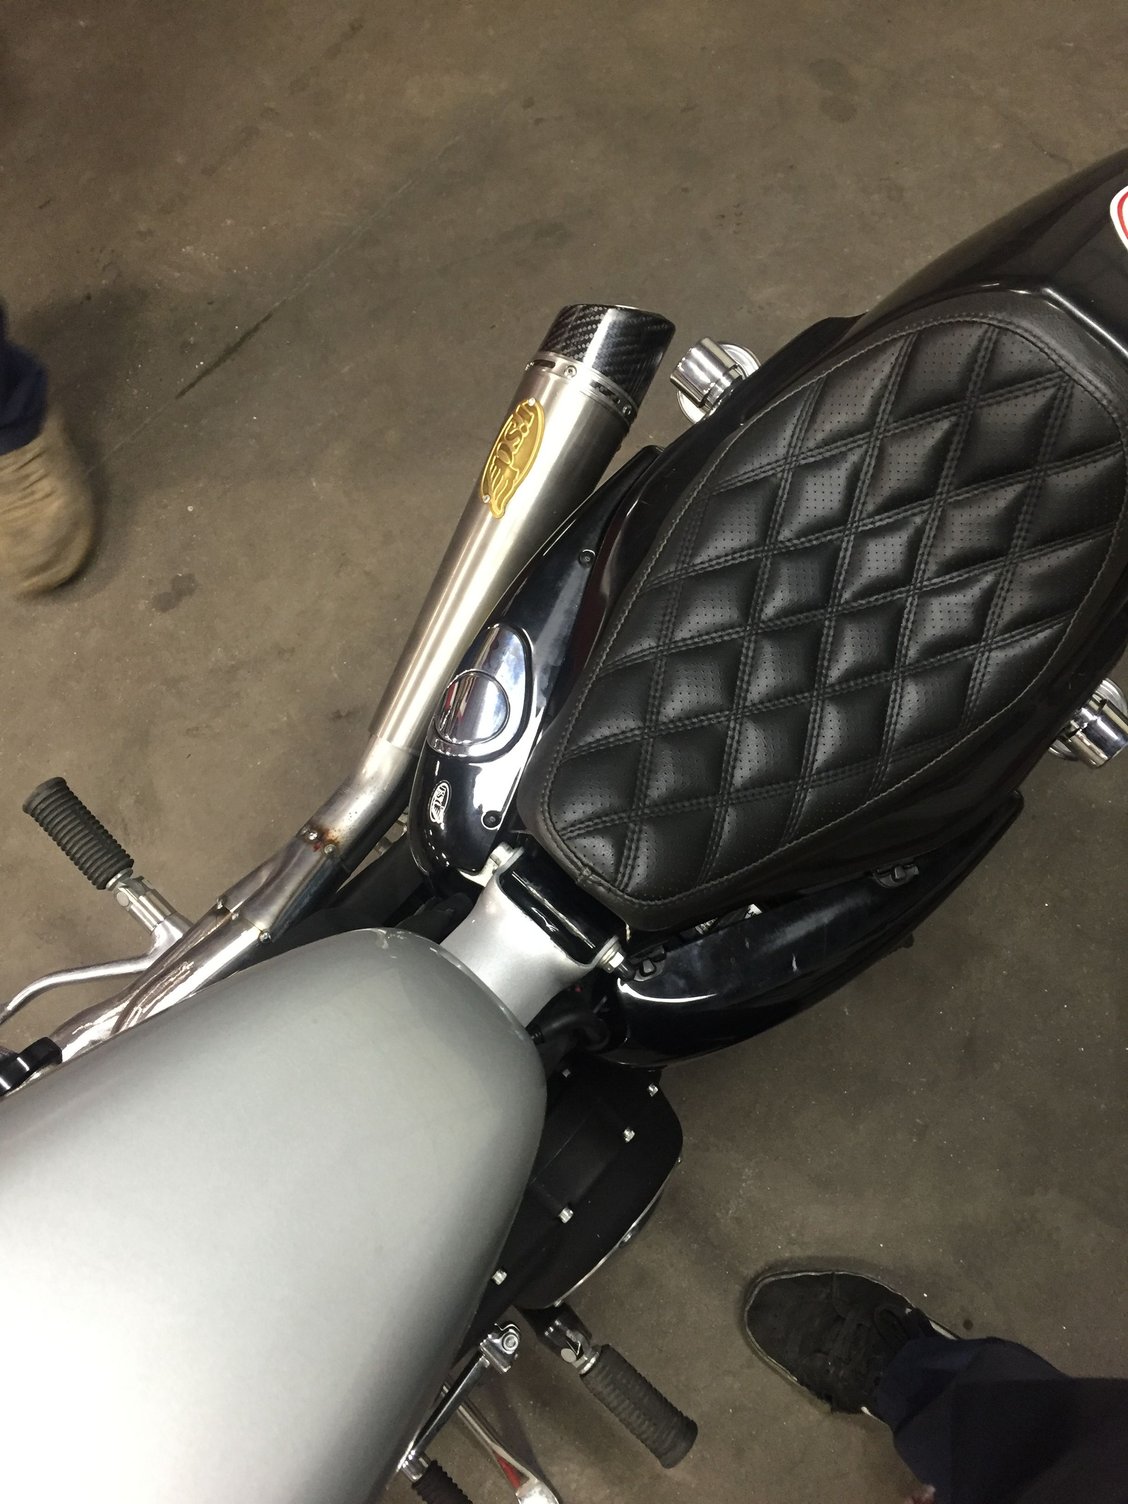
What did you do to Your Sportster Today?
#2162
It's a little labor intensive, but a couple packs of sand paper, any kind of sander (I used a quarter-sheet, electric sander I normally use for woodworking), a drill-mount buffing wheel and some polishing compound is cheap. With them off the bike, it's easier, of course. Probably about 3 hours into each leg. Often, I have more time than money, particularly in the Winter evenings. I did buy new chrome, top dust caps, though.
During the first sanding procedure, I took the time to remove casting marks, too (220 grit paper). They look a bit more refined with the casting ridges gone (factory on the right).

Double 5" (IIRC) buffing pads stacked on a single mandrel in a 1/2" drill. White buffing compound and an old dinner fork to remove the dried up compound. It can be a little messy. The legs can get hot, too, during buffing (if you're doing it right), so wear gloves.

#2163
I posted this on another thread but I am so blown away, I will post here too....
Just installed DK Customs RBT module to convert my "single element 2-wire (hot/ground)LED" saddlebag lights that I was using as additional brake lights.....all I can say is that it is “simply amazing” how a single element LED can function as a RBT light!!!! I previously tried to install a wire converter that the vendor claimed to be able to do the same, but it did not work and the wires got extremely hot. I now have two additional running light, two additional turn signals, and brake lights that strobe a few times before going solid. It's a small mod that makes a huge difference. Now I am sure to be seen from the rear. I was skeptical when I bought the the module, but Devin and Kevin assured me that it would work. The module functioned perfectly as claimed and is easy install. Would recommend this without hesitation. DK Customs rocks!
http://dkcustomproducts.com/Run-Brak...ED-RBT-MOD.htm
Will be posting video in "Calling all Sportster baggers...." thread.
Last edited by hscic; 01-07-2016 at 06:26 PM.
#2165
Removed fork and rear fender reflectors. Hit them with the heat gun, then tried the floss technique, but I had shitty floss that kept breaking. So I just grabbed some of your average string, that worked. Once they were off I peeled most of the adhesive off by hand, then used Goo Gone to get the rest off. Worked perfectly.
Used some JB weld epoxy to repair the threads on one of my handlebar switch housings, will tap it tomorrow.

Removed my AC and drilled out one of the damaged throttle body holes. Then use a helicoil system to retap and rethread it. Worked perfect, wish I had just done that for my switch housing.
Installed my new DK Customs AC brackets, filter, breather bolts, and clear cover. I got the black bobber cover as well for those rainy days. I didn't realize DK Customs had put the washers in with the filter, so I spent 2 hours looking for the right size washers in local hardware stores. I didn't find any and ended up boring out and filing some of my own at home, then I got it all put together and went to slap the filter on when I realized how stupid I was. So had to take it back apart and put the nice washers in instead. Should have just opened everything, oh well. The dog enjoyed the car ride.

Painted my oil tank bezel. It was the stock weird looking faux metal color. Didn't match my dipstick temp gauge. So I just painted it flat black. I like it, makes it look like an older sportster from a distance.

Still to come: new cables for clutch + throttle, passenger pegs and mounts, front turn signal relocate (again), rocker lockers, luggage rack quick release modification, gas tank custom paint, oil tank bezel paint, and a fuel bottle rack for the sissy bar.
Used some JB weld epoxy to repair the threads on one of my handlebar switch housings, will tap it tomorrow.

Removed my AC and drilled out one of the damaged throttle body holes. Then use a helicoil system to retap and rethread it. Worked perfect, wish I had just done that for my switch housing.
Installed my new DK Customs AC brackets, filter, breather bolts, and clear cover. I got the black bobber cover as well for those rainy days. I didn't realize DK Customs had put the washers in with the filter, so I spent 2 hours looking for the right size washers in local hardware stores. I didn't find any and ended up boring out and filing some of my own at home, then I got it all put together and went to slap the filter on when I realized how stupid I was. So had to take it back apart and put the nice washers in instead. Should have just opened everything, oh well. The dog enjoyed the car ride.

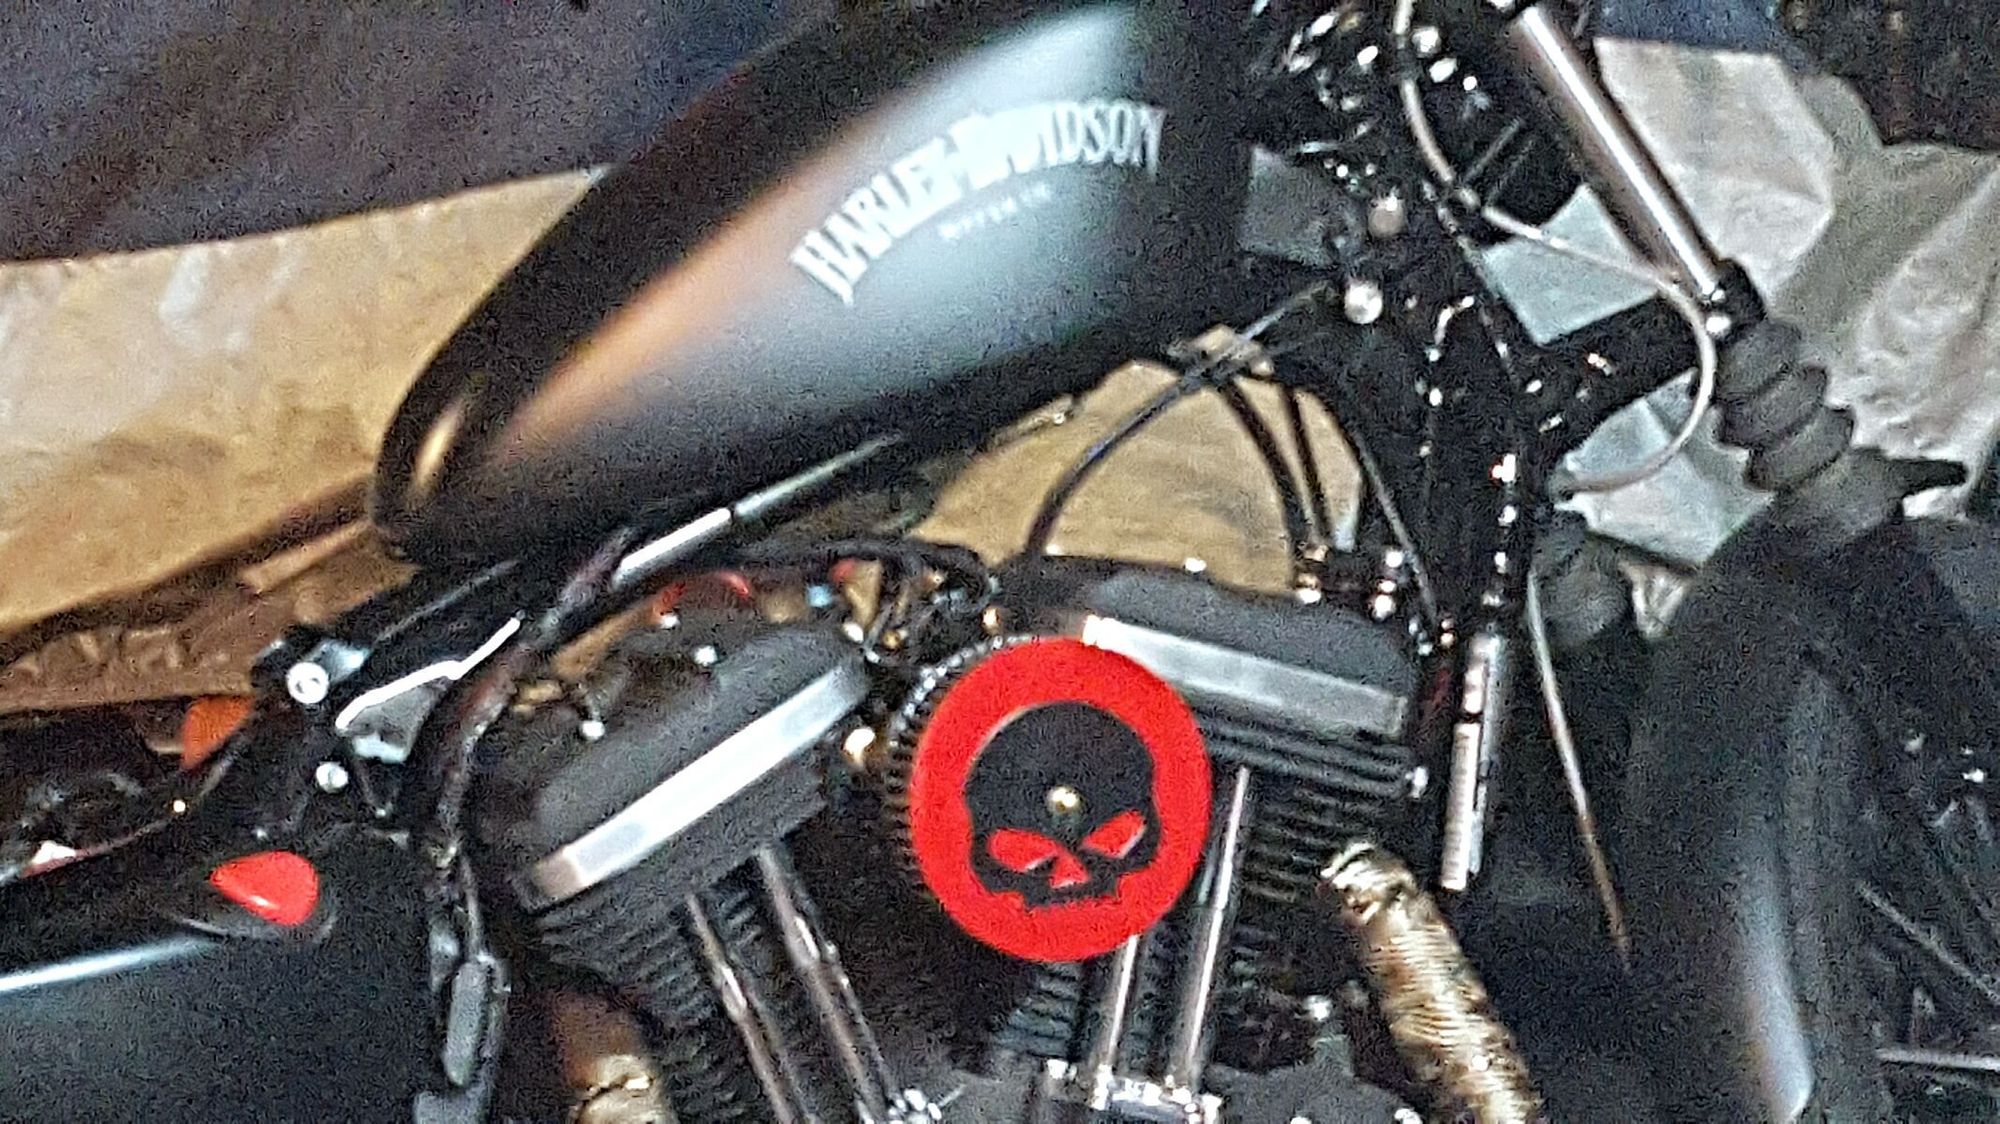
Painted my oil tank bezel. It was the stock weird looking faux metal color. Didn't match my dipstick temp gauge. So I just painted it flat black. I like it, makes it look like an older sportster from a distance.

Still to come: new cables for clutch + throttle, passenger pegs and mounts, front turn signal relocate (again), rocker lockers, luggage rack quick release modification, gas tank custom paint, oil tank bezel paint, and a fuel bottle rack for the sissy bar.
#2166
Installed some Custom Dynamics 360 degree TruWraps. Left running light isn't working though. Both Turn signals work, but only right side running light is functioning. I re-soldered the blue wire pathing on the left side. which should have solved the problem if it was a connection issue. No such luck. Sent in an email to the company. I'm thinking defective module.


#2168
Join Date: Nov 2010
Location: Red Banks, Mississippi
Posts: 17,750
Received 4,212 Likes
on
2,448 Posts
Very cool, red goes with your other red accents!
__________________
Win Up to $350.00 Cash from DK Custom This Month, Click HERE to see How!
DKCustomProducts.com
Win Up to $350.00 Cash from DK Custom This Month, Click HERE to see How!
DKCustomProducts.com
#2169
Join Date: Nov 2010
Location: Red Banks, Mississippi
Posts: 17,750
Received 4,212 Likes
on
2,448 Posts
I posted this on another thread but I am so blown away, I will post here too....
Just installed DK Customs RBT module to convert my "single element 2-wire (hot/ground)LED" saddlebag lights that I was using as additional brake lights.....all I can say is that it is “simply amazing” how a single element LED can function as a RBT light!!!! I previously tried to install a wire converter that the vendor claimed to be able to do the same, but it did not work and the wires got extremely hot. I now have two additional running light, two additional turn signals, and brake lights that strobe a few times before going solid. It's a small mod that makes a huge difference. Now I am sure to be seen from the rear. I was skeptical when I bought the the module, but Devin and Kevin assured me that it would work. The module functioned perfectly as claimed and is easy install. Would recommend this without hesitation. DK Customs rocks!
http://dkcustomproducts.com/Run-Brak...ED-RBT-MOD.htm
Will be posting video in "Calling all Sportster baggers...." thread.
Just installed DK Customs RBT module to convert my "single element 2-wire (hot/ground)LED" saddlebag lights that I was using as additional brake lights.....all I can say is that it is “simply amazing” how a single element LED can function as a RBT light!!!! I previously tried to install a wire converter that the vendor claimed to be able to do the same, but it did not work and the wires got extremely hot. I now have two additional running light, two additional turn signals, and brake lights that strobe a few times before going solid. It's a small mod that makes a huge difference. Now I am sure to be seen from the rear. I was skeptical when I bought the the module, but Devin and Kevin assured me that it would work. The module functioned perfectly as claimed and is easy install. Would recommend this without hesitation. DK Customs rocks!
http://dkcustomproducts.com/Run-Brak...ED-RBT-MOD.htm
Will be posting video in "Calling all Sportster baggers...." thread.
Watched the video...very nice!
#2170
Join Date: Nov 2010
Location: Red Banks, Mississippi
Posts: 17,750
Received 4,212 Likes
on
2,448 Posts
Removed fork and rear fender reflectors. Hit them with the heat gun, then tried the floss technique, but I had shitty floss that kept breaking. So I just grabbed some of your average string, that worked. Once they were off I peeled most of the adhesive off by hand, then used Goo Gone to get the rest off. Worked perfectly.
Used some JB weld epoxy to repair the threads on one of my handlebar switch housings, will tap it tomorrow.

Removed my AC and drilled out one of the damaged throttle body holes. Then use a helicoil system to retap and rethread it. Worked perfect, wish I had just done that for my switch housing.
Installed my new DK Customs AC brackets, filter, breather bolts, and clear cover. I got the black bobber cover as well for those rainy days. I didn't realize DK Customs had put the washers in with the filter, so I spent 2 hours looking for the right size washers in local hardware stores. I didn't find any and ended up boring out and filing some of my own at home, then I got it all put together and went to slap the filter on when I realized how stupid I was. So had to take it back apart and put the nice washers in instead. Should have just opened everything, oh well. The dog enjoyed the car ride.

Painted my oil tank bezel. It was the stock weird looking faux metal color. Didn't match my dipstick temp gauge. So I just painted it flat black. I like it, makes it look like an older sportster from a distance.

Still to come: new cables for clutch + throttle, passenger pegs and mounts, front turn signal relocate (again), rocker lockers, luggage rack quick release modification, gas tank custom paint, oil tank bezel paint, and a fuel bottle rack for the sissy bar.
Used some JB weld epoxy to repair the threads on one of my handlebar switch housings, will tap it tomorrow.

Removed my AC and drilled out one of the damaged throttle body holes. Then use a helicoil system to retap and rethread it. Worked perfect, wish I had just done that for my switch housing.
Installed my new DK Customs AC brackets, filter, breather bolts, and clear cover. I got the black bobber cover as well for those rainy days. I didn't realize DK Customs had put the washers in with the filter, so I spent 2 hours looking for the right size washers in local hardware stores. I didn't find any and ended up boring out and filing some of my own at home, then I got it all put together and went to slap the filter on when I realized how stupid I was. So had to take it back apart and put the nice washers in instead. Should have just opened everything, oh well. The dog enjoyed the car ride.

Painted my oil tank bezel. It was the stock weird looking faux metal color. Didn't match my dipstick temp gauge. So I just painted it flat black. I like it, makes it look like an older sportster from a distance.

Still to come: new cables for clutch + throttle, passenger pegs and mounts, front turn signal relocate (again), rocker lockers, luggage rack quick release modification, gas tank custom paint, oil tank bezel paint, and a fuel bottle rack for the sissy bar.
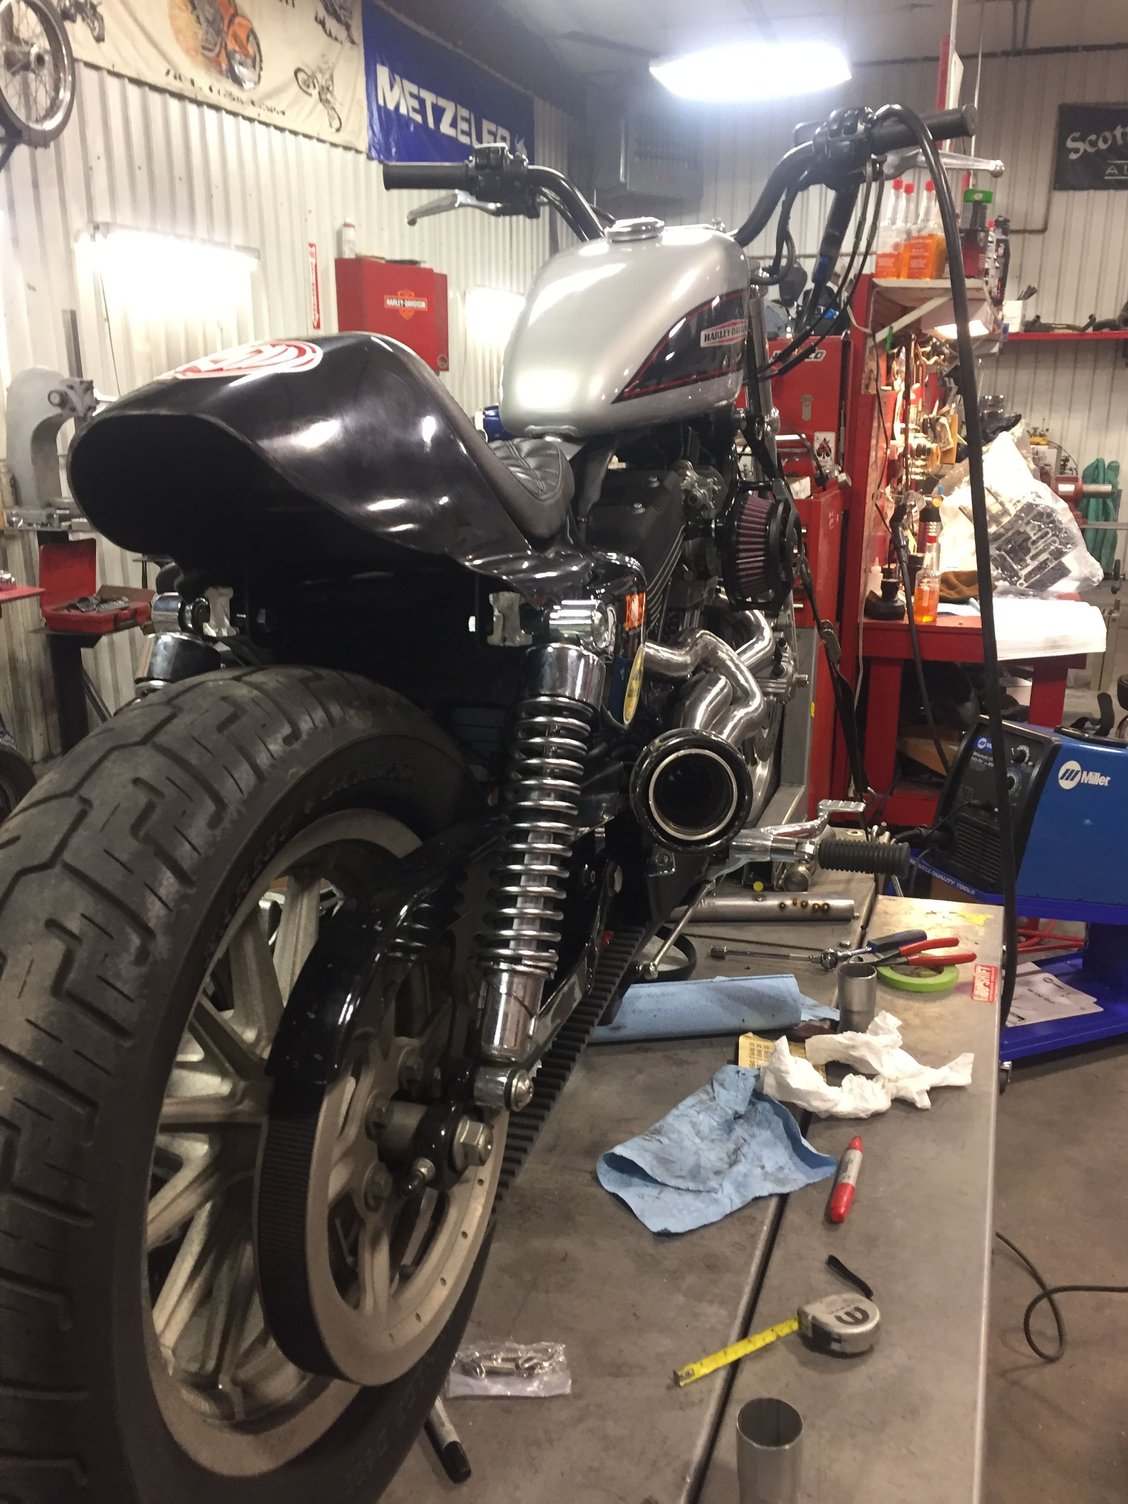
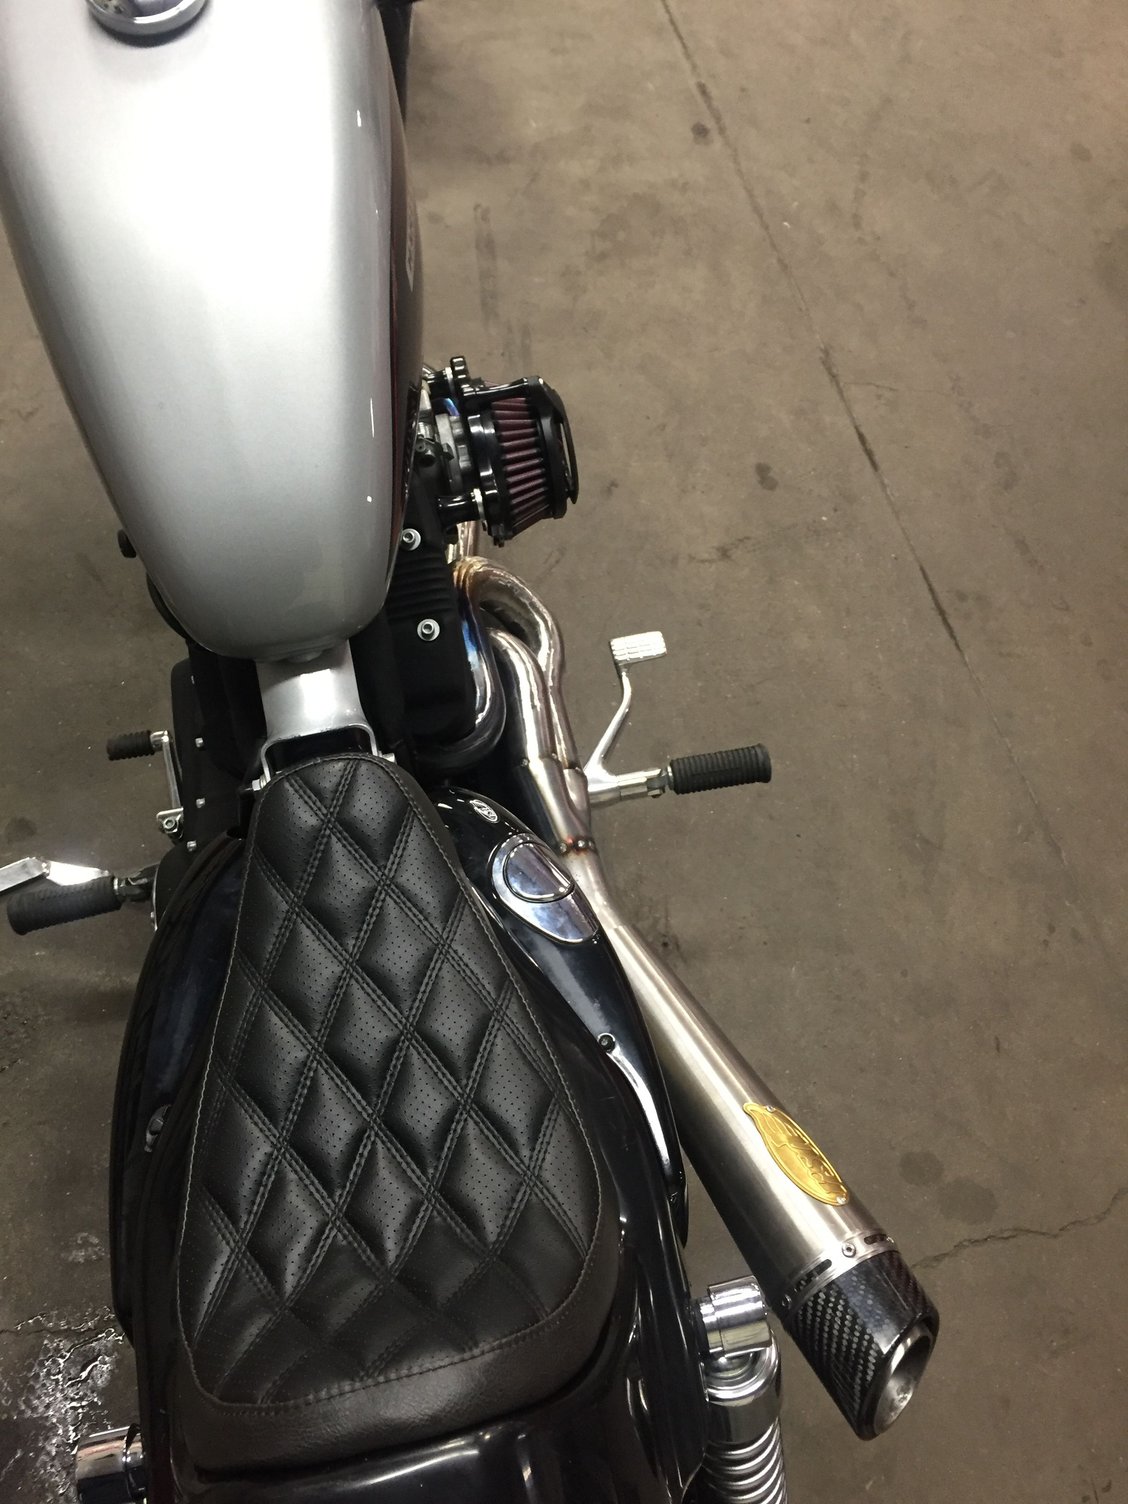
Dane, that naked 587 is looking really good. Do you mind if we post that pic on some of our websites?


