Well, Not today but Sunday and today.
Sissy bar (custom)
Flush mount gas cap (HD)
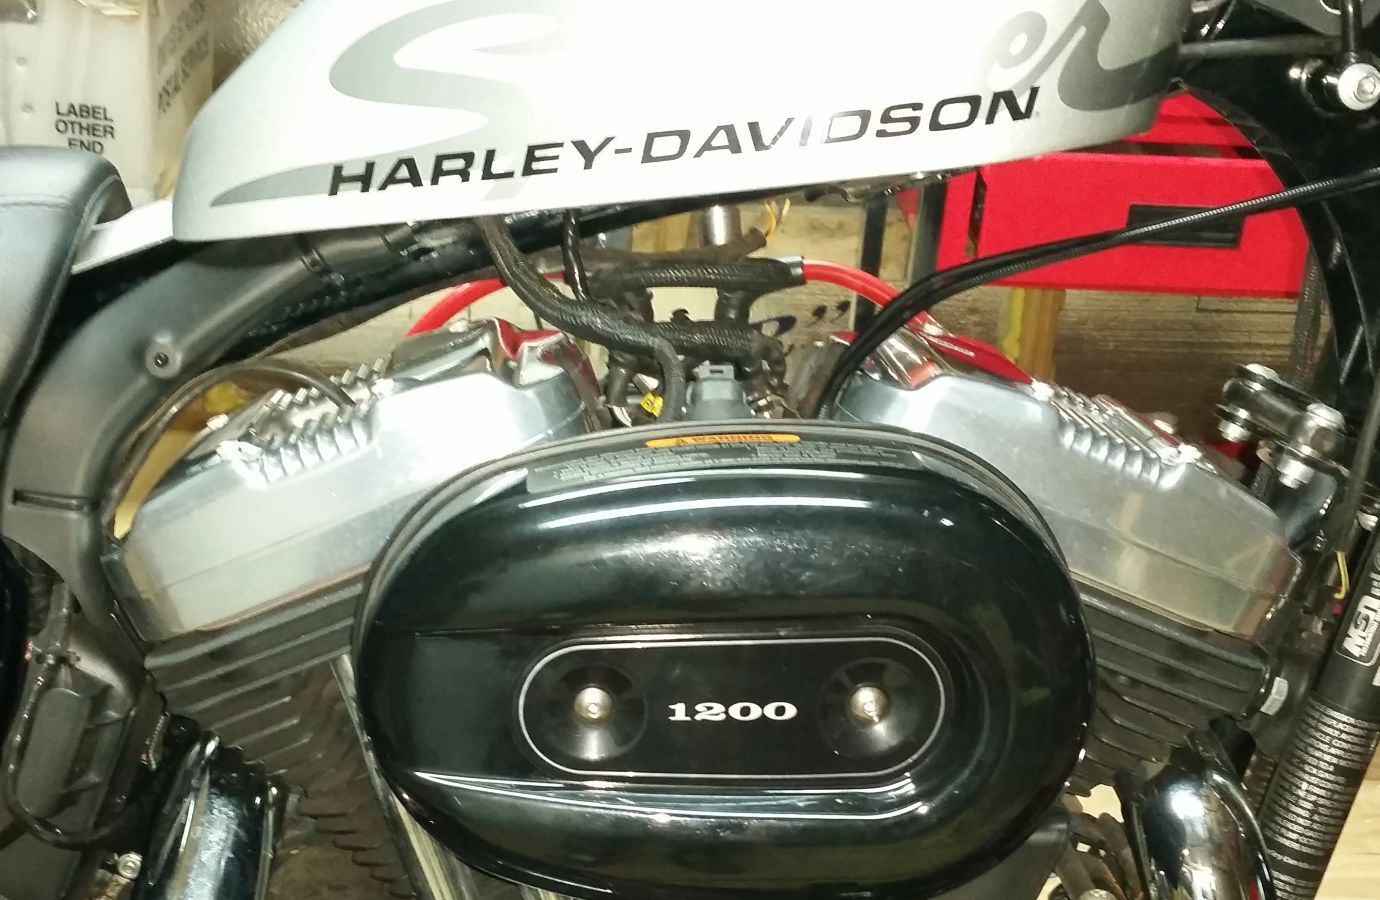
DK Customs air filter
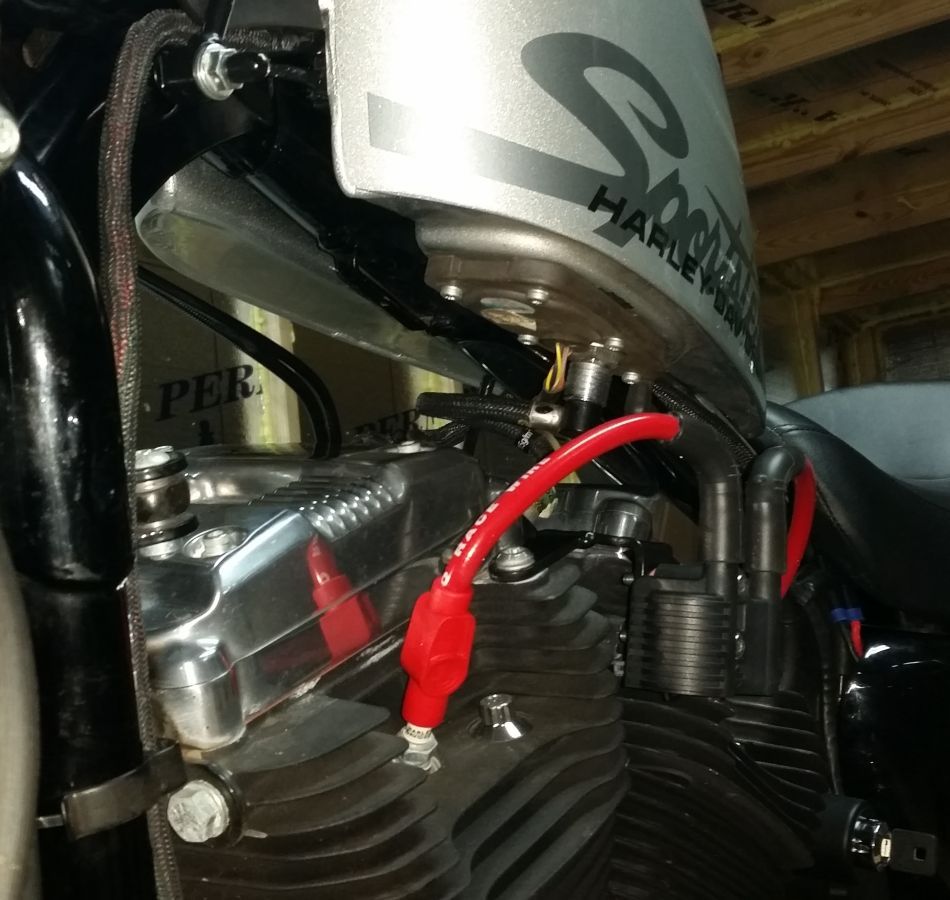
DK Customs Coil & ignition relocation & spark wires
DK Customs 3" tank lift
Wire tuck (with DK Customs self fusing silicone tape)
Future projects:
Black out the bike (I'll probably use engine paint for most of the parts)
Wash and detail the bike!!!
Ape hangers -Black (I'll probably go with 16")
DK Customs Blacked out spokes.
Kuryakyn ISO footpegs/floorboards (black)
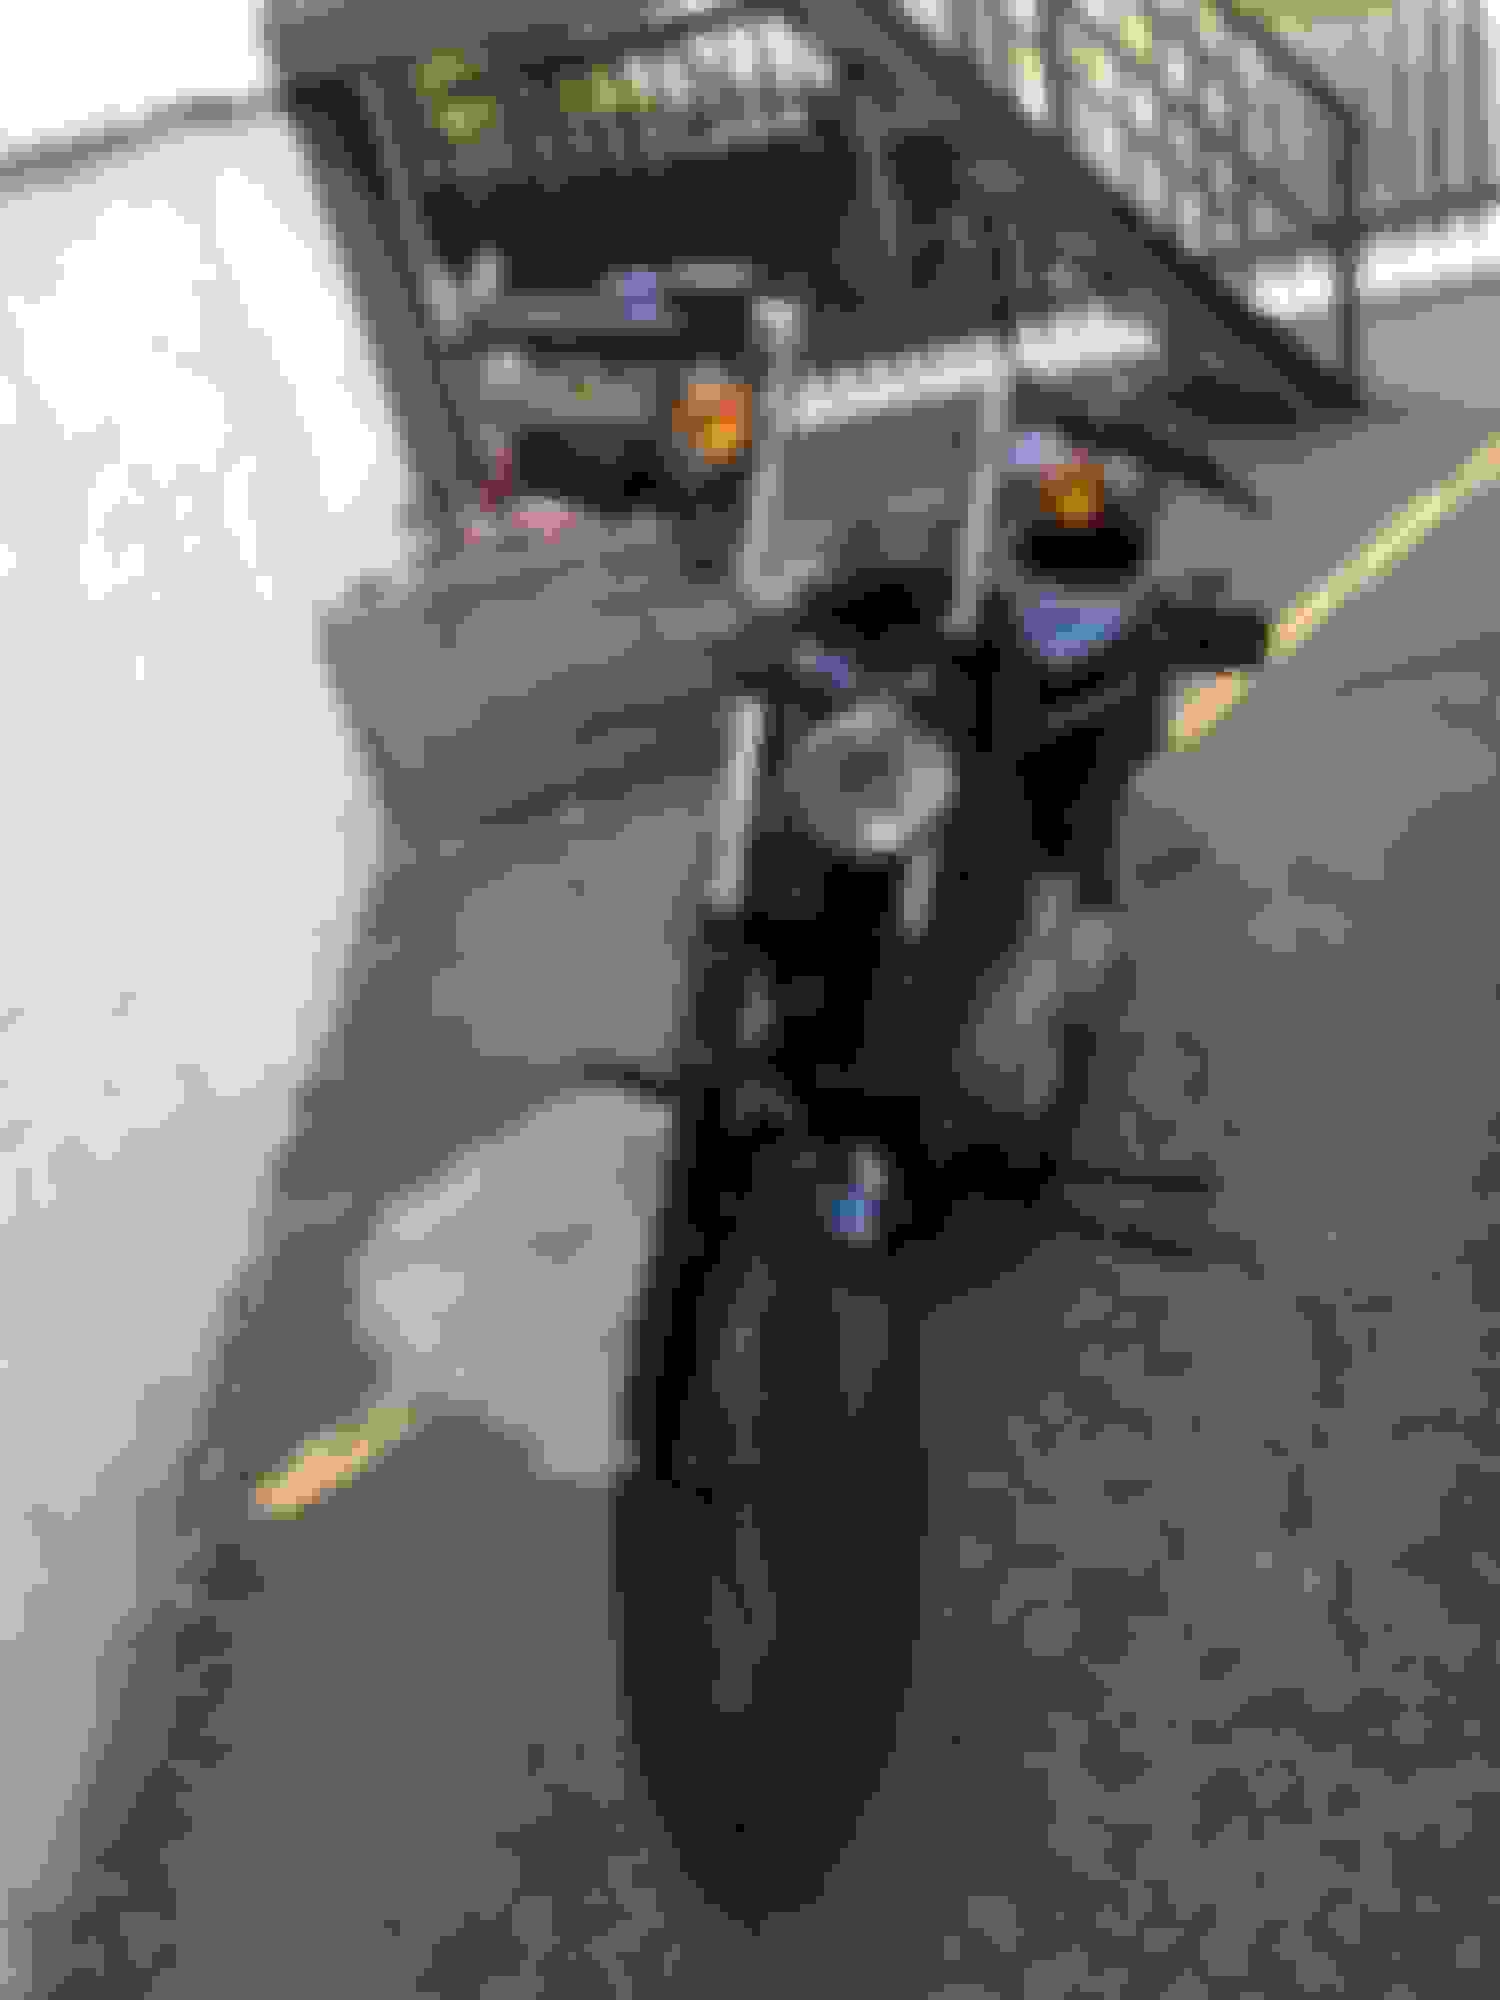
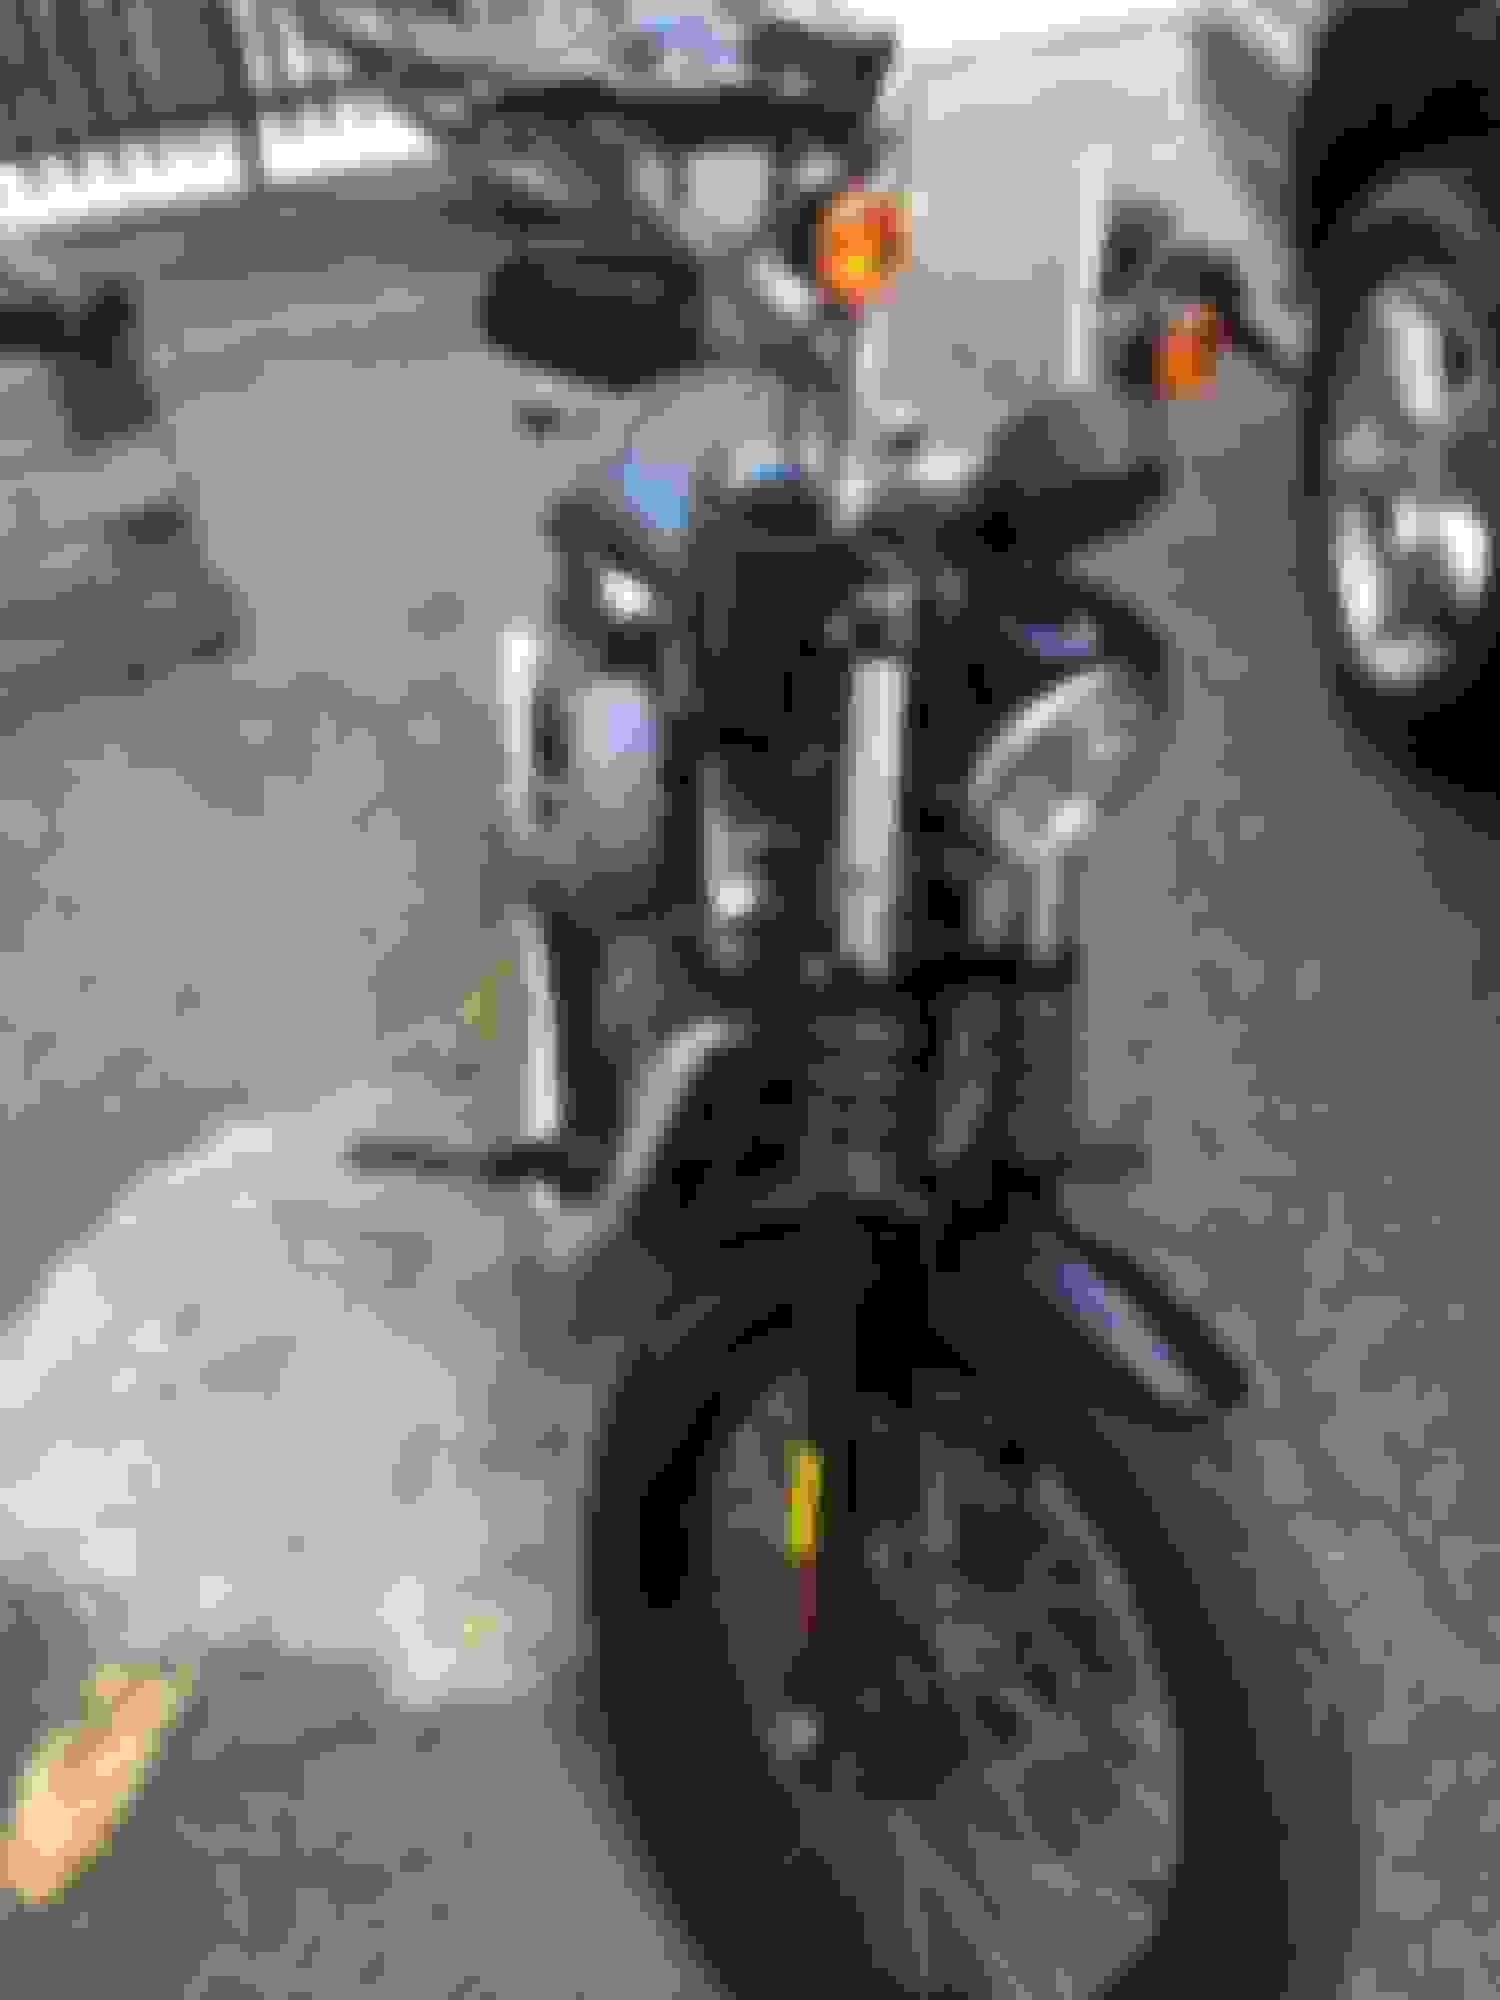
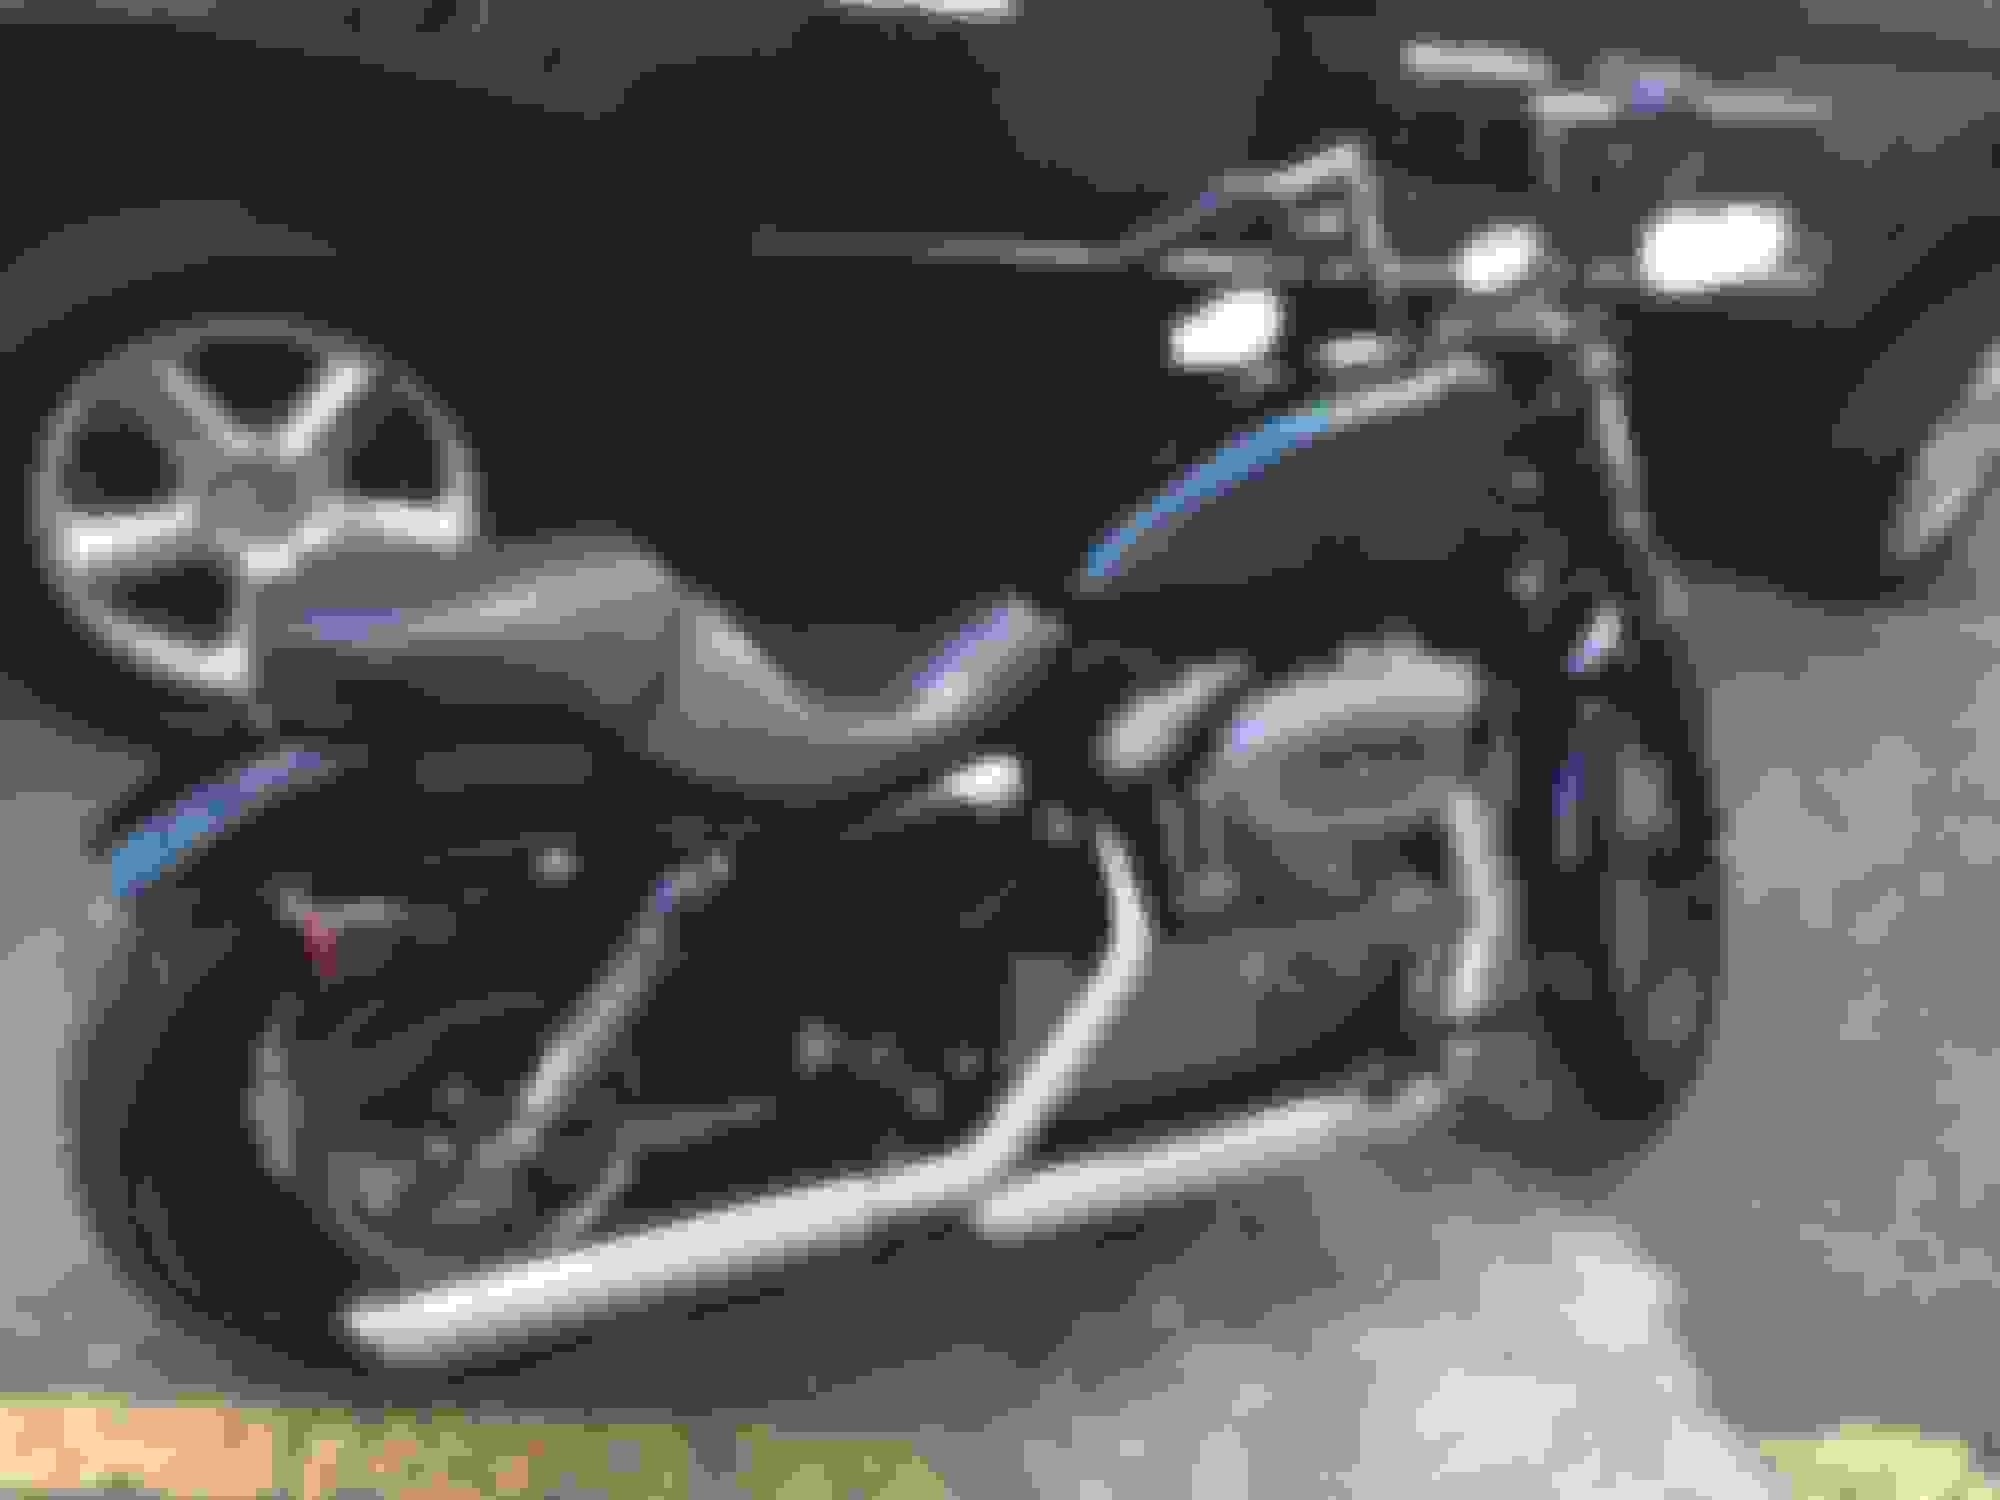
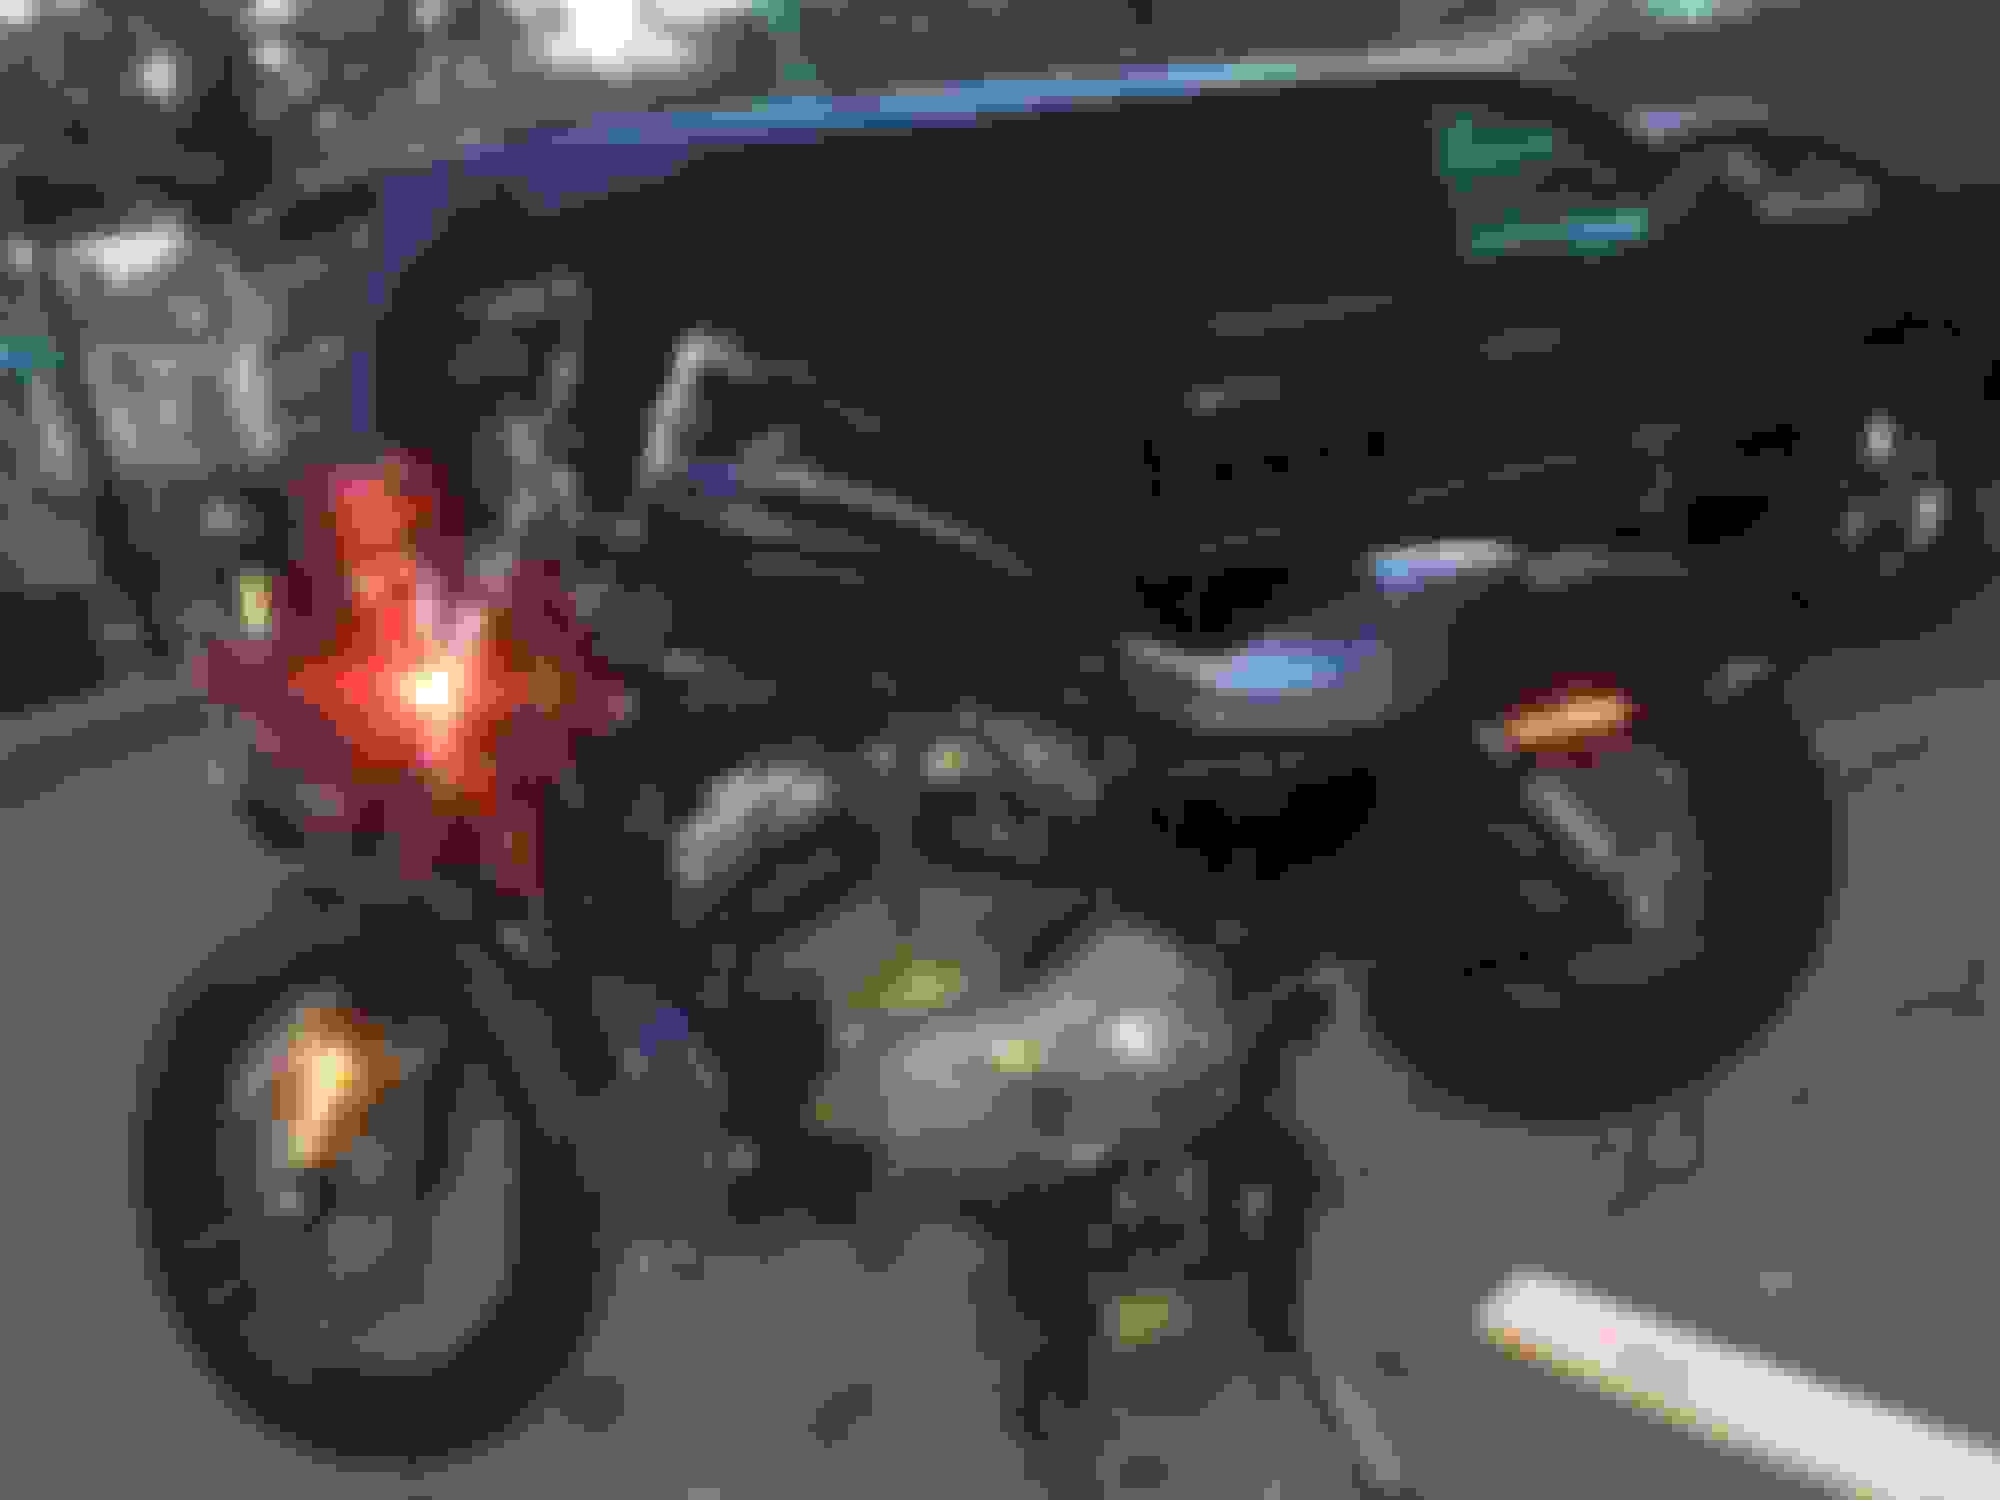
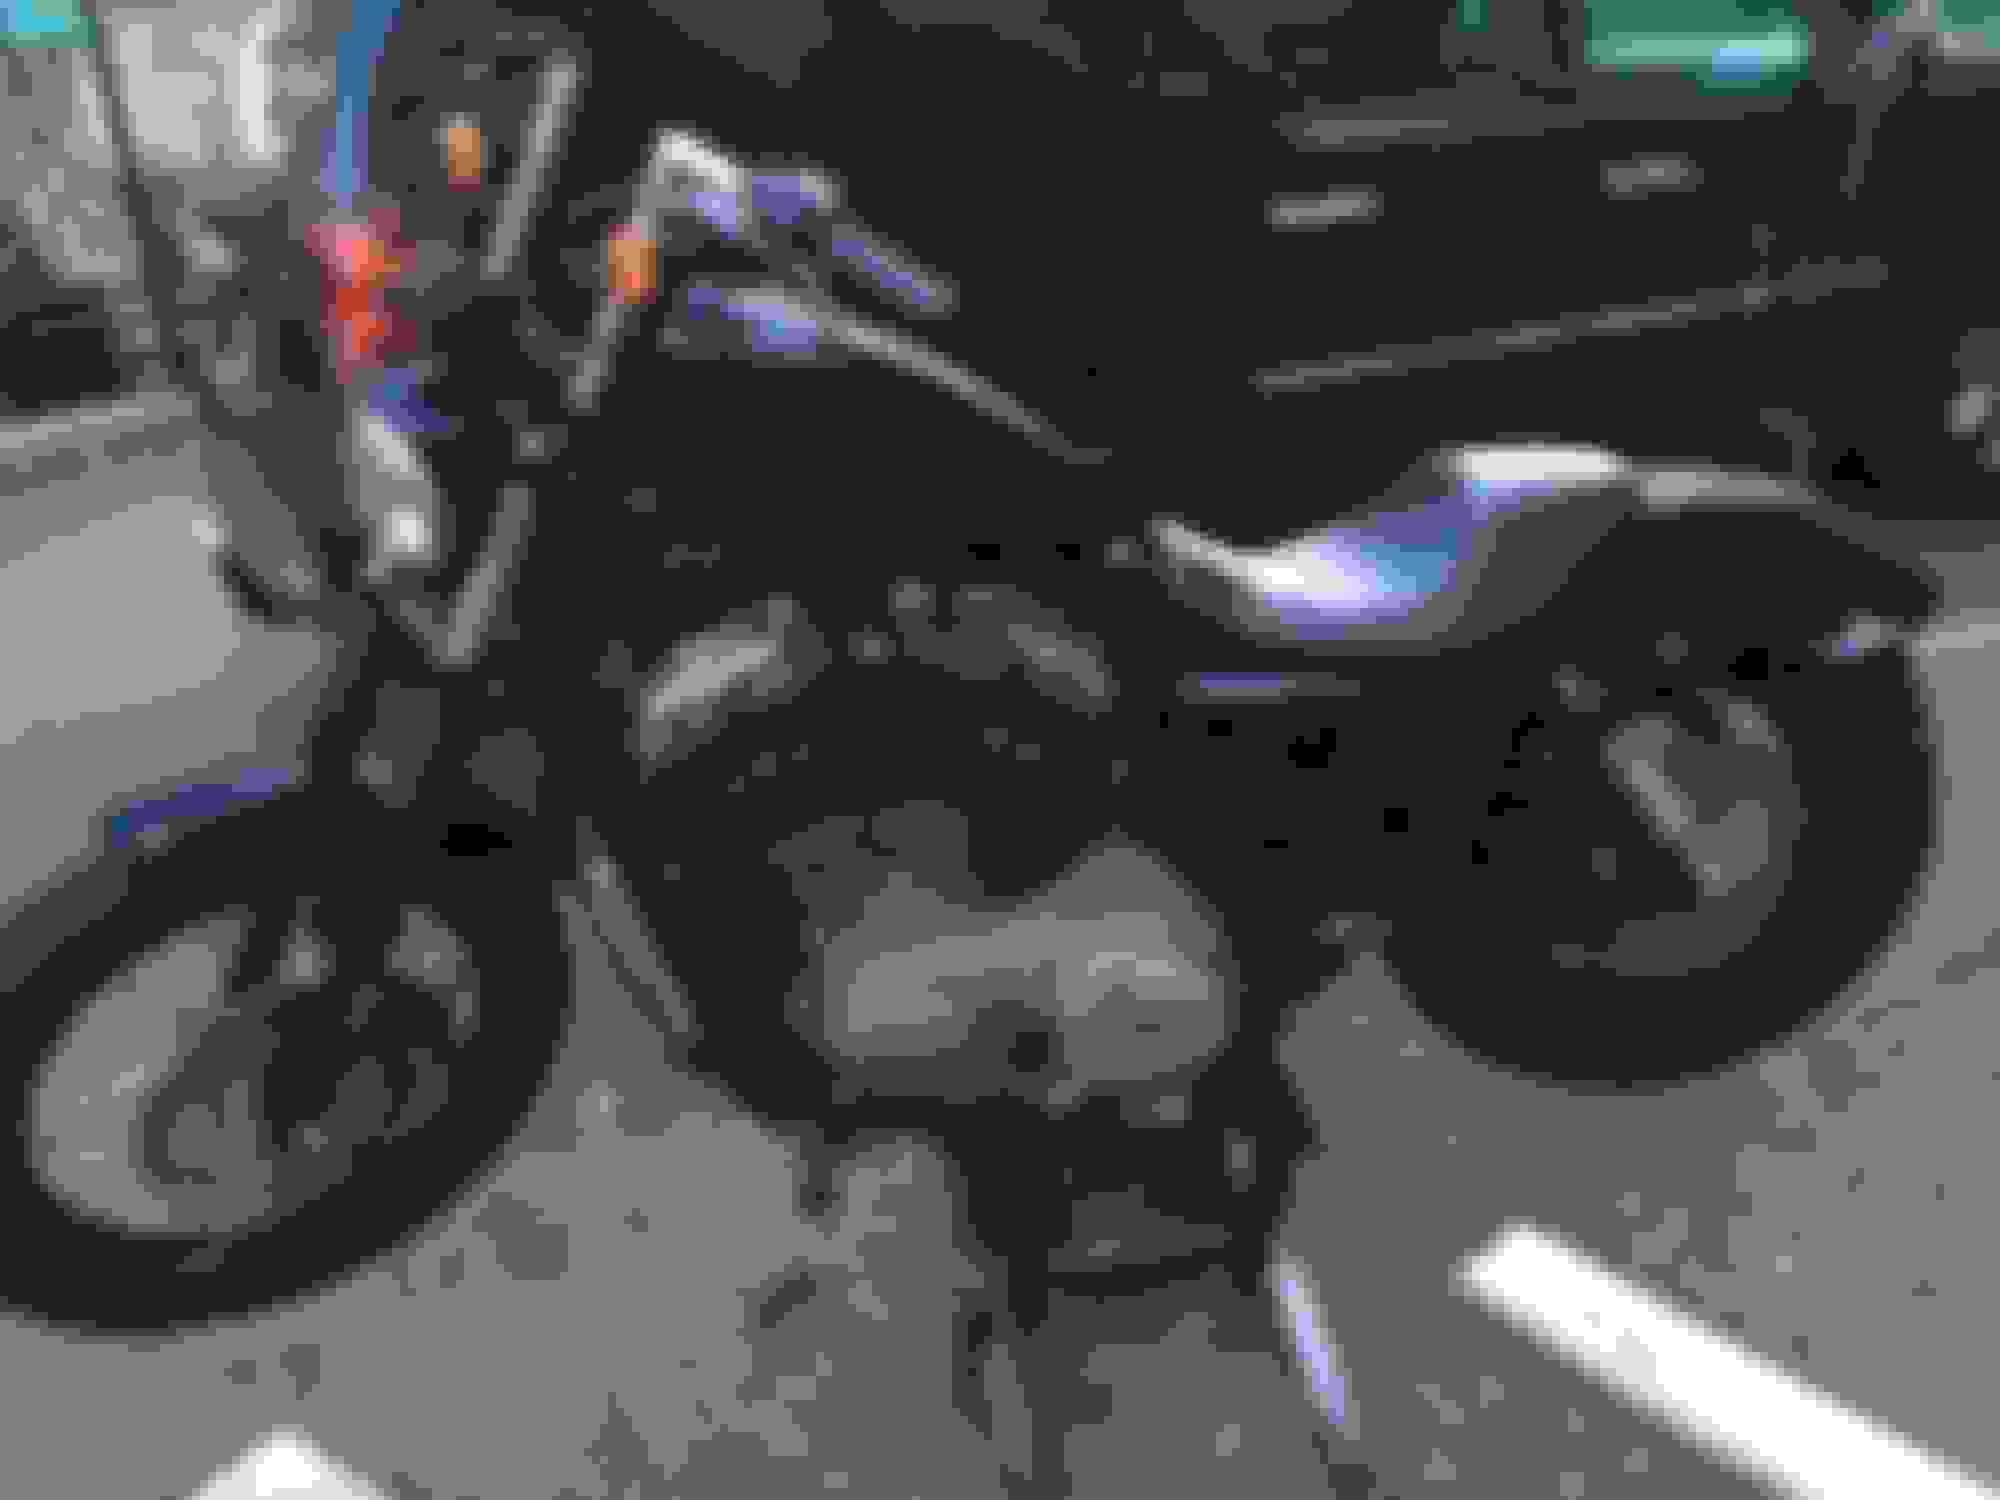
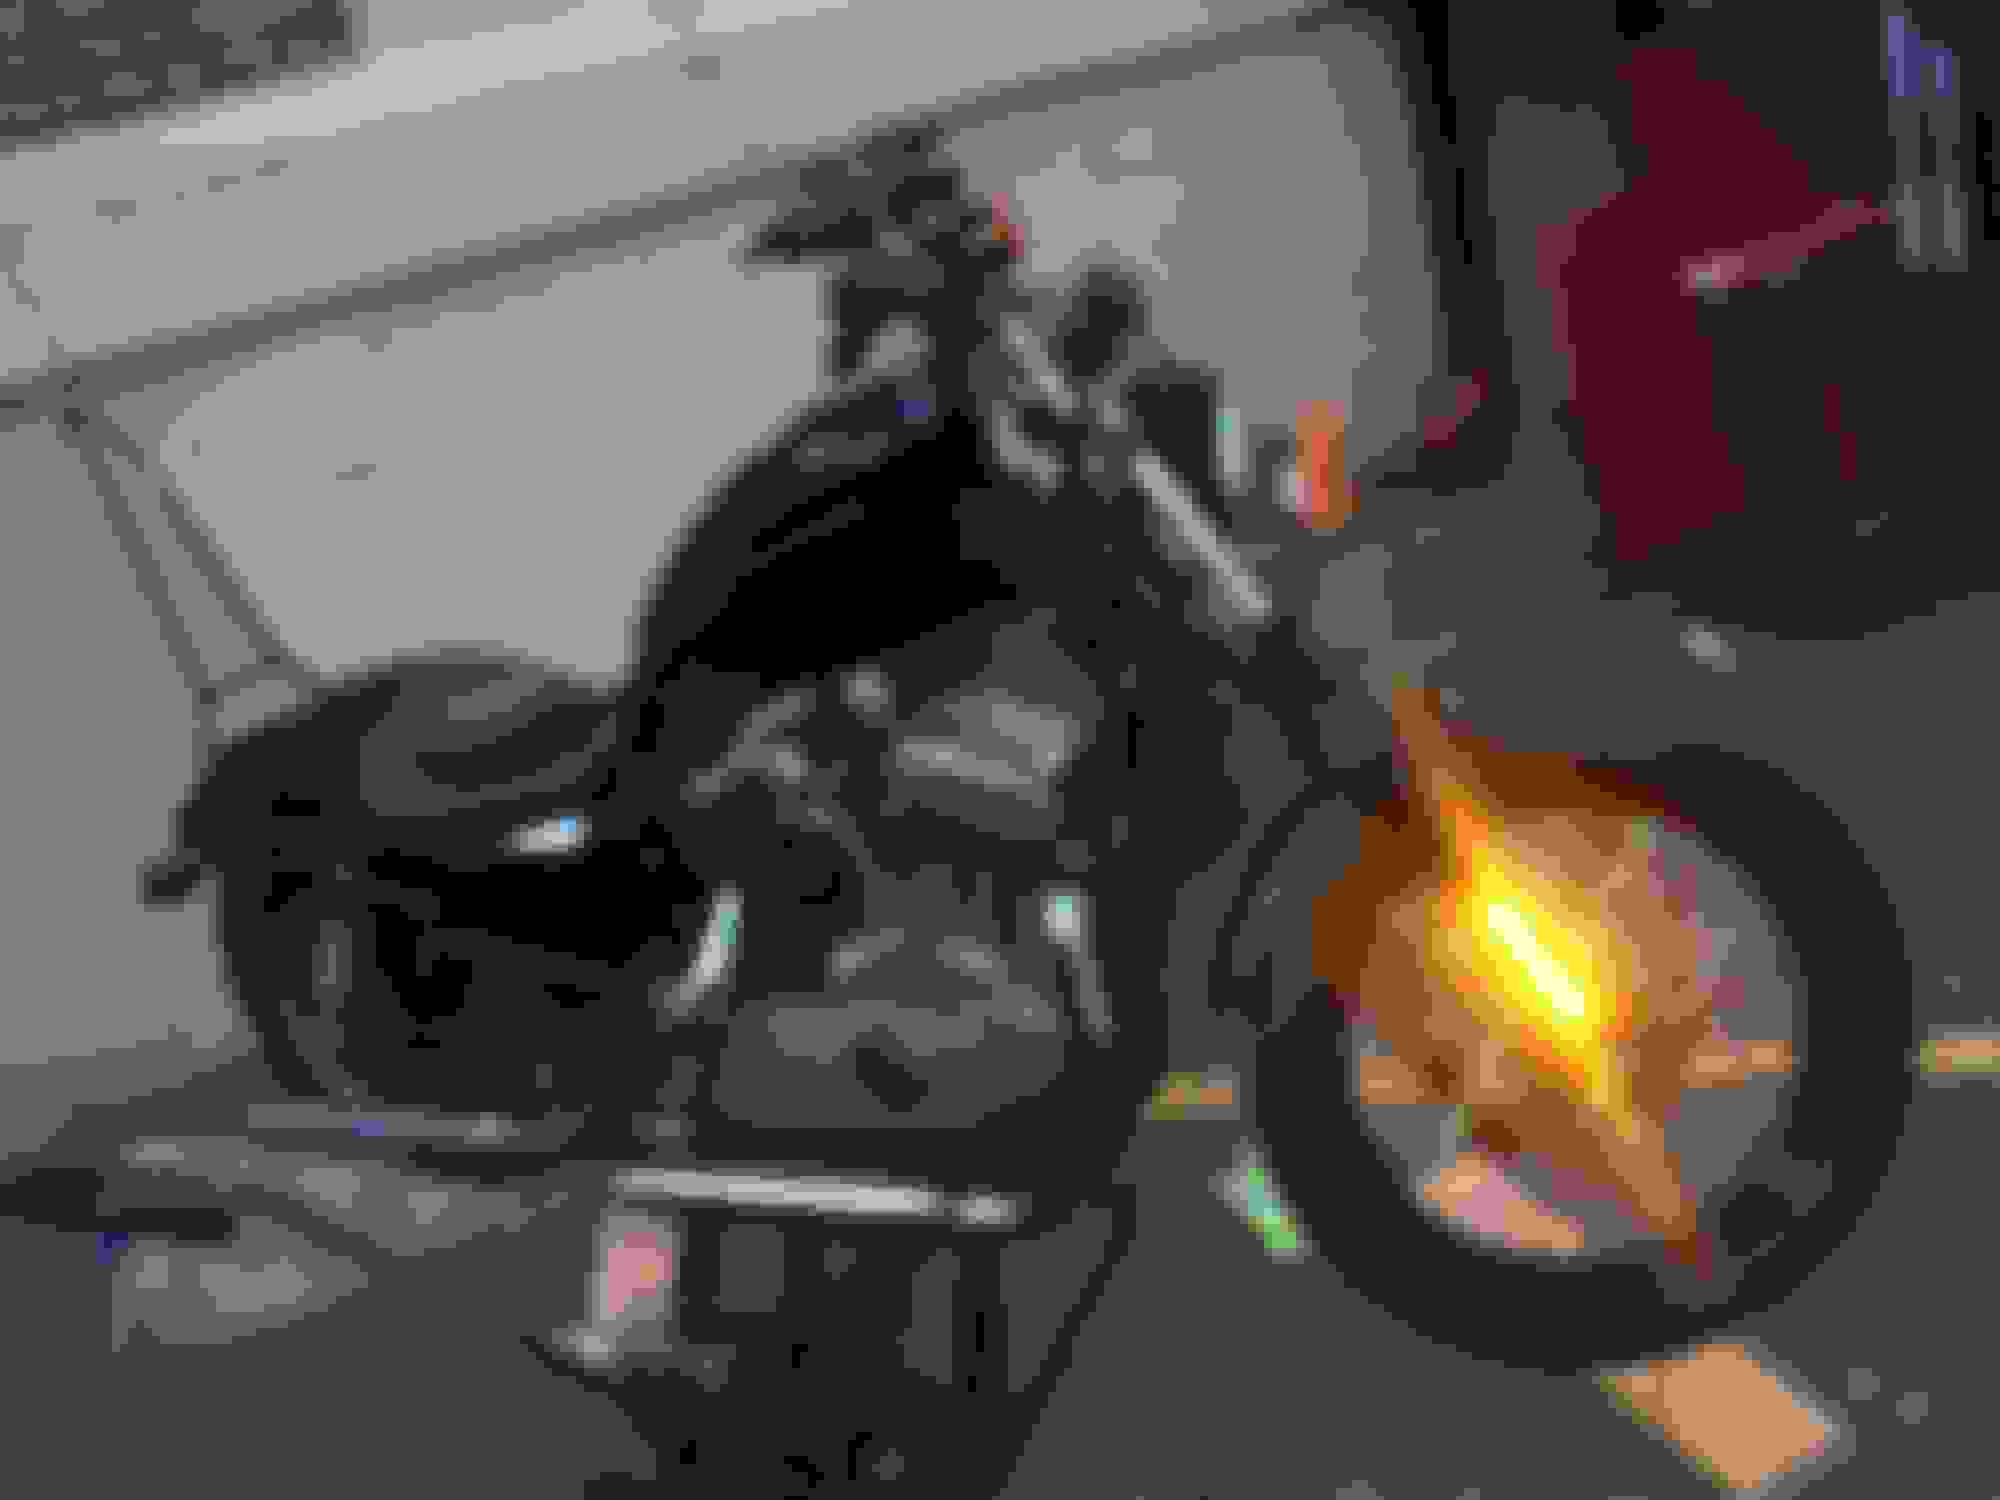
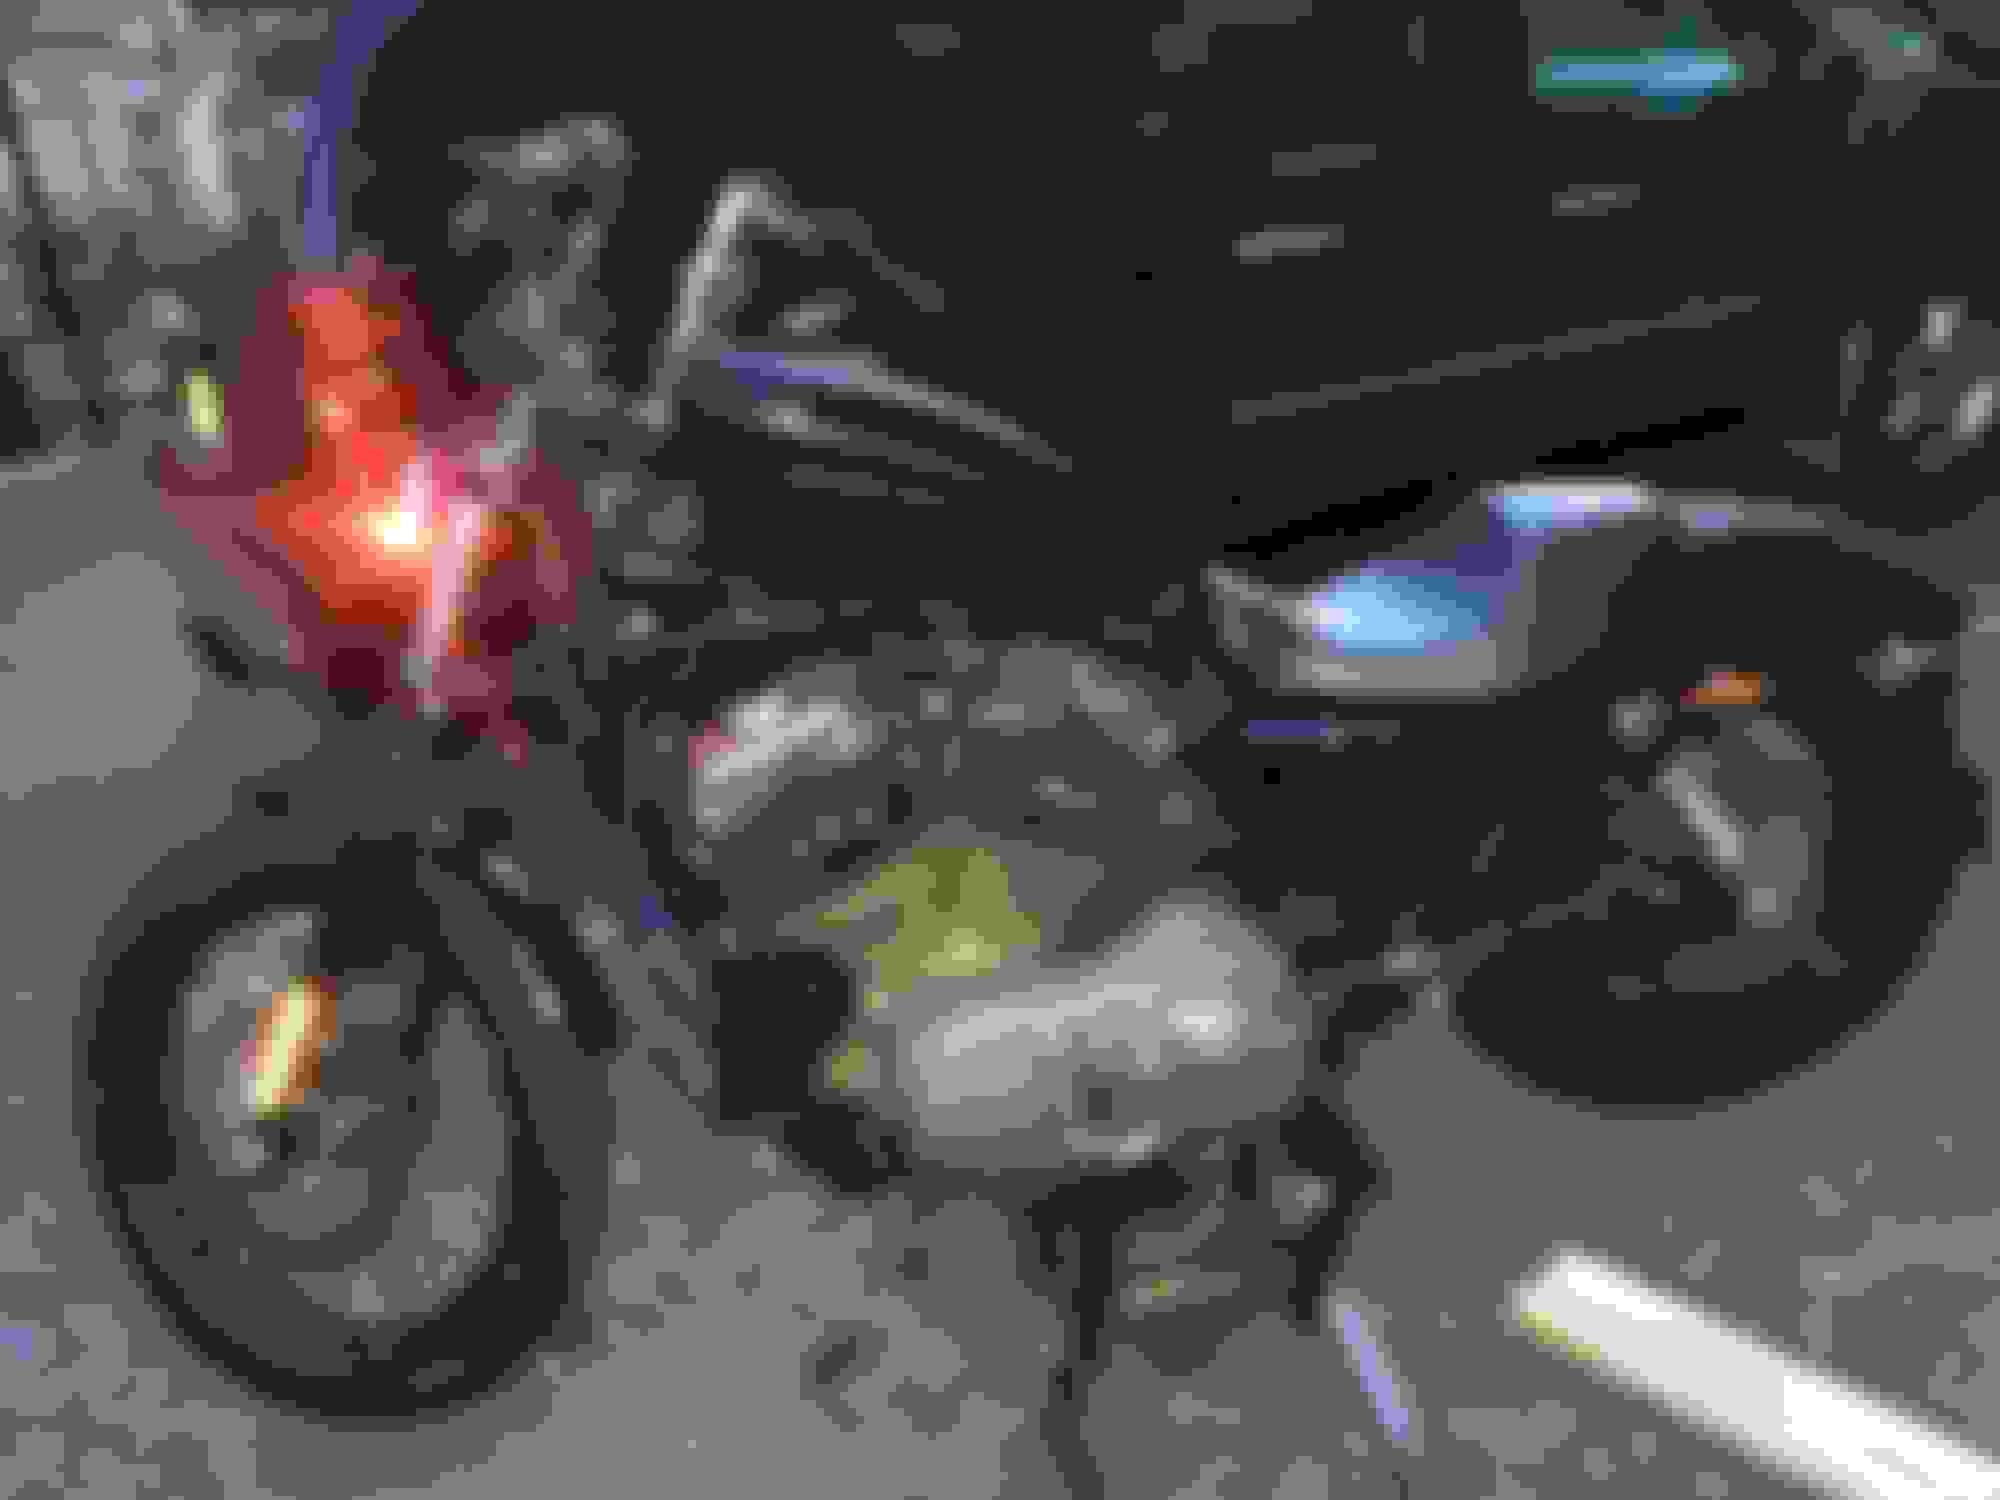
These pictures show the bike as I have purchased her:
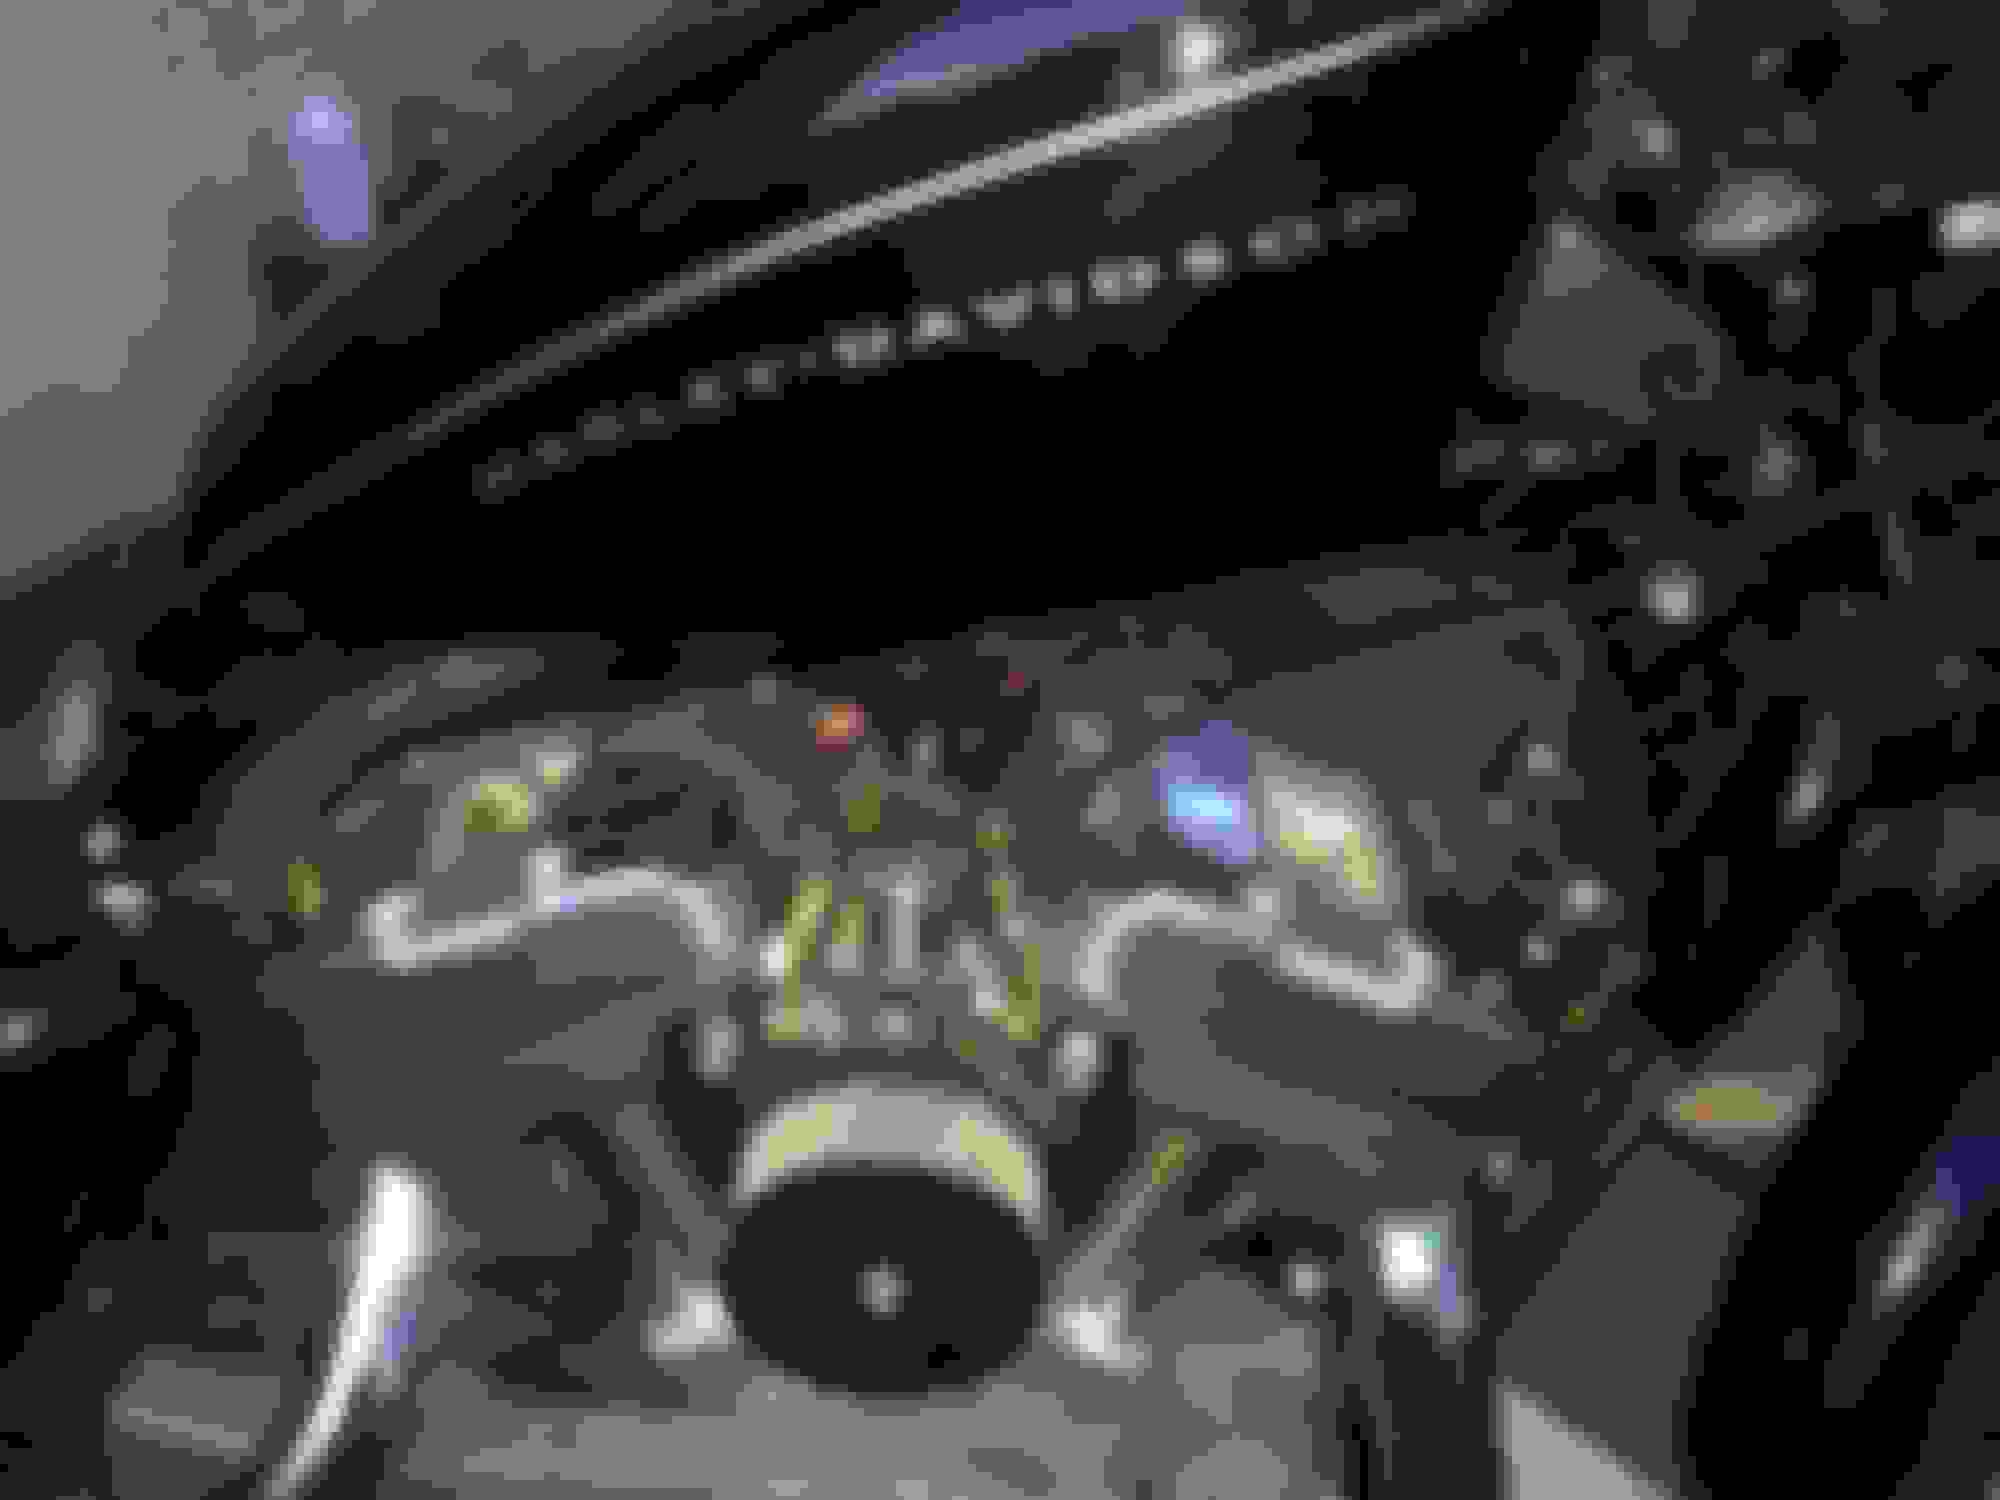
Work in progress (sorry about the poor picture quality). Any criticism is appreciated. After I have wrapped the cables I was not able to tuck them in as the plug cluster was too big to tuck under and not much play room.
Any suggestions?
Also I'd like to point out that DK Custom products are top notch and their customer service is amazing (at least through their e-bay store)
E-bay store does not have all the products but are nice enough to direct you to the proper source.
Fast shipping both from ebay store and direct from DK Custom. Instructions could be better. I didn't end up reading them twice but some pictures with the steps would be much helpful for those who have never done these tasks before.
I have two other bikes (Kawasaki ZX6R & Kawasaki EX250) and I have worked on those bikes a lot so I knew how to tackle the job. Novices might have a tough time.
Thank you for the kind words.
Here is a step by step, with lots of pictures, of how to do a wire tuck.
There are also quite a few videos on youtube..just search DK Custom Wire Tuck.
The short of it all...don't wrap all the wires or connectors together.
Here's a wire tuck we did recently on a 48 with a 1.5" tank lift. We did not delete Any of the connectors.
It is not difficult, just take a bit of time and patience, test fitting where each small group of wires and connectors can go by lowering the tank periodically.
Bike is looking good!
__________________ Win Up to $350.00 Cash from DK Custom This Month, Click HERE to see How!
There are also quite a few videos on youtube..just search DK Custom Wire Tuck.
The short of it all...don't wrap all the wires or connectors together.
Here's a wire tuck we did recently on a 48 with a 1.5" tank lift. We did not delete Any of the connectors.
It is not difficult, just take a bit of time and patience, test fitting where each small group of wires and connectors can go by lowering the tank periodically.
Have you got out at night yet with the LED in that bucket? Pics of the headlight on?
Thanks Kevin. Only tested the operation of the lights to ensure I wired it correctly. The reflectors appear to make the LED brighter. It is definitely brighter than with the LED in the stock bucket. The LED fits in the new headlight bucket with room to spare. I will need to take it out at night to do fine adjustments to the beam angle.
Installed new chain and 22tooth front sprocket-a lot better.
Removed the baffles and installed the lollypops.
More pull and sounds a lot better.
Carb jetting tomorrow.
Just installed a brass tailight. Love the look but couldn't figure out how to wire it just to the brake light. Right now its just a running light.
That taillight does look pretty cool. I just did the wiring for my taillights.
If it has 3 wires: one is ground, one is running and one is brake.
If it has 2 wires: one is ground, and one is running/brake.
To solve this one I added a 10-ohm 1/2watt resister to the running light so that the taillight was brighter then the running light. You may also want to run a diode on that same line so that it doesn't mess anything up.
Originally Posted by Rollbar
Removed the baffles and installed the lollypops.
More pull and sounds a lot better.
I am interested in this. Is there a thread for this mod?
edit: I see many people talking about them but is it better to have the washers or no washers? Does just the ring from the eye do a whole lot?
Last edited by PepsiManKolt; 05-07-2015 at 08:20 PM.

 05-05-2015, 12:25 AM