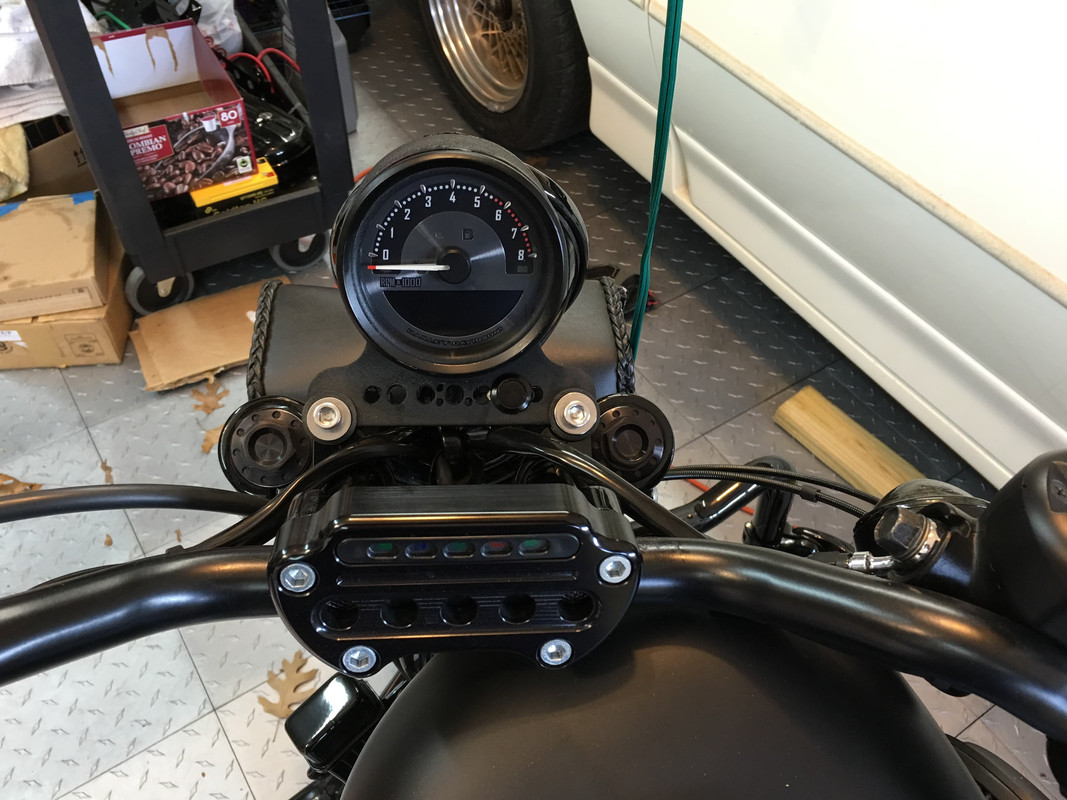
Mounting it on the bike was nothing, you could spend HOURS deciding which color combinations you want to go with. You can go with separate colors for the tach needle, the tach part of the gauge, and the speedo display. There are like 600 different shades of colors for each... Bitch of it is, you scroll up thru the shades using the right turn signal, and down using the left one. You could damn near wear out the switches playing with it.
Was it this one ? If so, yeah, lots of options to play with....
Was it this one ? If so, yeah, lots of options to play with....
thanks,
T.
Yep, that's the one.
Now I have to figure out how to get the hooded/visor trim ring off I put on the original speedo so I can put it on the new one. Figure I'll try a hair dryer to heat it up first.
I copied this from the Progressive Converter 9280 page. This was the charger I used to replace the OEM from the factory, when I switched from 2-12v batts to 4-6v. The OEM 50 amp would not charge those 4 batteries even after running My generator for 8hrs straight. The new one does it in 4 or less. The bulk charge, and going from 50-80 amps made a huge difference.
Looks like I was off a little on some of my numbers but was going from memory, of over a year ago.
The Charge Wizard constantly monitors battery voltage and battery usage then selects one of the following four operating modes to properly charge and maintain the battery.
BOOST Mode 14.4 Volts – Rapidly brings the RV battery up to 90% of full charge. NORMAL Mode 13.6 Volts – Safely completes the charge. STORAGE Mode 13.2 Volts – Maintains charge with minimal gassing or water loss. EQUALIZATION Mode 14.4 Volts – Every 21 hours for a period of 15 minutes prevents battery stratification & sulfation – the leading cause of battery failure.
Well, it was yesterday, not today, but I managed to change the broken belt cover for a 'new' one I got of E-Bay.
I had trouble when I first tried as I didn't have a spanner that fitted the inside nut. I then remembered the large bag of tools that my Father gave me years ago and found one in there just the right size.
Pictures I took show me using a Molegrip wrench for the star bolt but once I got it loose I used a ratchet wrench, must easier!
The front bolt was very easy, I expect a garage would remove the footpeg too but I didn't find it necessary.
Getting the broken bit out and the bolt to enable fitting new cover. New one fitted The break!
Last edited by David Rose; 01-01-2020 at 03:55 PM.
Well, it was yesterday, not today, but I managed to change the broken belt cover for a 'new' one I got of E-Bay.
I had trouble when I first tried as I didn't have a spanner that fitted the inside nut. I then remembered the large bag of tools that my Father gave me years ago and found one in there just the right size.
Pictures I took show me using a Molegrip wrench for the star bolt but once I got it loose I used a ratchet wrench, must easier!
The front bolt was very easy, I expect a garage would remove the footpeg too but I didn't find it necessary.
Getting the broken bit out and the bolt to enable fitting new cover. New one fitted The break!
David Rose
Looking at your pics, you HAVE to get the proper tools or you will strip a lot of bolts. The heads on your shocks are NOT HEX (allen), they are Torx bits. There is a difference and you can ruin a Torx head with an allen tool.
David Rose
Looking at your pics, you HAVE to get the proper tools or you will strip a lot of bolts. The heads on your shocks are NOT HEX (allen), they are Torx bits. There is a difference and you can ruin a Torx head with an allen tool.
Can't tell from the pic, but he could possibly be using something similar to this Torx bit with a hex drive.
I bought various torx sockets that have 1/2", 3/8" and 1/4" drive depending on size. I couldn't see me trying to do those shock bolts back up to spec with a little hex drive.
Me neither. No way can you get enough torque for those shock bolts, with vice grips on that little allen wrench. I get it using what you have to get you back on the road, when you are ON the road, but when I am home working on my bike, I use the correct tool, or wait till I can get the correct tool before doing the work.
Its not worth risking safety just to "get it done now". A set of 3/8" drive torx bits are not that expensive.

 12-23-2019, 04:38 PM

 Bitch of it is, you scroll up thru the shades using the right turn signal, and down using the left one. You could damn near wear out the switches playing with it.