gas caps
#1
So I got this gas cap http://www.ebay.com/itm/160784560213...ht_2576wt_1185
assuming it was a HD take-off or something. Advertised to fit any HD with a screw type cap.
it does not fit.... or at least I cant get it to. The diameter and depth seems right, but the threads seem a little different in terms of thickness. it goes part ways in and then becomes too difficult to turn. Advertised as "fair" install. am I missing something here? The seller hasnt gotten back to me so he is about a day out from getting negative feedback ( ) but i'm just looking for alternatives or "make it work" solutions. I just wanna get rid of the plastic-looking stock cap
assuming it was a HD take-off or something. Advertised to fit any HD with a screw type cap.
it does not fit.... or at least I cant get it to. The diameter and depth seems right, but the threads seem a little different in terms of thickness. it goes part ways in and then becomes too difficult to turn. Advertised as "fair" install. am I missing something here? The seller hasnt gotten back to me so he is about a day out from getting negative feedback (

#2
what year bike do you have? If I remember right I had a buddy with an 05 sporty and he had a cap like that he bought that stated the same thing only it was off an 03 and it was the same deal...just wouldn't go all the way down. sorry to say there was no solution for him other than getting another cap.
good luck
good luck
#3
it is a 2011 883N.
But I got it! so it turns out it wasnt threads. The overflow tube that sticks up from the bottom of the cap recess was hitting the underside of the cap. (does that make sense? take your cap off, there is a little piece of tube sticking up about a half inch).
the cap was designed so that this tube fits between the wall of the cap and the center piece which holds the spring and whatnot that allows the cap to pop up and down.
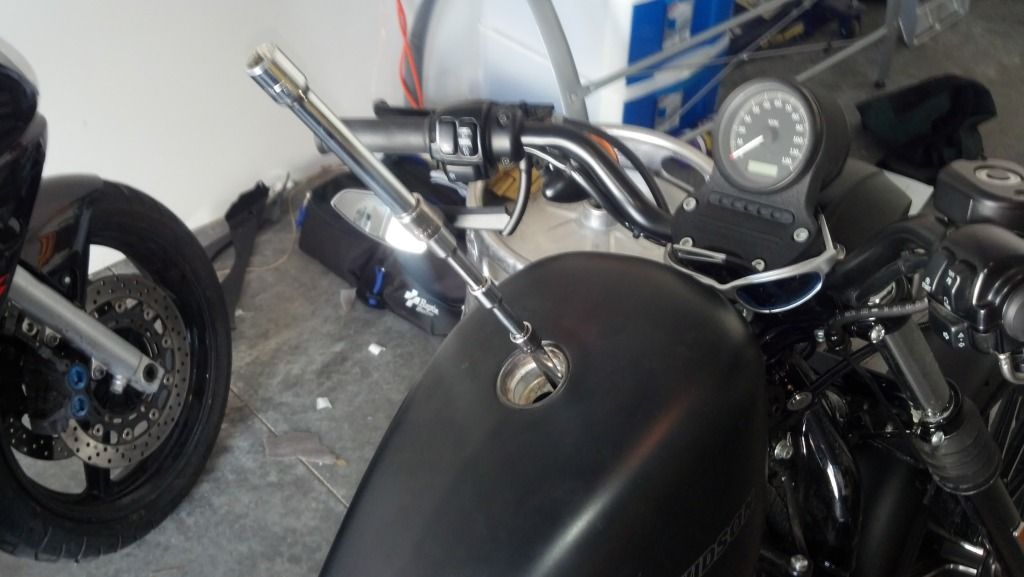
The fix: I took a 6mm deep well socket (a little sad I had to use a metric tool on my bike..... but oh well), fit that over the tube, then made a frankenstein extension using adapters to get from 1/4 drive to 1/2 and about a foot long. Then I just cranked it backwards slowly. It moved the tube maybe 1/8th inch backwards but that is all it took. I can post pictures if anyone is confused and would like to go with this solution.... i was stoked at first for such a cheap part, then sad because it didnt work and it was looking like I was gunna eat the $20, but now I'm stoked again.
#5
Last edited by SpecterGT260; 04-25-2012 at 07:30 PM.
#6
as promised......
So here is the little tubular culprit
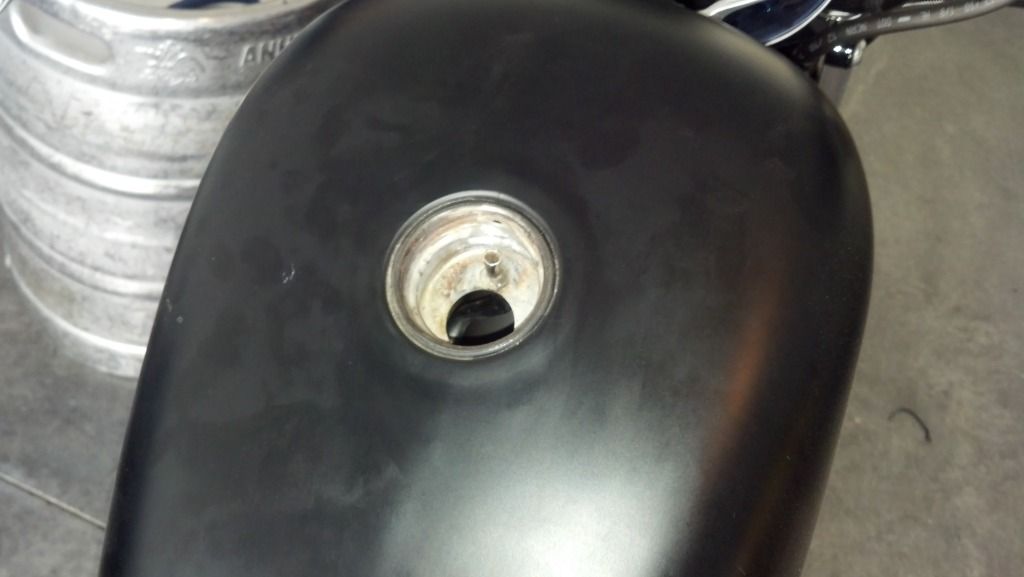
As you can see from the new cap(right) and old cap (left), there is a little more room to work with in stock form.

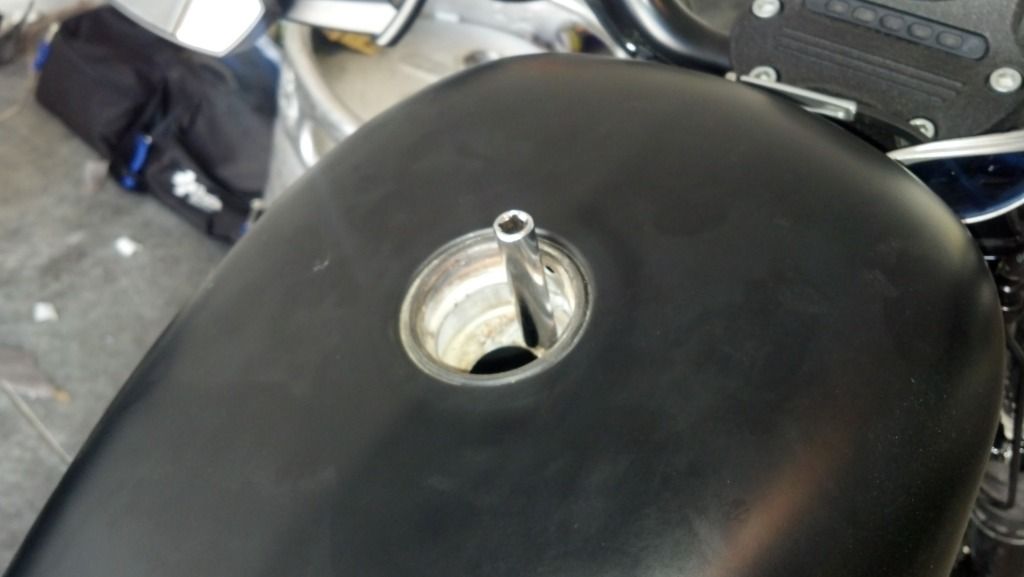
So here is that 7mm socket on the little bugger
and the "leveraging tool"
once the vent tube was out of the way the new cap could go all the way down and seat where it was meant to
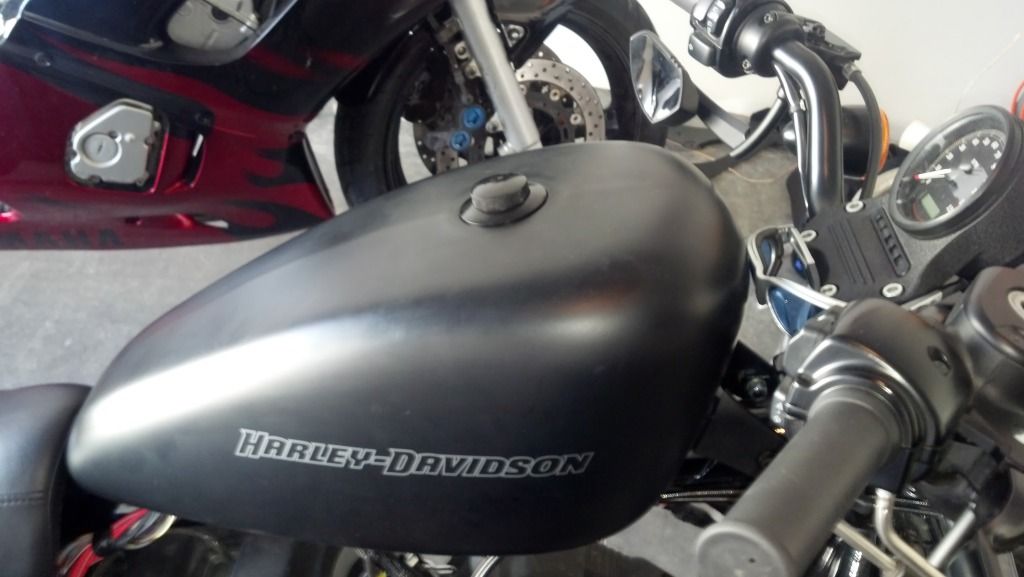
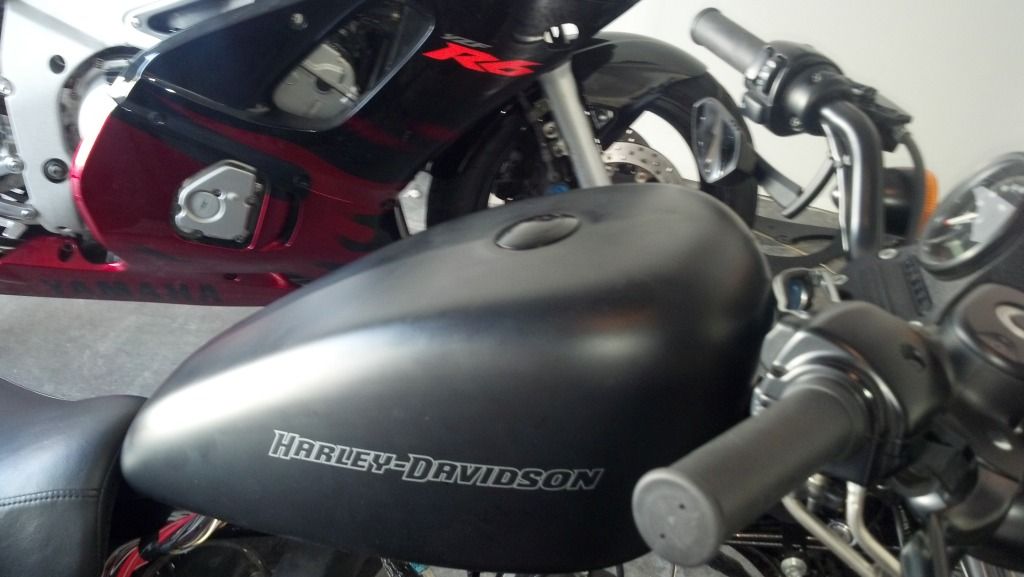
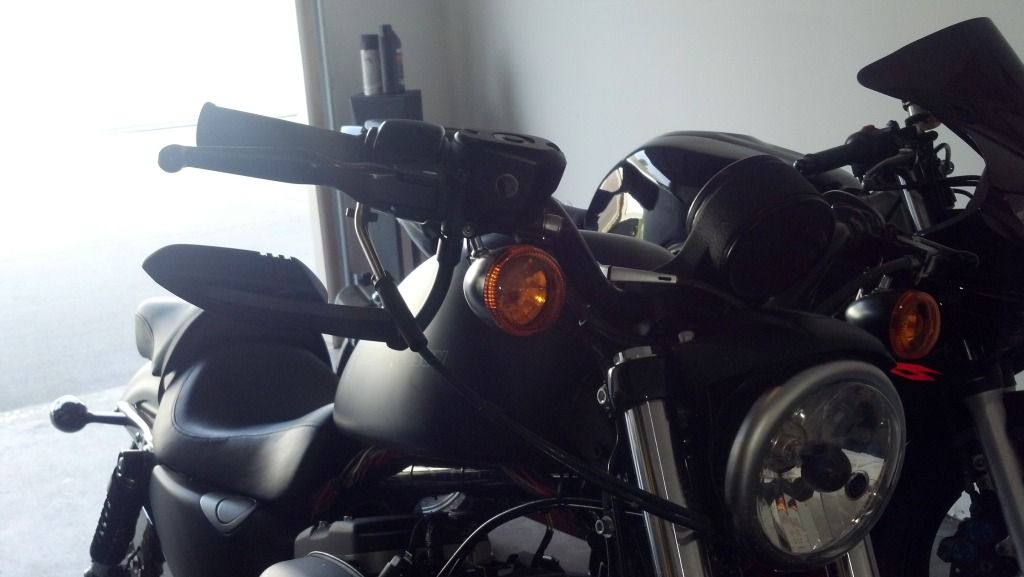
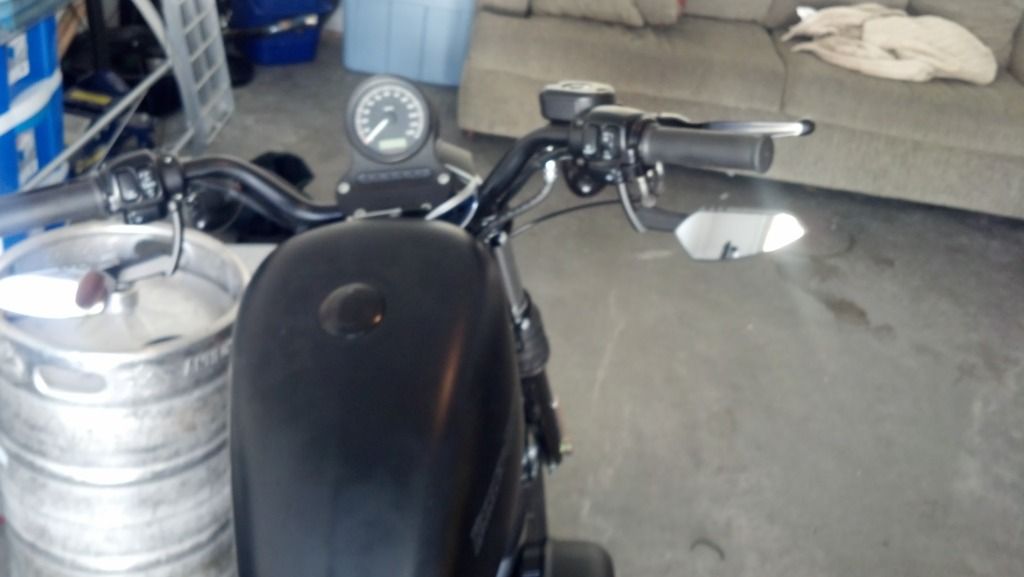
I might have snuck a picture of the new mirrors in there as well....
So here is the little tubular culprit

As you can see from the new cap(right) and old cap (left), there is a little more room to work with in stock form.

So here is that 7mm socket on the little bugger

and the "leveraging tool"

once the vent tube was out of the way the new cap could go all the way down and seat where it was meant to


I might have snuck a picture of the new mirrors in there as well....
#7


