
Productive Weekend (Pics)
#11
 04-23-2012, 07:25 PM

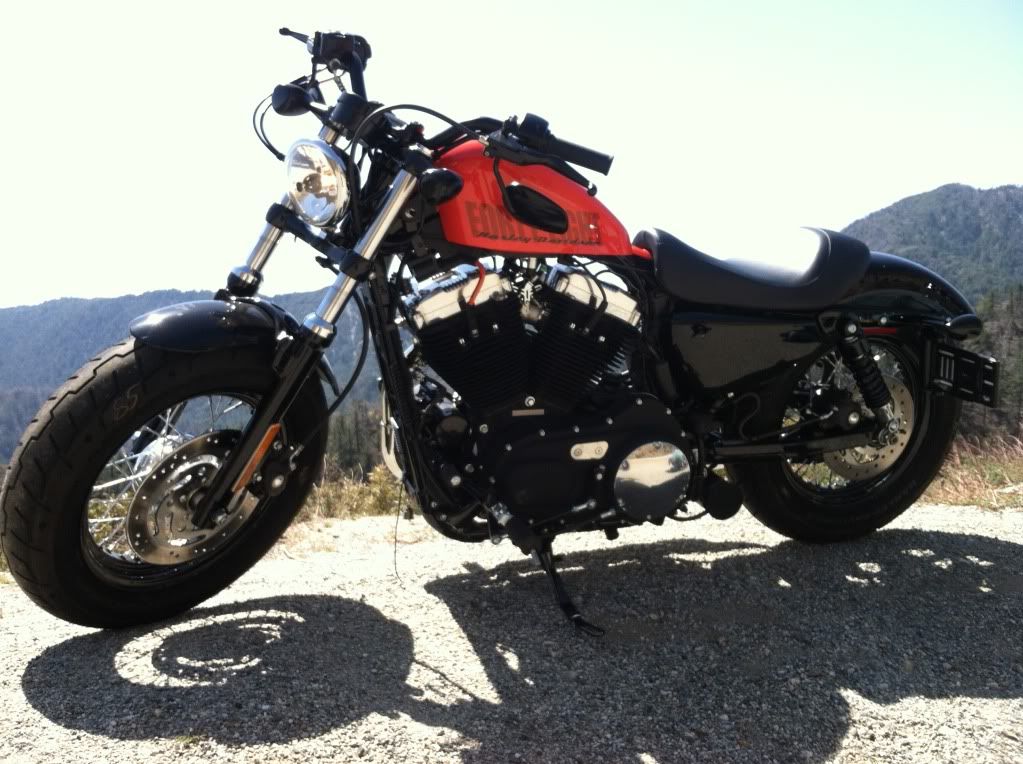
Thanks Knights! It really did set the bike off quite a bit. Super easy to paint too.
#13
04-23-2012, 07:30 PM
Thanks! I love it. One of the best purchases Ive made so far. It was really easy. The hardest part was lifting the *** end to get enough room to squeeze your arm in there to run the cable. Otherwise it just snapped right in to the existing wiring. About 20 minutes worth of work.
#15
04-24-2012, 11:26 PM

Intermediate
Join Date: Feb 2012
Location: Los Angeles
Posts: 29
Likes: 0
Received 0 Likes
on
0 Posts
#16
04-25-2012, 07:59 AM
Thanks, and welcome to the club. Your bike looks sweet! To answer your question, if you take it off the way it sits then oil will drip out. I put a 2x4 under my kickstand to level it a little, and not a drop leaked out. You will have a little oil on the back of the cover though. You can wipe that off with a lint free cloth.

#19
04-25-2012, 05:05 PM
Believe it or not, Im just using Krylon grey primer and flat black from a rattlecan. Walmart for $4 a can. My process is this:
1. Remove all parts and cover exposed resivoirs with a draped cloth and masking tape. Or if you are in a dirty environment, lay the part on cardboard, trace it out and cut a template that will be used as a temp cover.
2. Wash the parts with water and a little car wash soap (Make sure it doesnt have any wax in it). Dry the part.
3. Use 220 grit sandpaper to lightly scuff the surface, creating a cris cross pattern so the paint will stick better.
4. Wash and dry the parts again to remove any residue or paint dust.
5. Take a metal hanger or my favorite, picture wire and cut several pieces to hang the parts from the ceiling, garage door, etc. If you dont have anything you can hang the parts from, take wrapping paper and cut enough to lay the parts on and a little extra for over spray, and hold it down to the floor with masking tape.
6. Get your grey primer and shake it up for a couple minutes, shoot about 3 light coats and a fourth, heavier one waiting about two minutes between coats. After about 10 minutes, inspect the surface for any imperfections. Sand down where appropriate very very lightly and shoot another coat if needed. The coat of primer should be smooth in the end.
7. Take your flat black (Or color of your choosing) and do the same thing as the primer.
8. I wait until the next day to put the parts back on, but you can safely put them on after a couple of hours.
Also, when putting the new parts back on, cover your tool or the part with a cloth wherever they may bump into each other.
Thats it. Simple. Let me know if you have any other questions.
#20
04-25-2012, 05:27 PM
Intermediate
Join Date: Feb 2012
Location: Los Angeles
Posts: 29
Likes: 0
Received 0 Likes
on
0 Posts